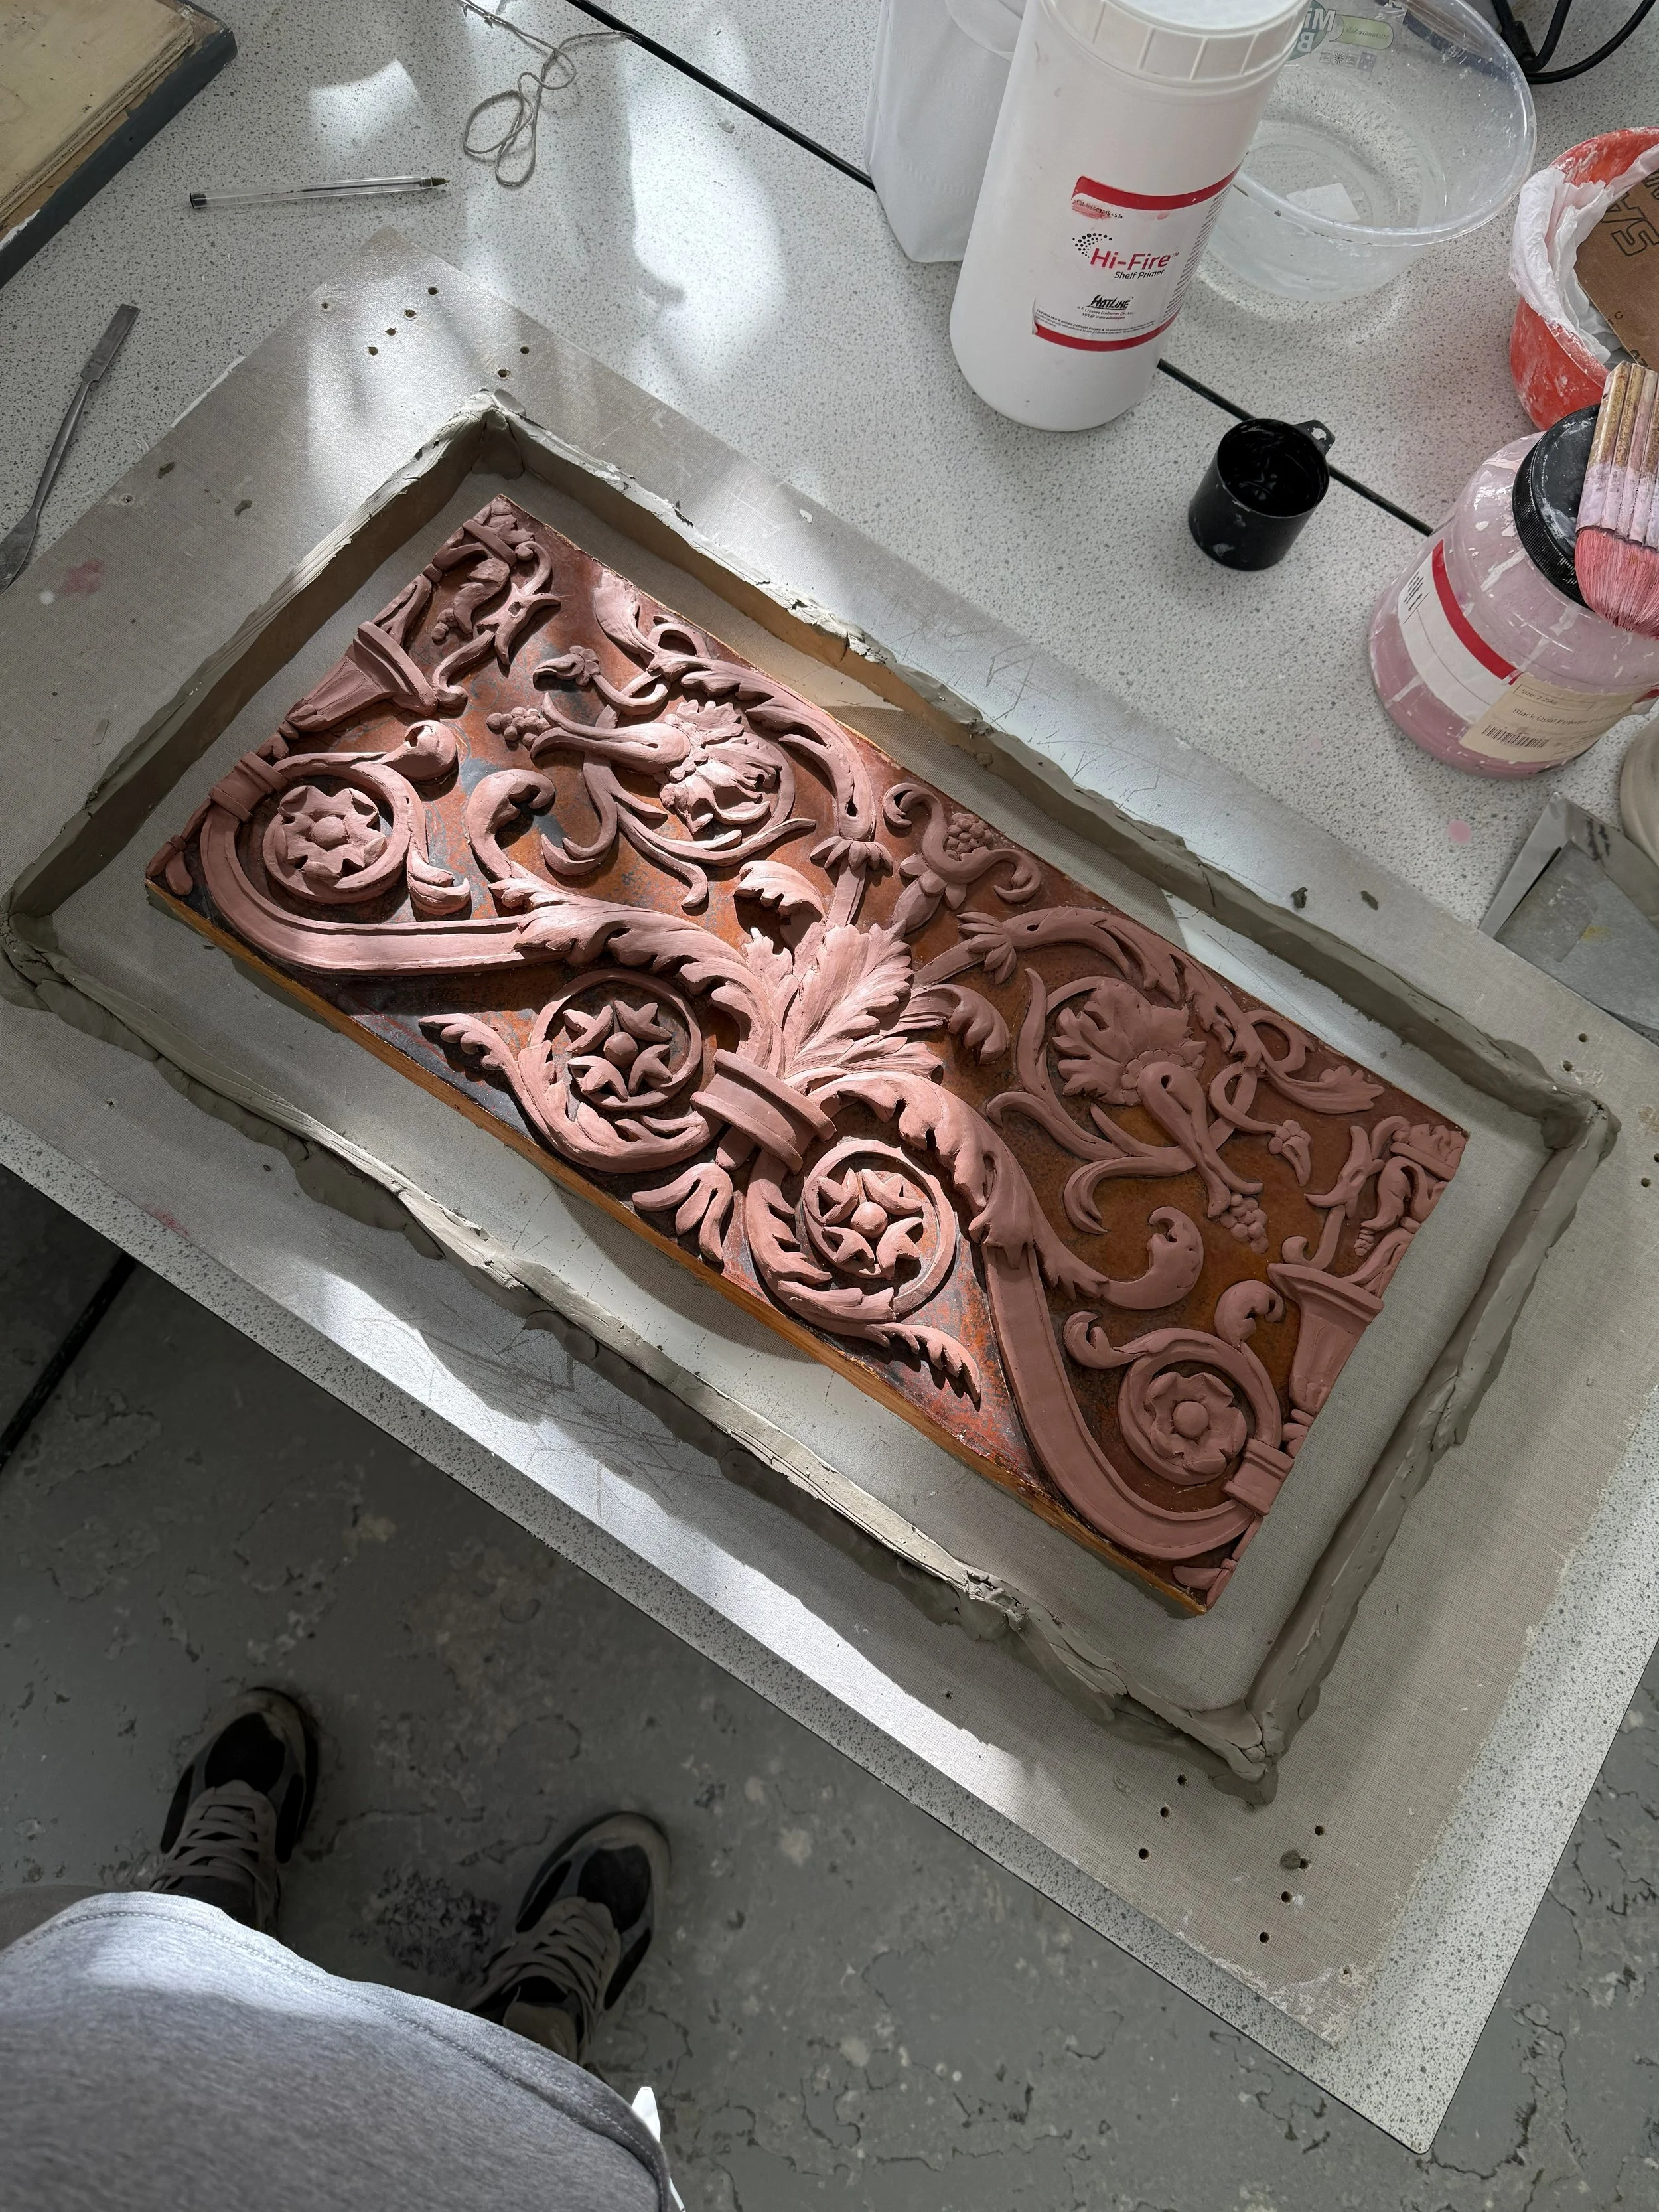
Transcription Modelling
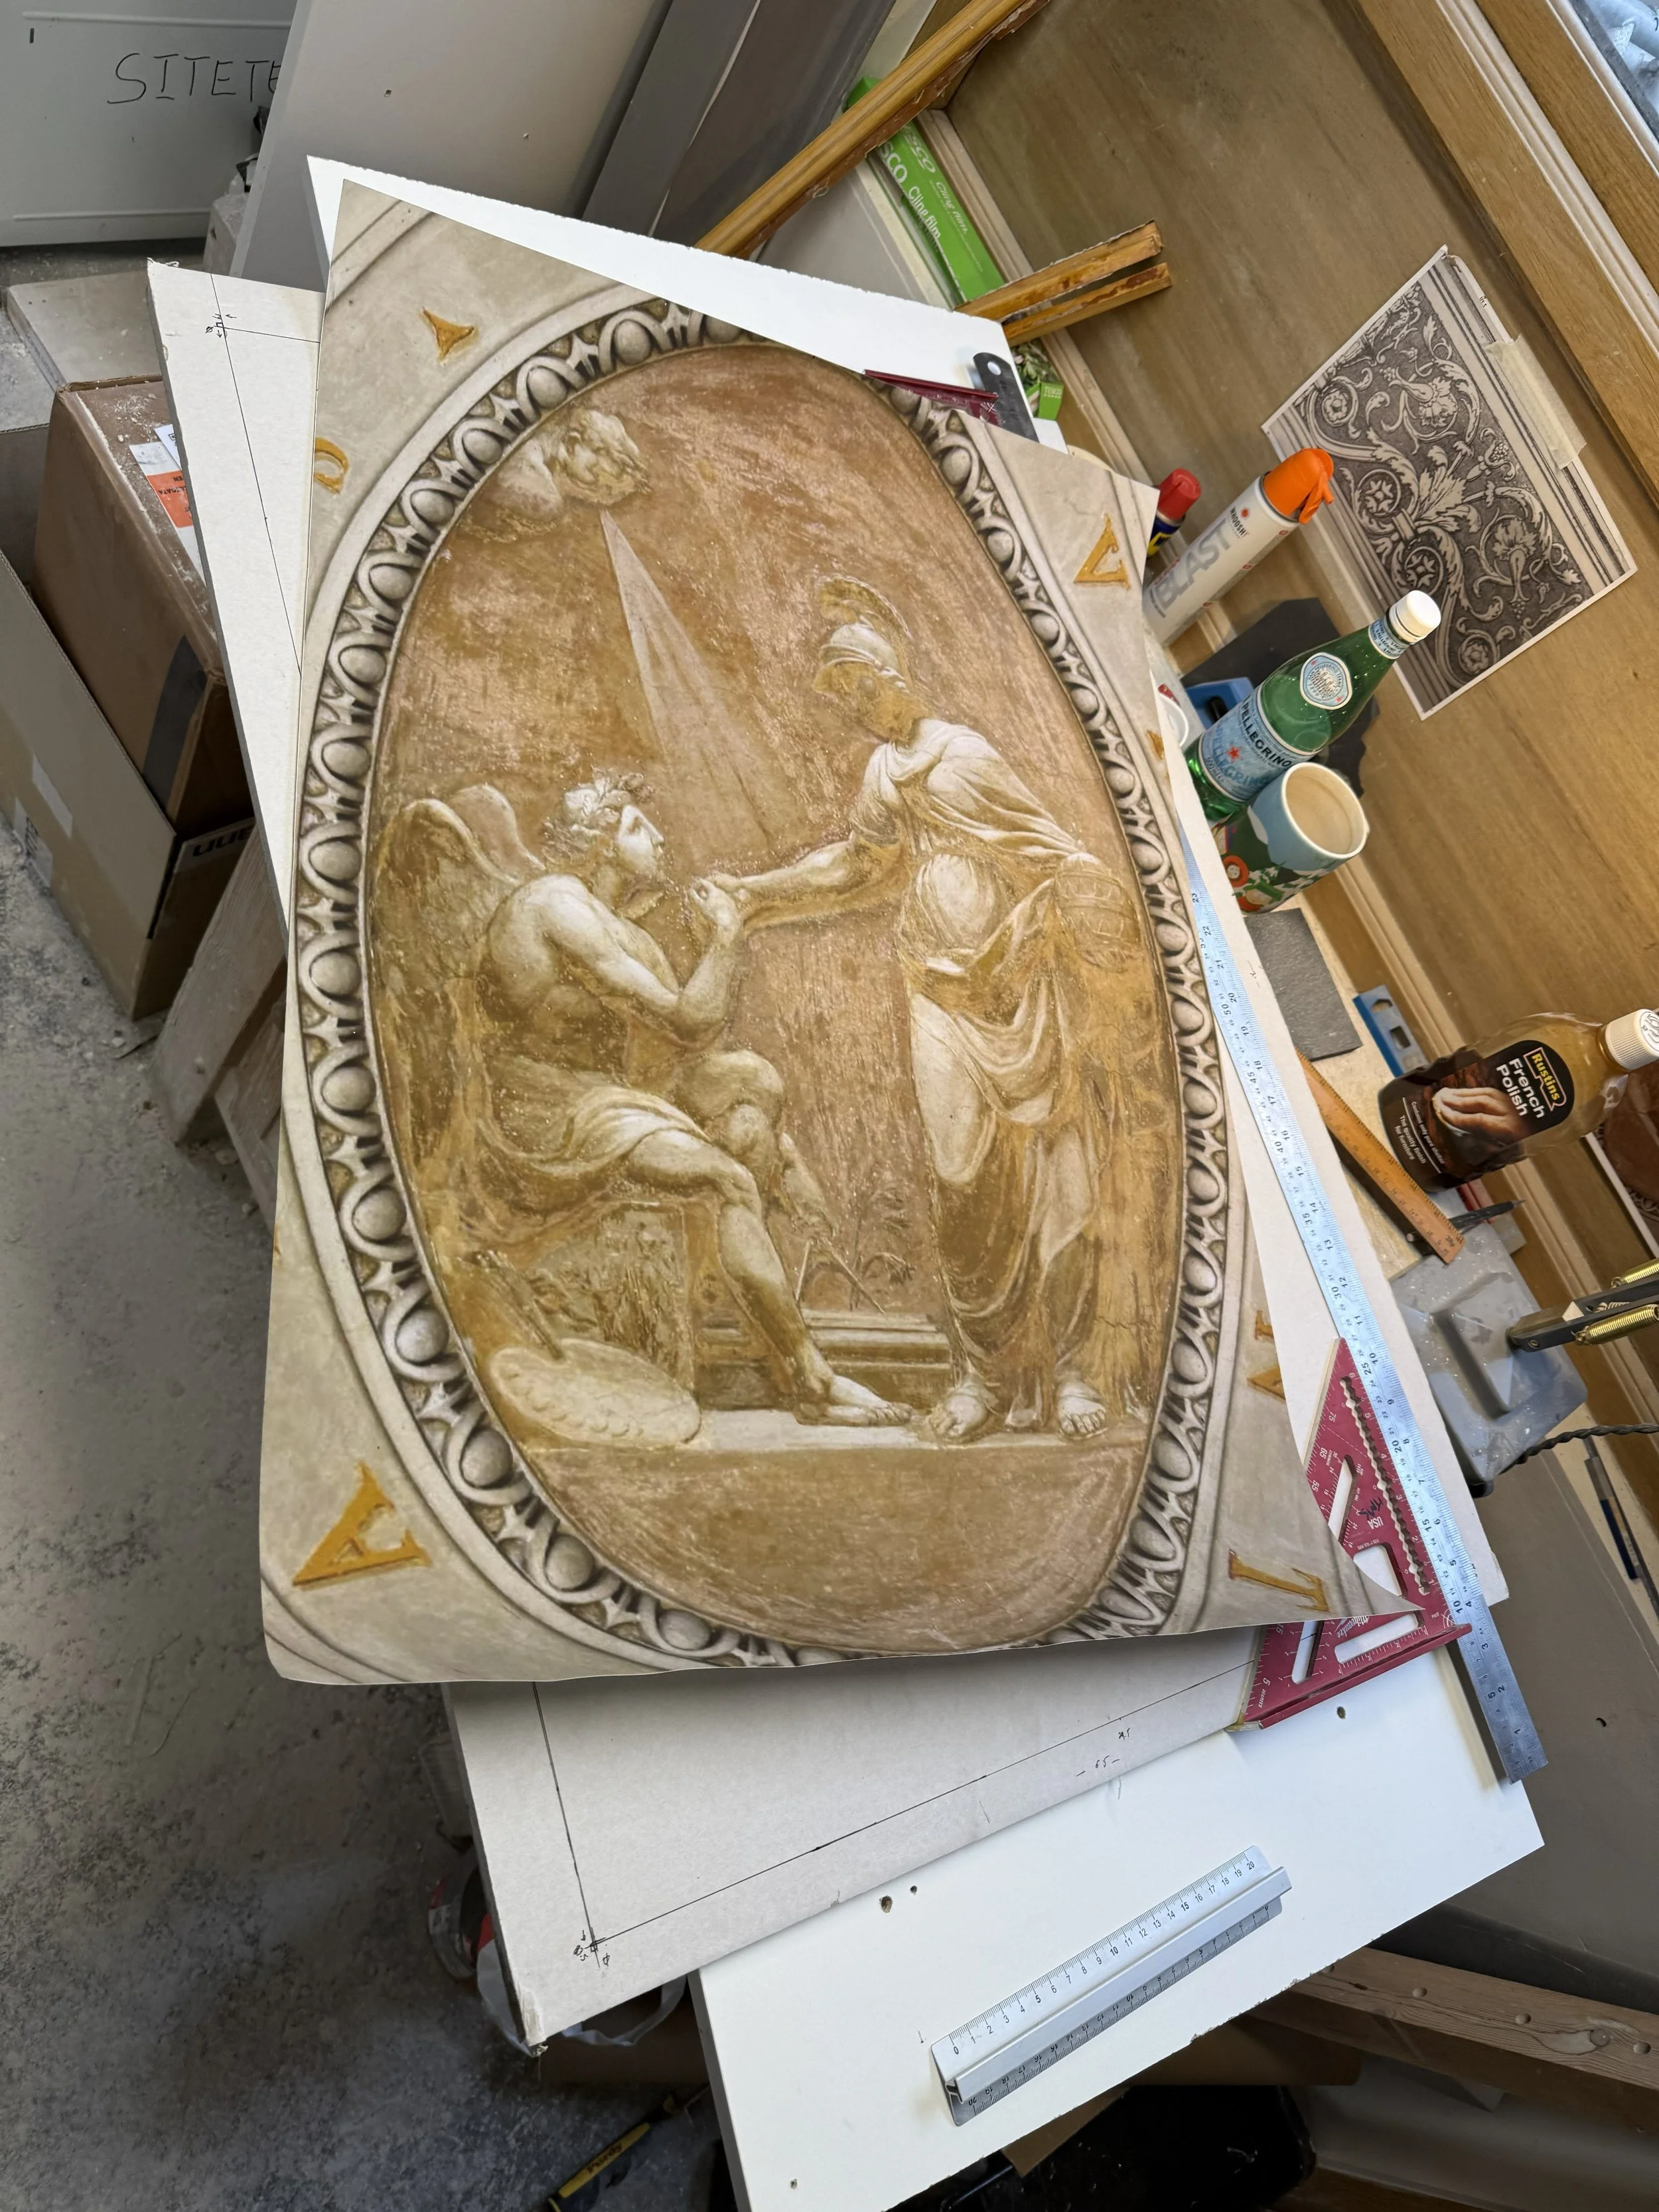
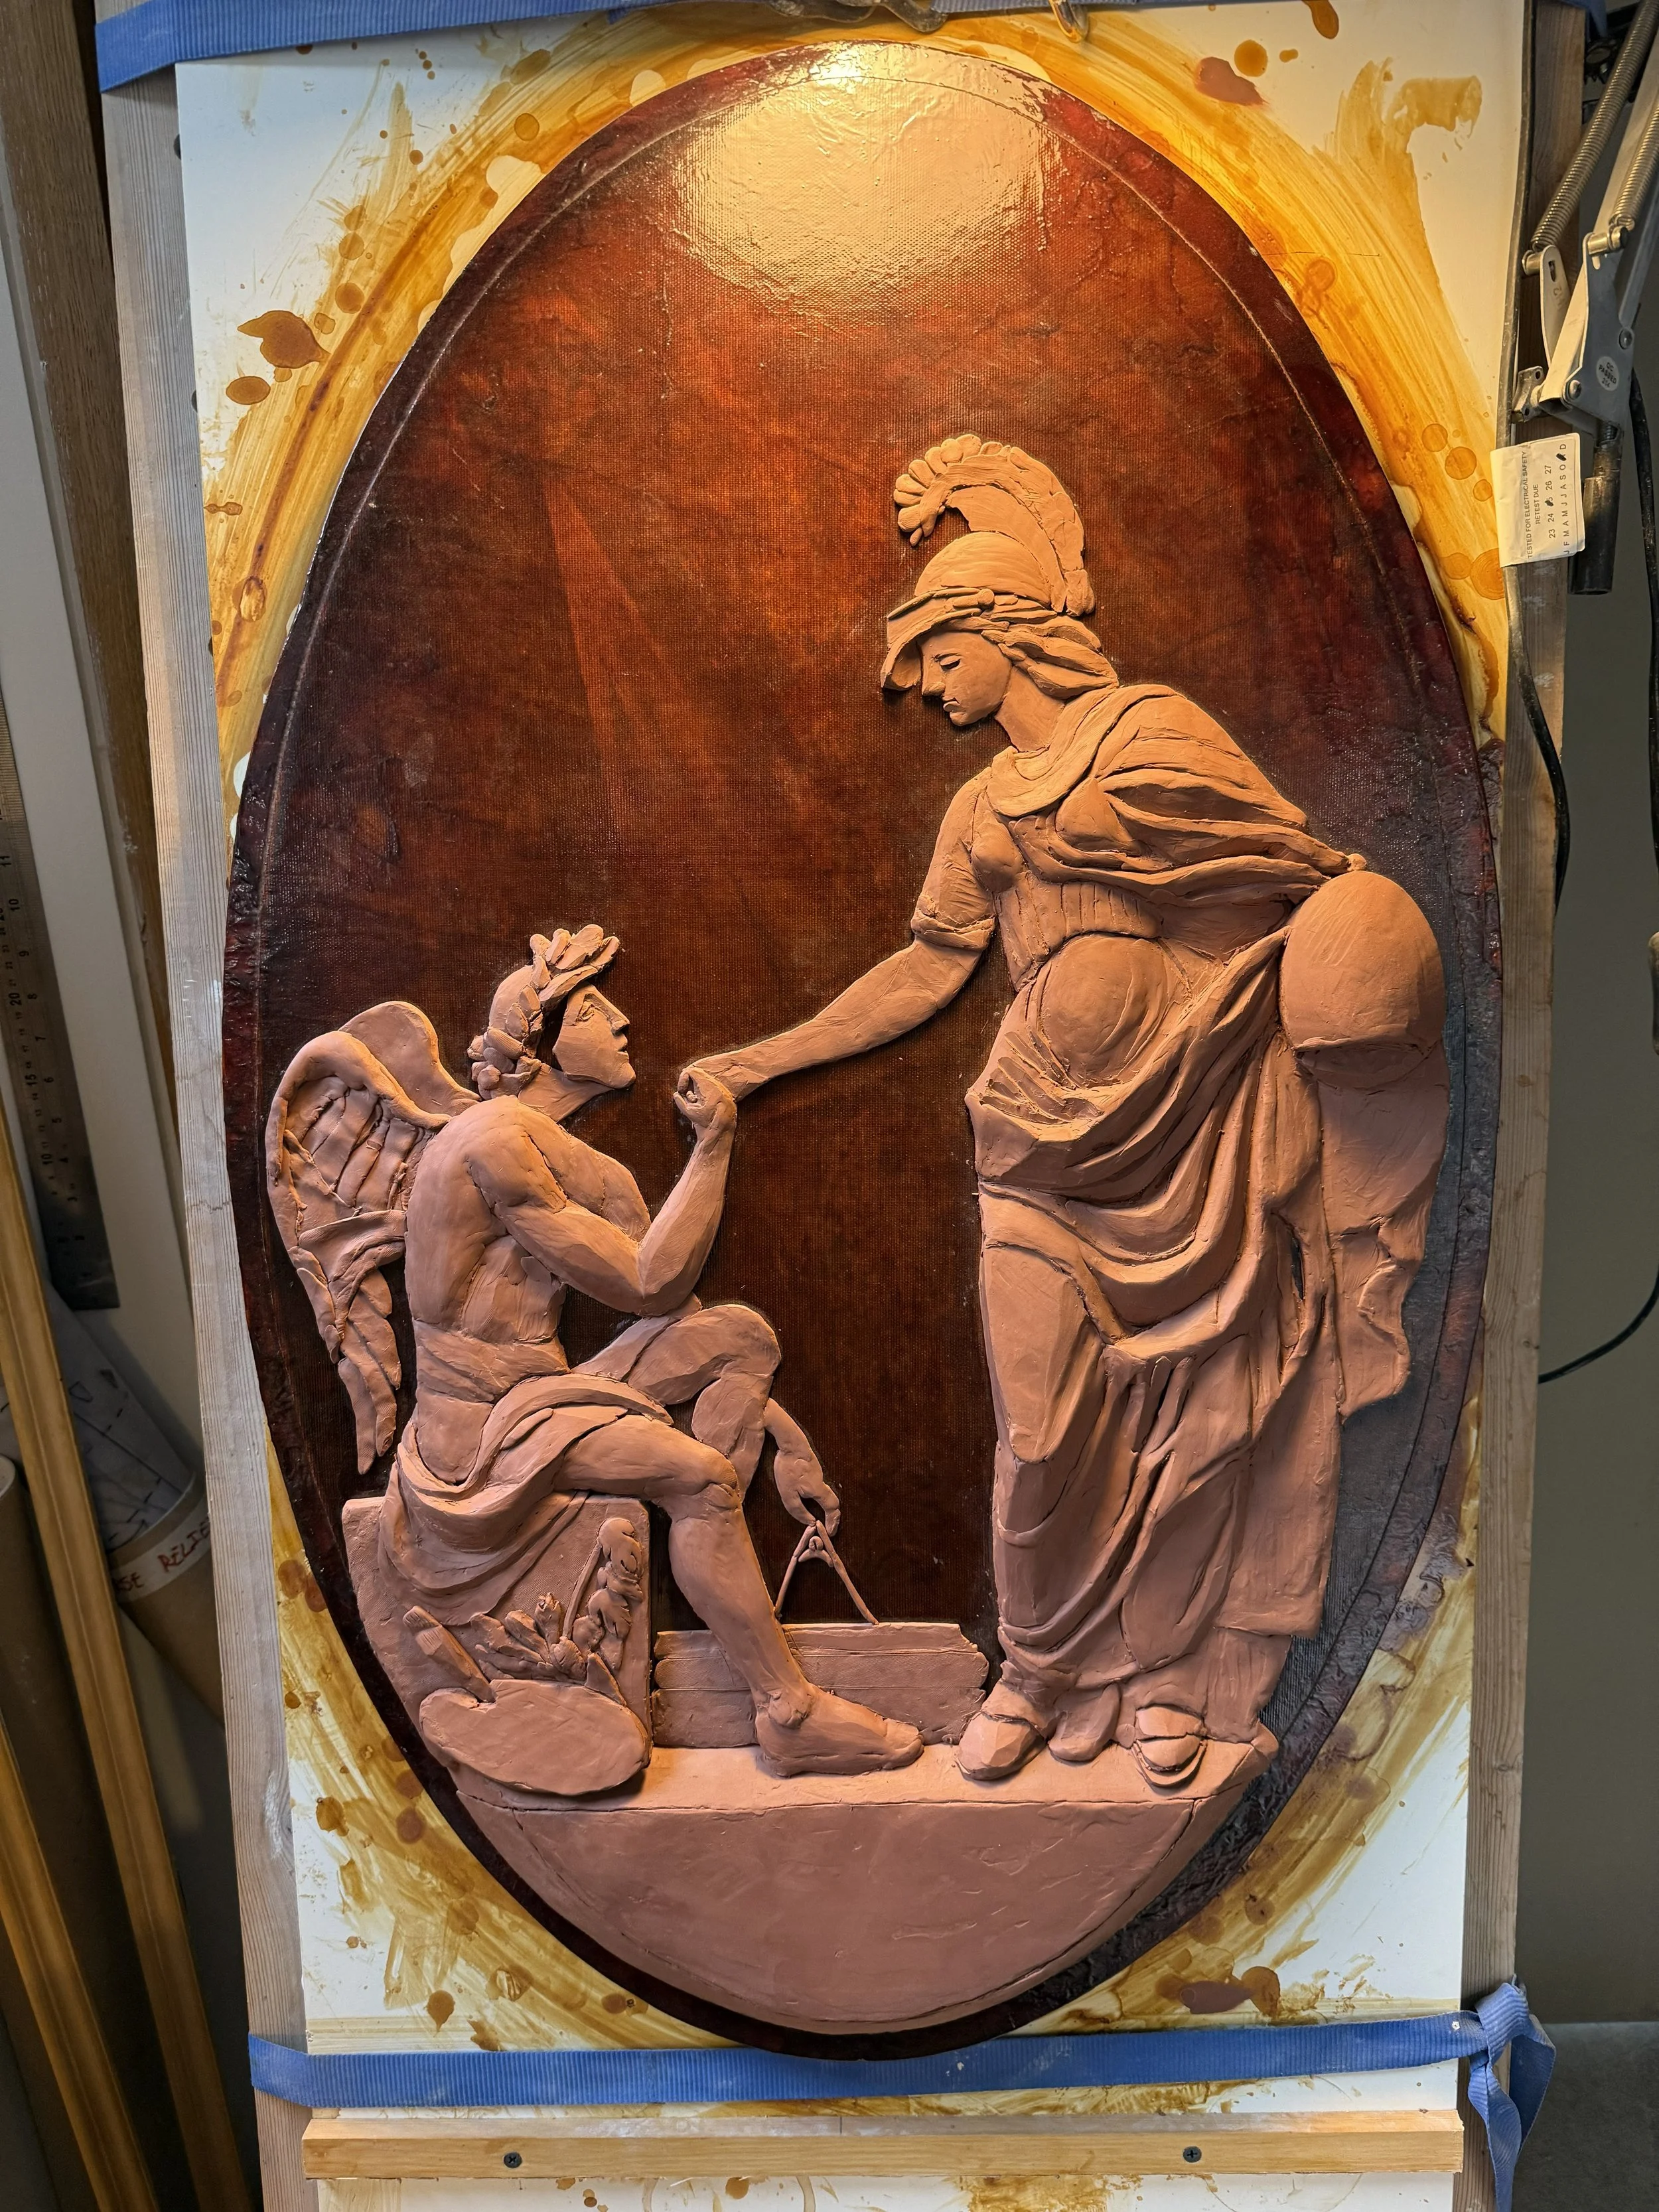
This project would be similar to the previous ornamental model in methods and material, but this would be designed as a stand alone peice instead of a moulding. It is based on a ceiling painting from the Vatican based on the work of artist Christoph Unterberger called “Artes Resurgent” I saw it on a visit to the Vatican and it has stuck with me since. I wanted to see if I could use the techniques I learned on a previous project to try something more difficult. The challenge again would be using a photograph as a starting point of the work.
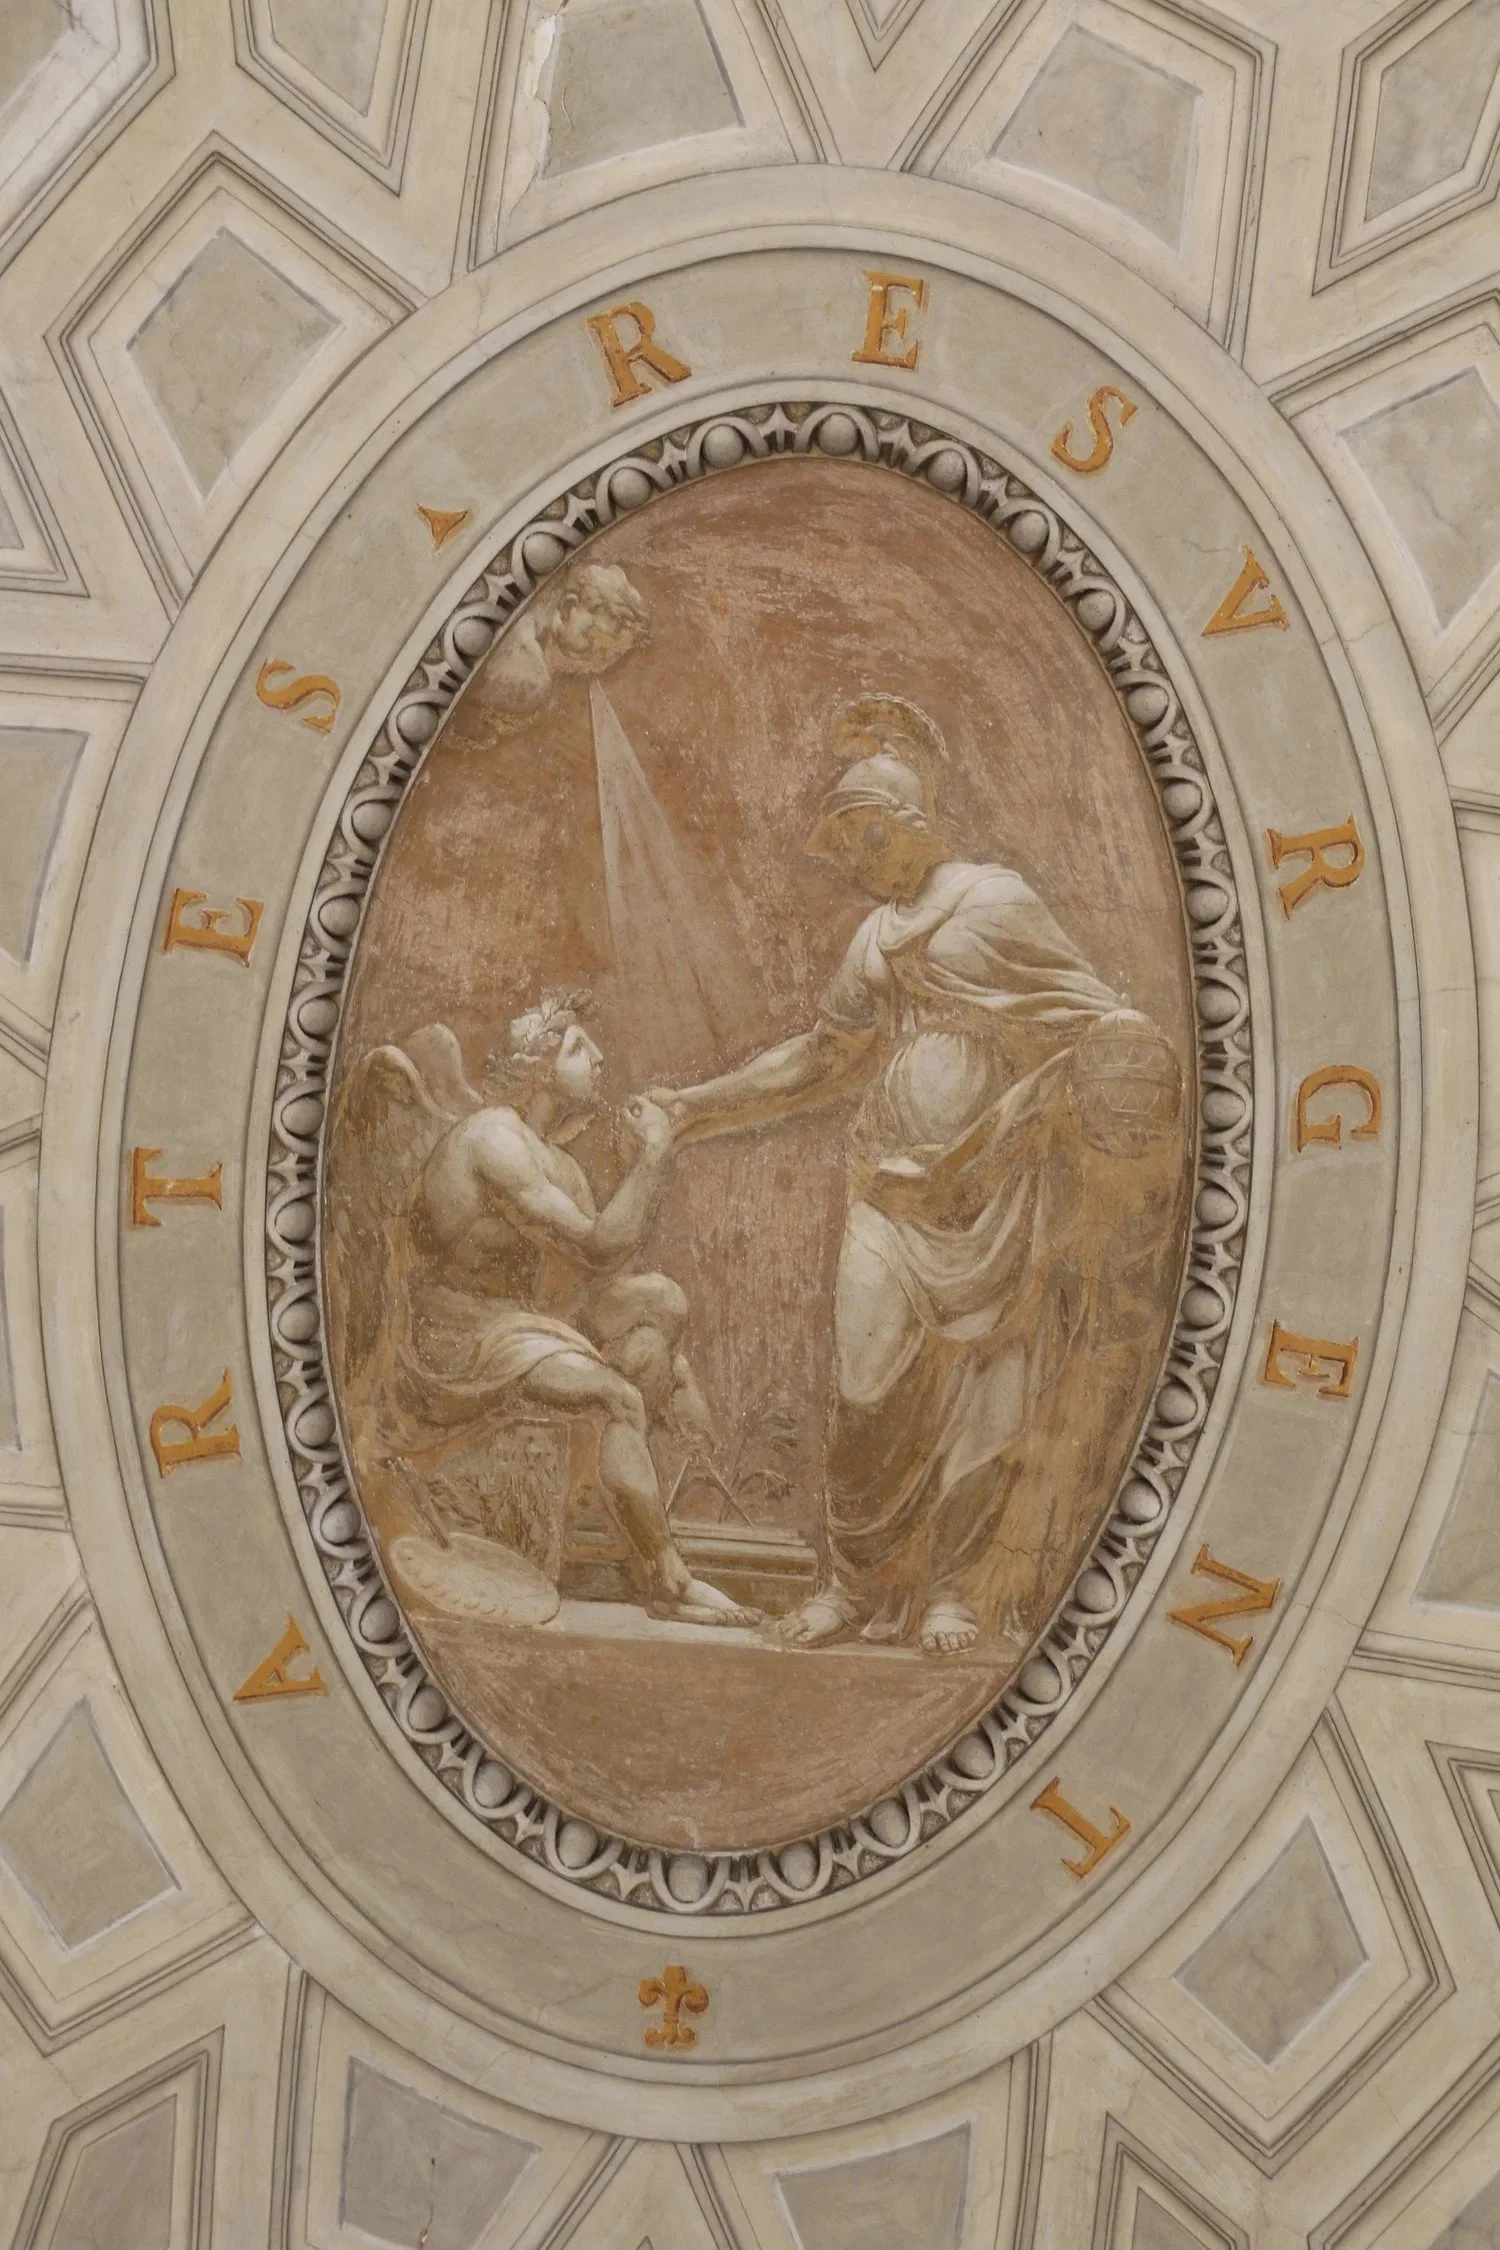
Picture of ceiling detail I took in Rome on a ACBA trip a decade ago. I tried to stand directly underneath it to cut down on distortion.
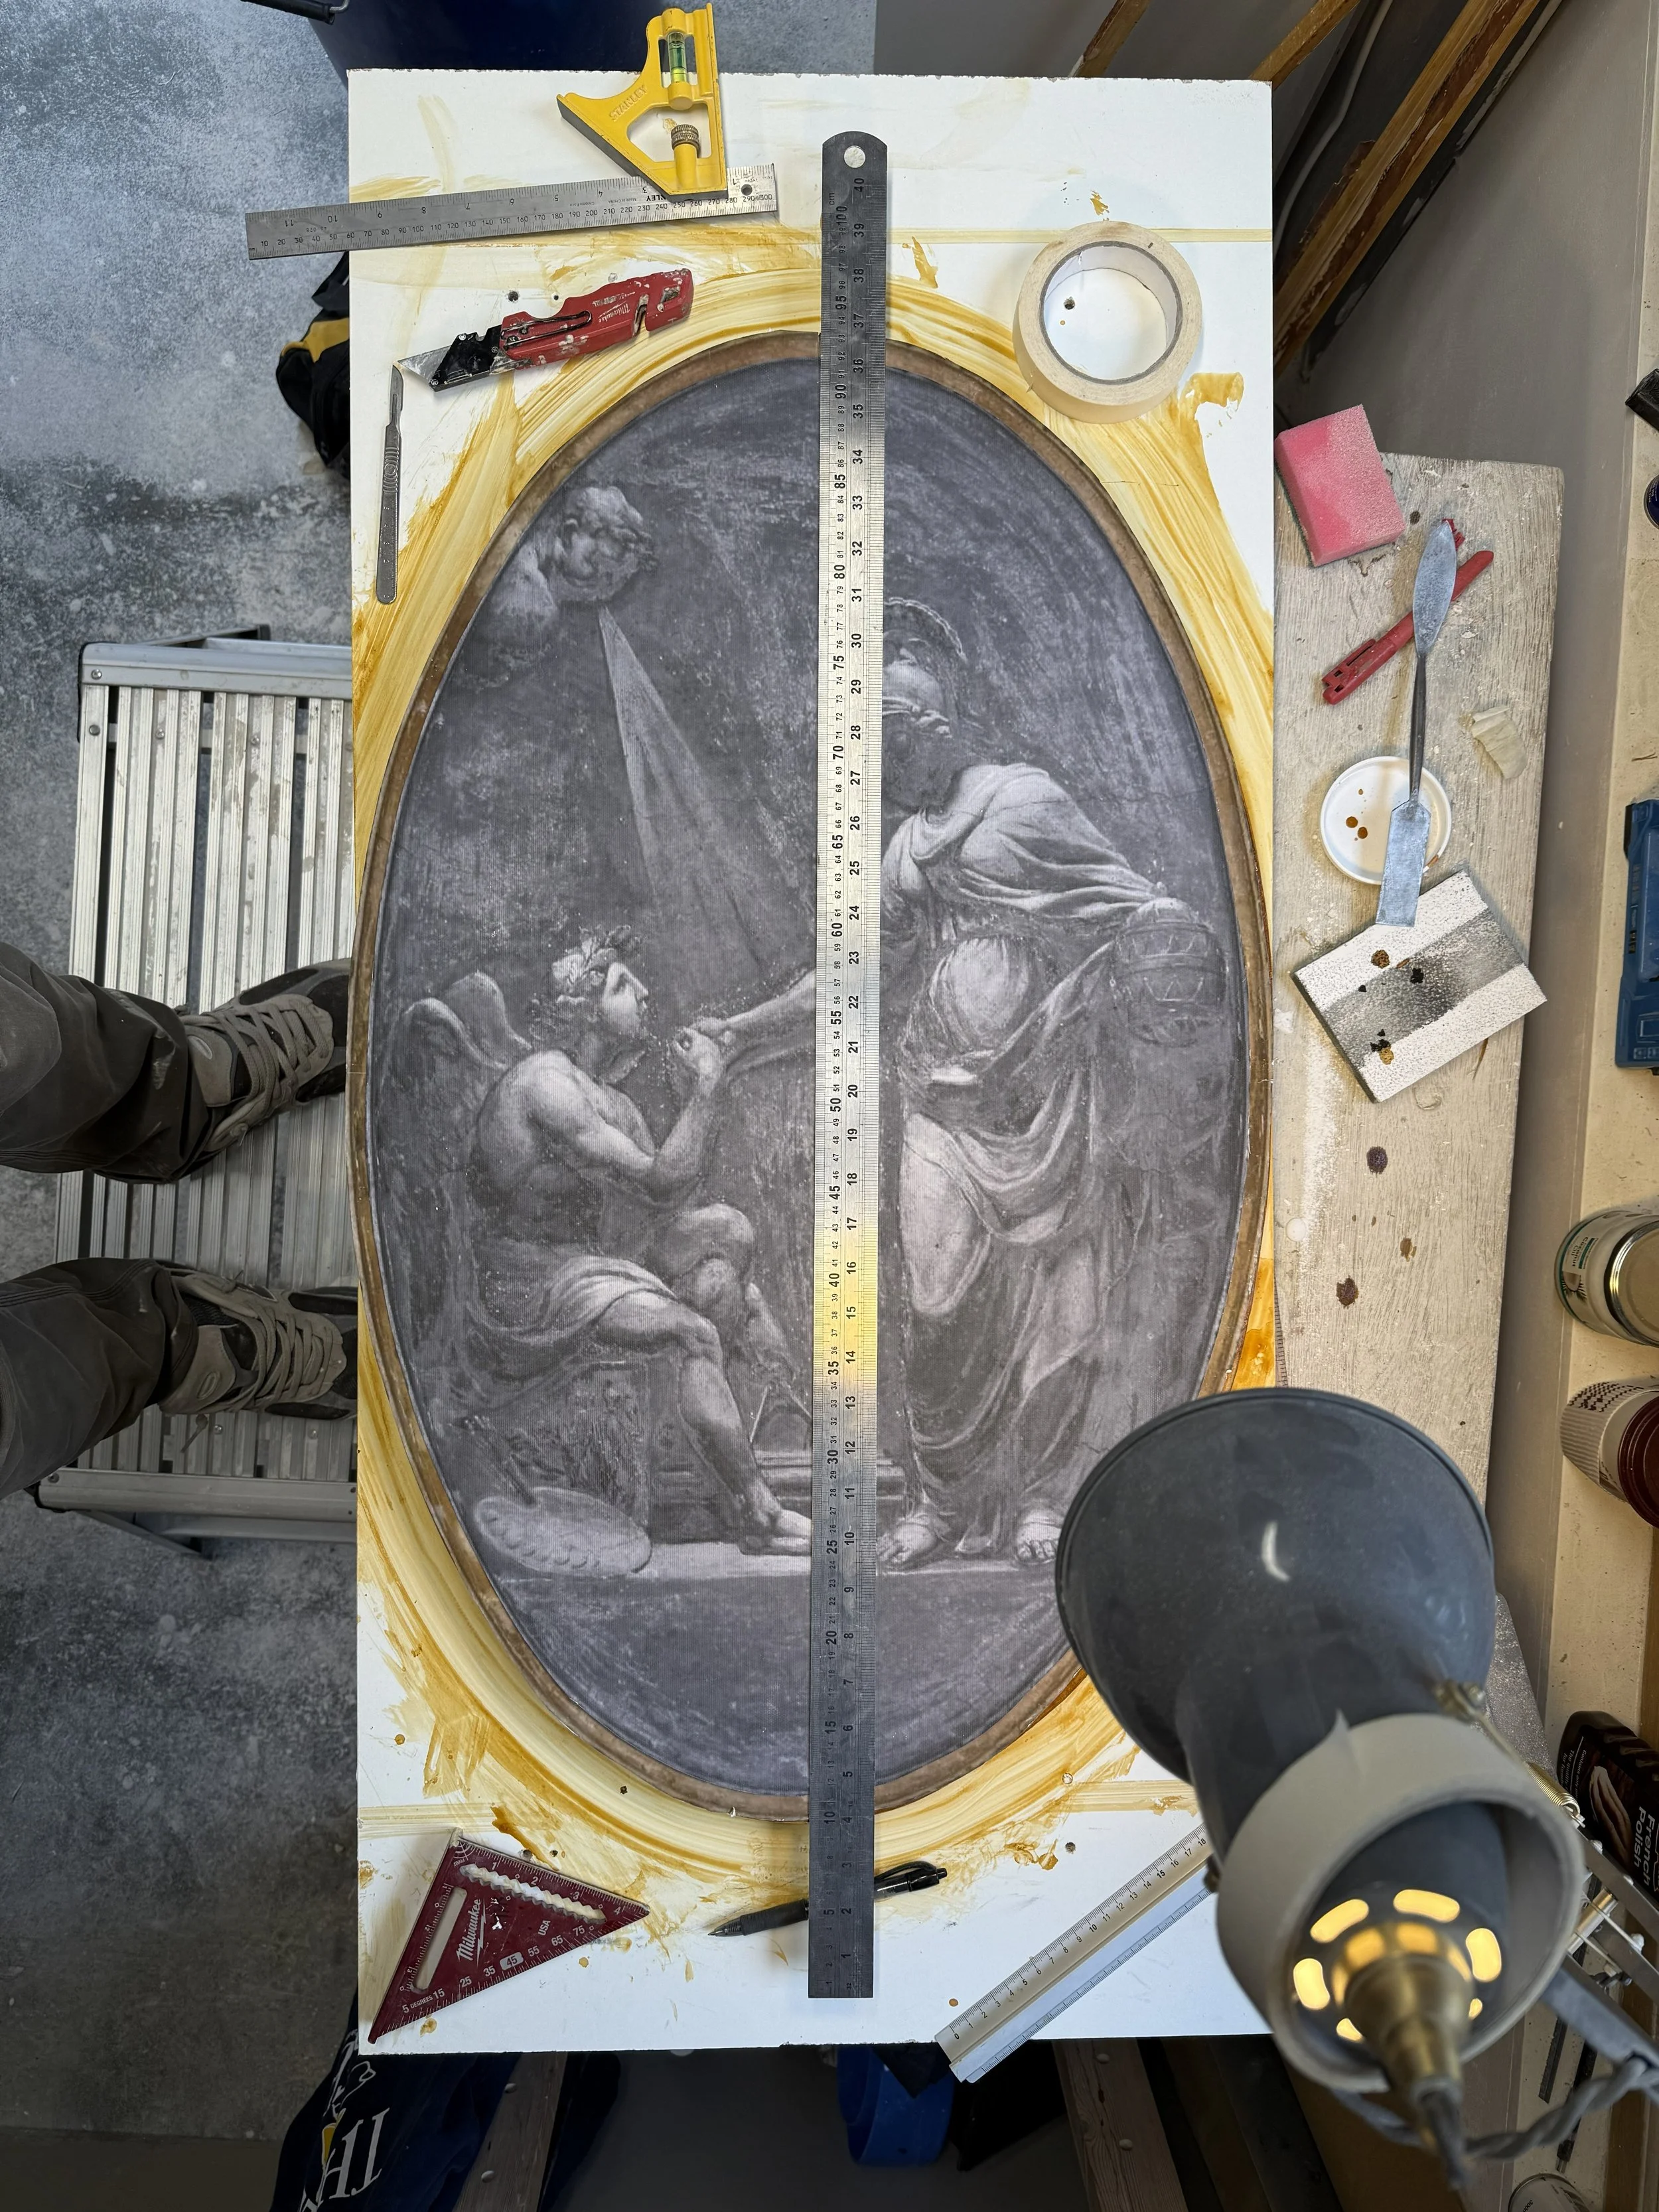
A large print is made to help setting up the plasterboard.
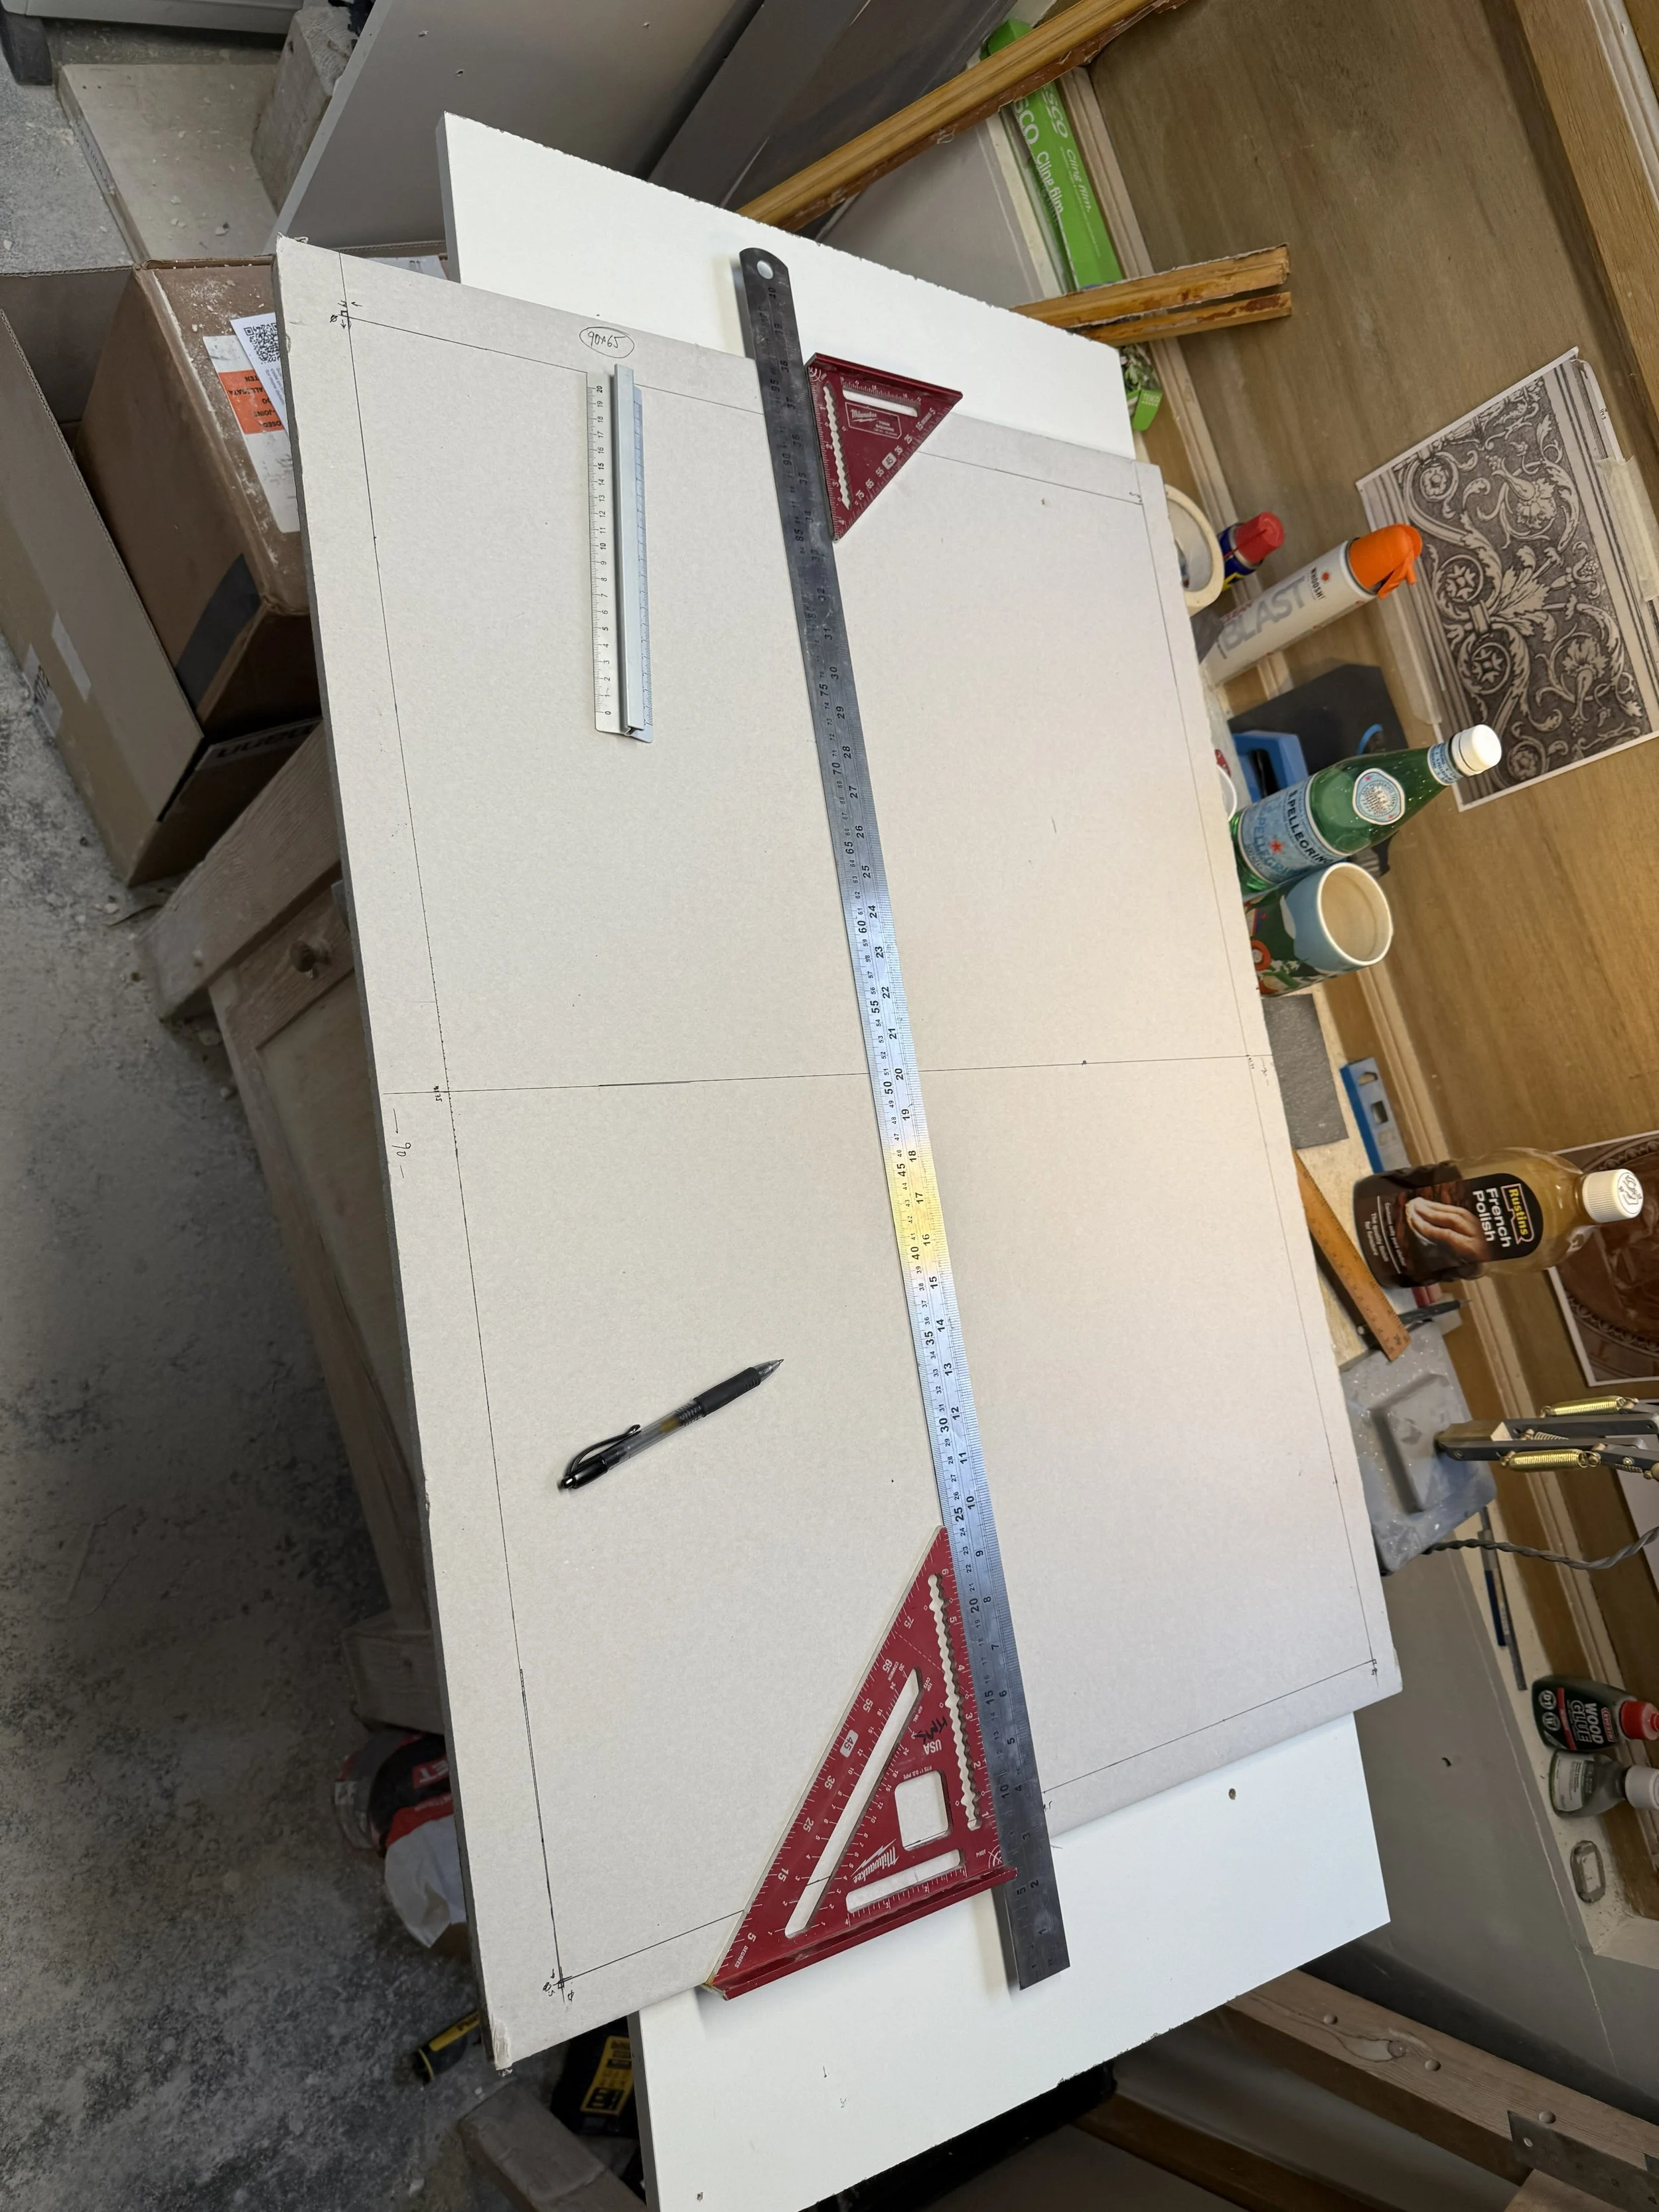
Triple checking everything is square. it is important not to rush this, as mistakes made now will show weeks later and be very annoying to fix.
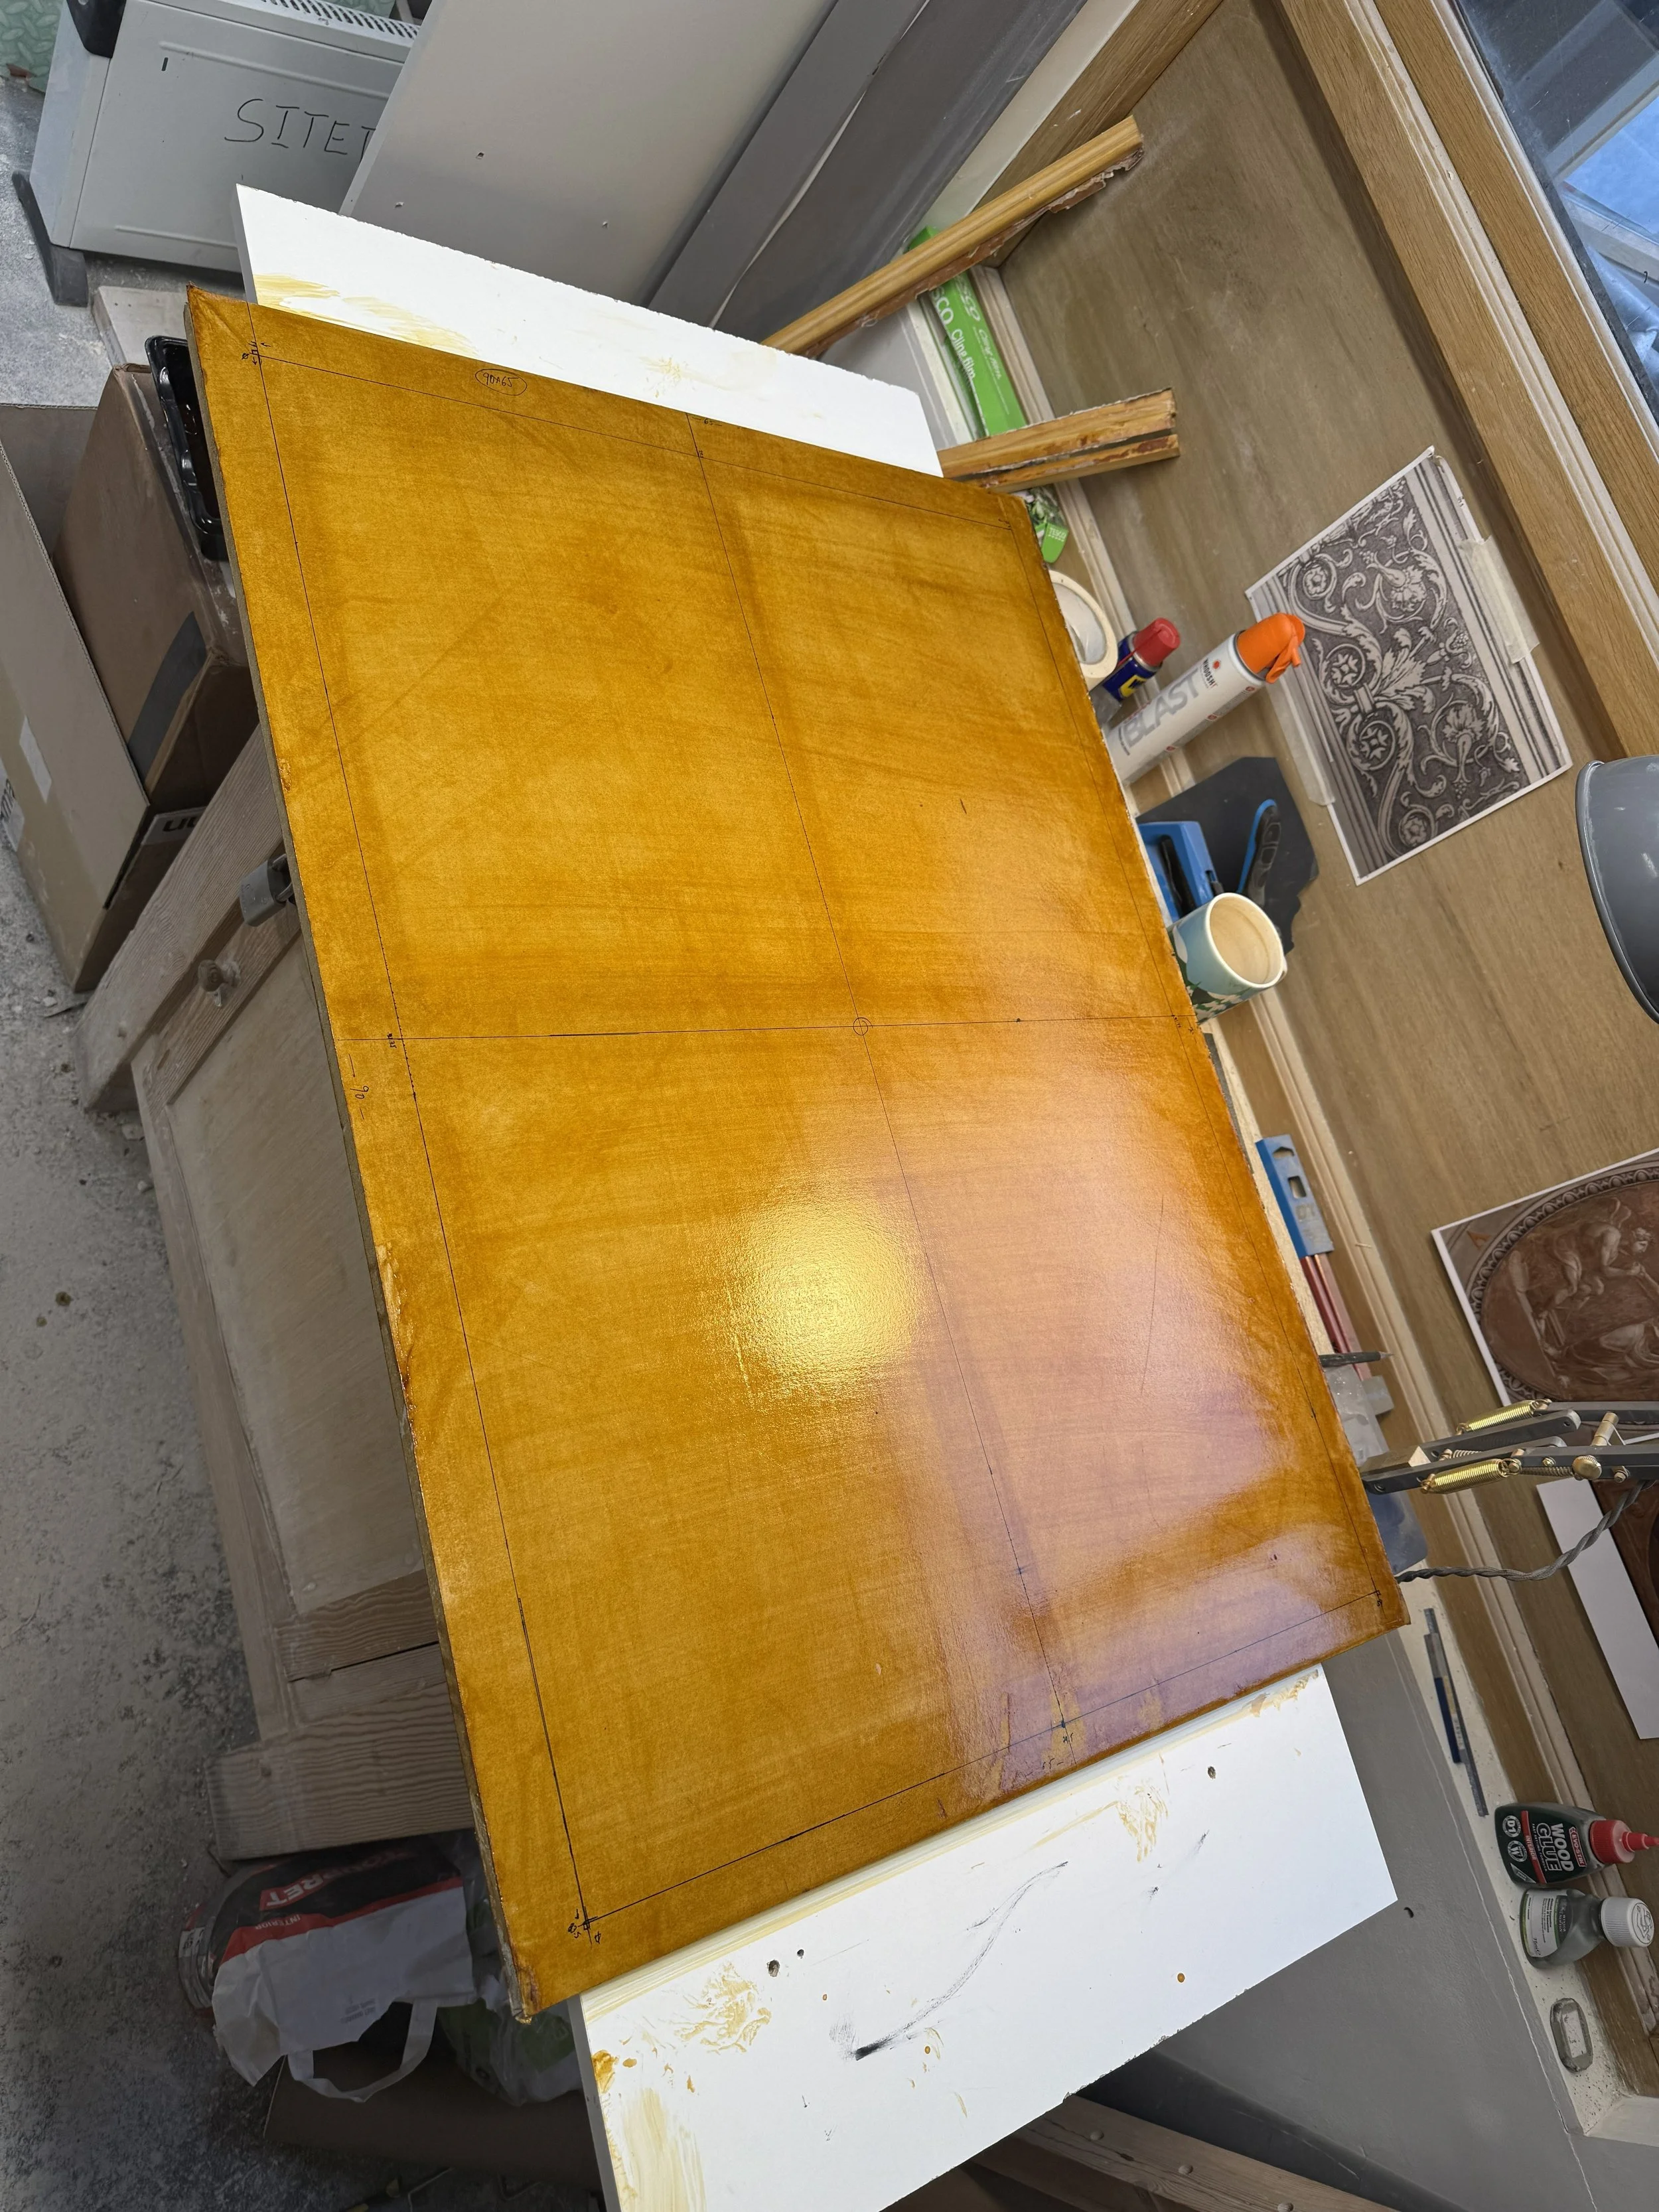
Once layout lines are set the surface is shellacked
checking again for square
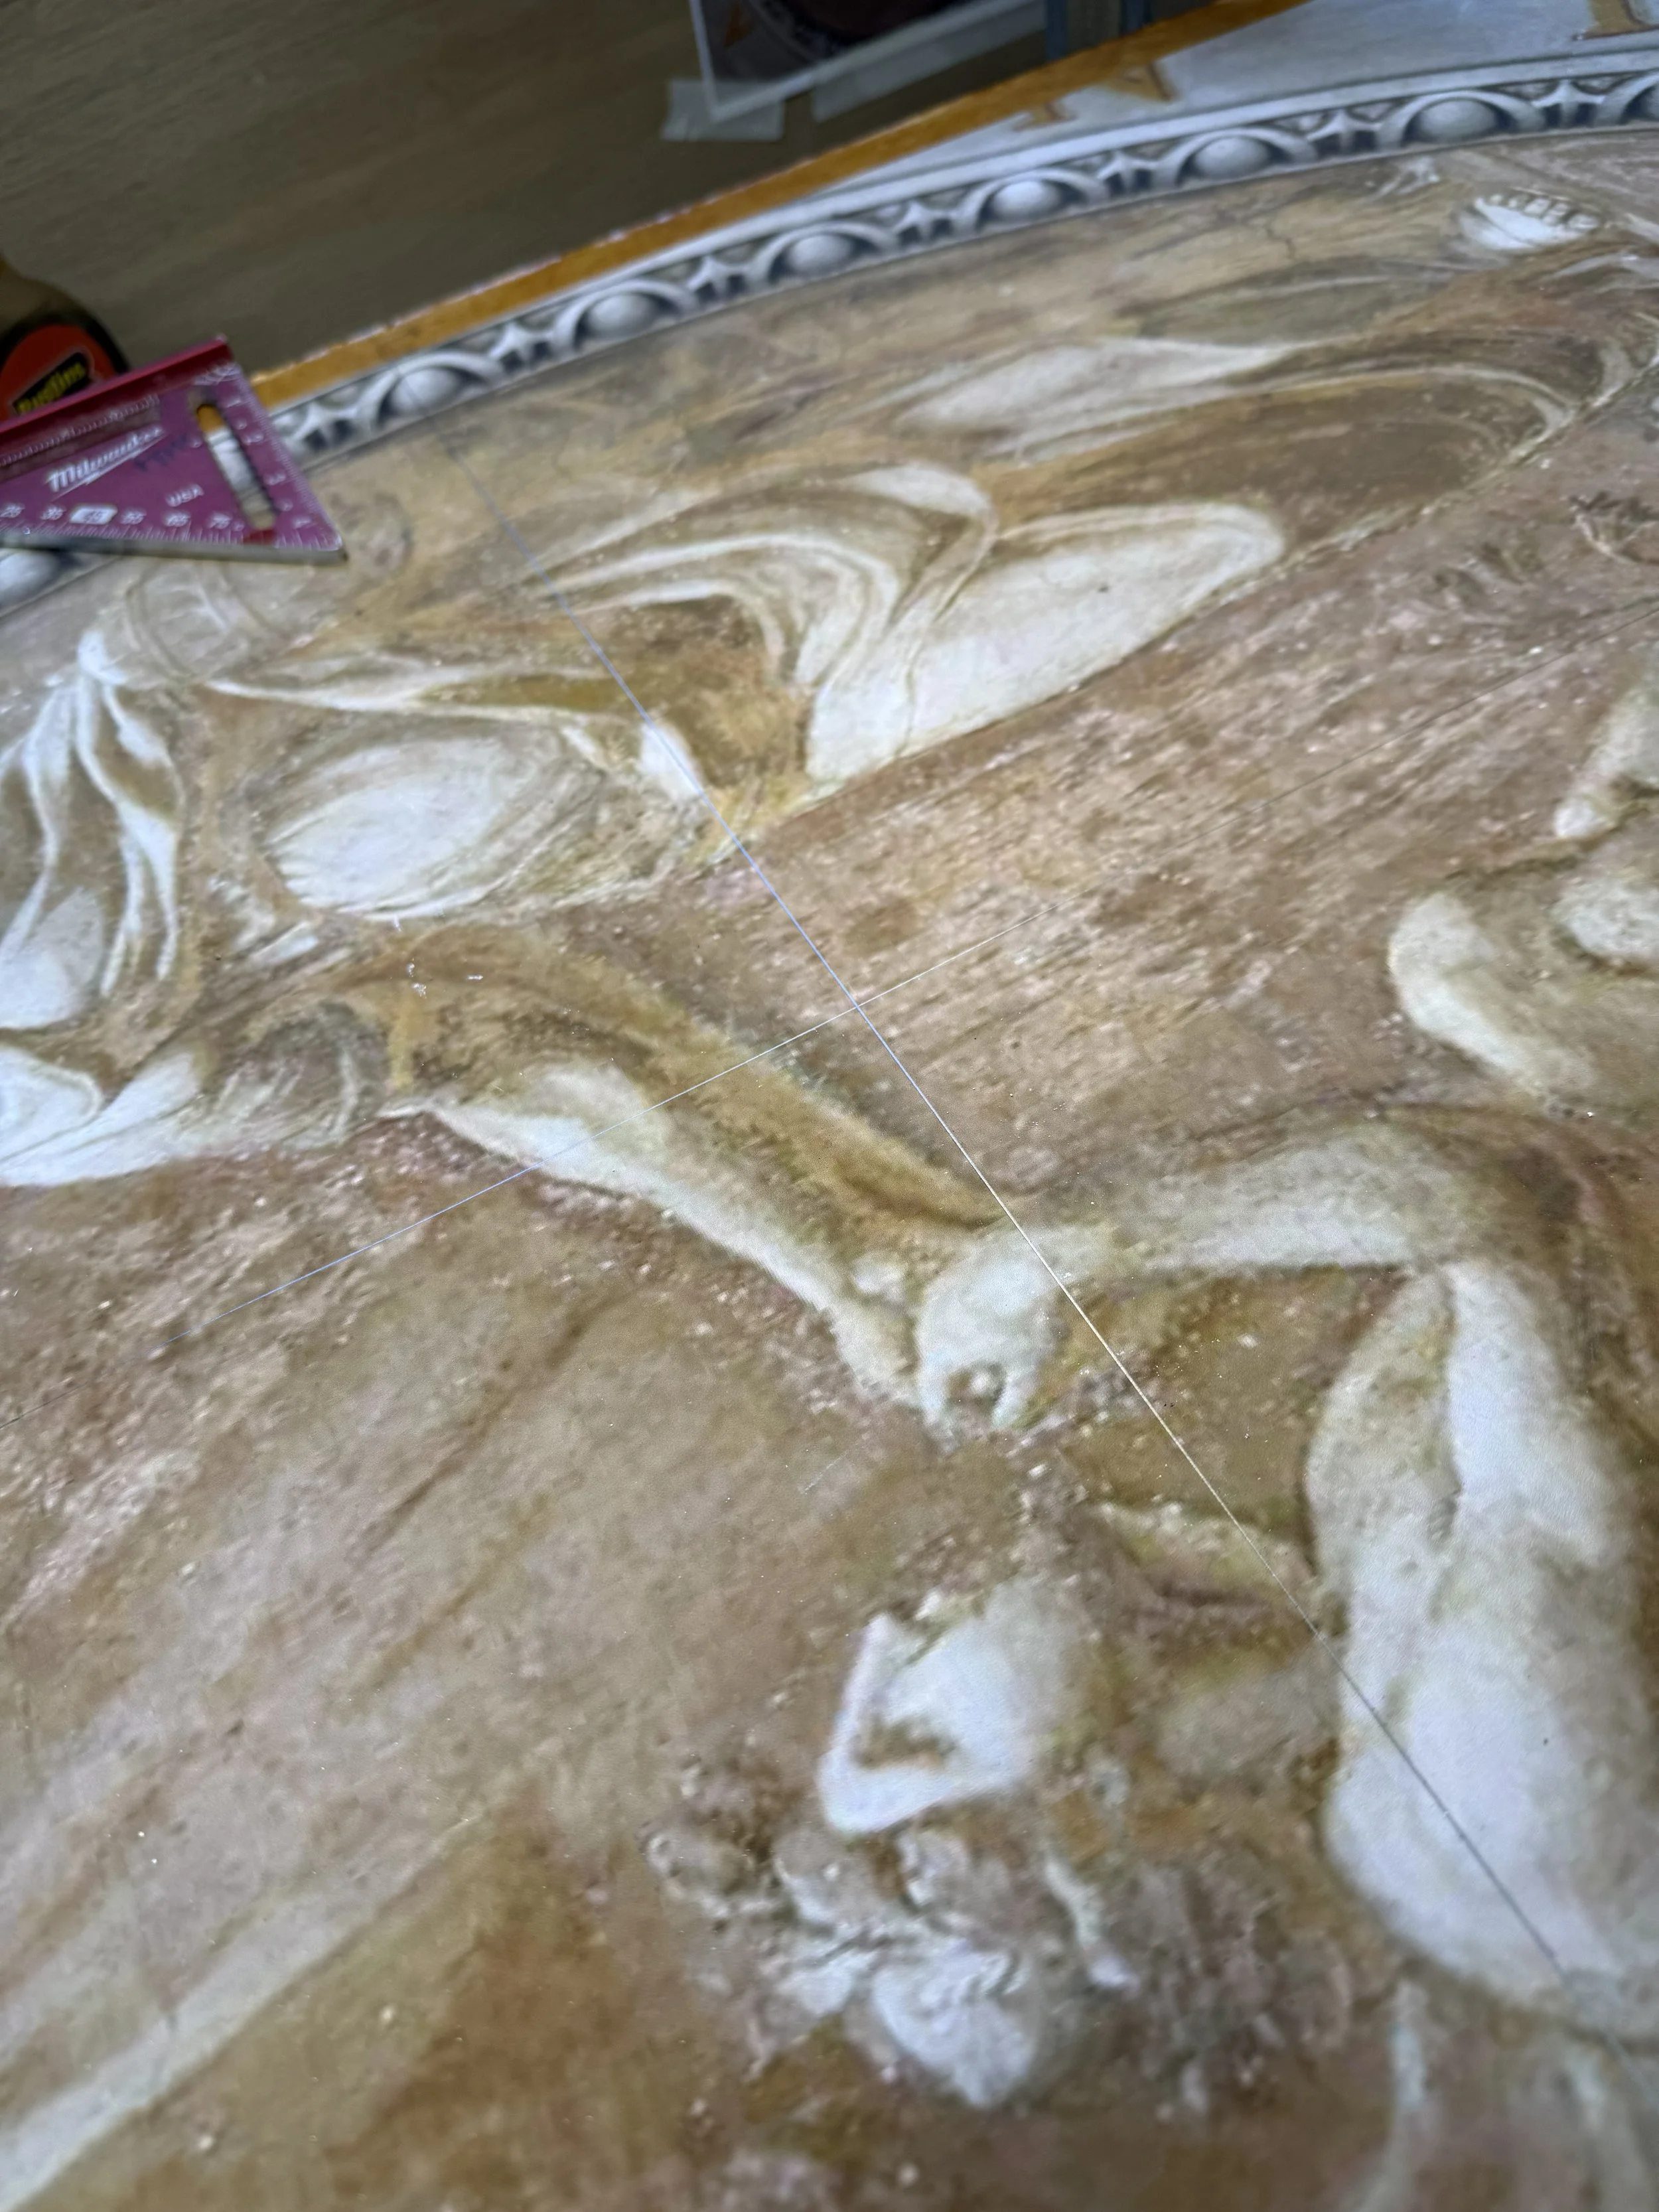
square lines drawn lightly over the image in pencil
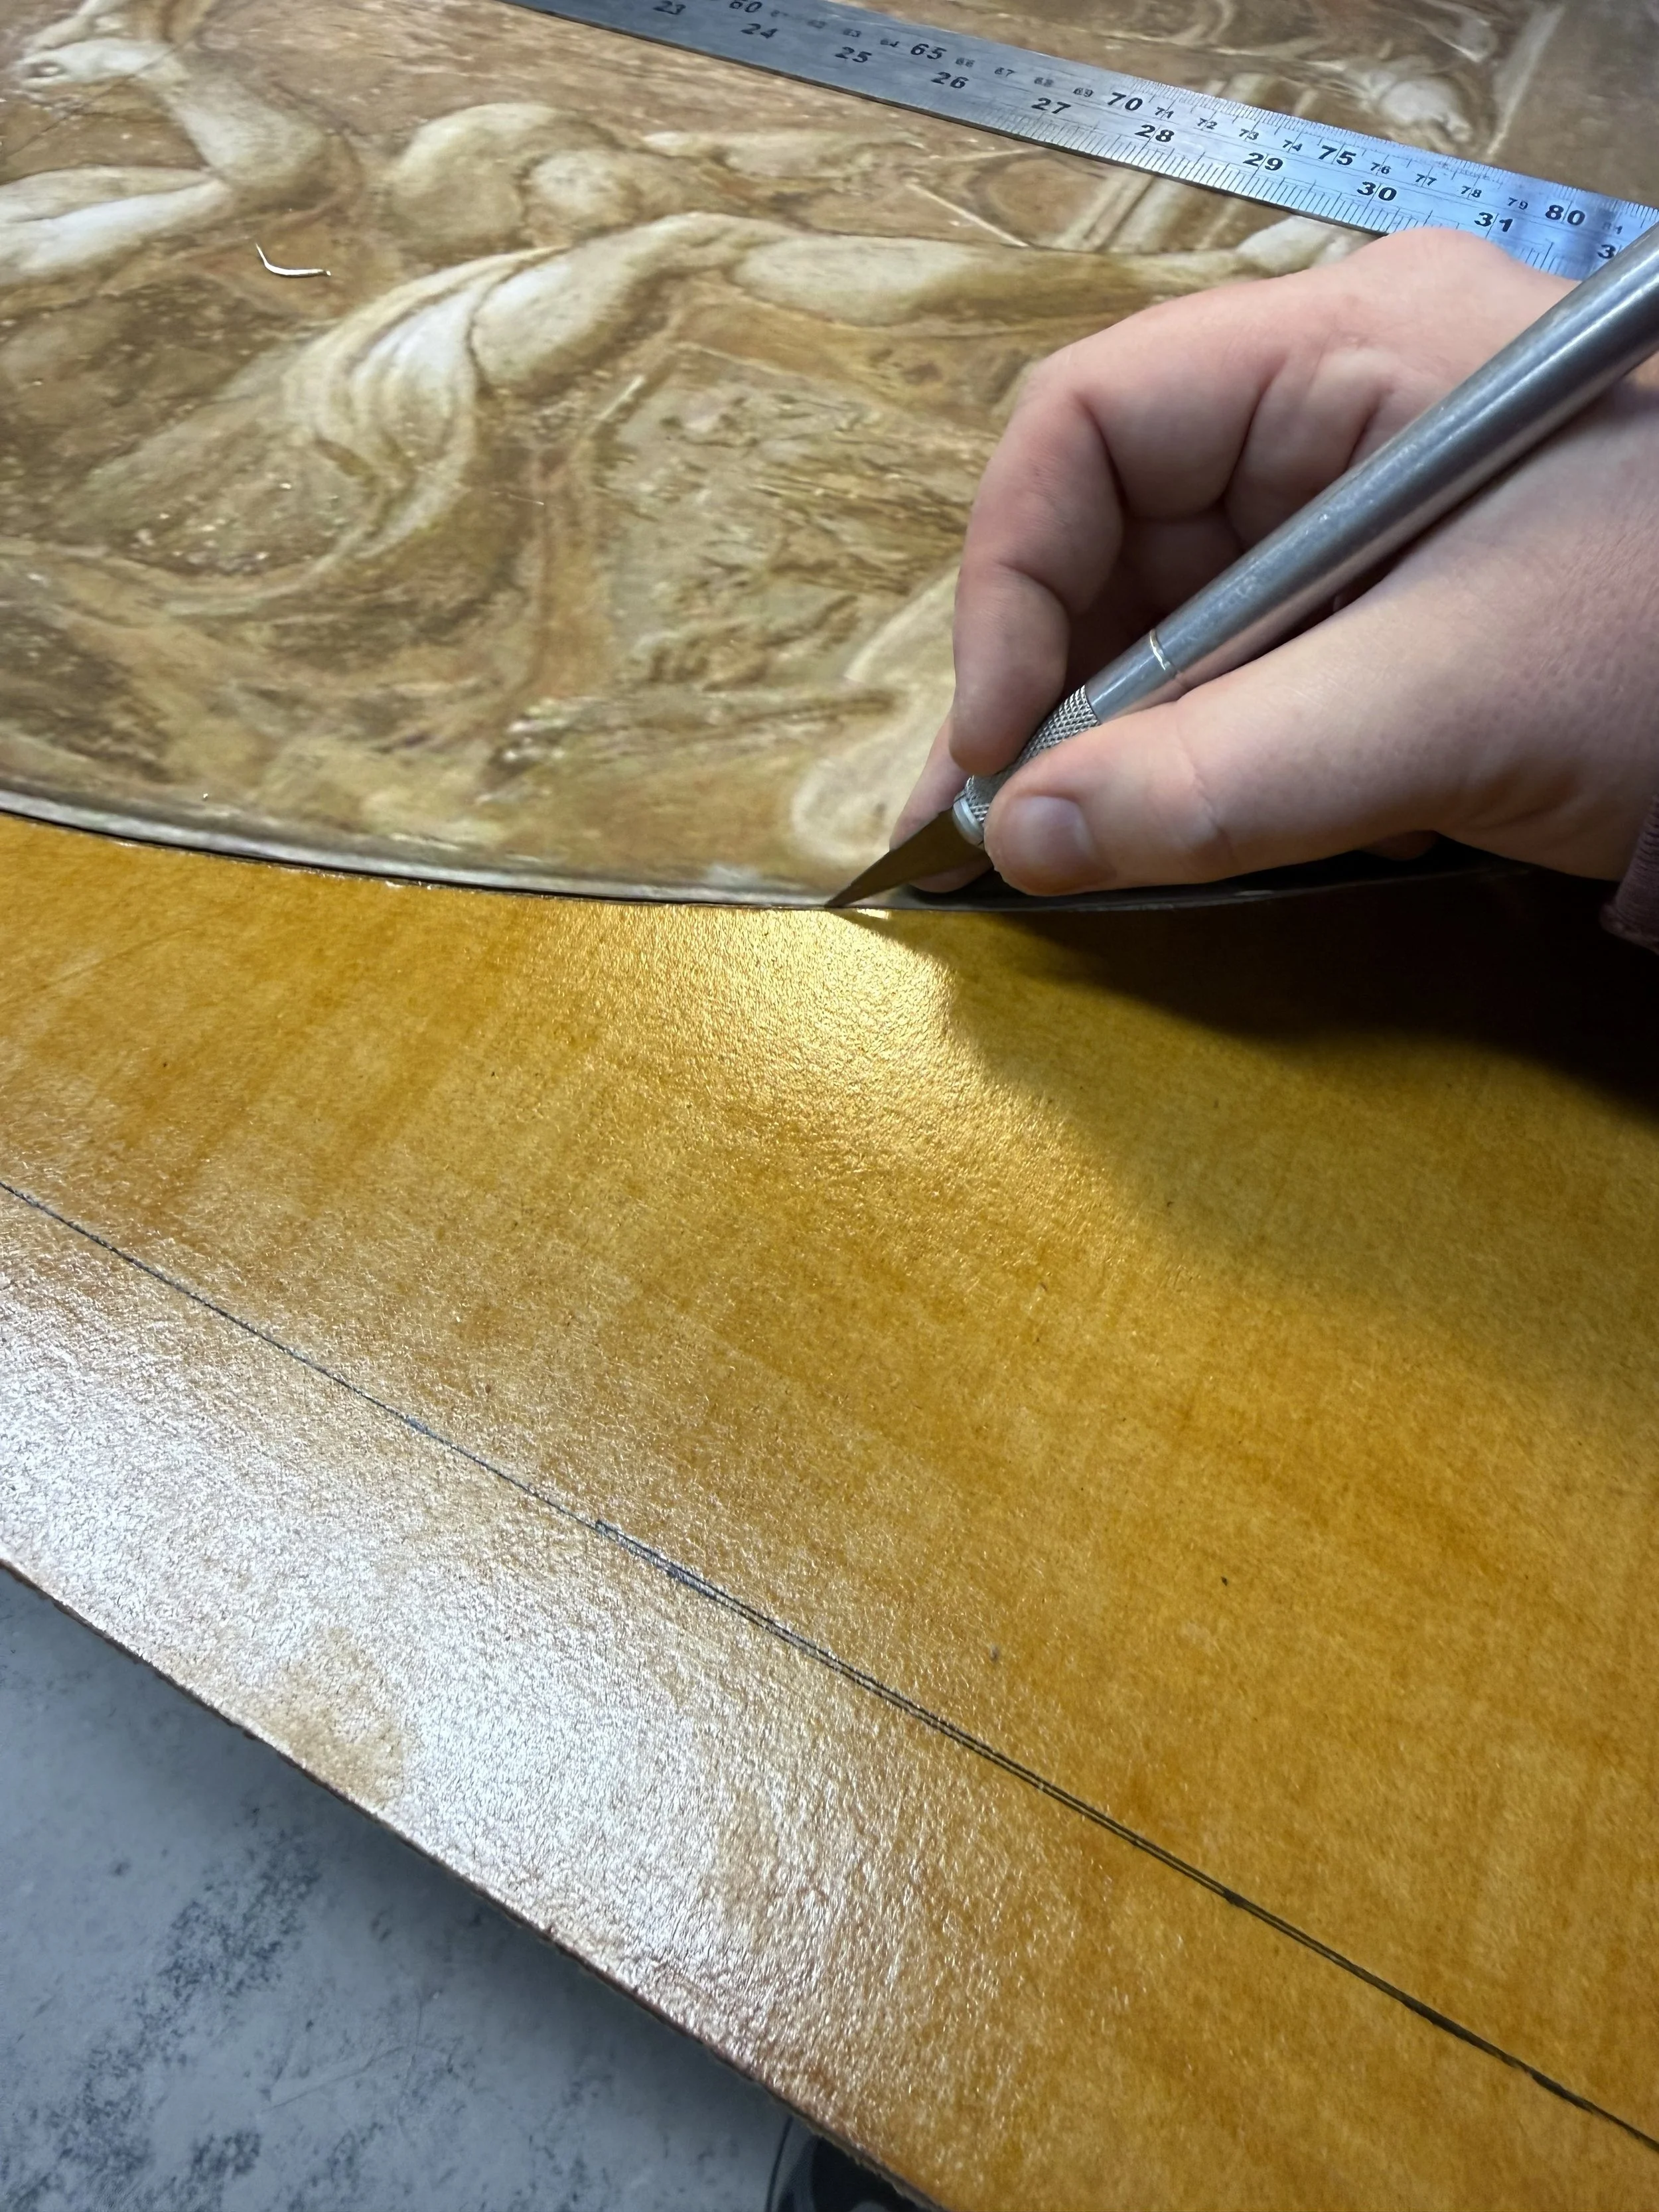
incising the curve around the edge of the print for layout
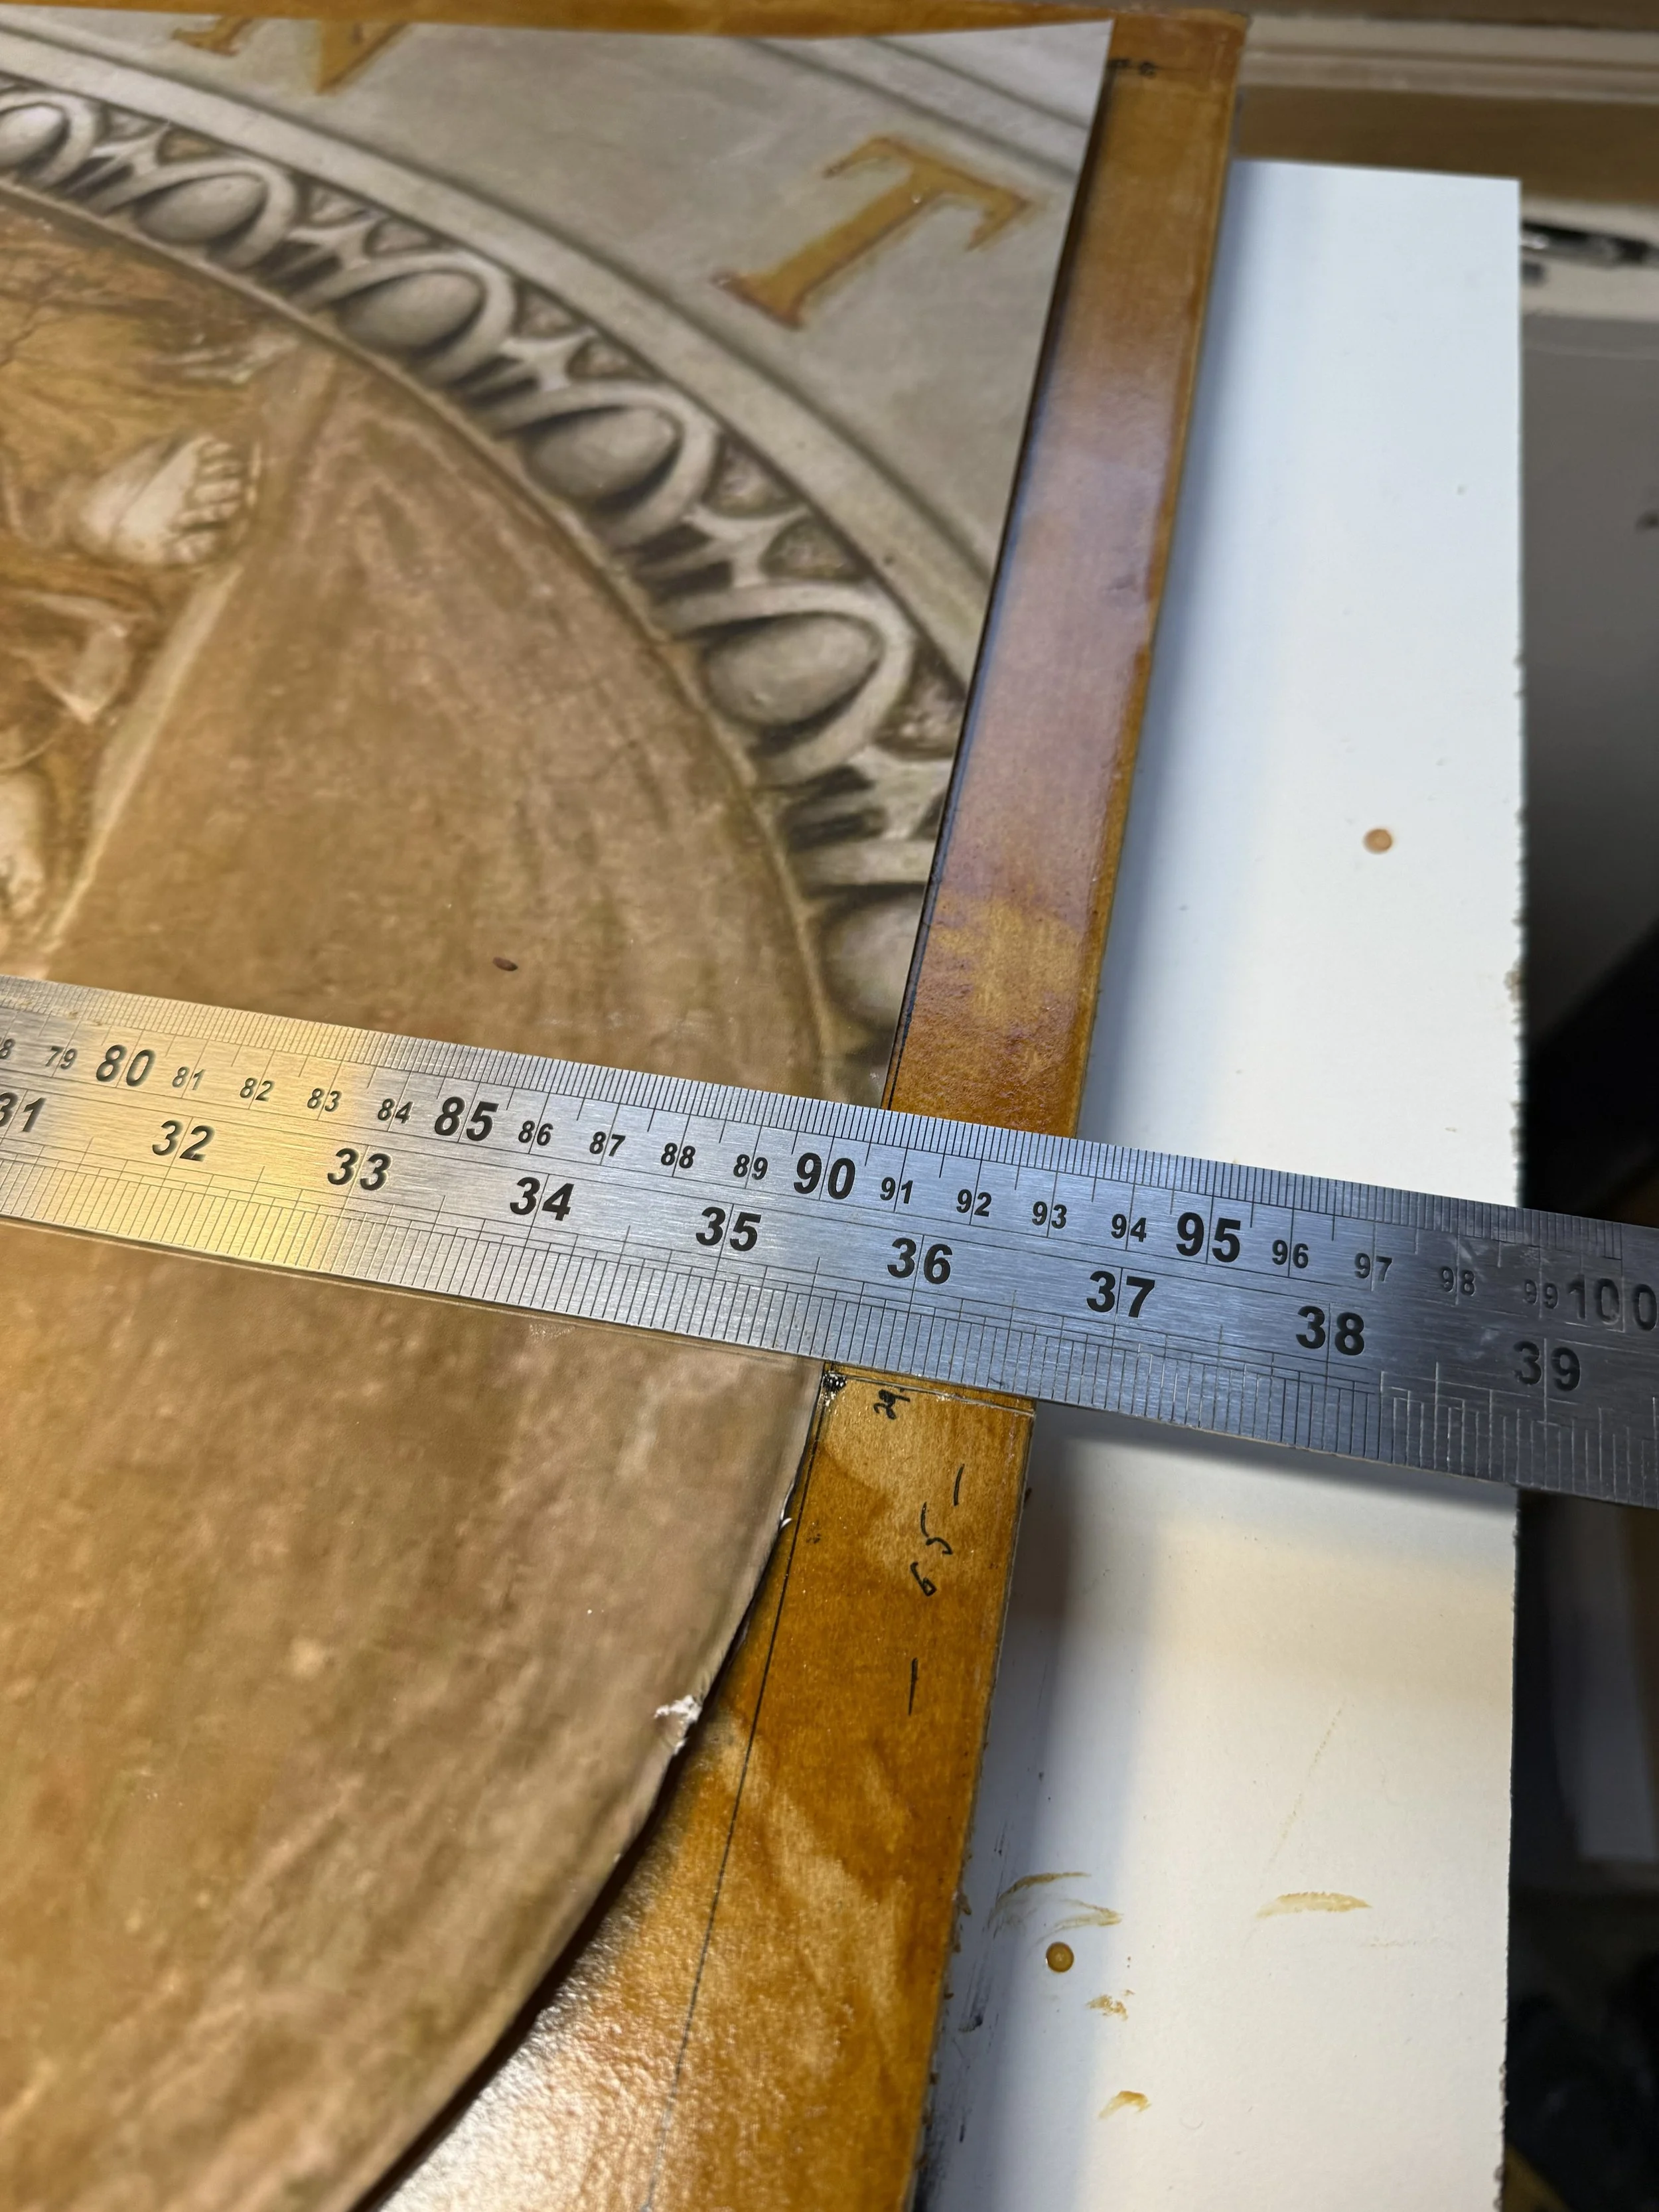
more checking for square
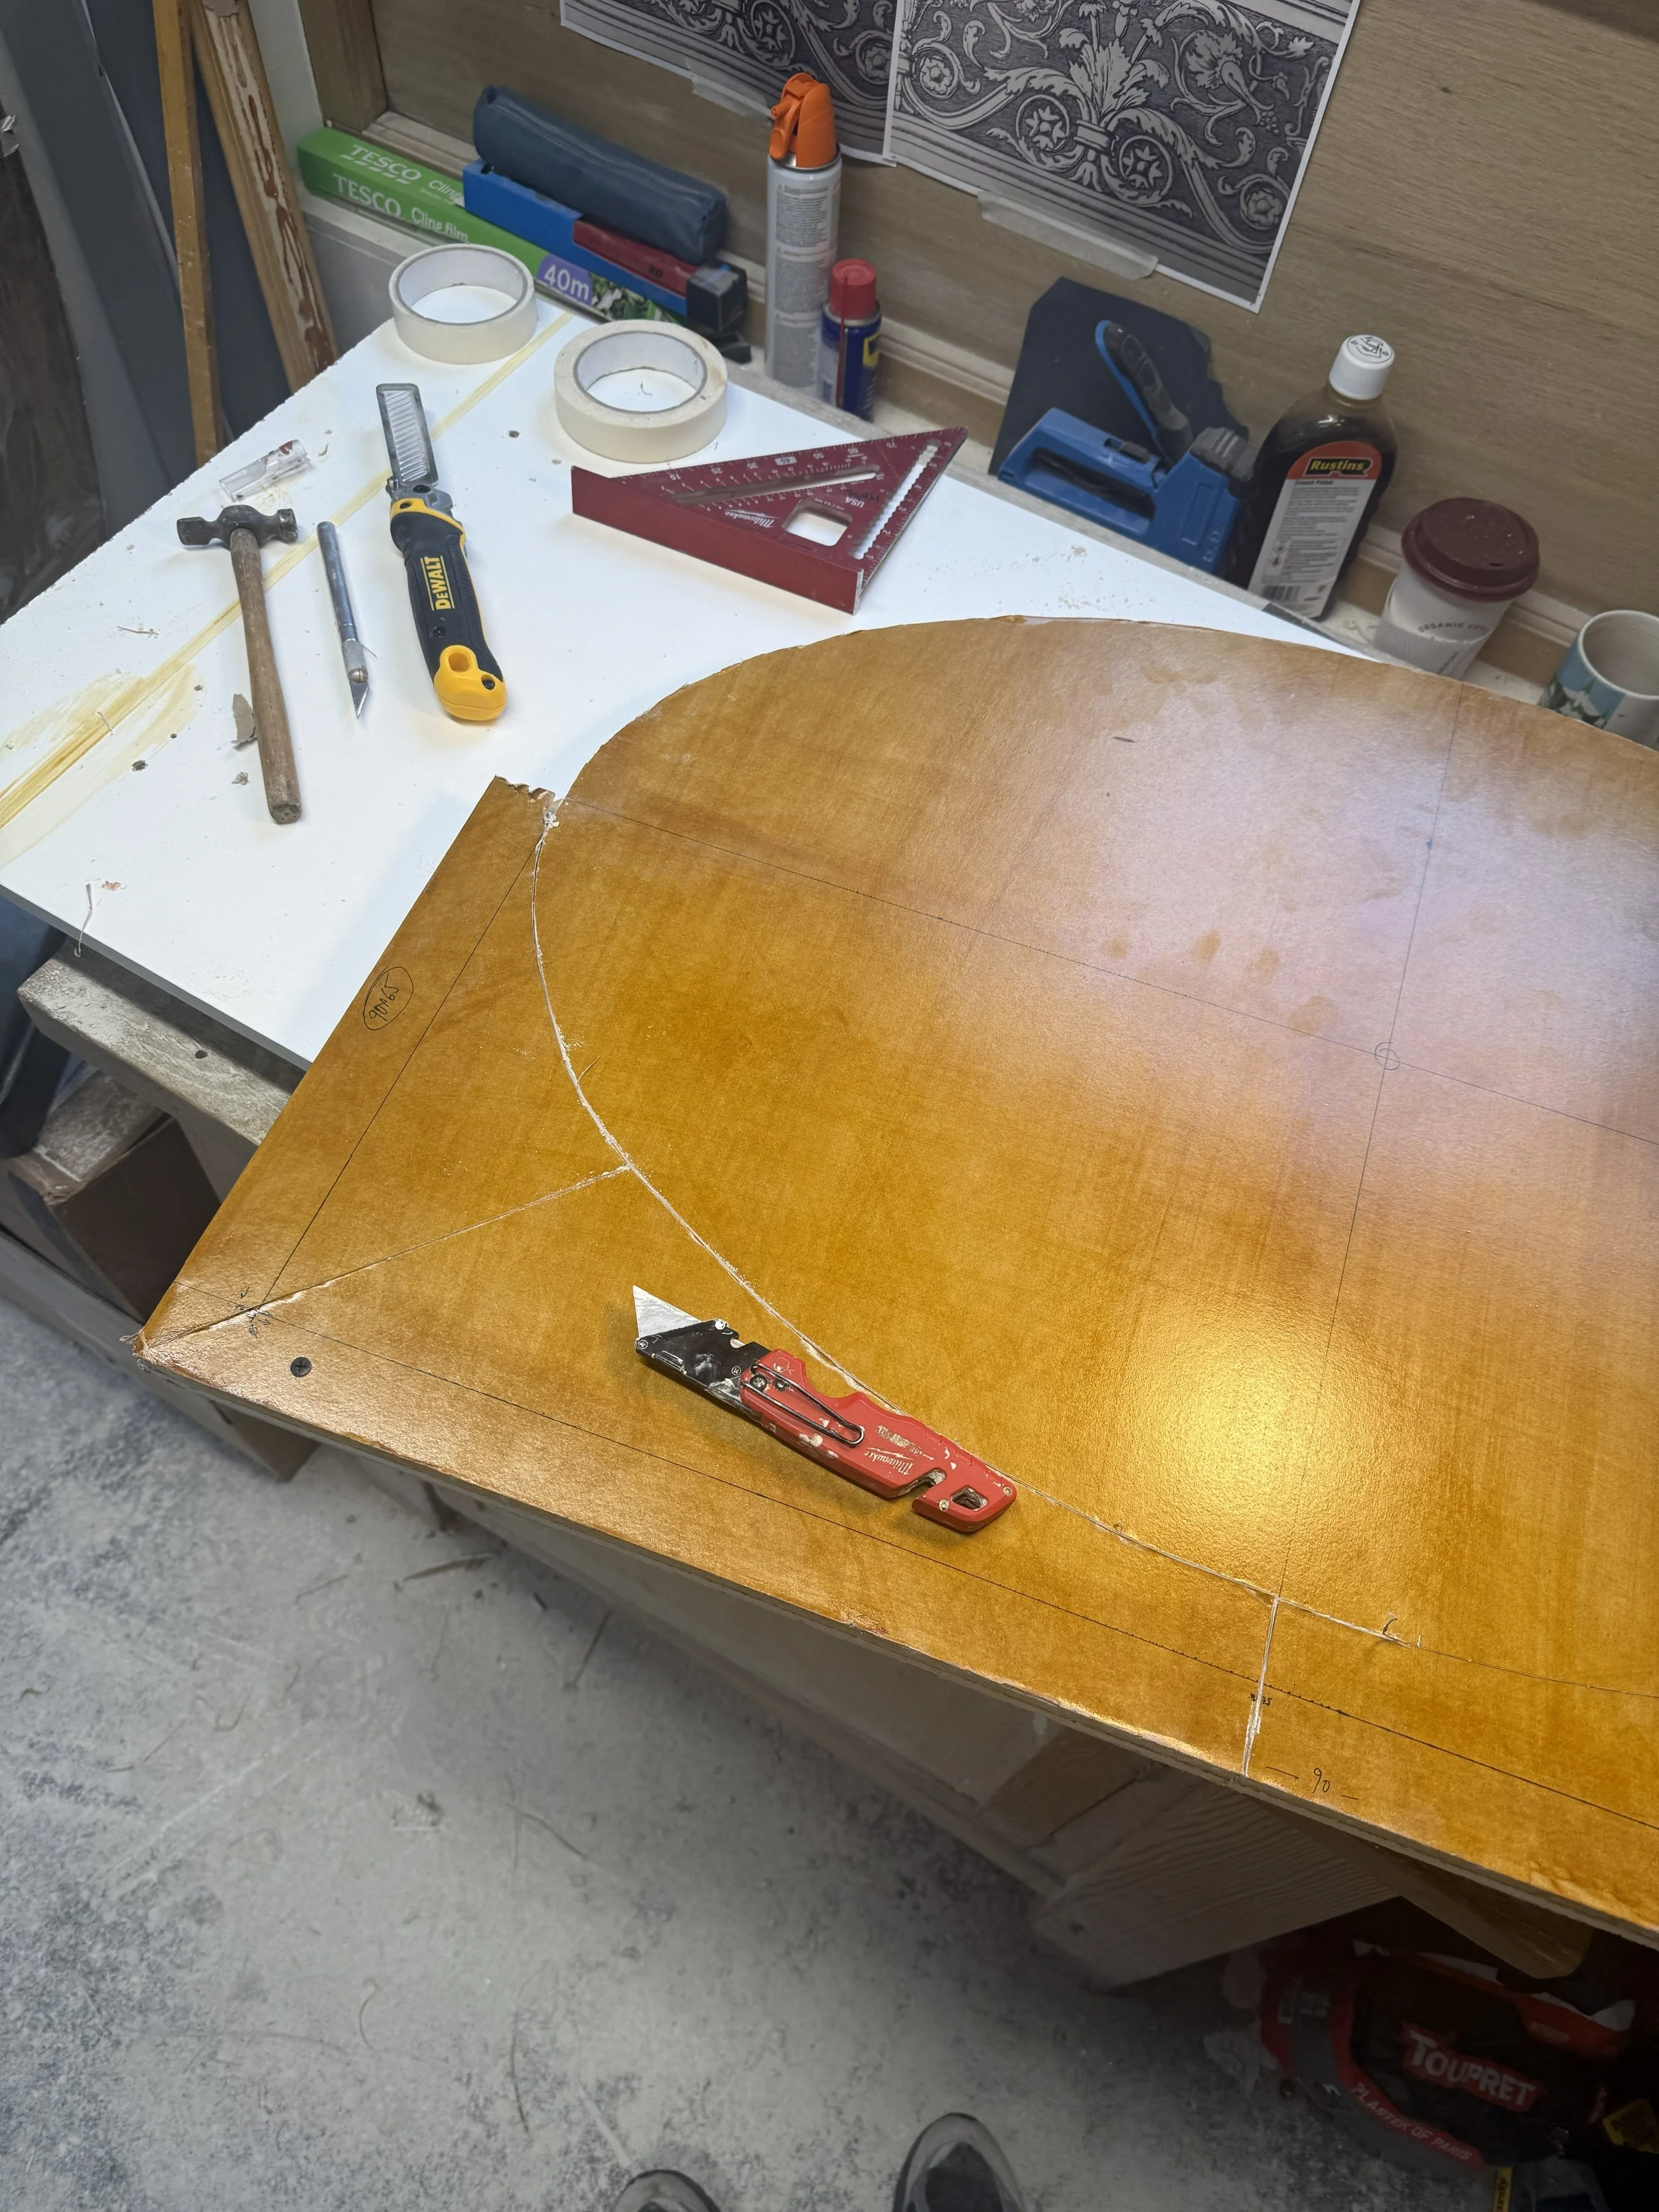
breaking off the corners
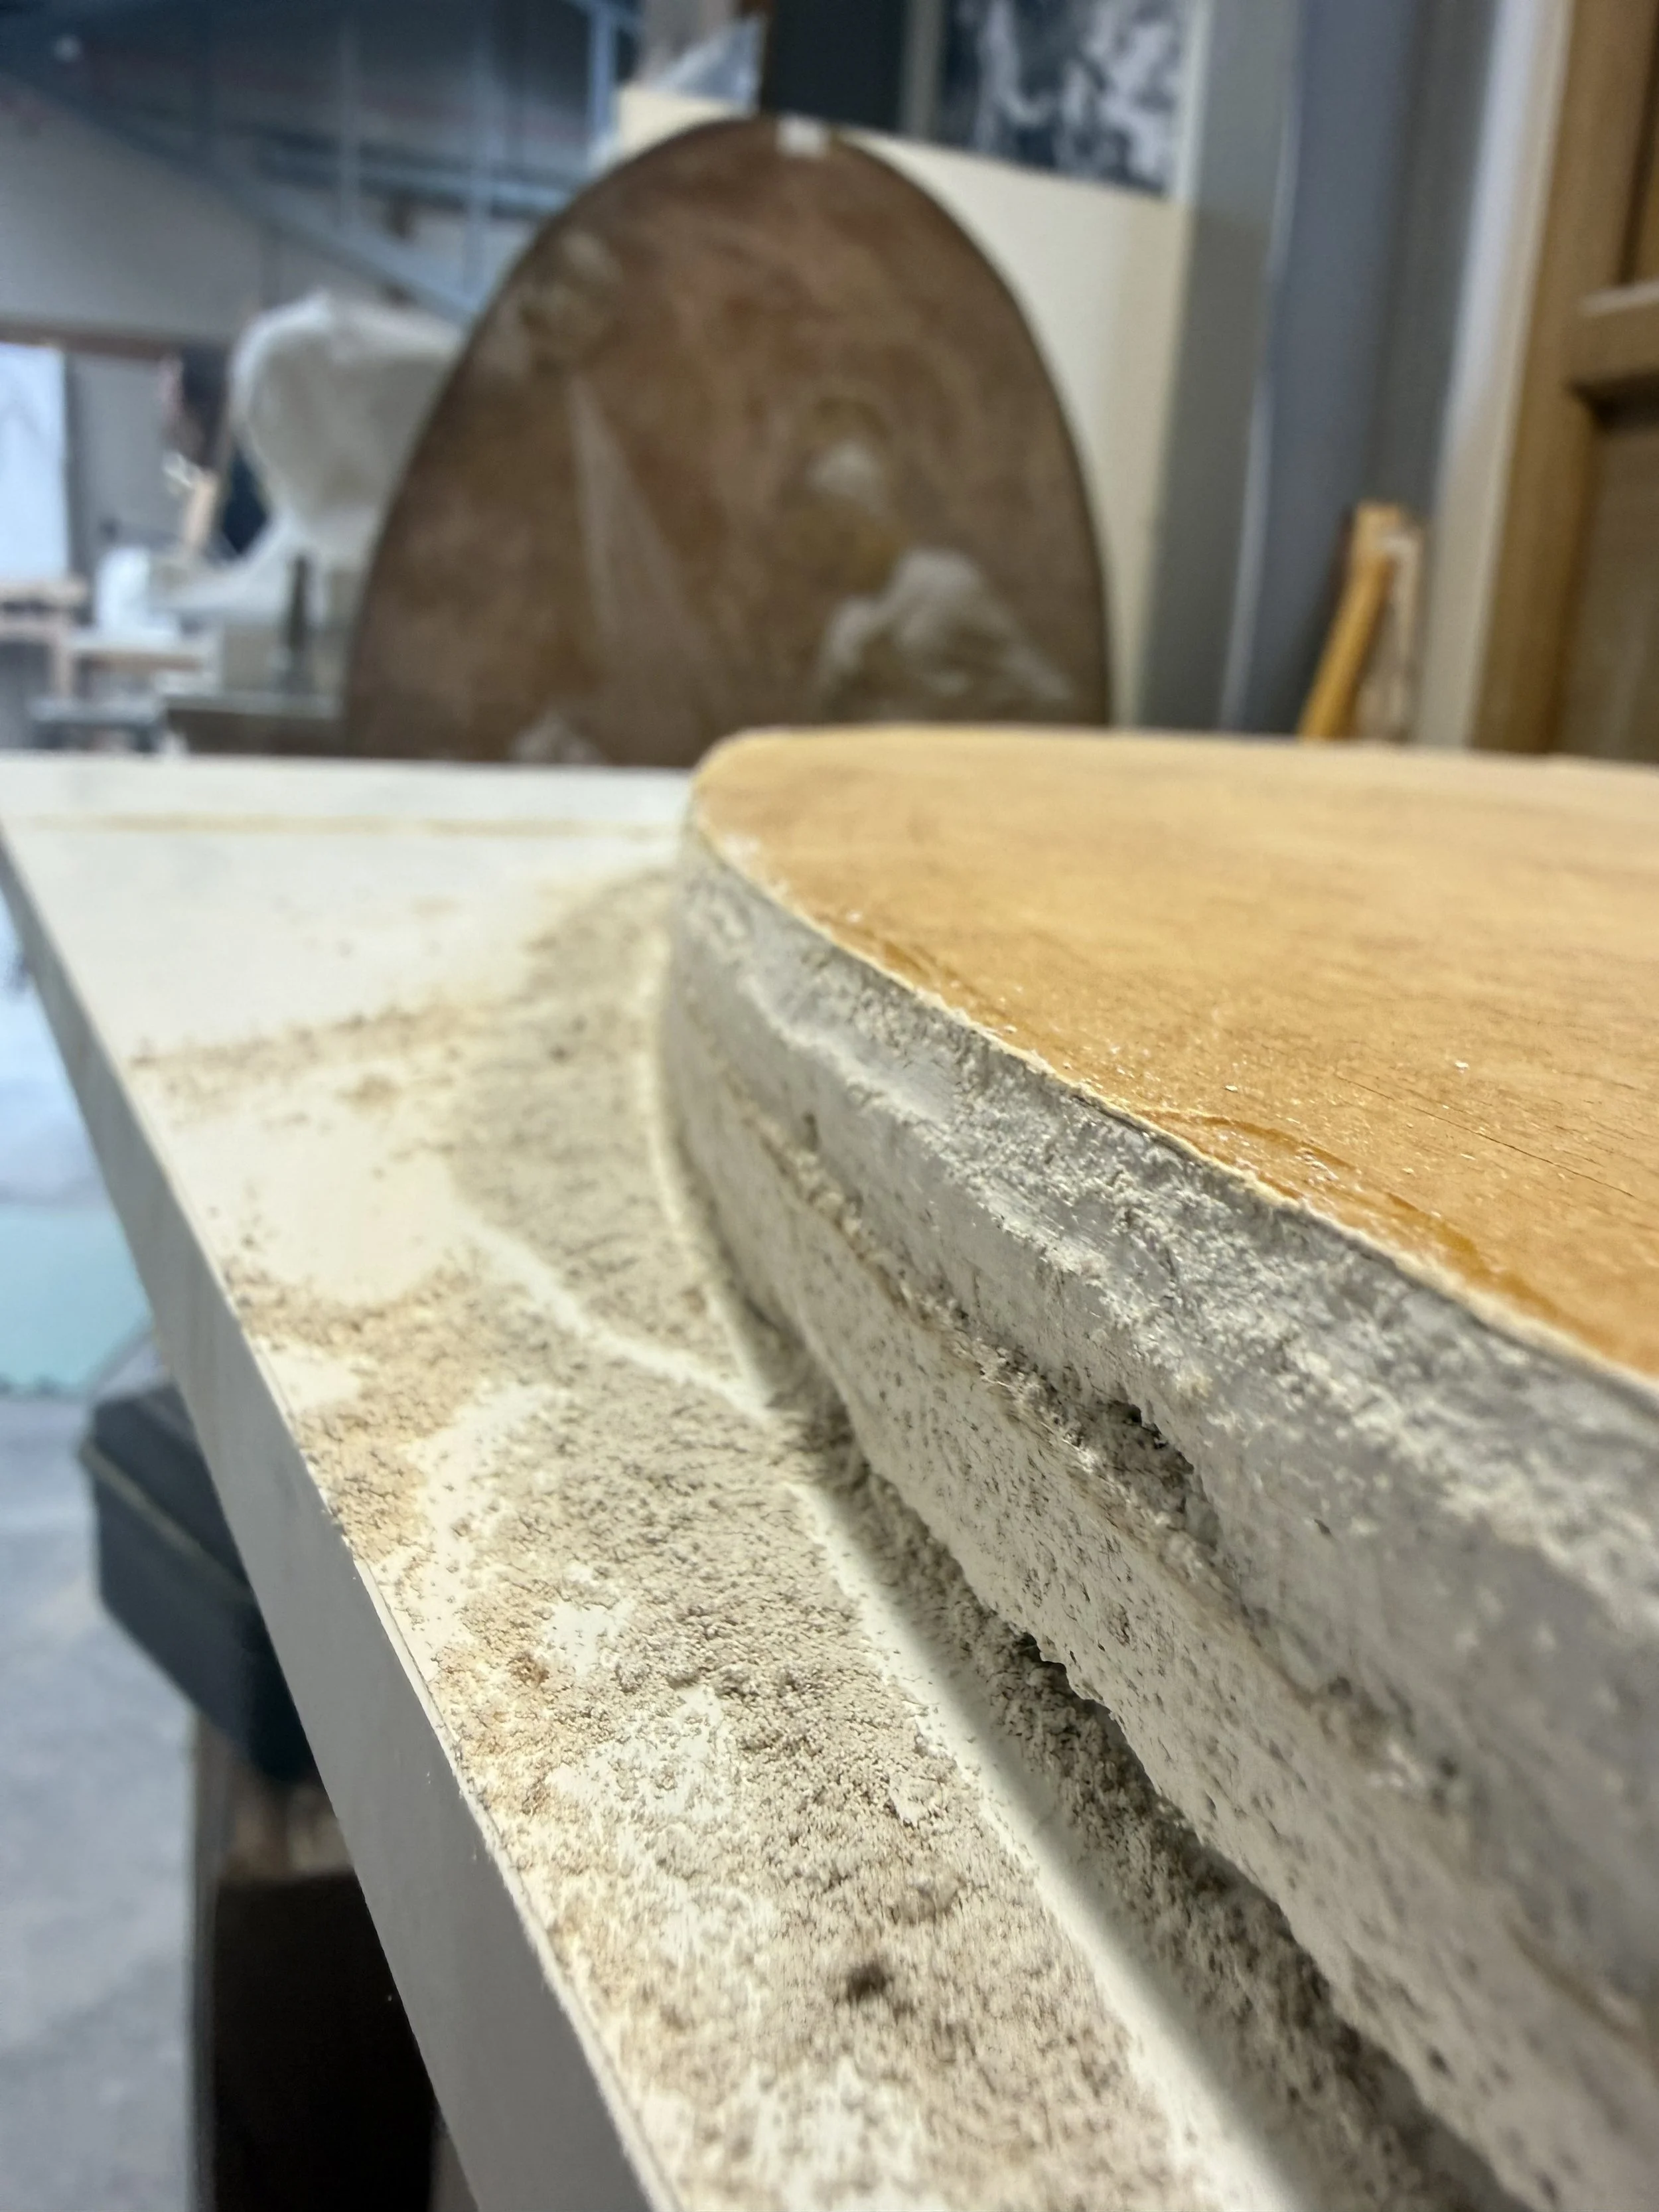
here inside of the plasterboard is exposed, will be sanded smooth and edge with drywall plaster
everything adds up, so work continues
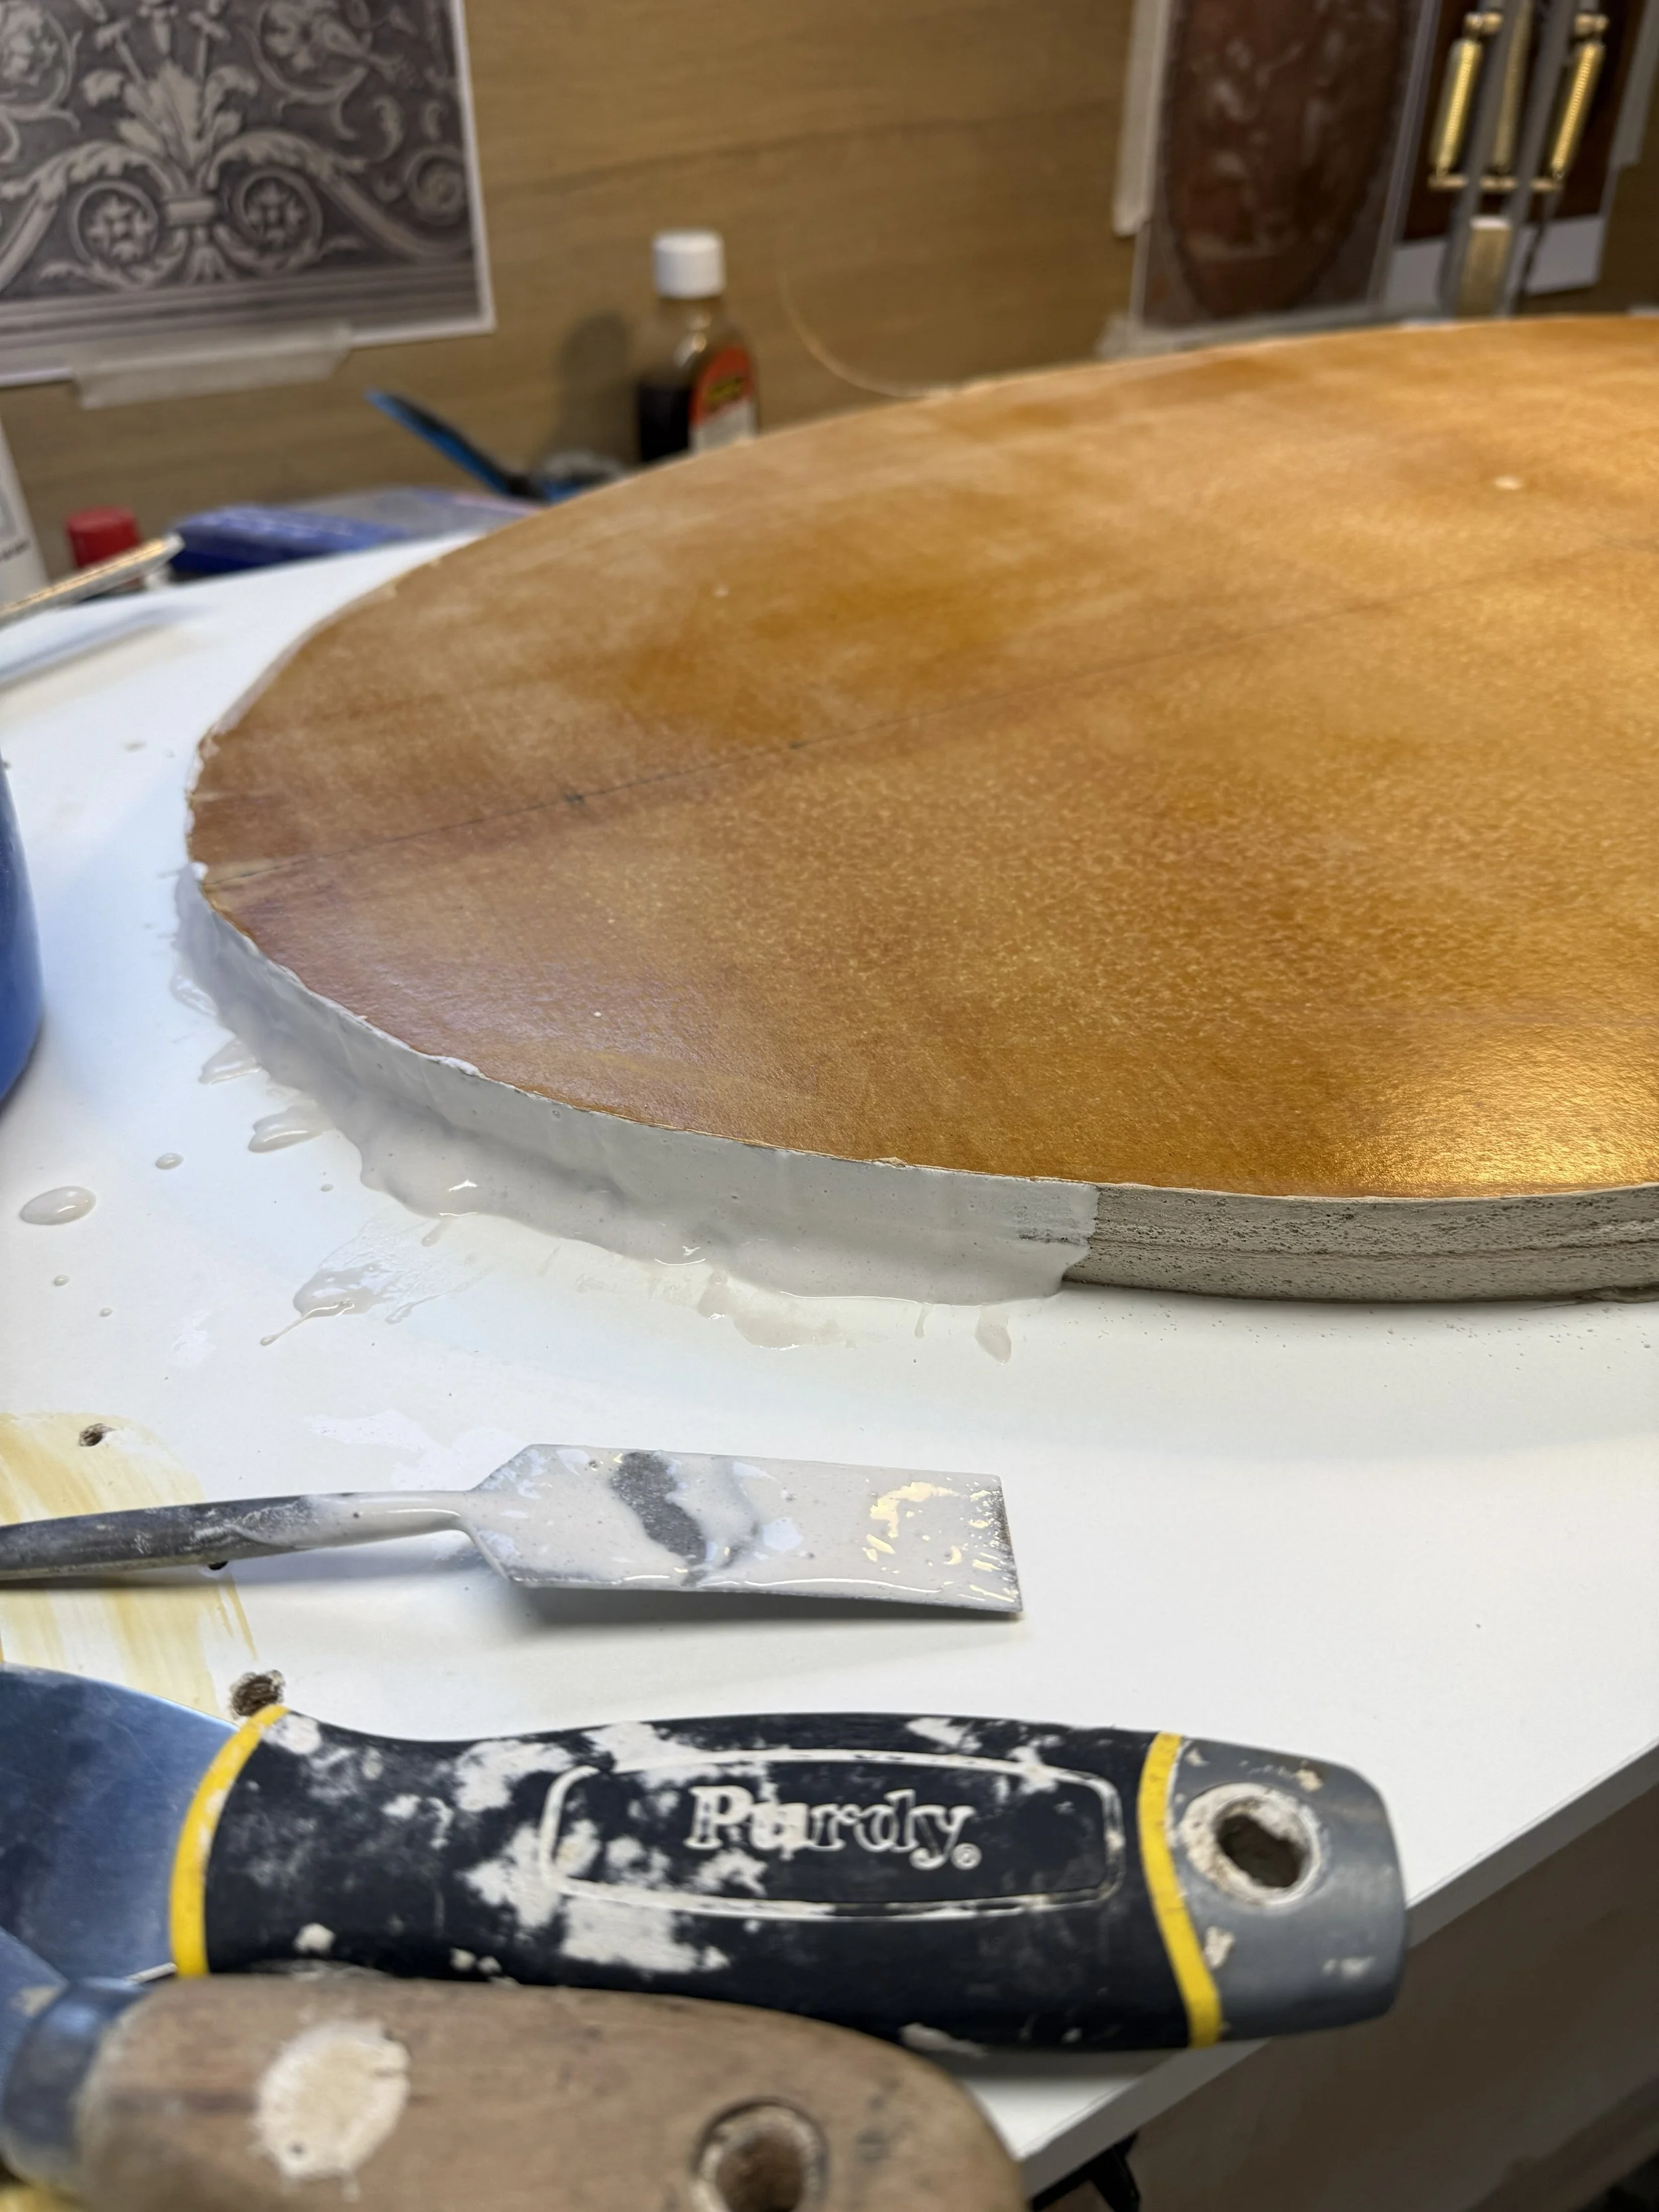
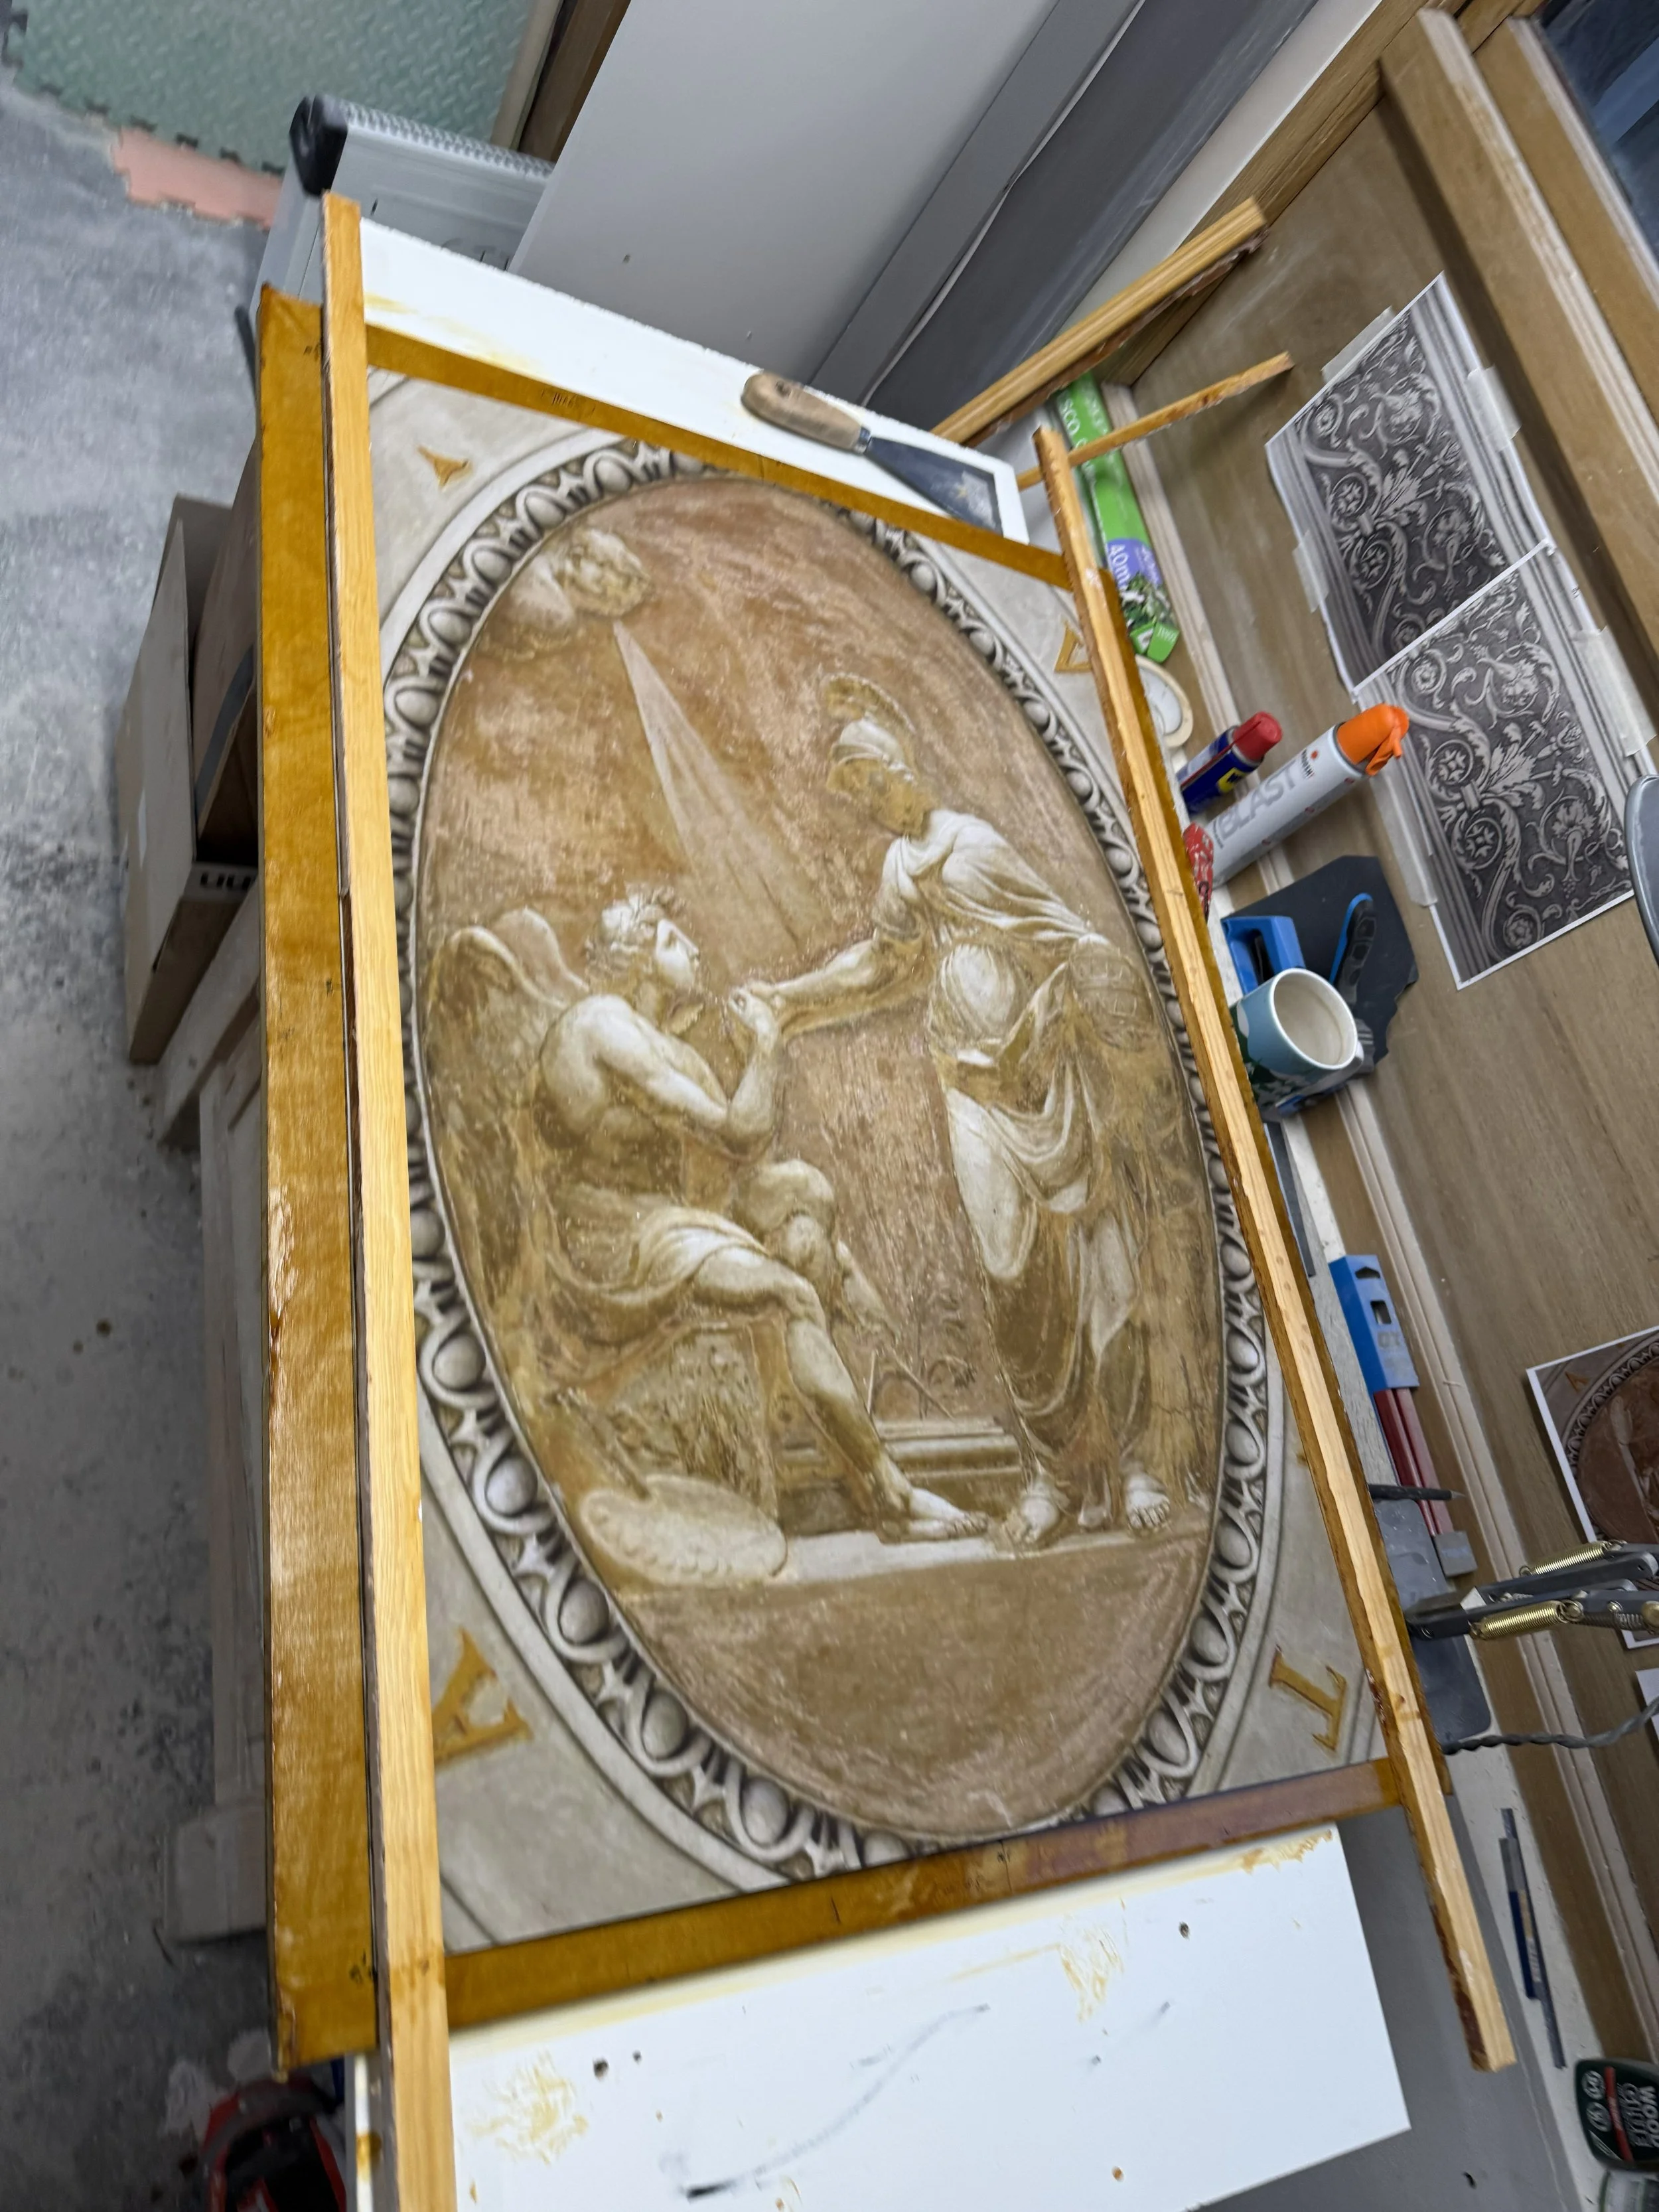
using drywall plaster to finish the edge, it sets much slower than casting plaster which is helpful for this type of work
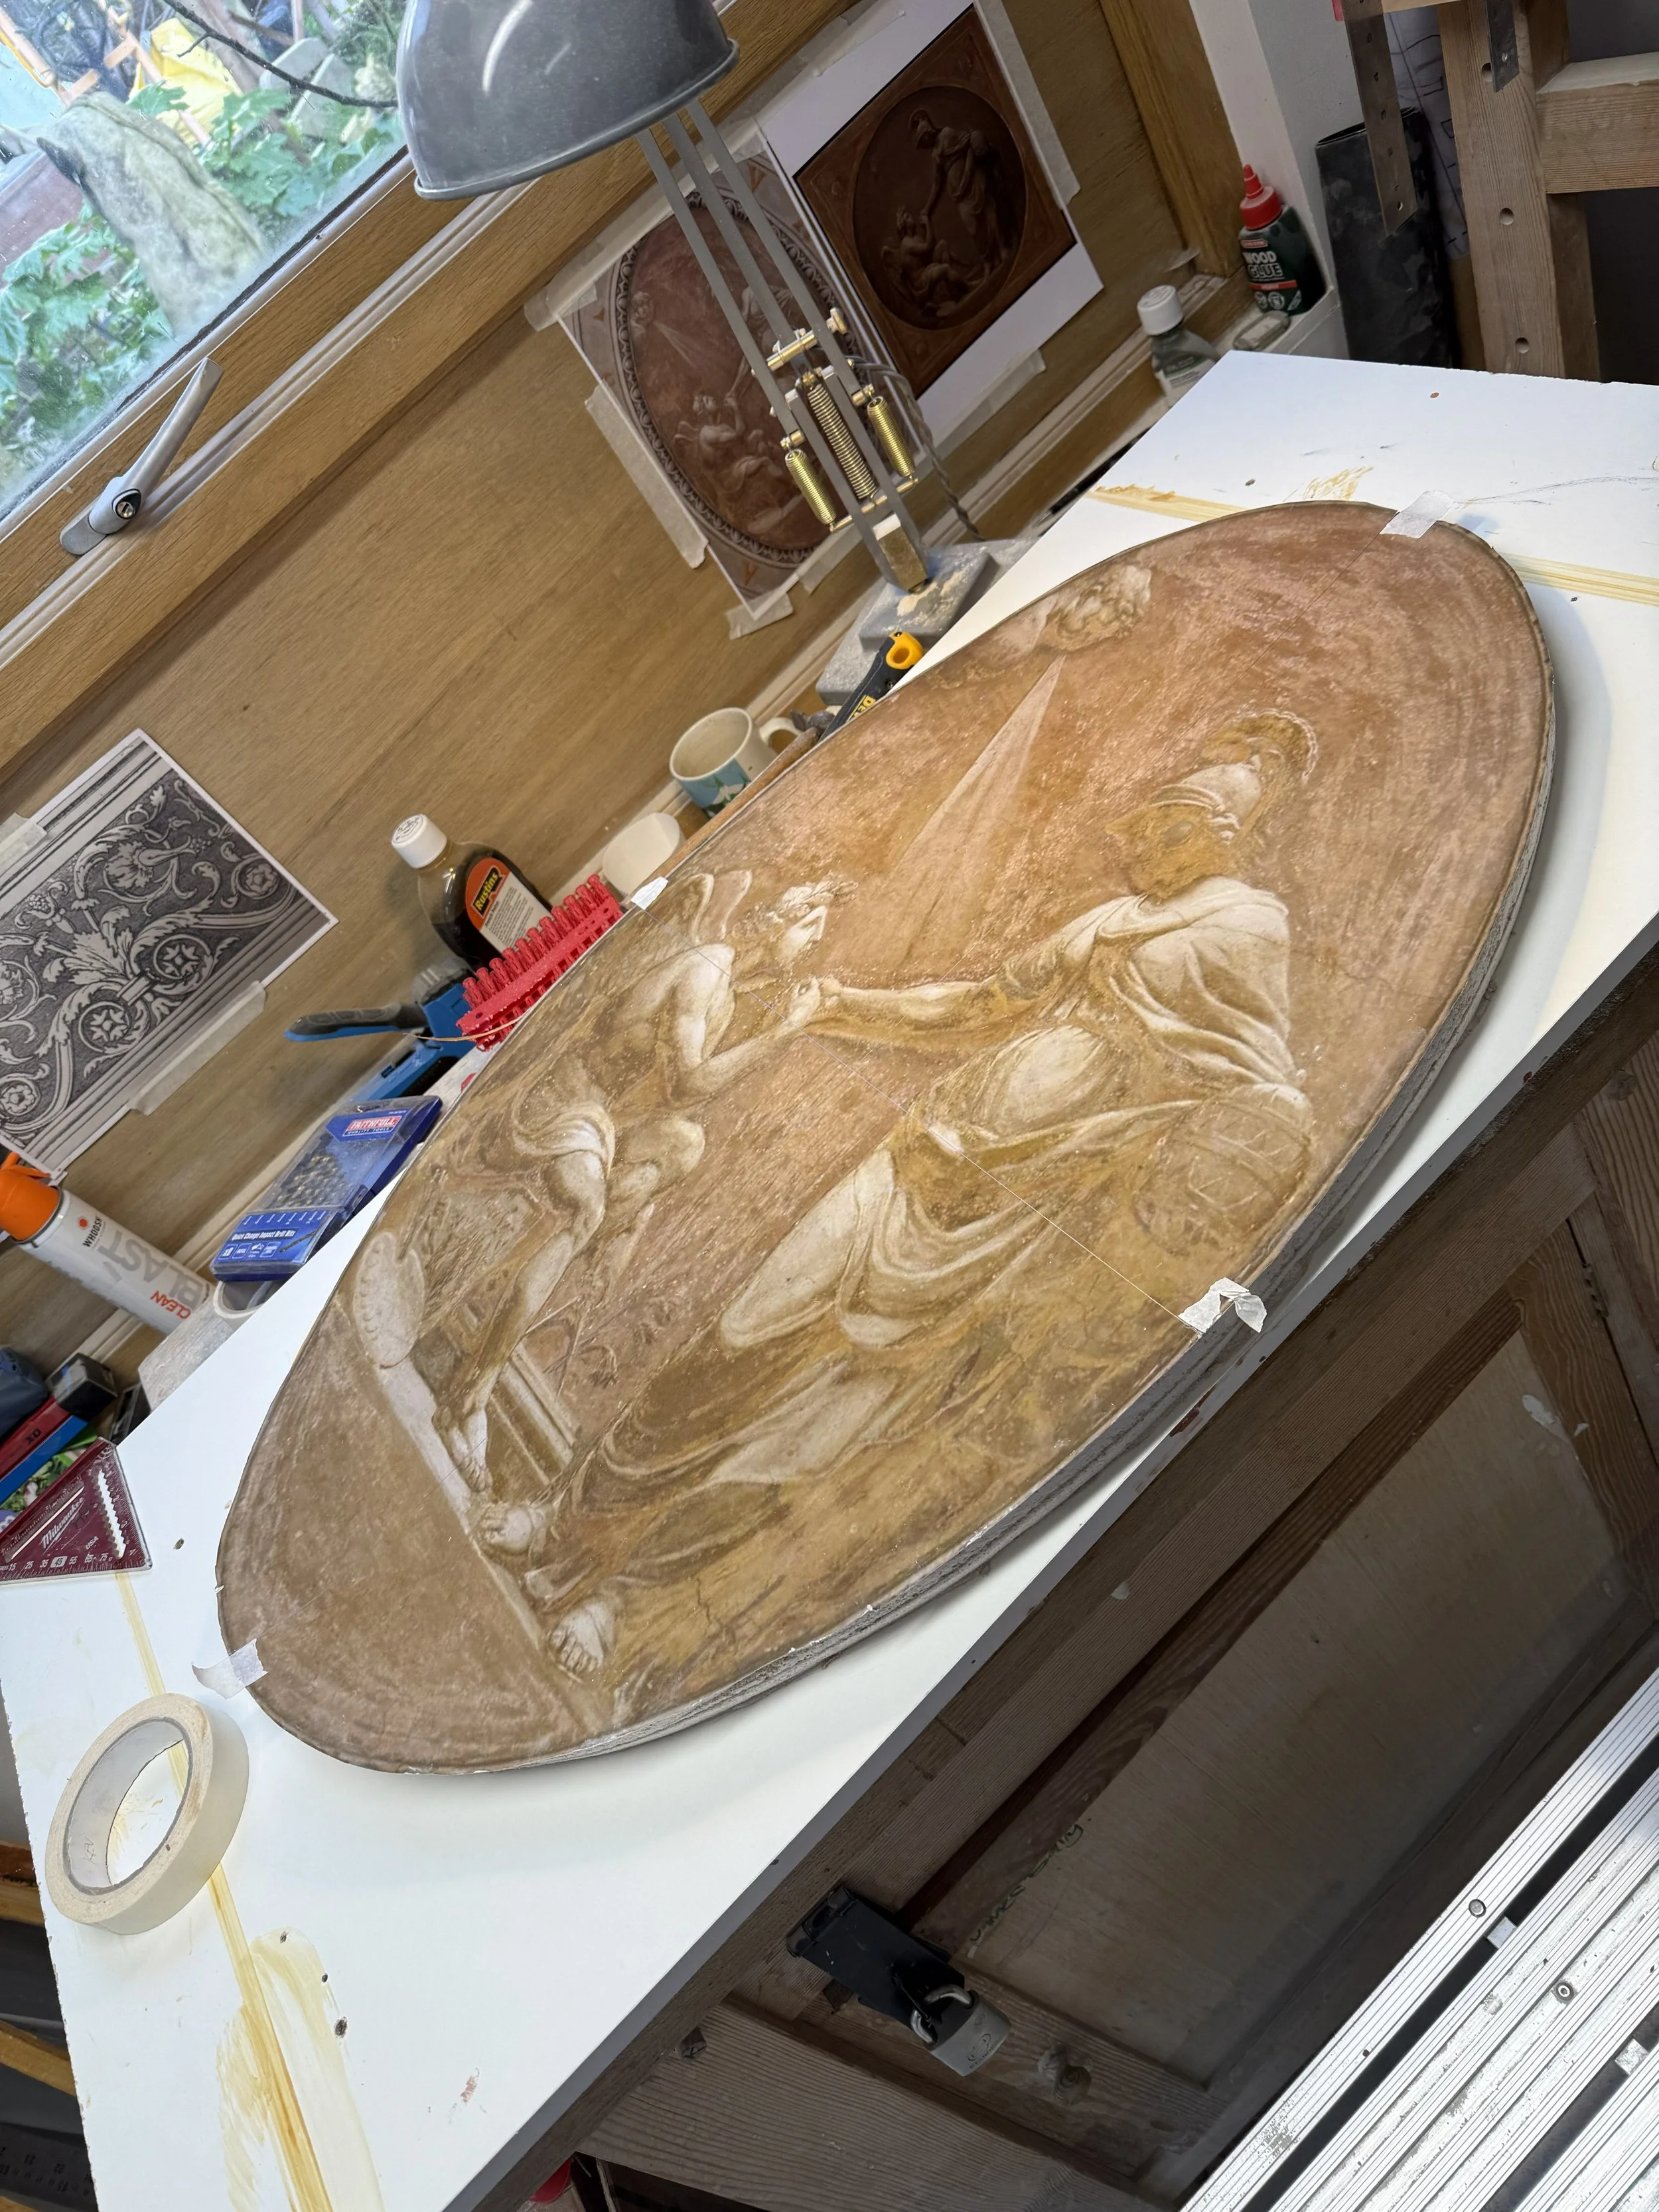
Originally I had decided to transcribe this project like I had the previous one, but at the printing shop I saw they had a canvas print option available. I wanted to see if it would be possible to use the image printed on canvas and shellacked instead of transcribing and see if it would work. It did! However the canvas texture came through the shellac so it was not as smooth as I had originally aimed for.
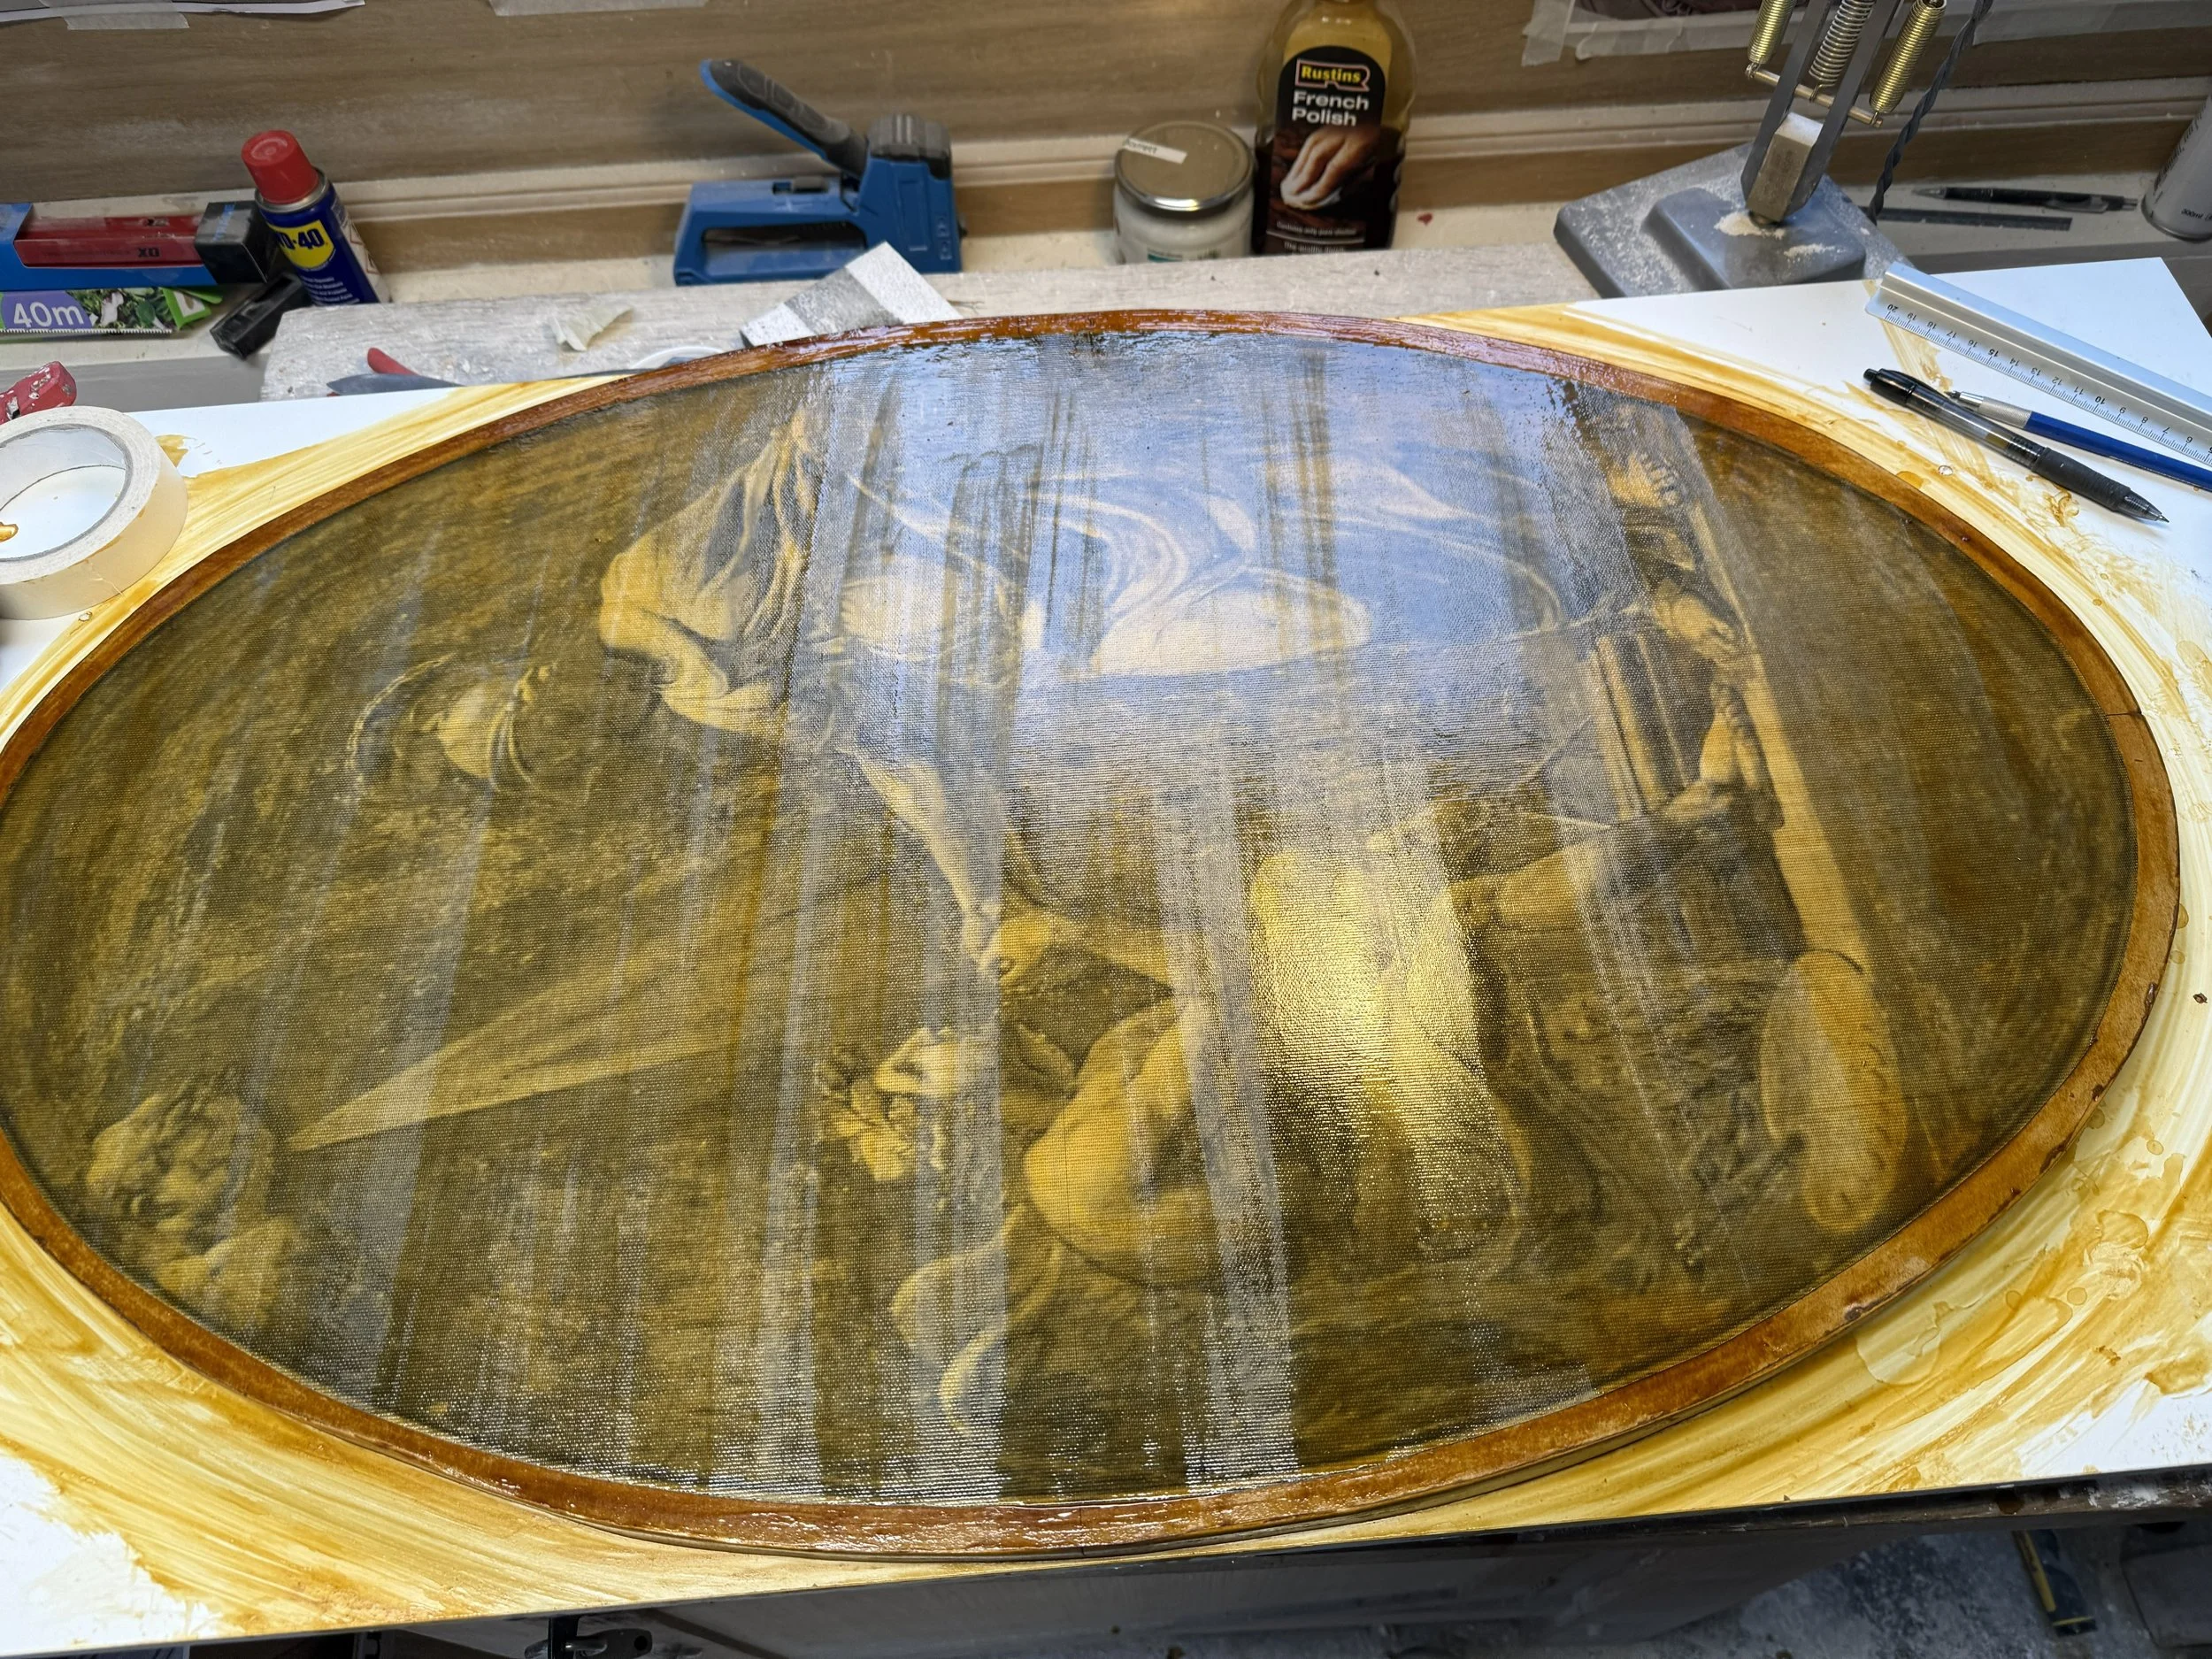
Applying shellac trying to cover the canvas texture
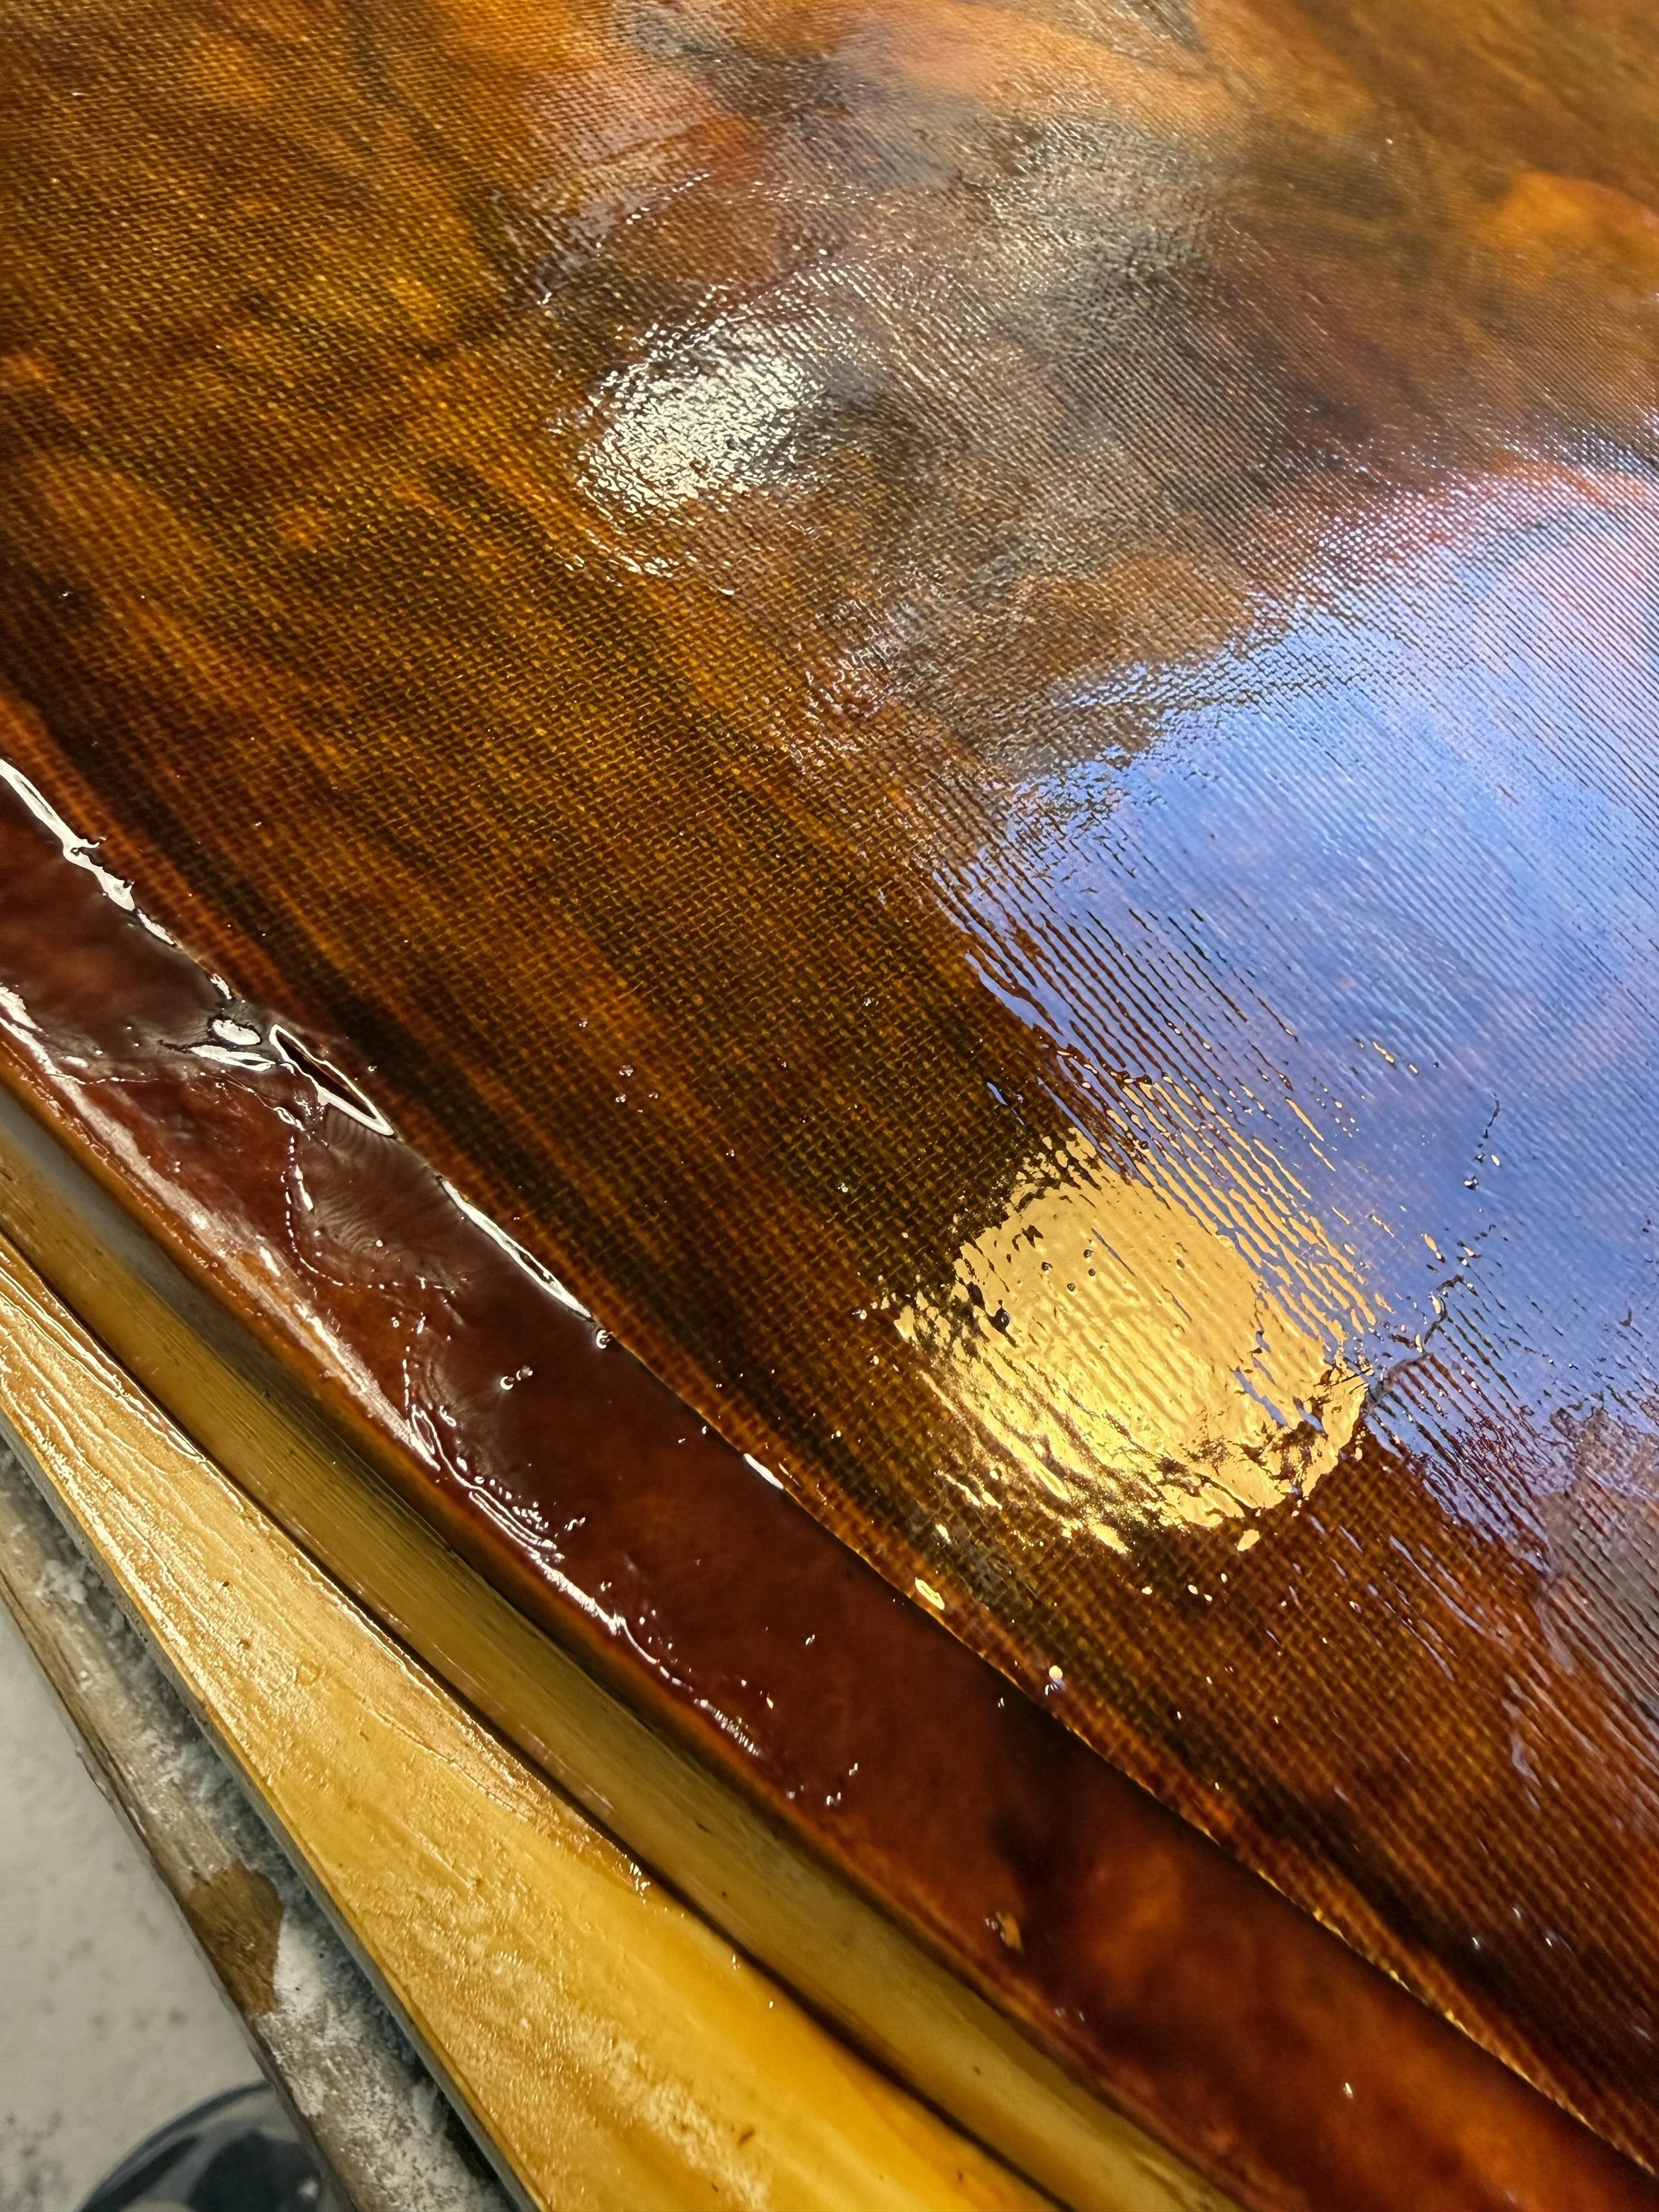
Even with multiple layers of shellac and french polish the texture remained. I decided to just go with it.
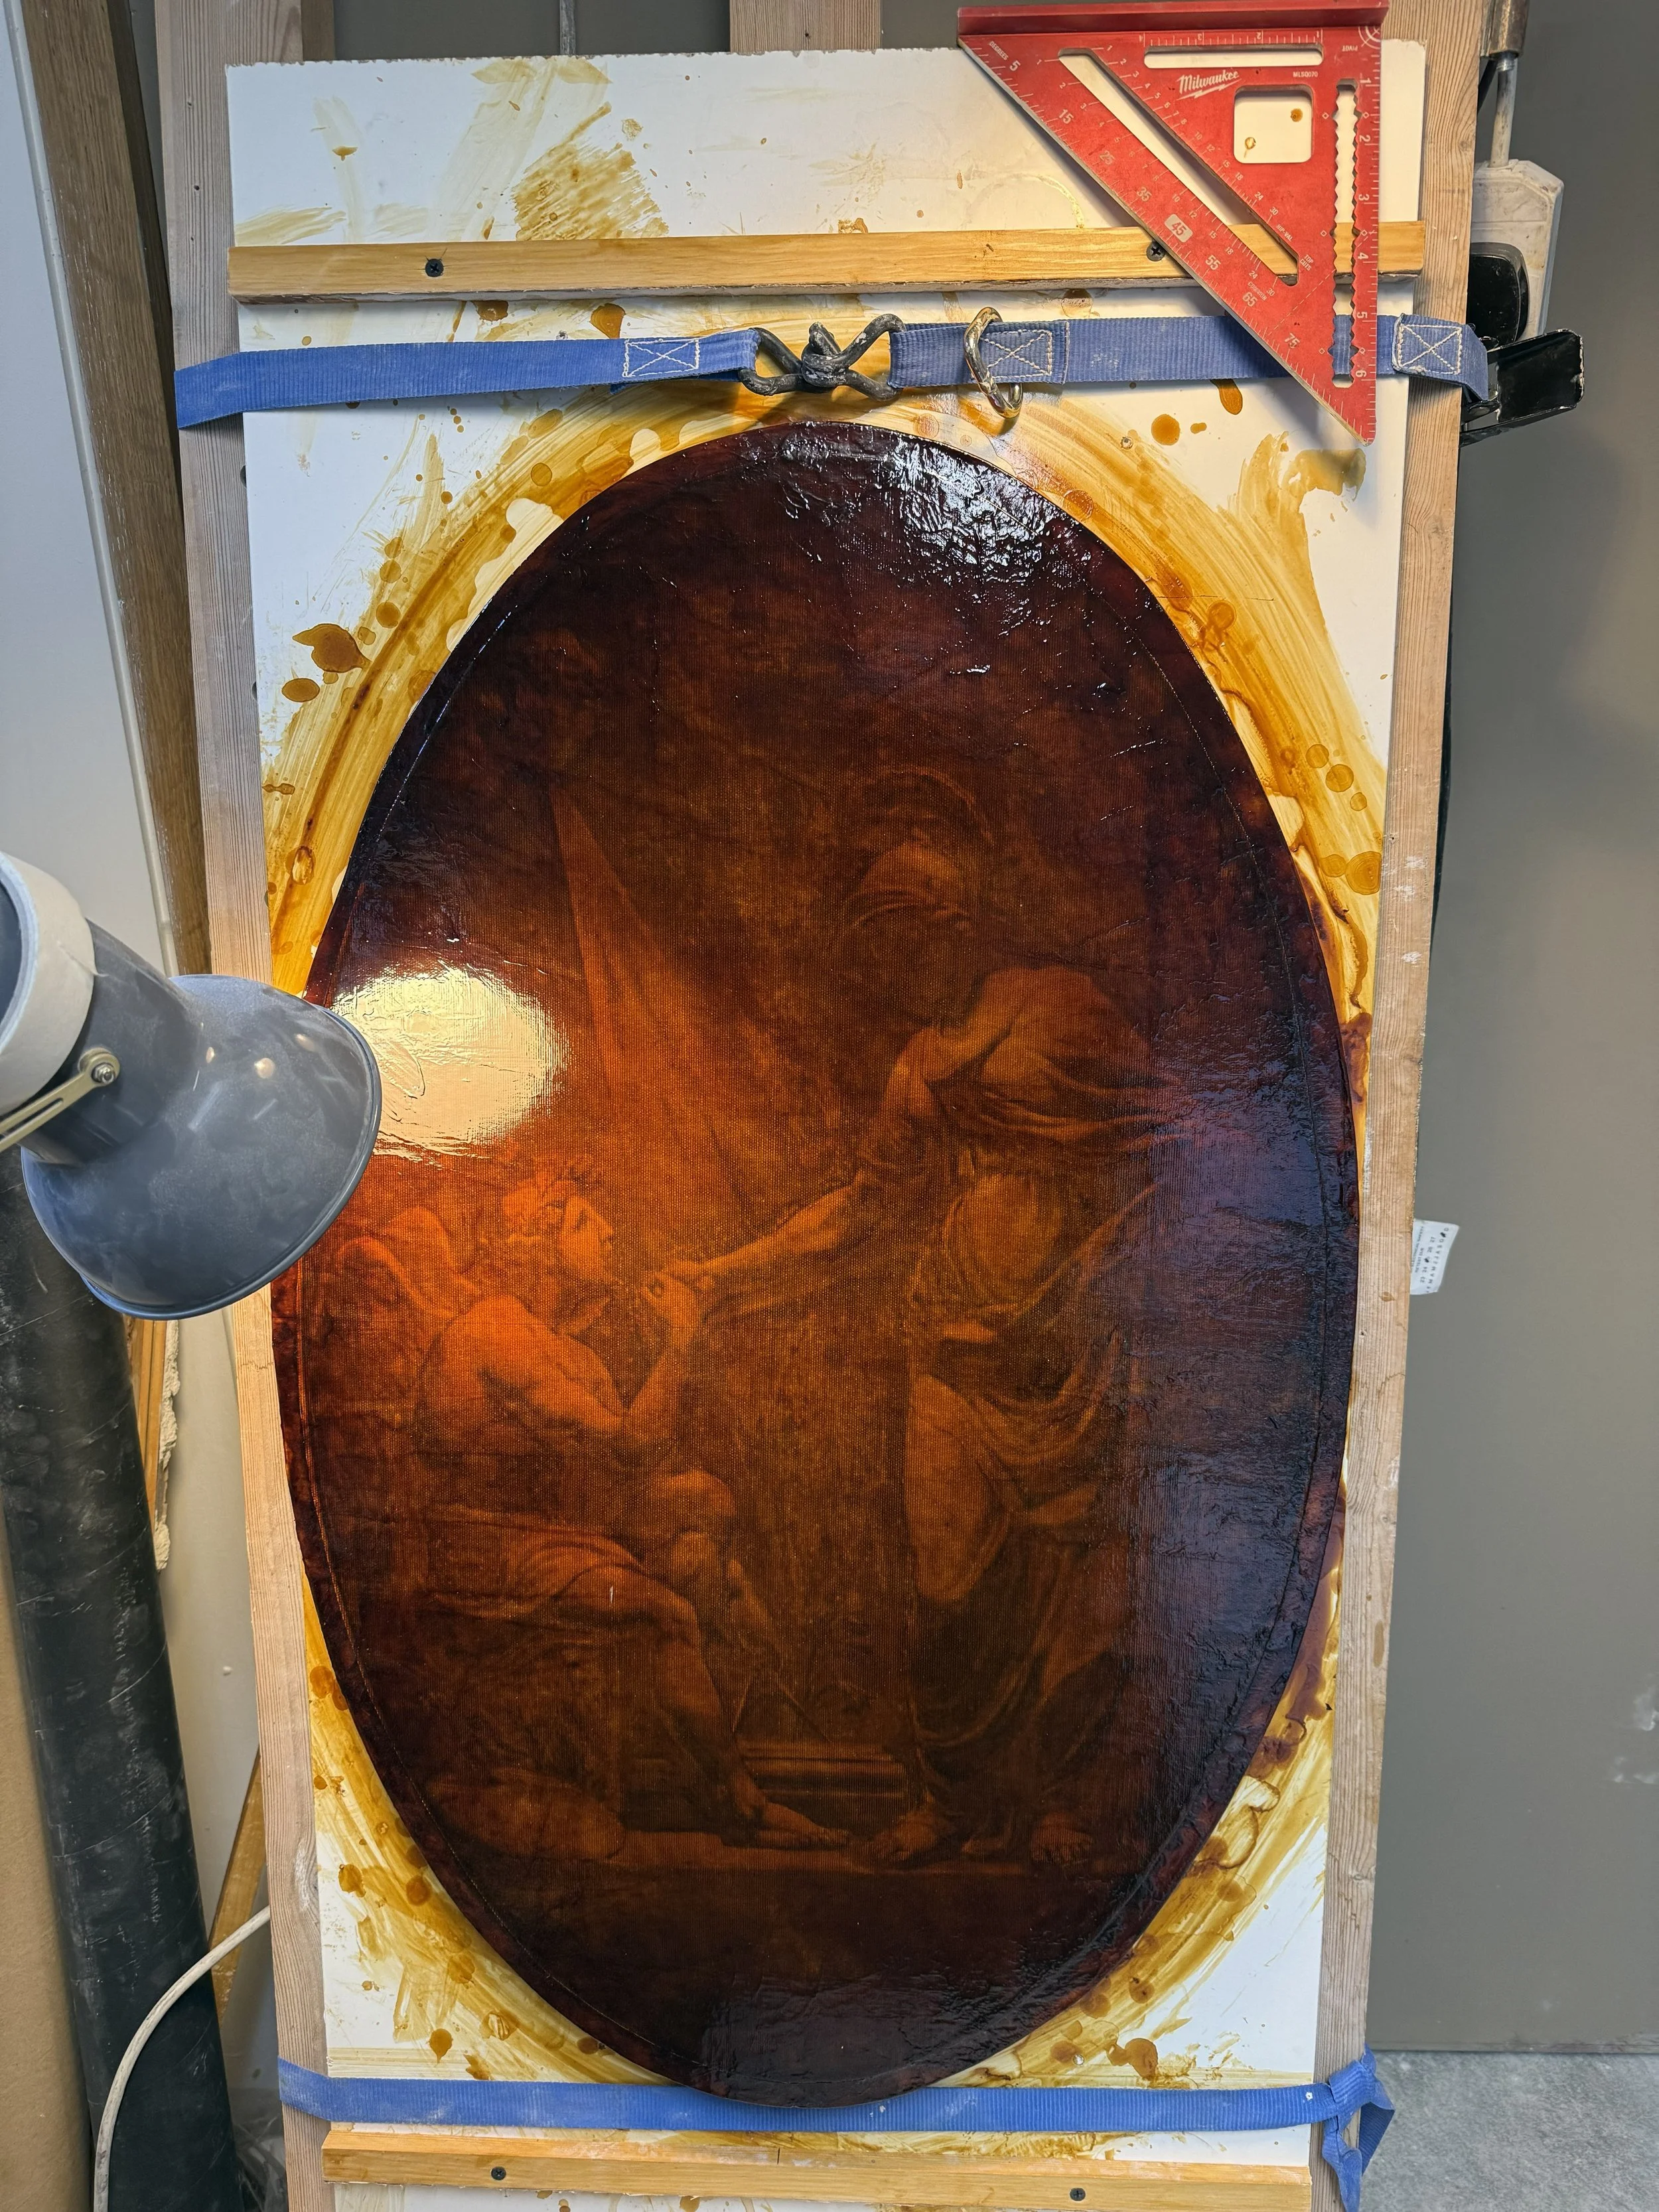
Finished shellac preperation
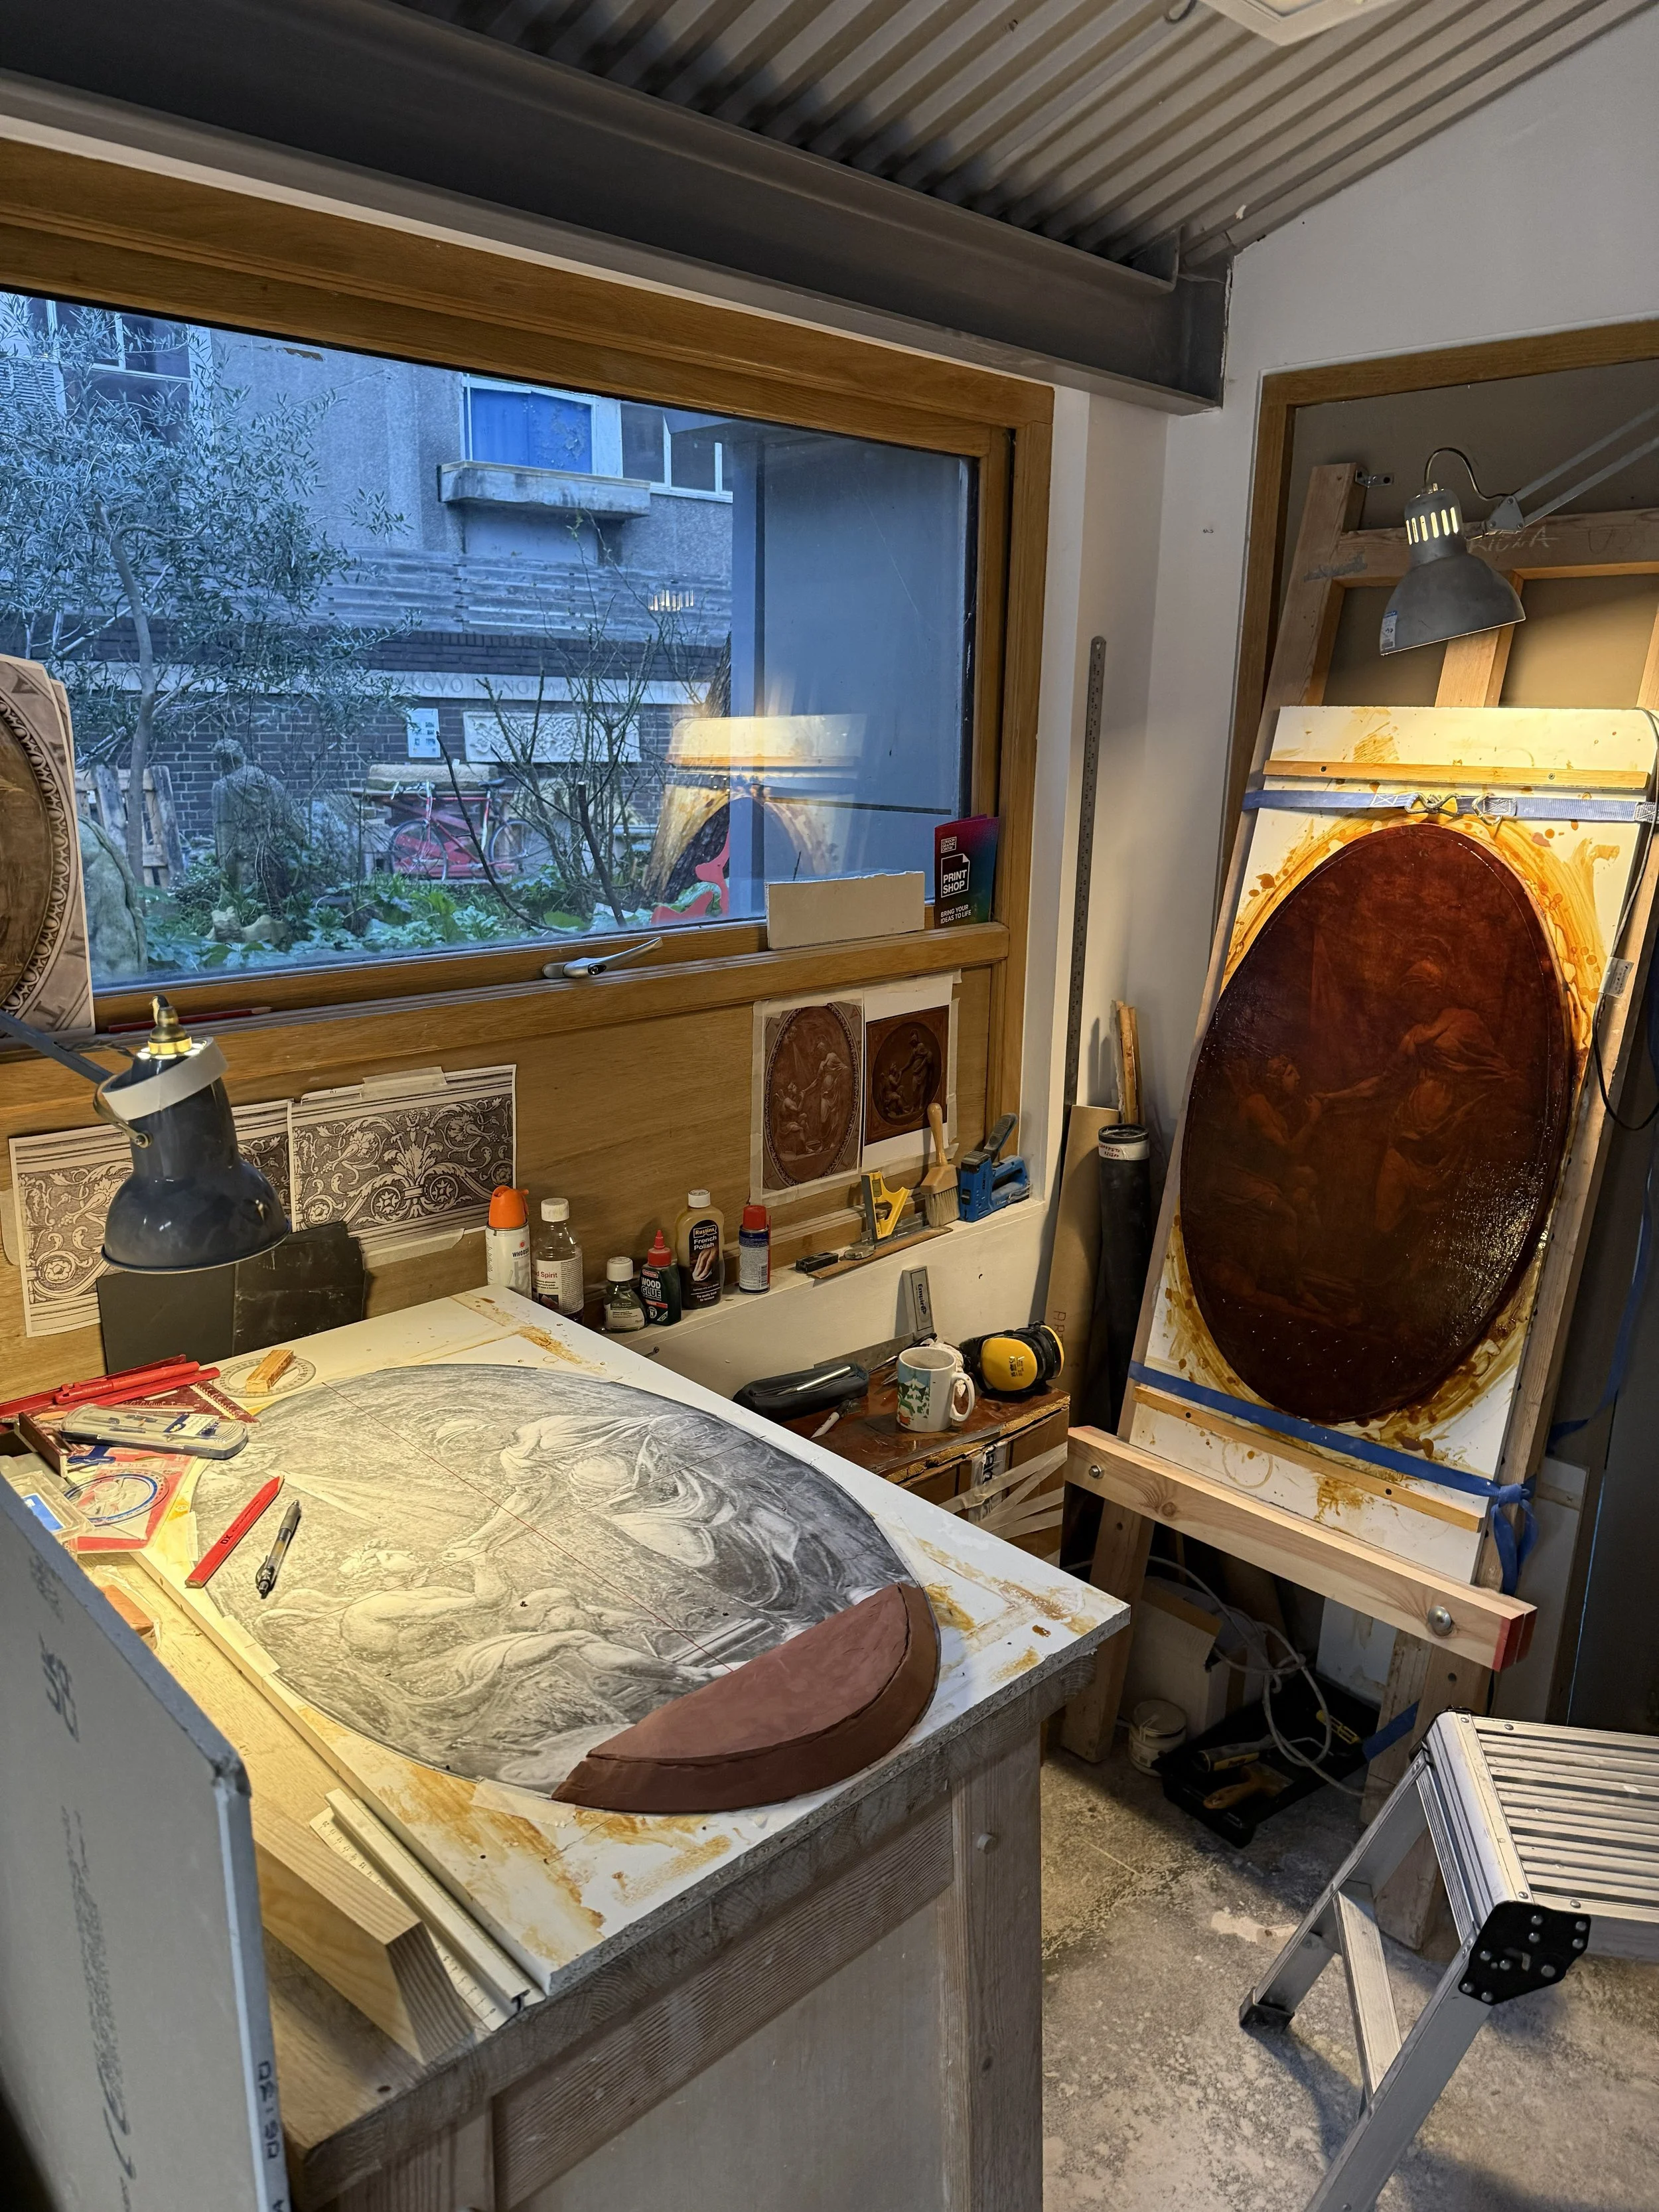
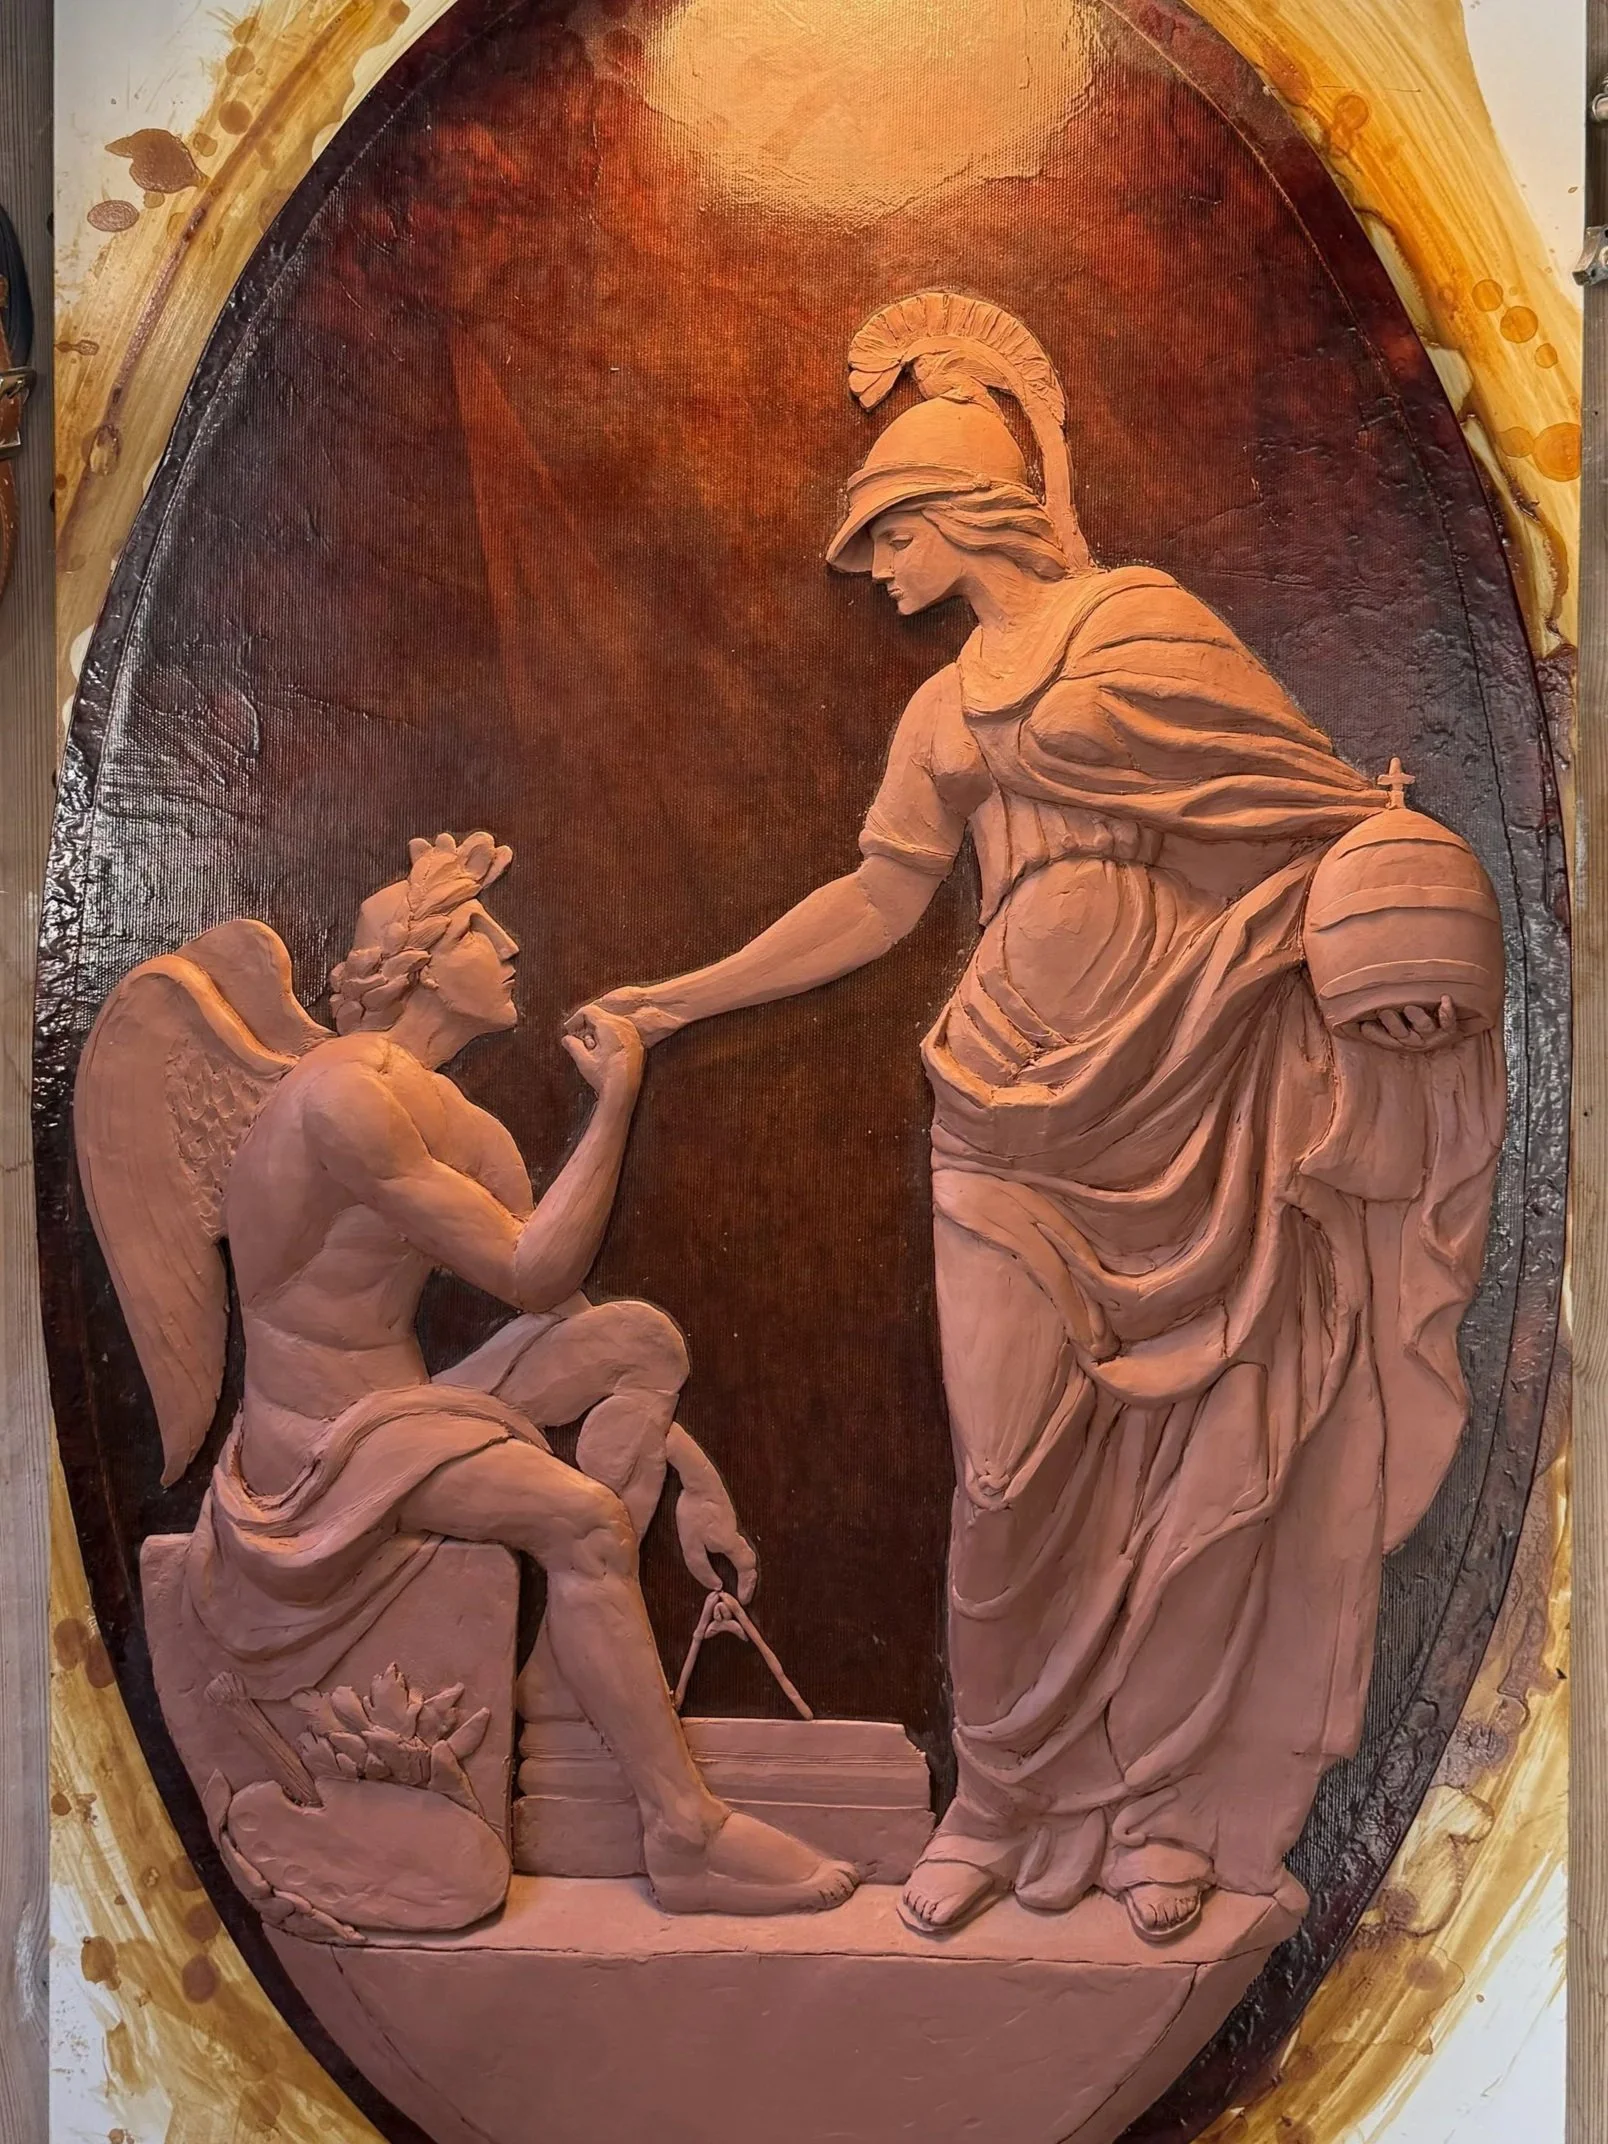
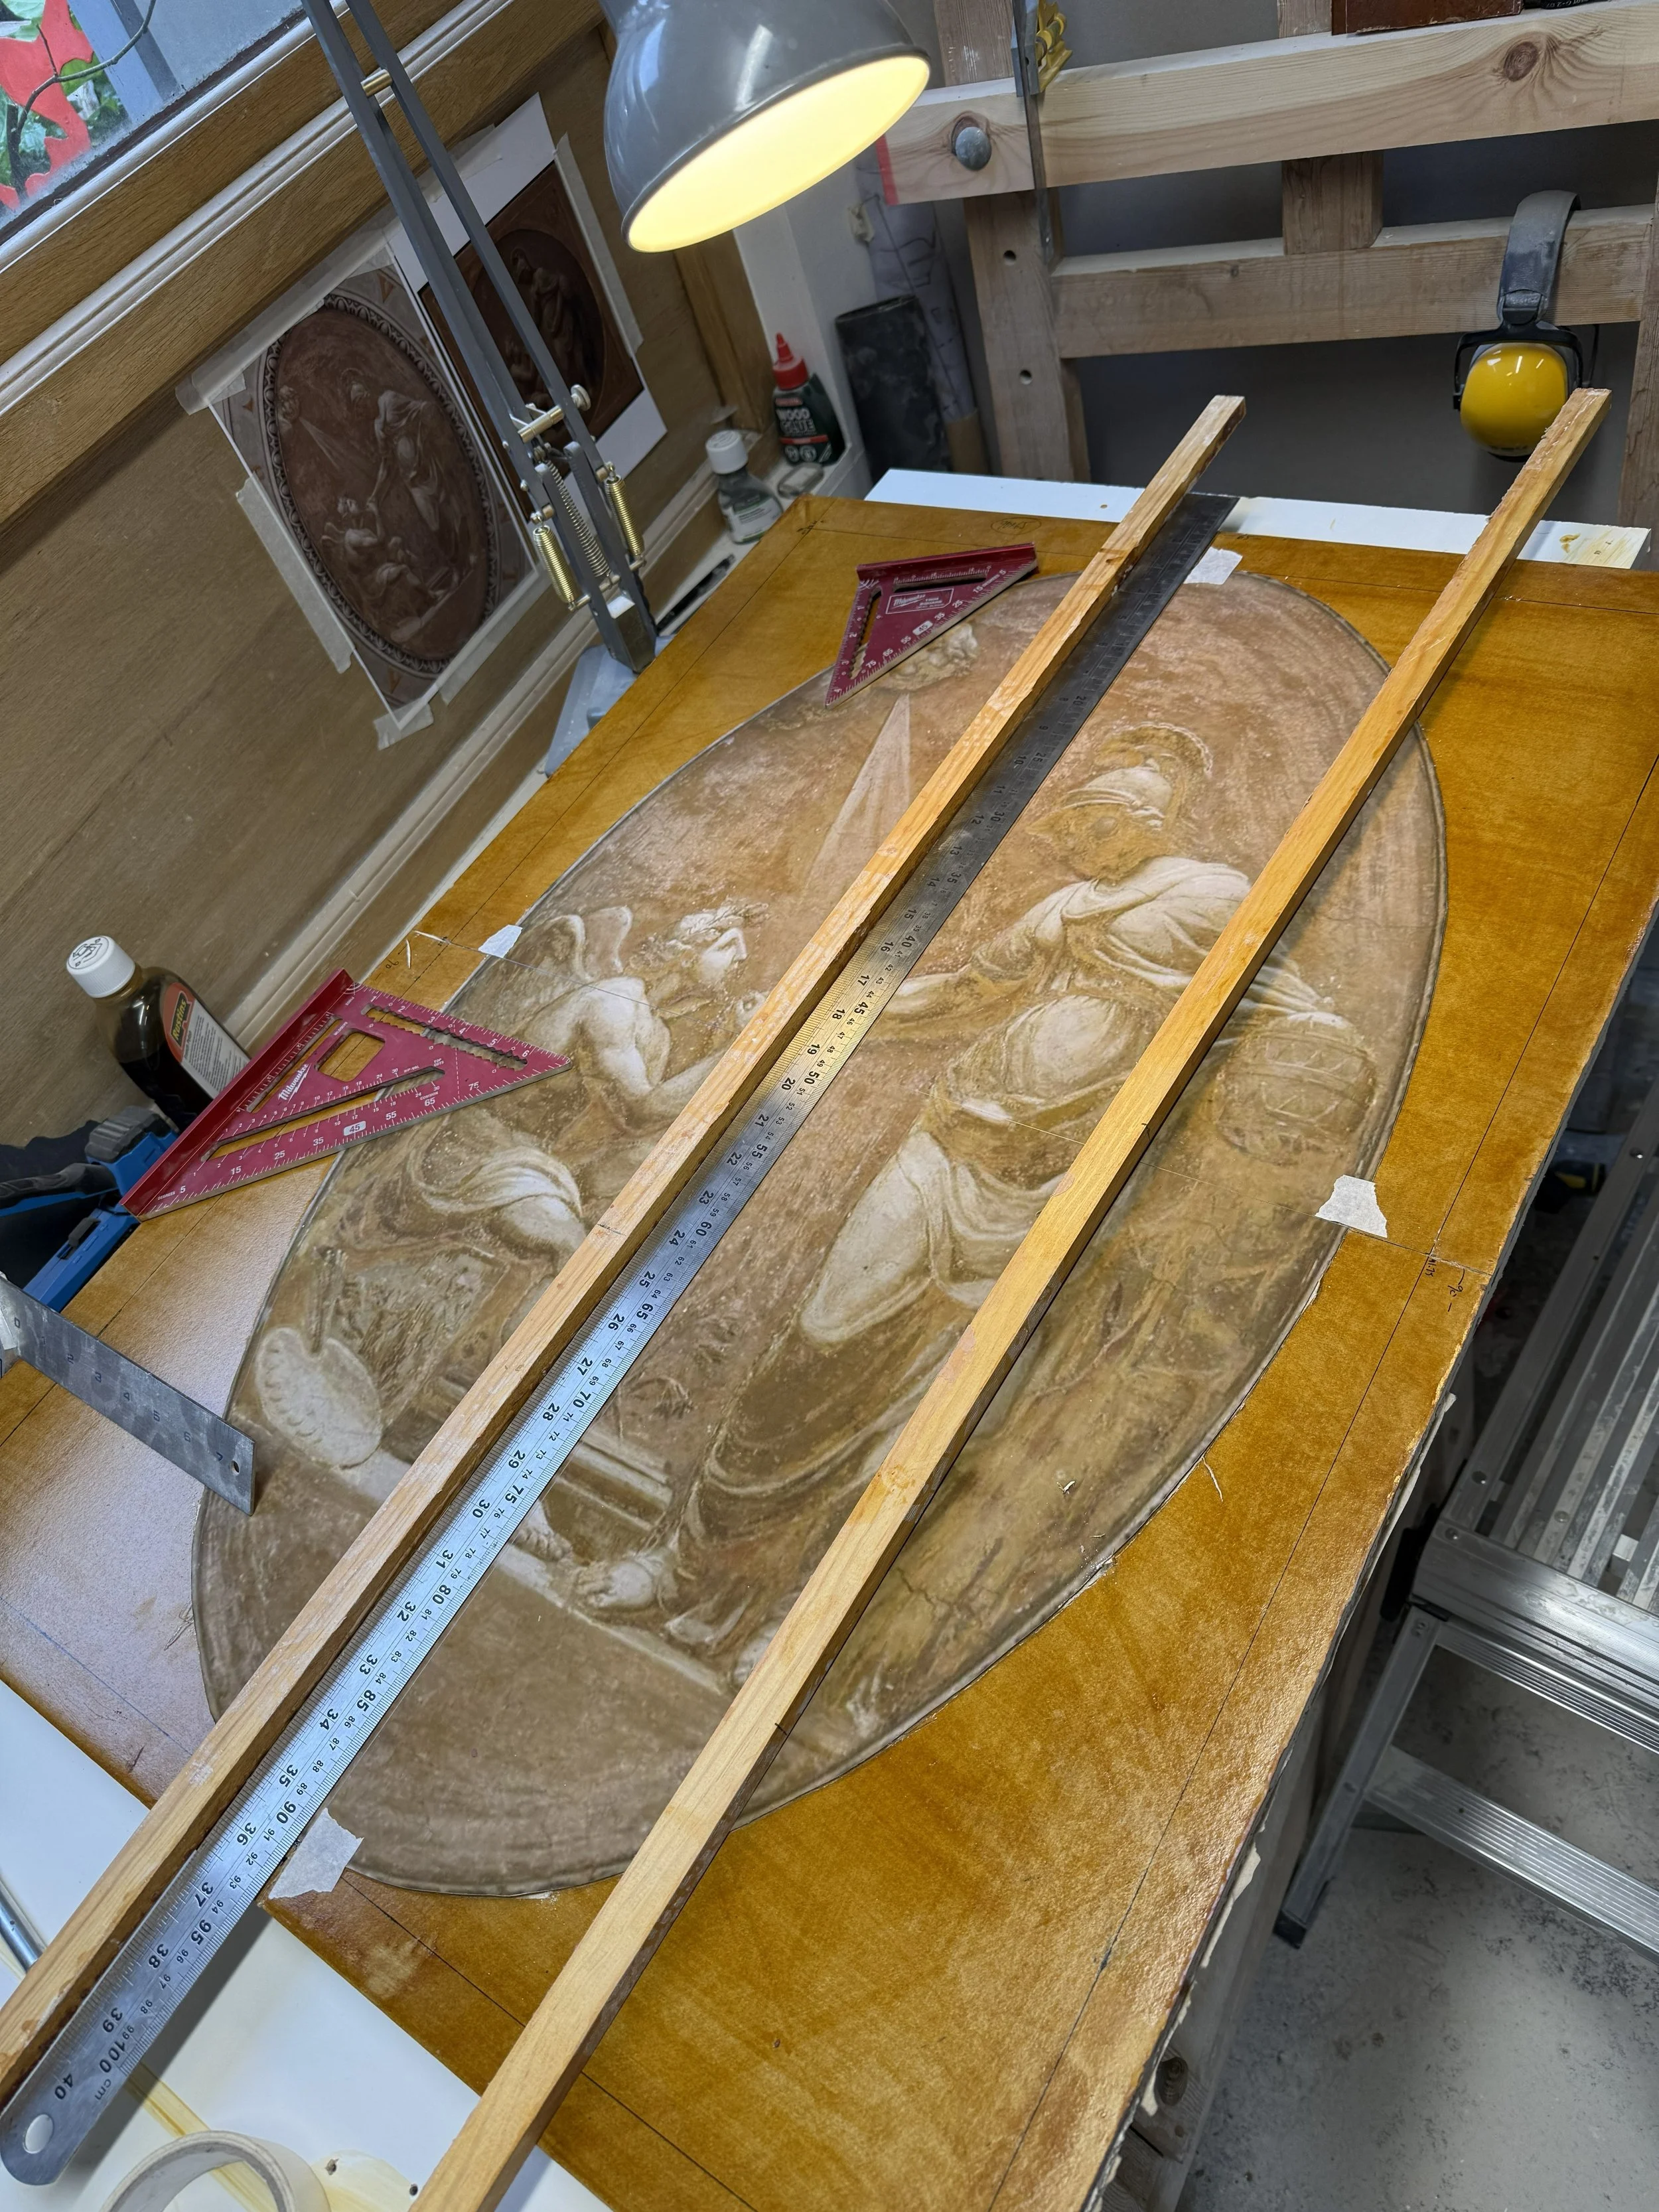
My work area. Here can be seen I have a print taped to the table i use for modelling into rough shape and matching proportions, then when i have them set, I place them on the shellac board. I liked this method and it was effective and fast.
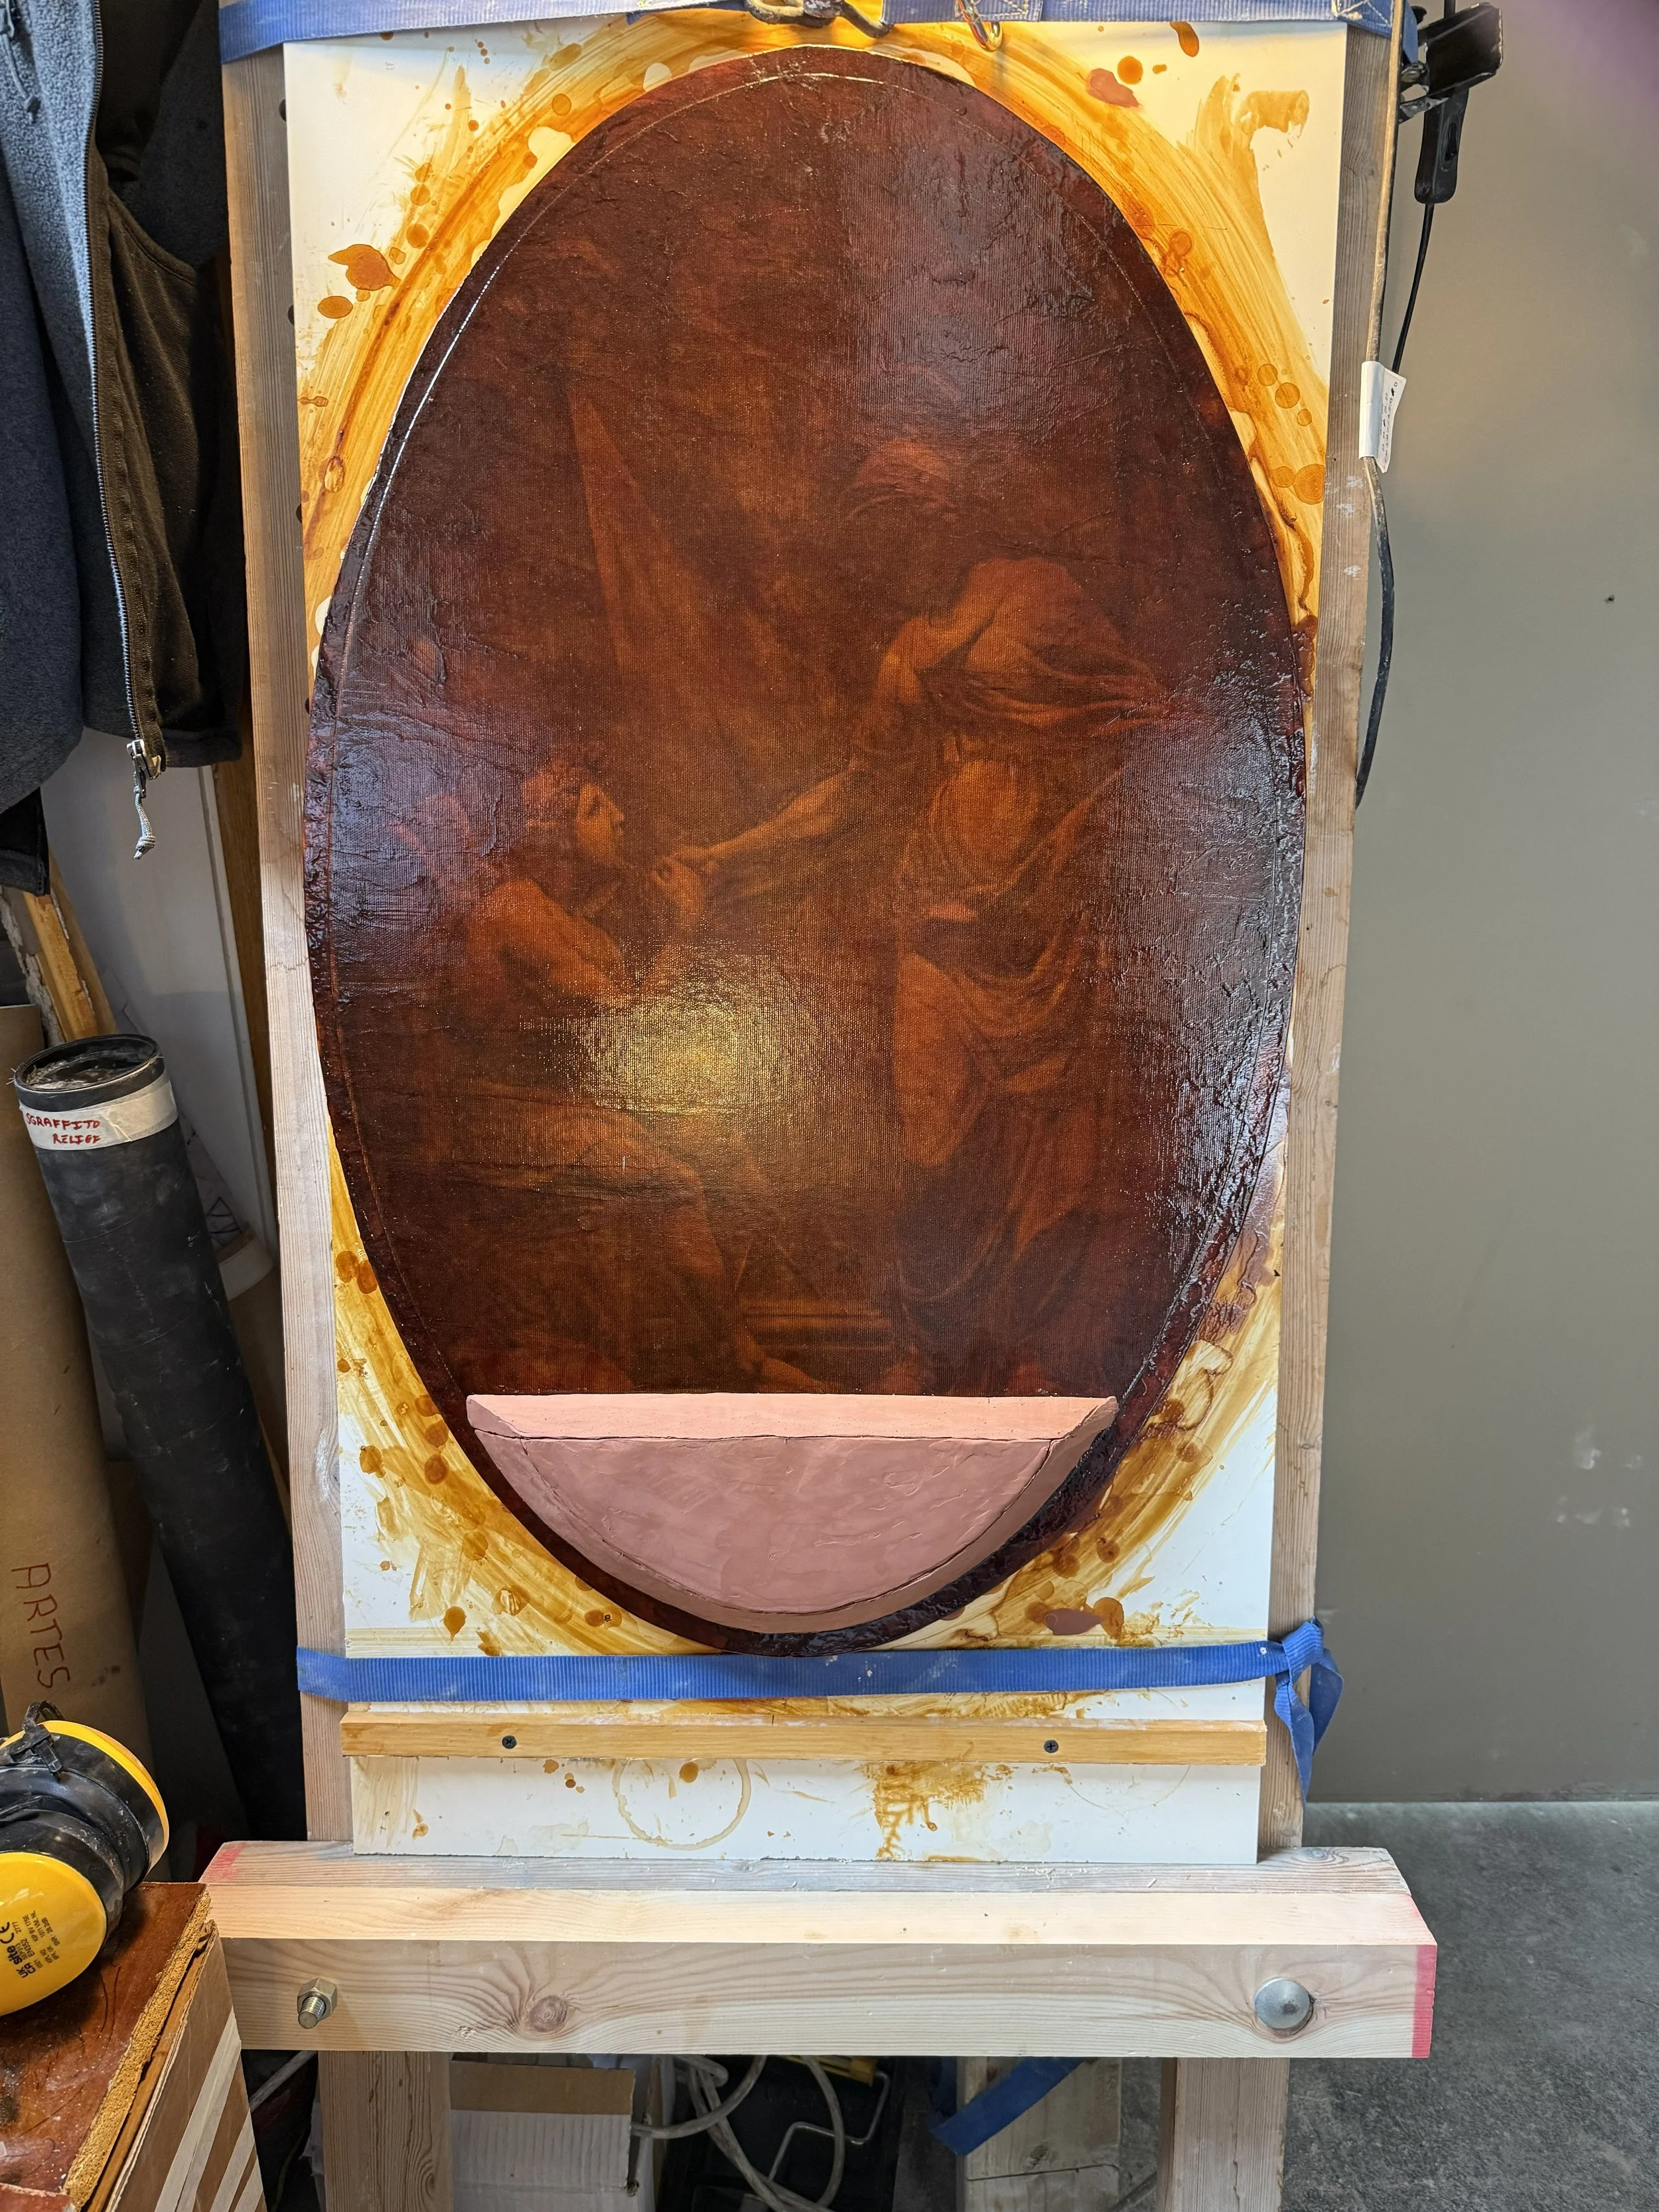
Placing the plastacine base on the shellac, because this piece protruded i think i used some veneer nails to help it stick.
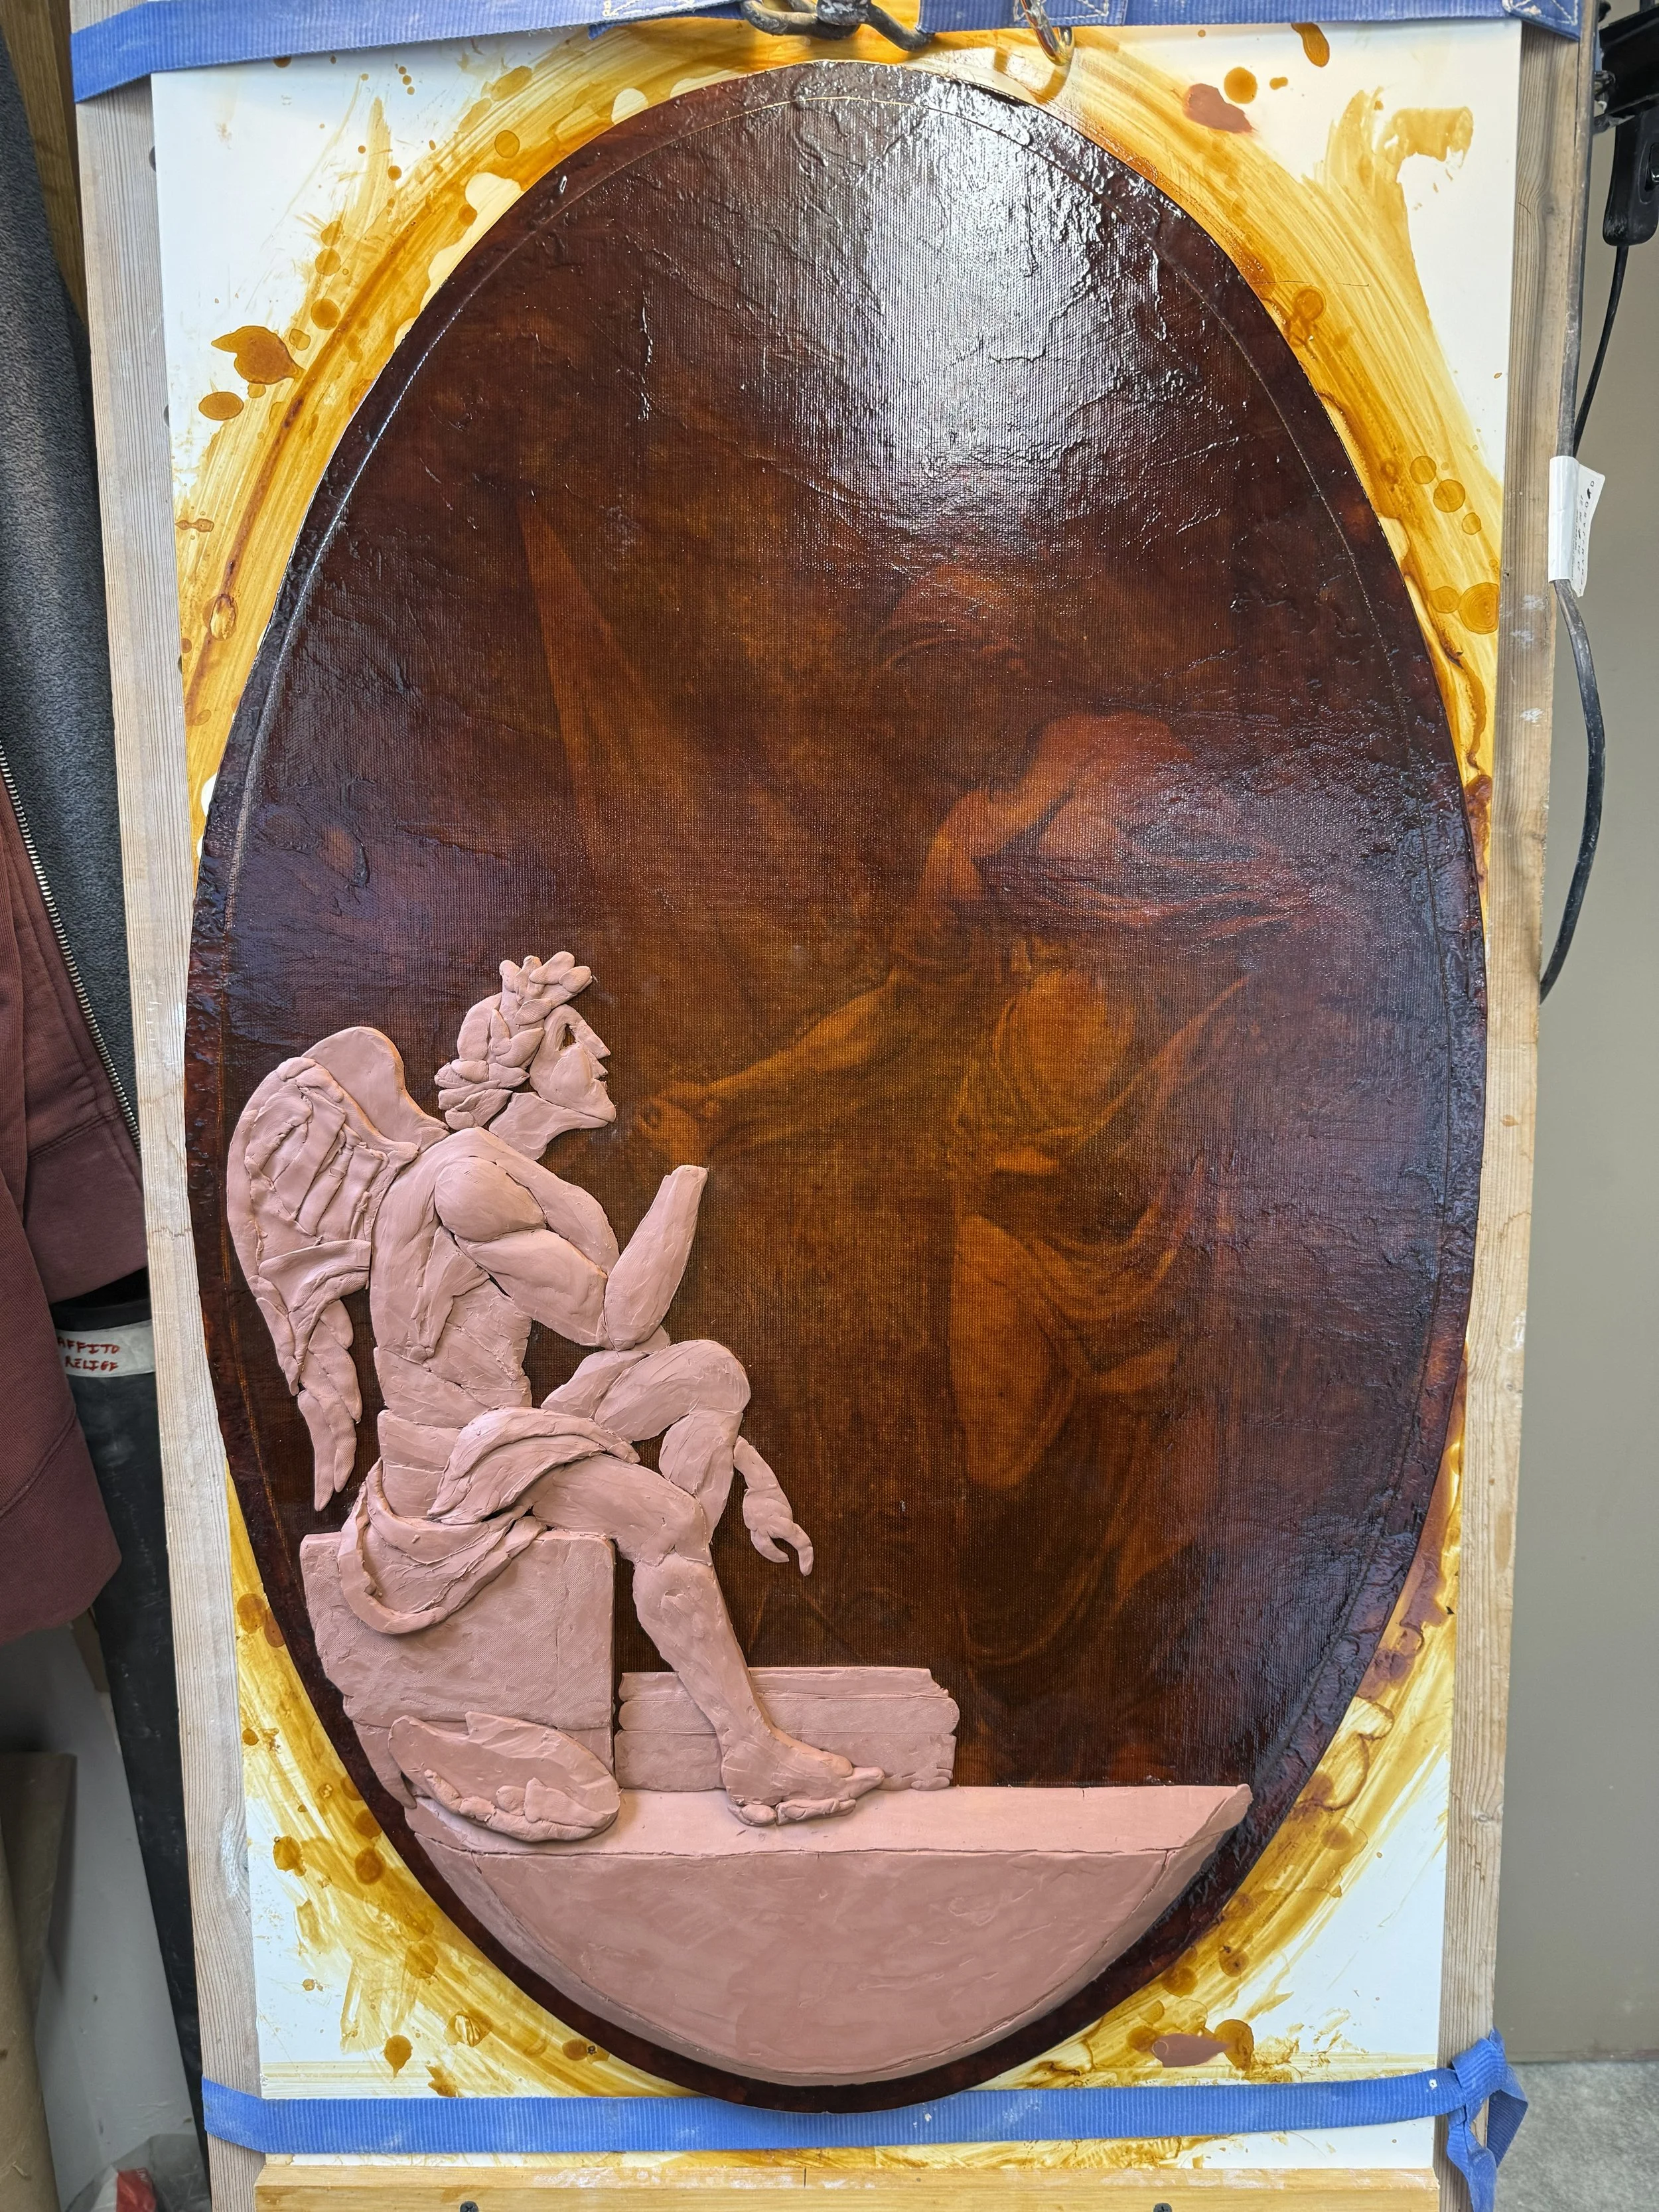
This part moves very fast, just getting everything into the right place, but not concerned with too much detail, angles and depth are more important here.
most shapes at this point are laid out

one difficulty of this project as it was mostly impossible to make out athenas face in the original, so i mostly left it to be dealt with later
Trying to get the angles of the faces turned correctly in a shallow relief was difficult, because the relief is so shallow and turn seems more exaggerated.
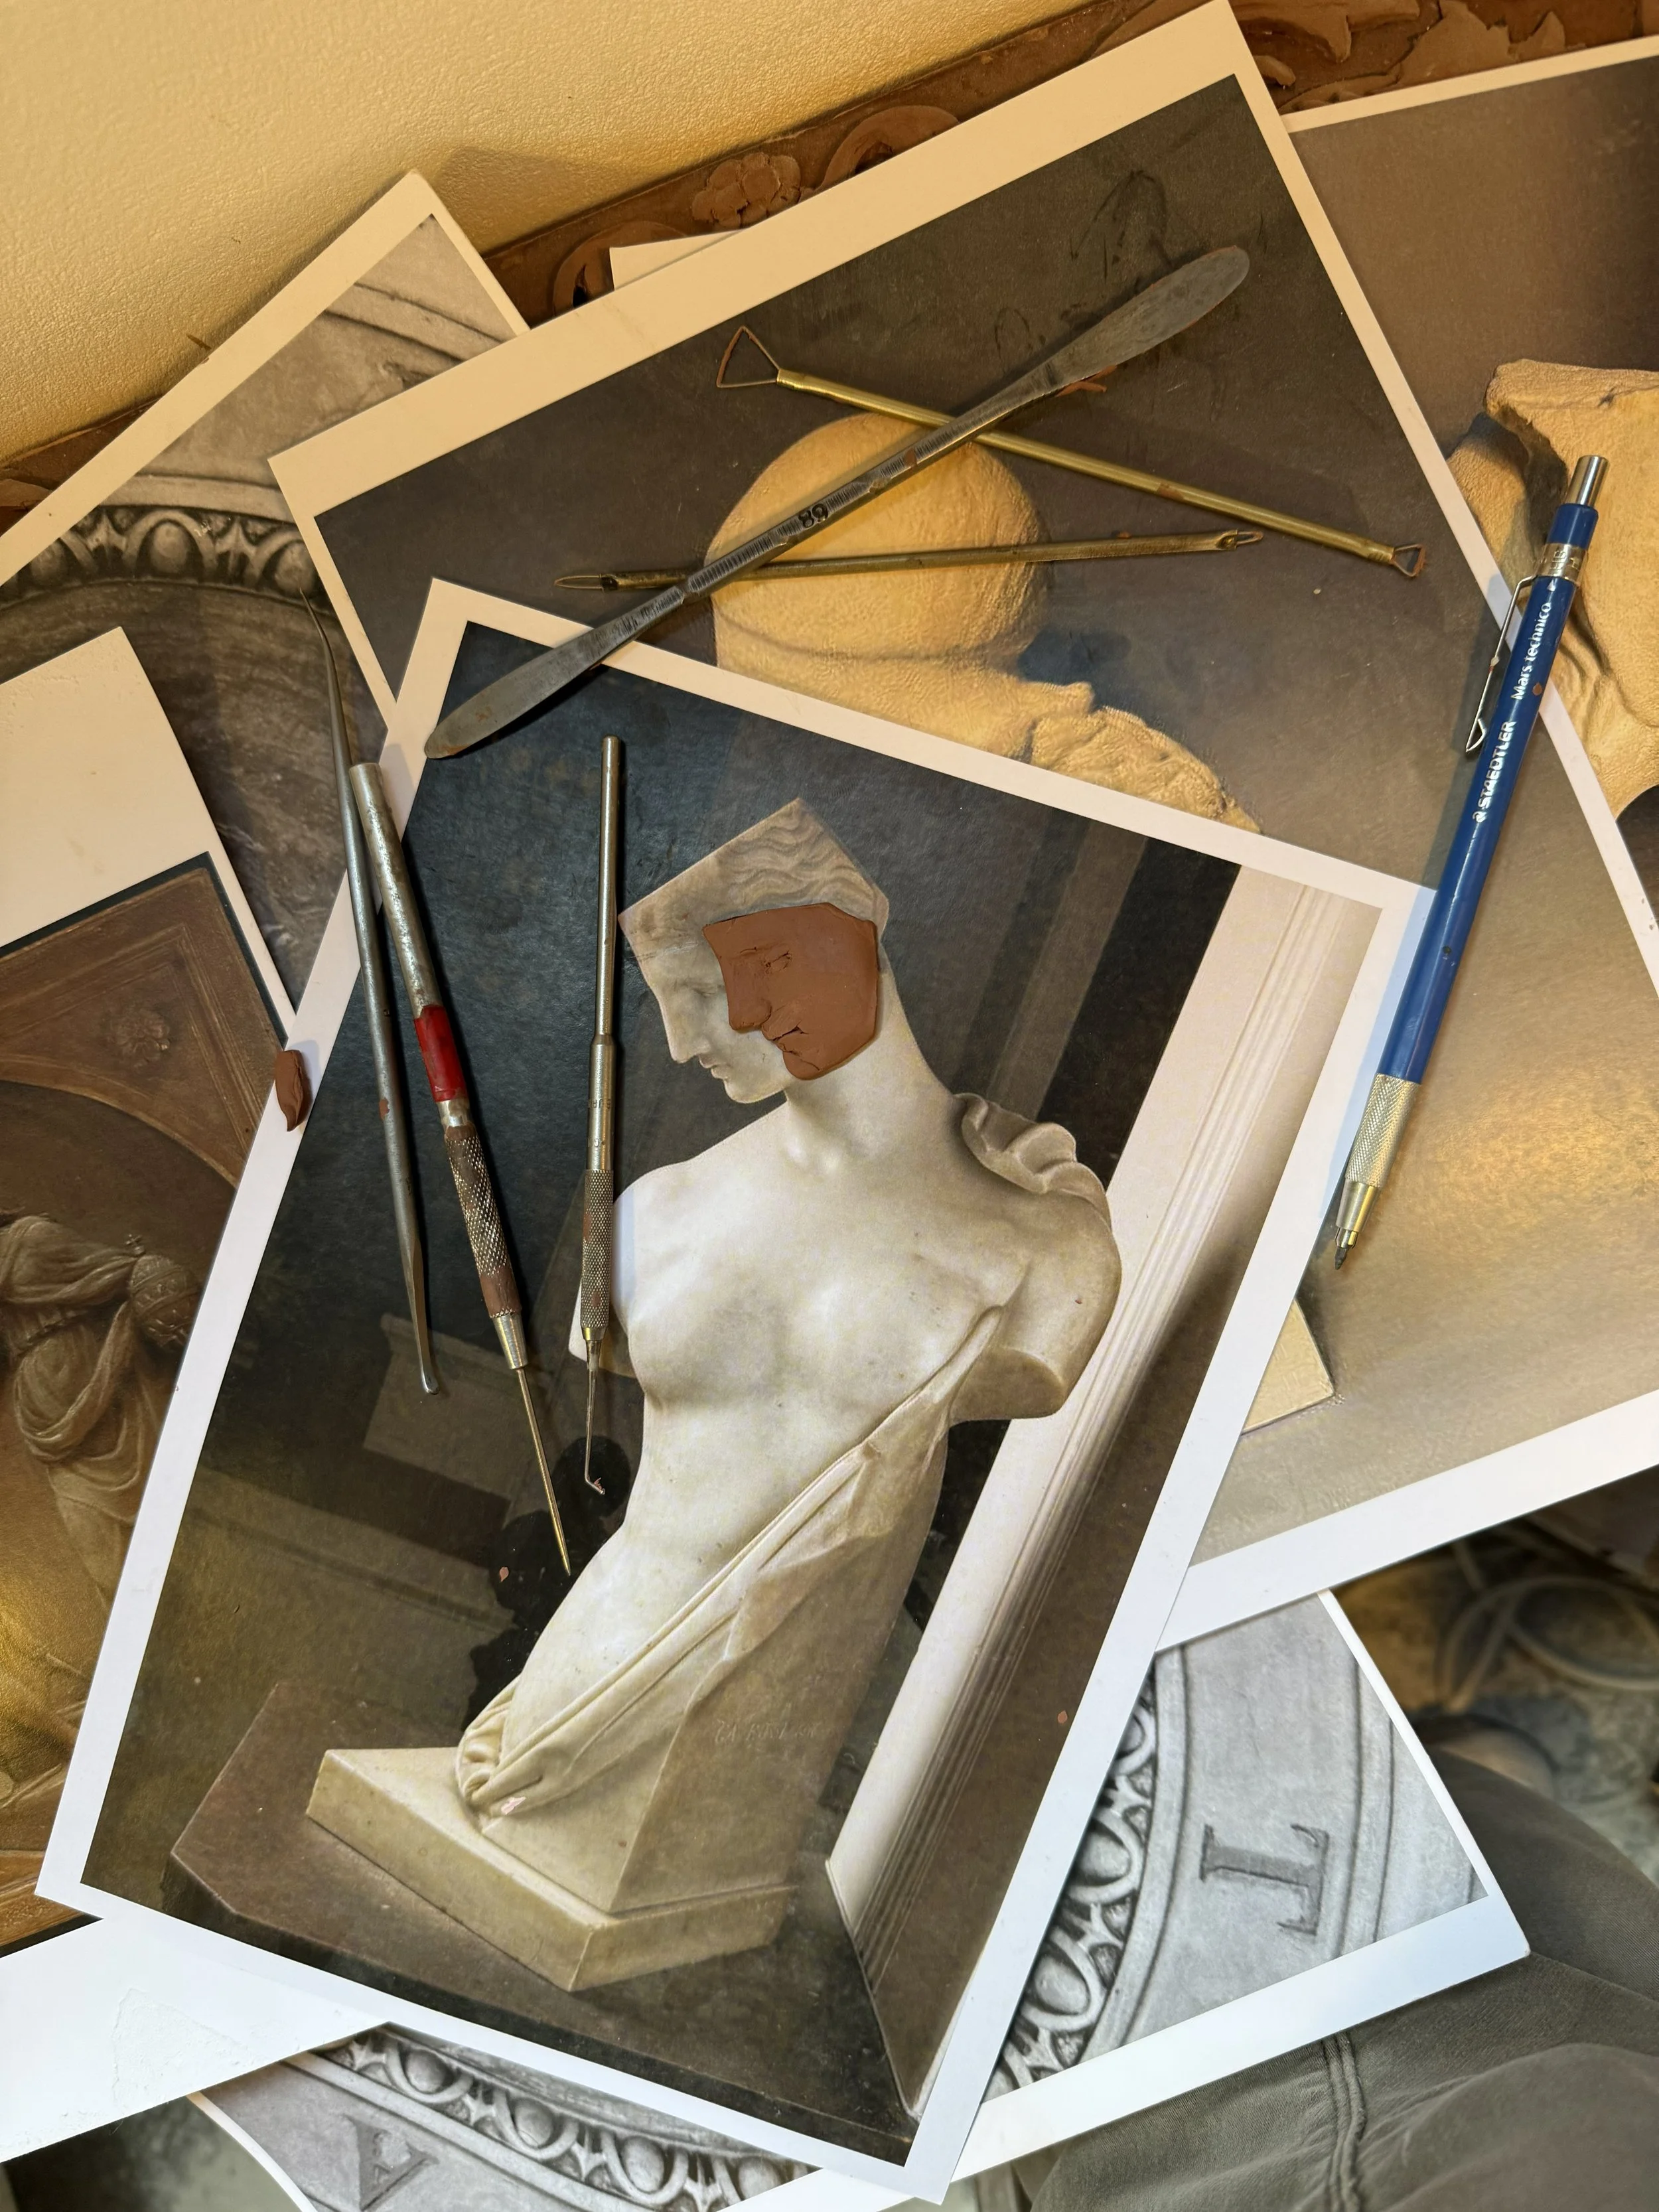
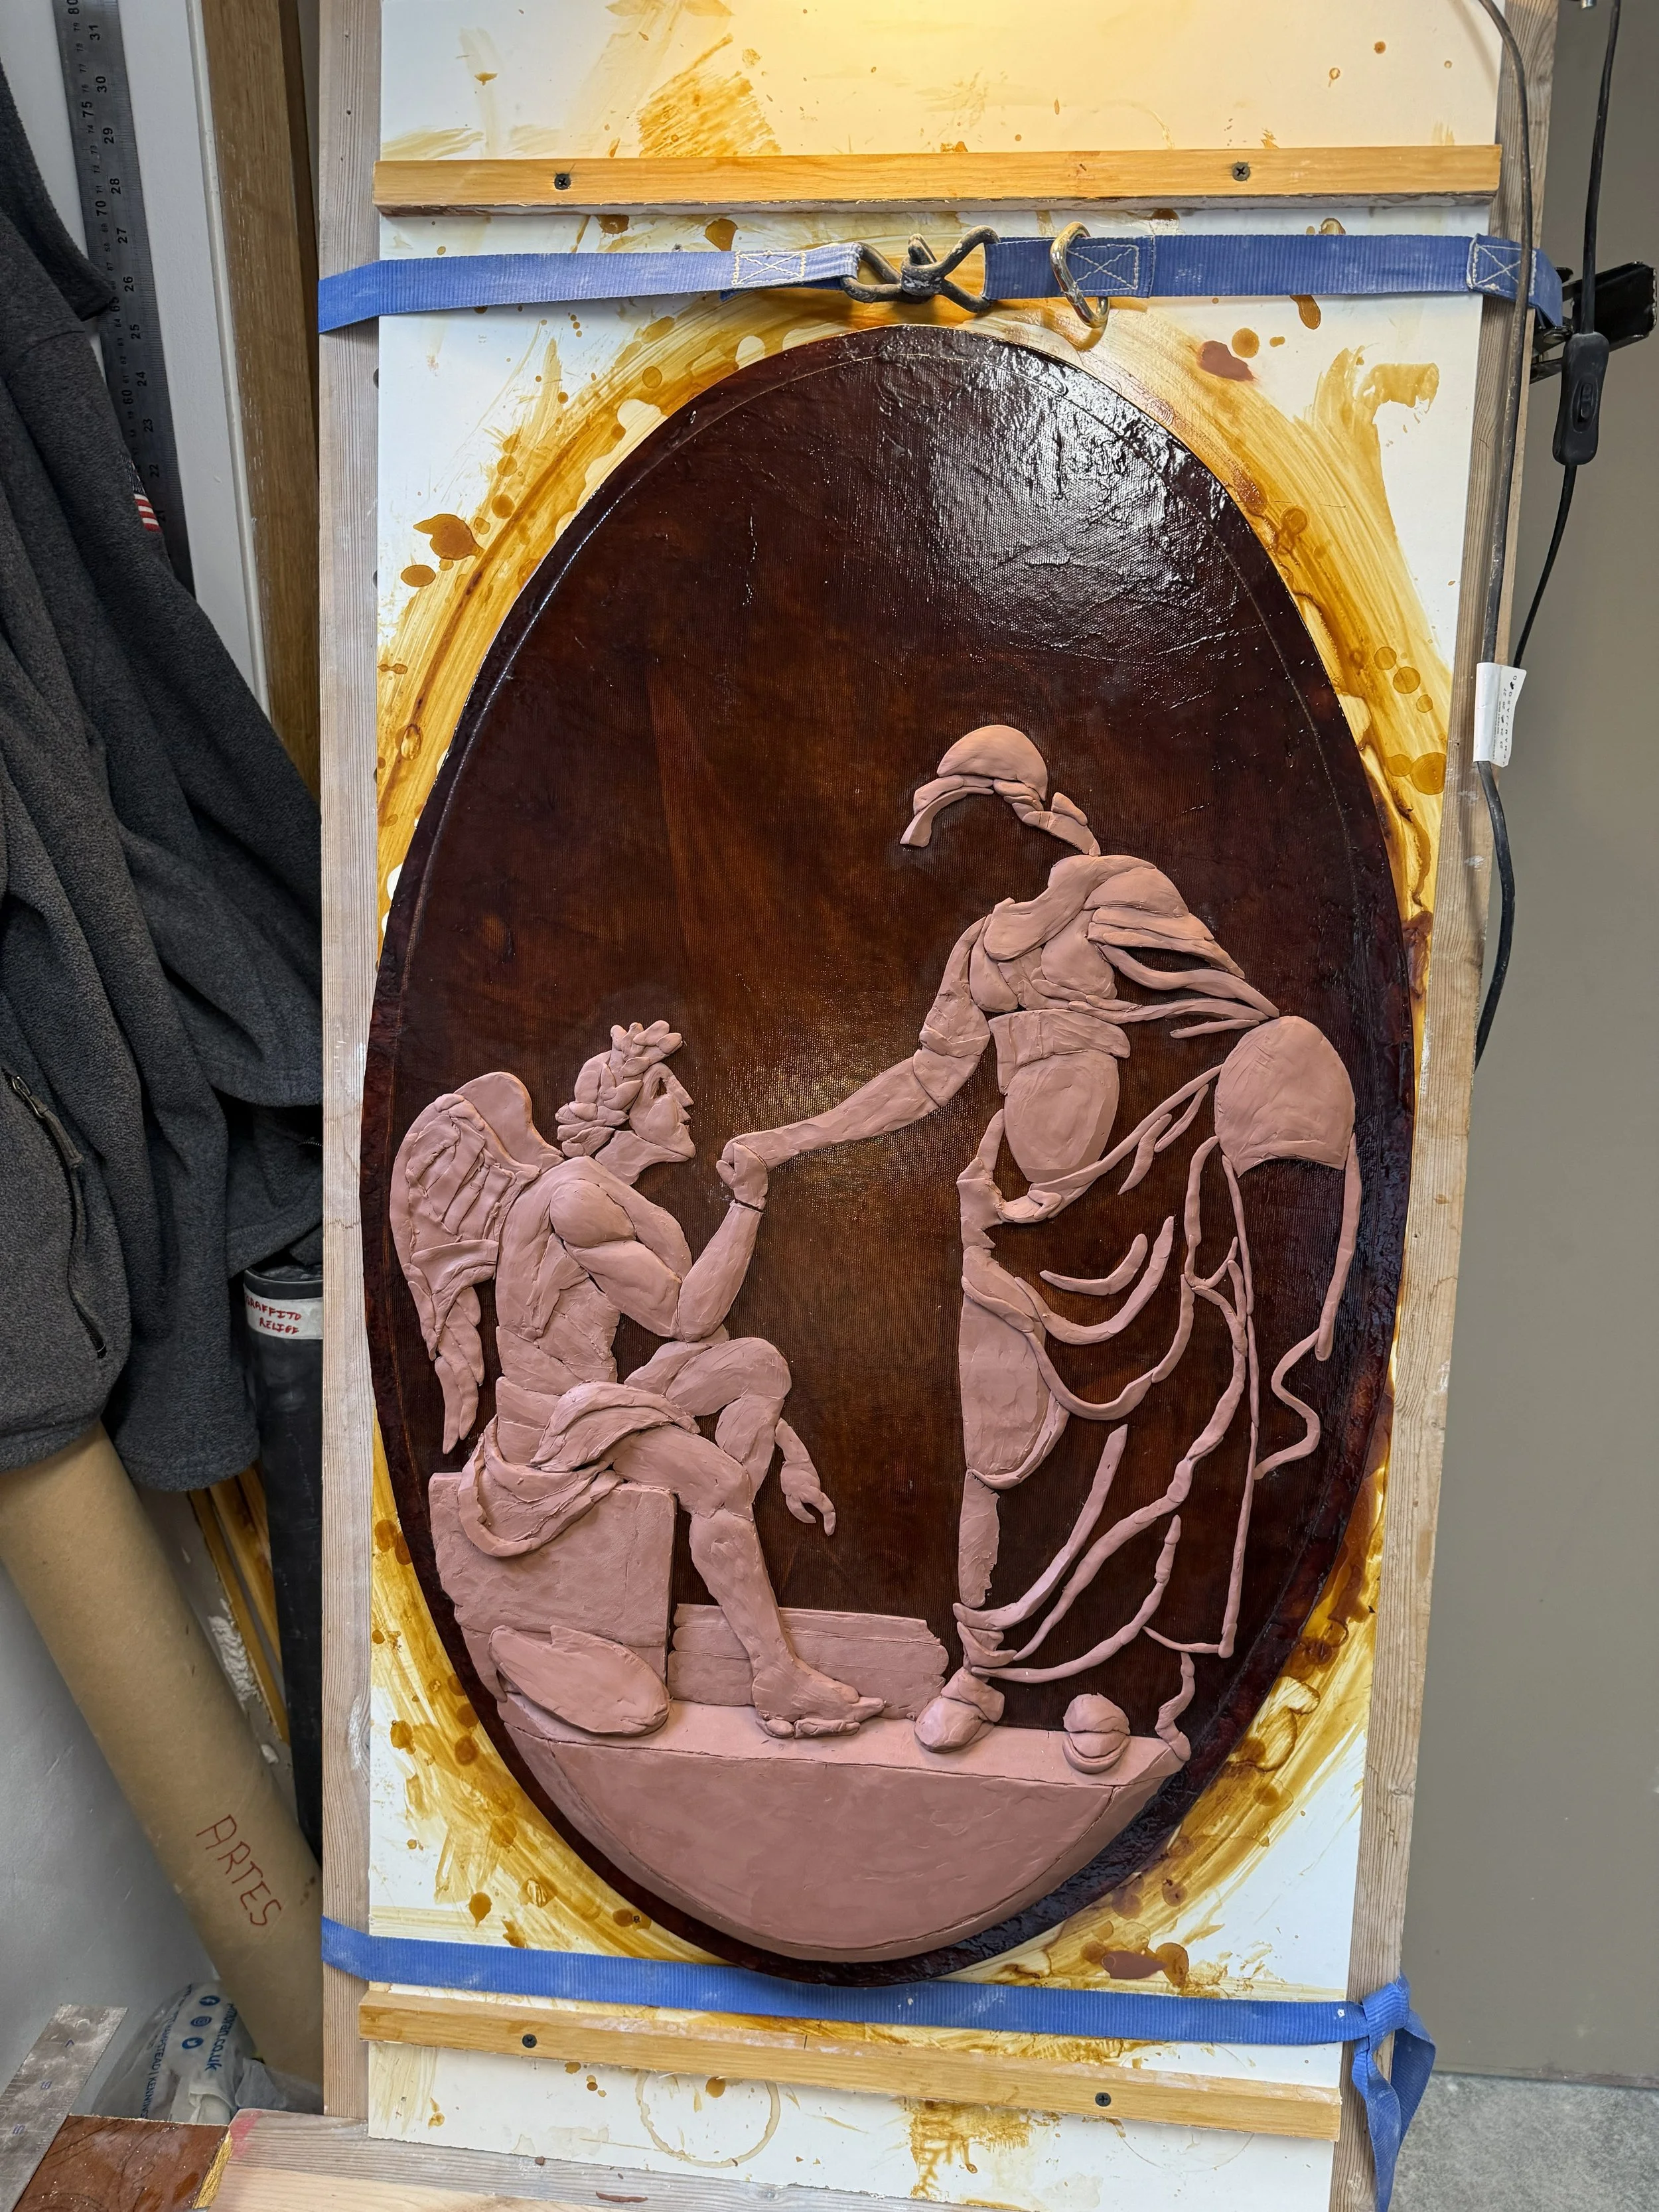
since Athena’s face in the original is worn away and no detail can be seen i decided to try and use the proportions of the Psyche of Naples for a face. I always thought this statue is one of the most beautiful
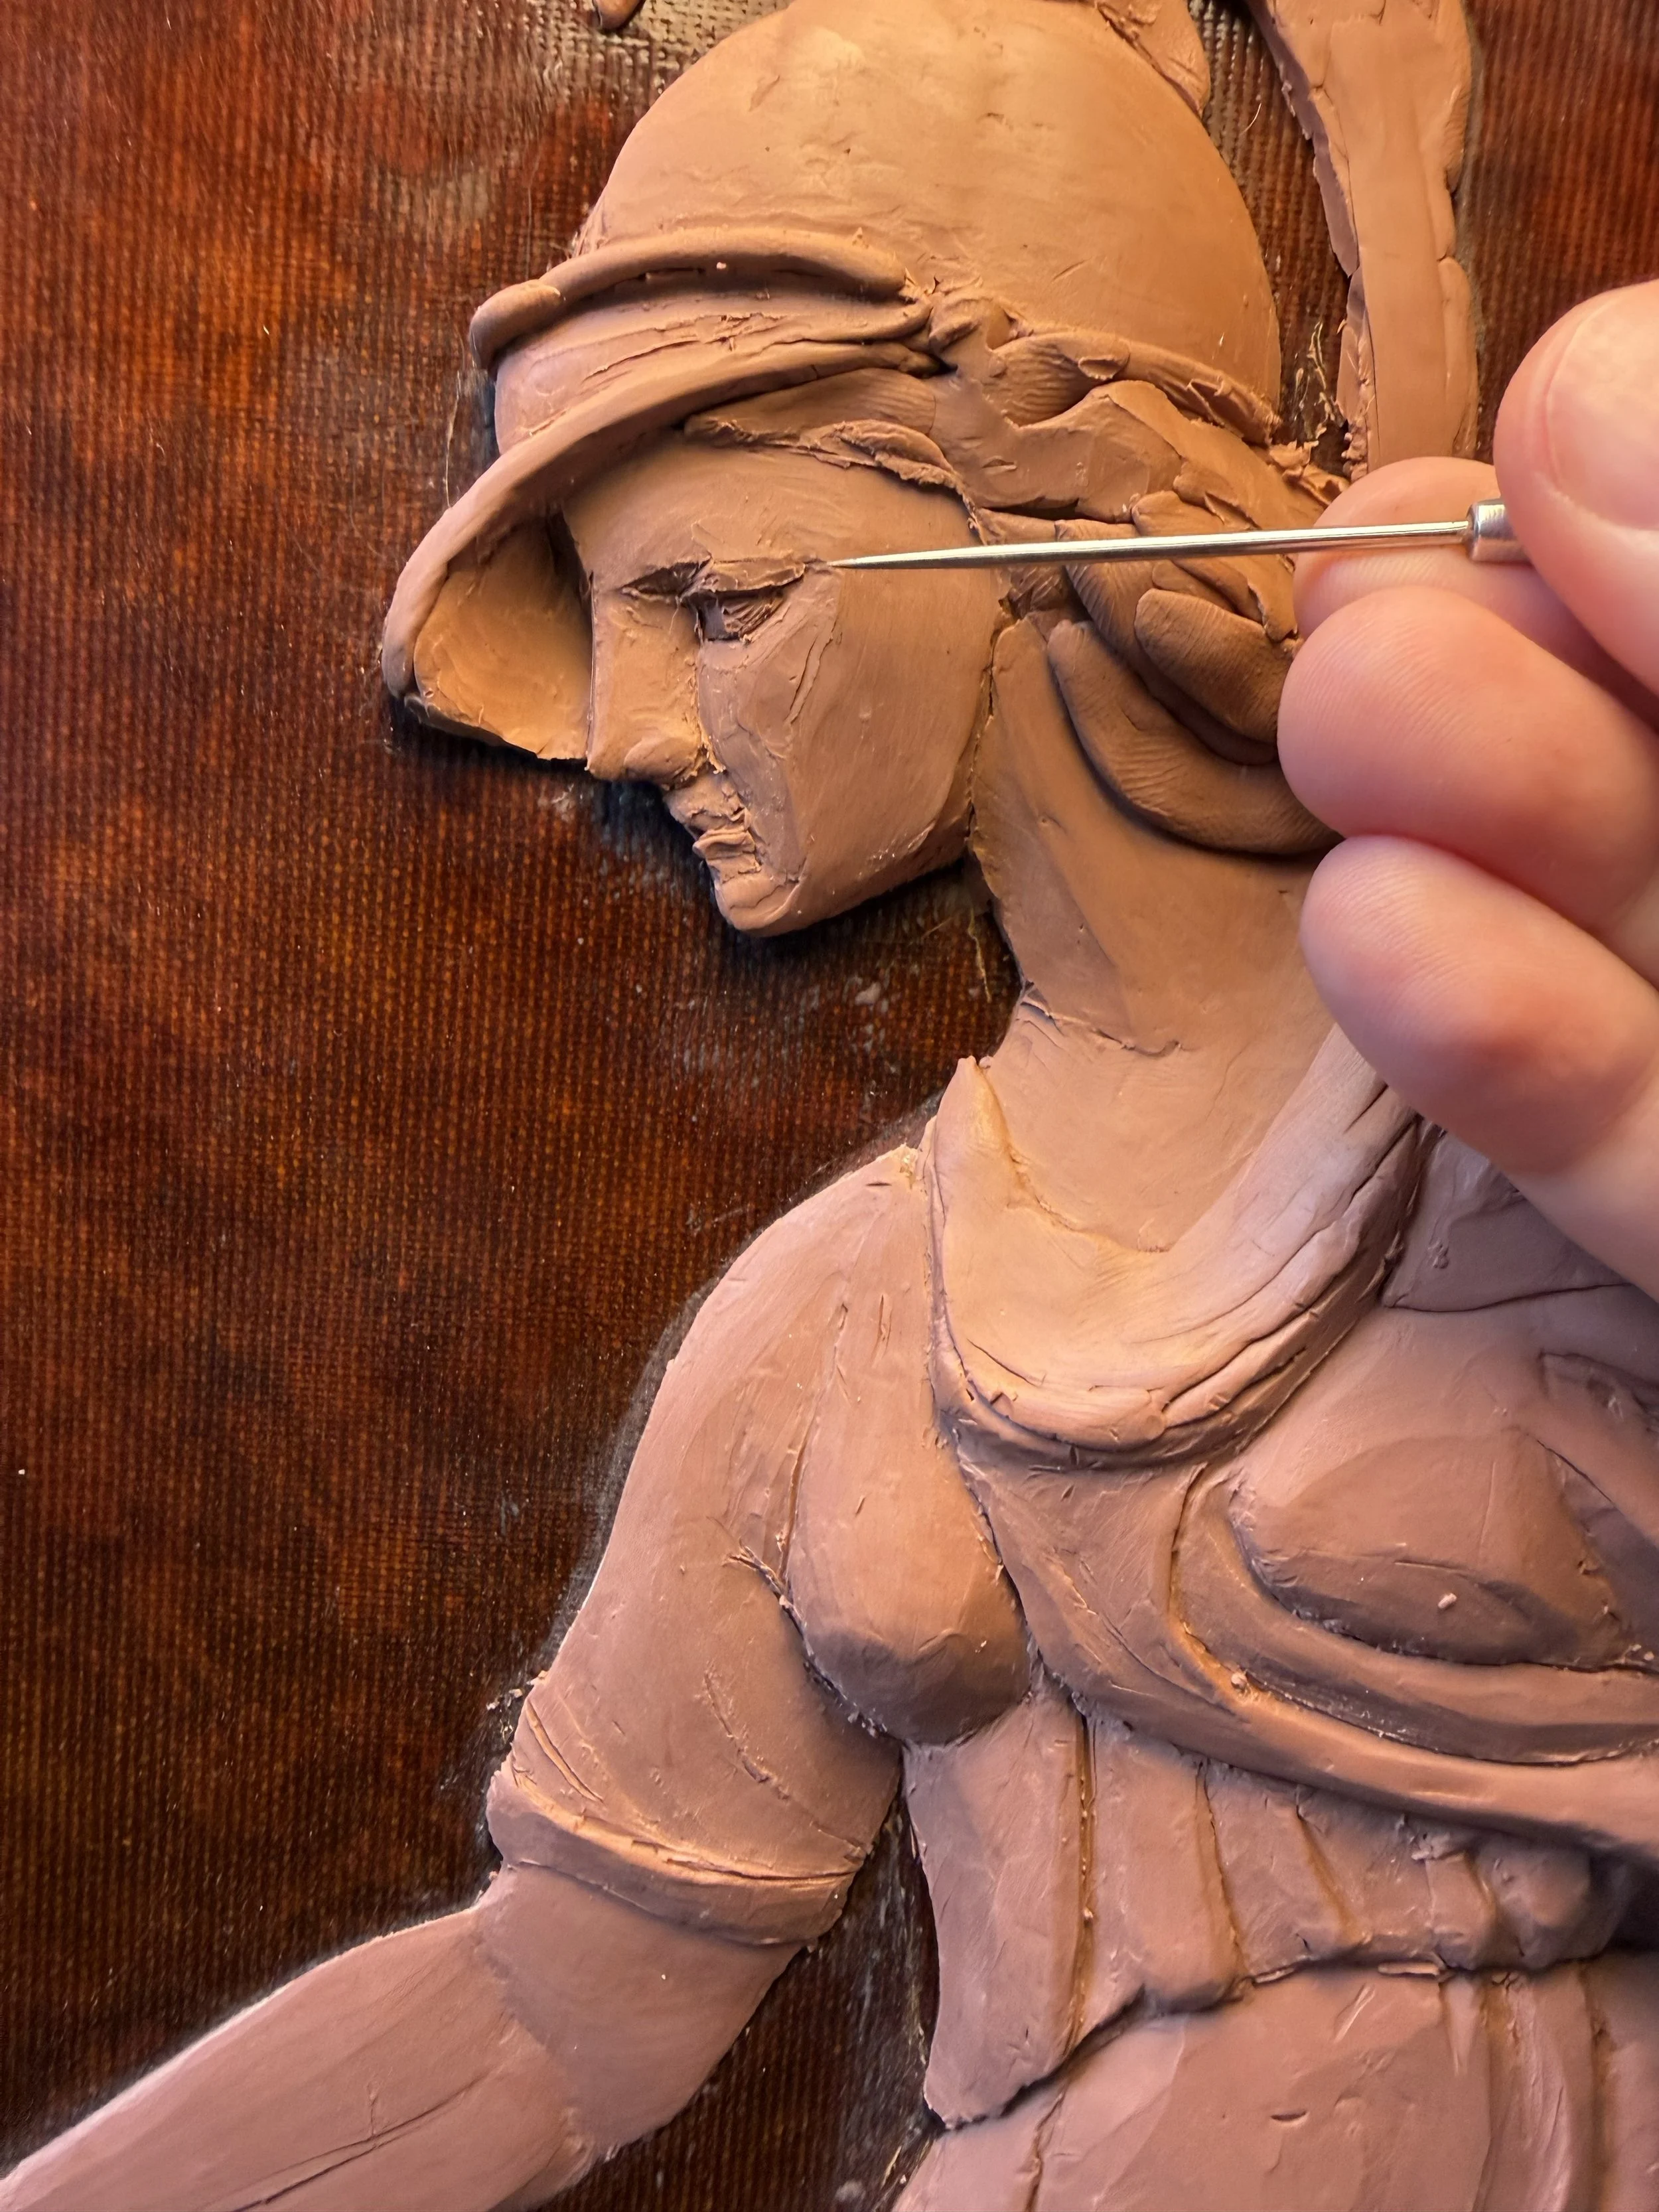
here again trying to adjust the angles and gaze correctly
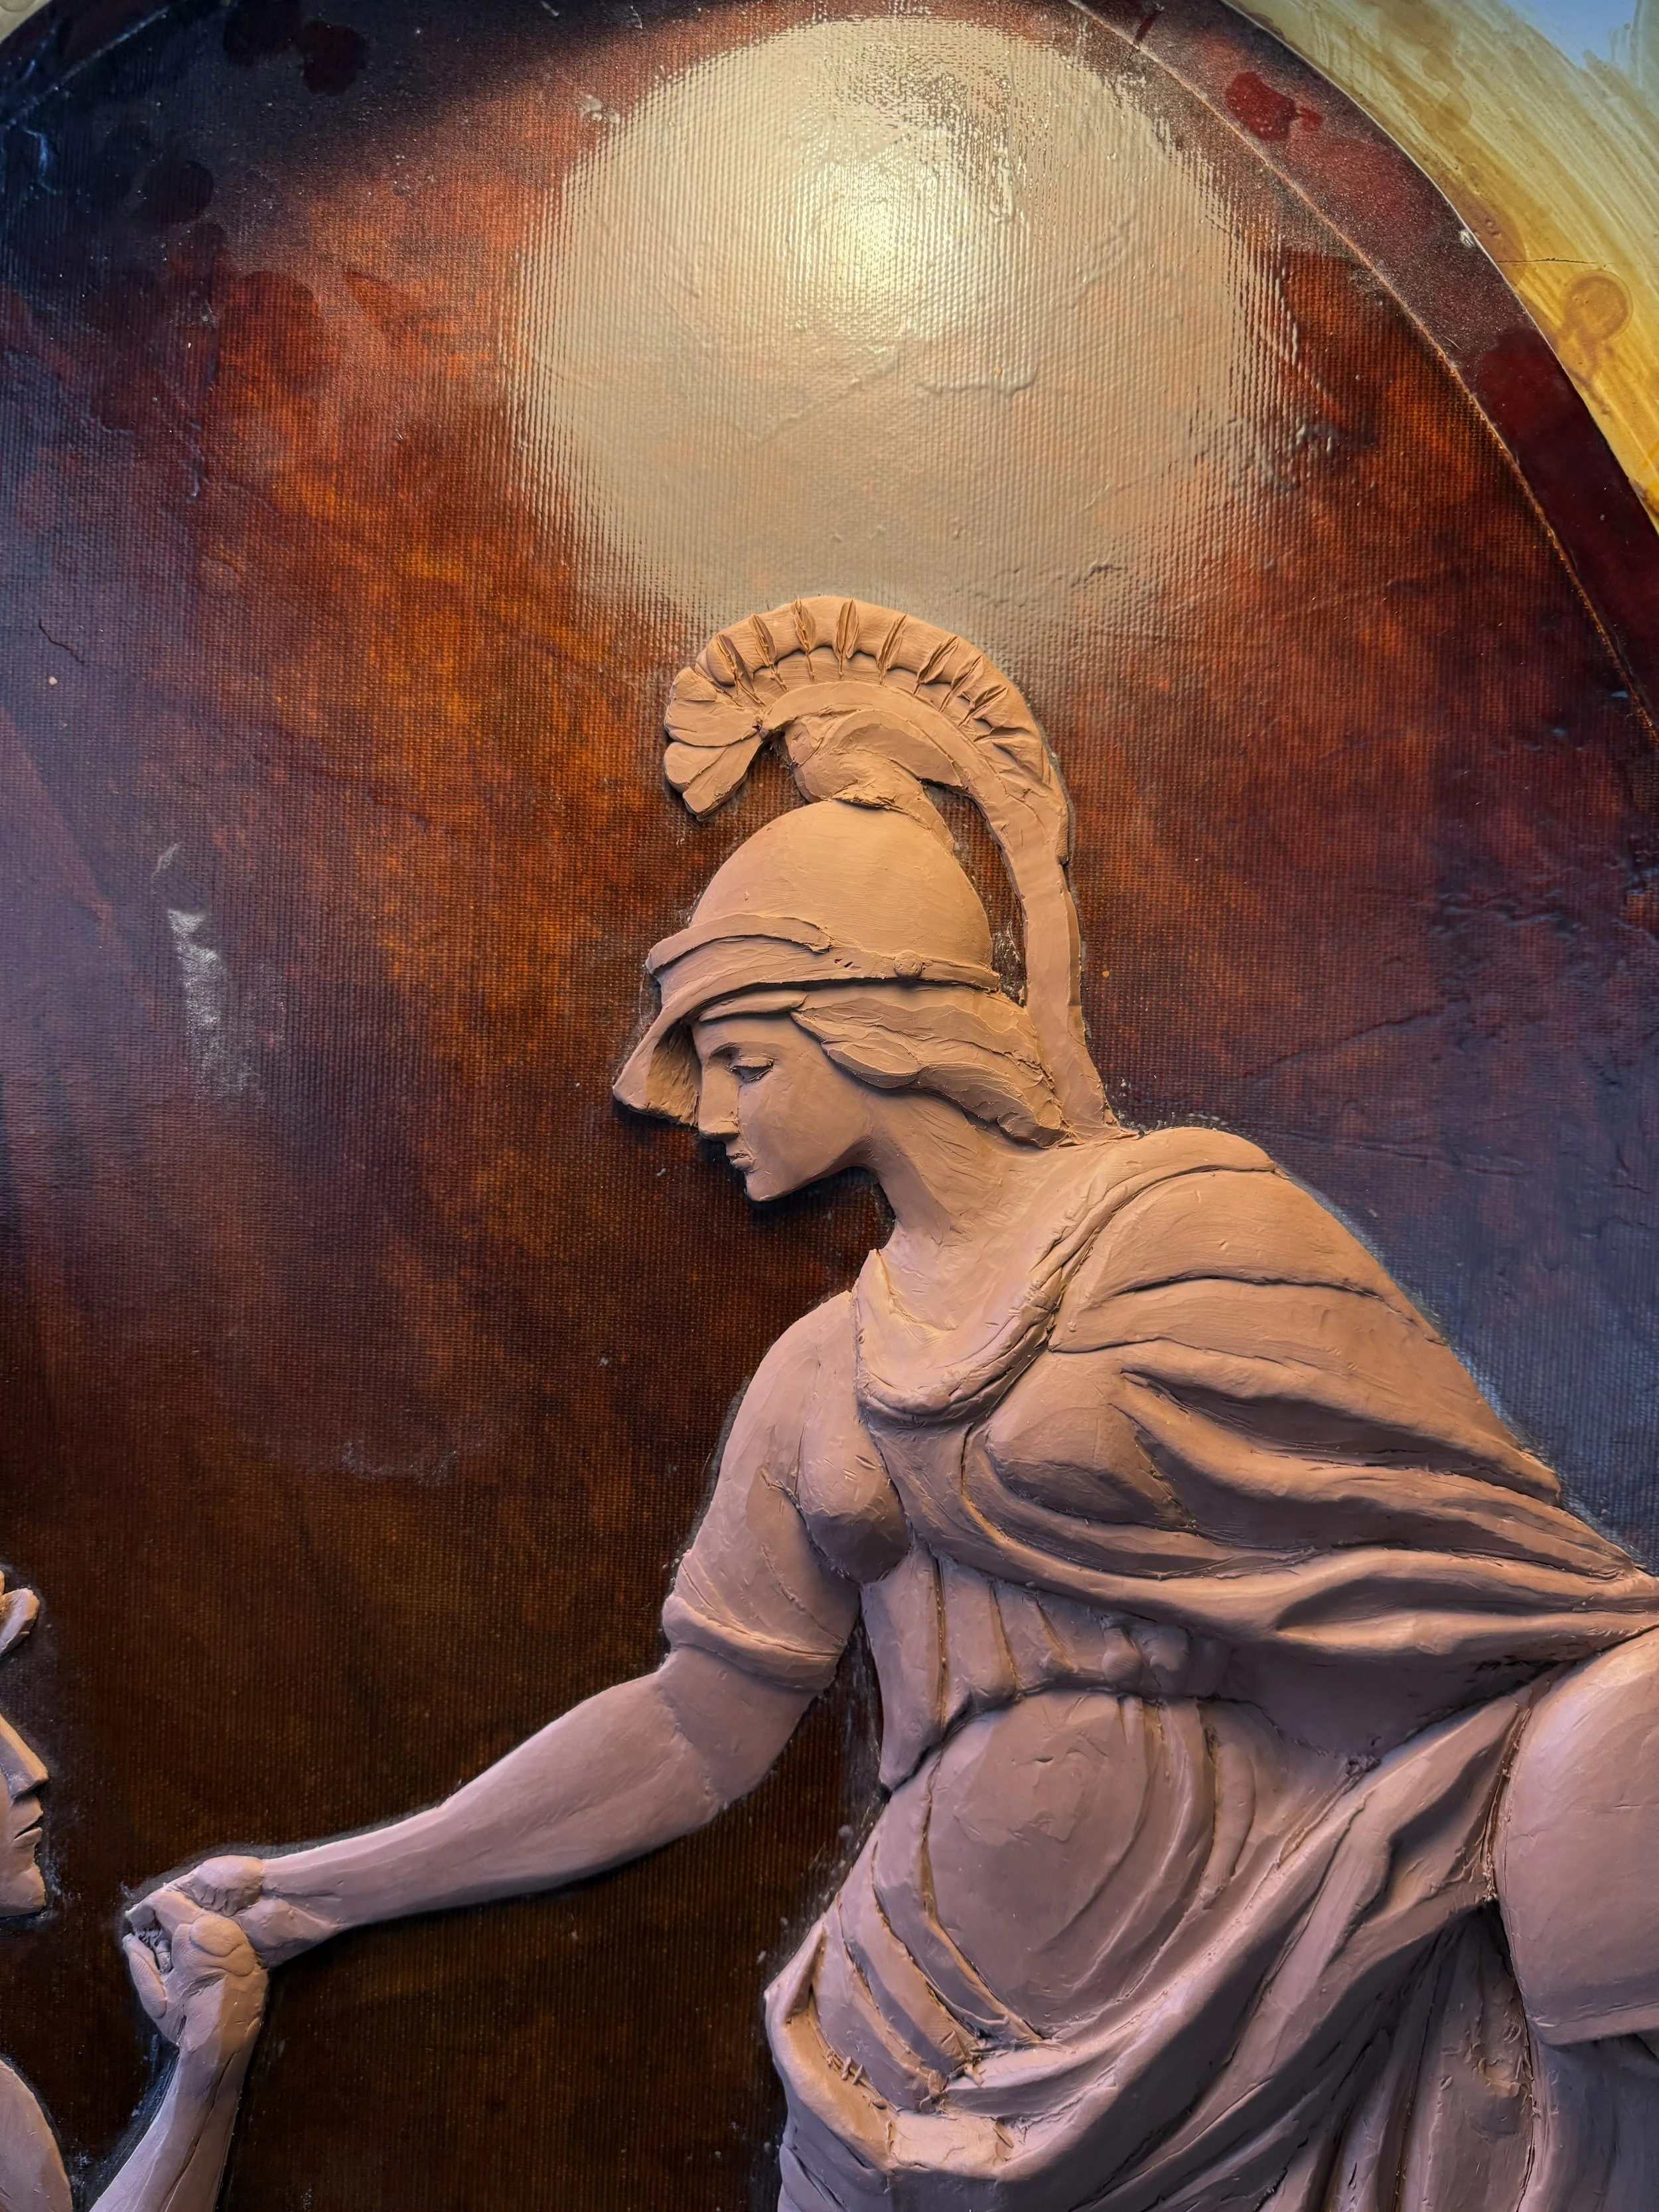
slight distortions in the face and working on hair and the helmet
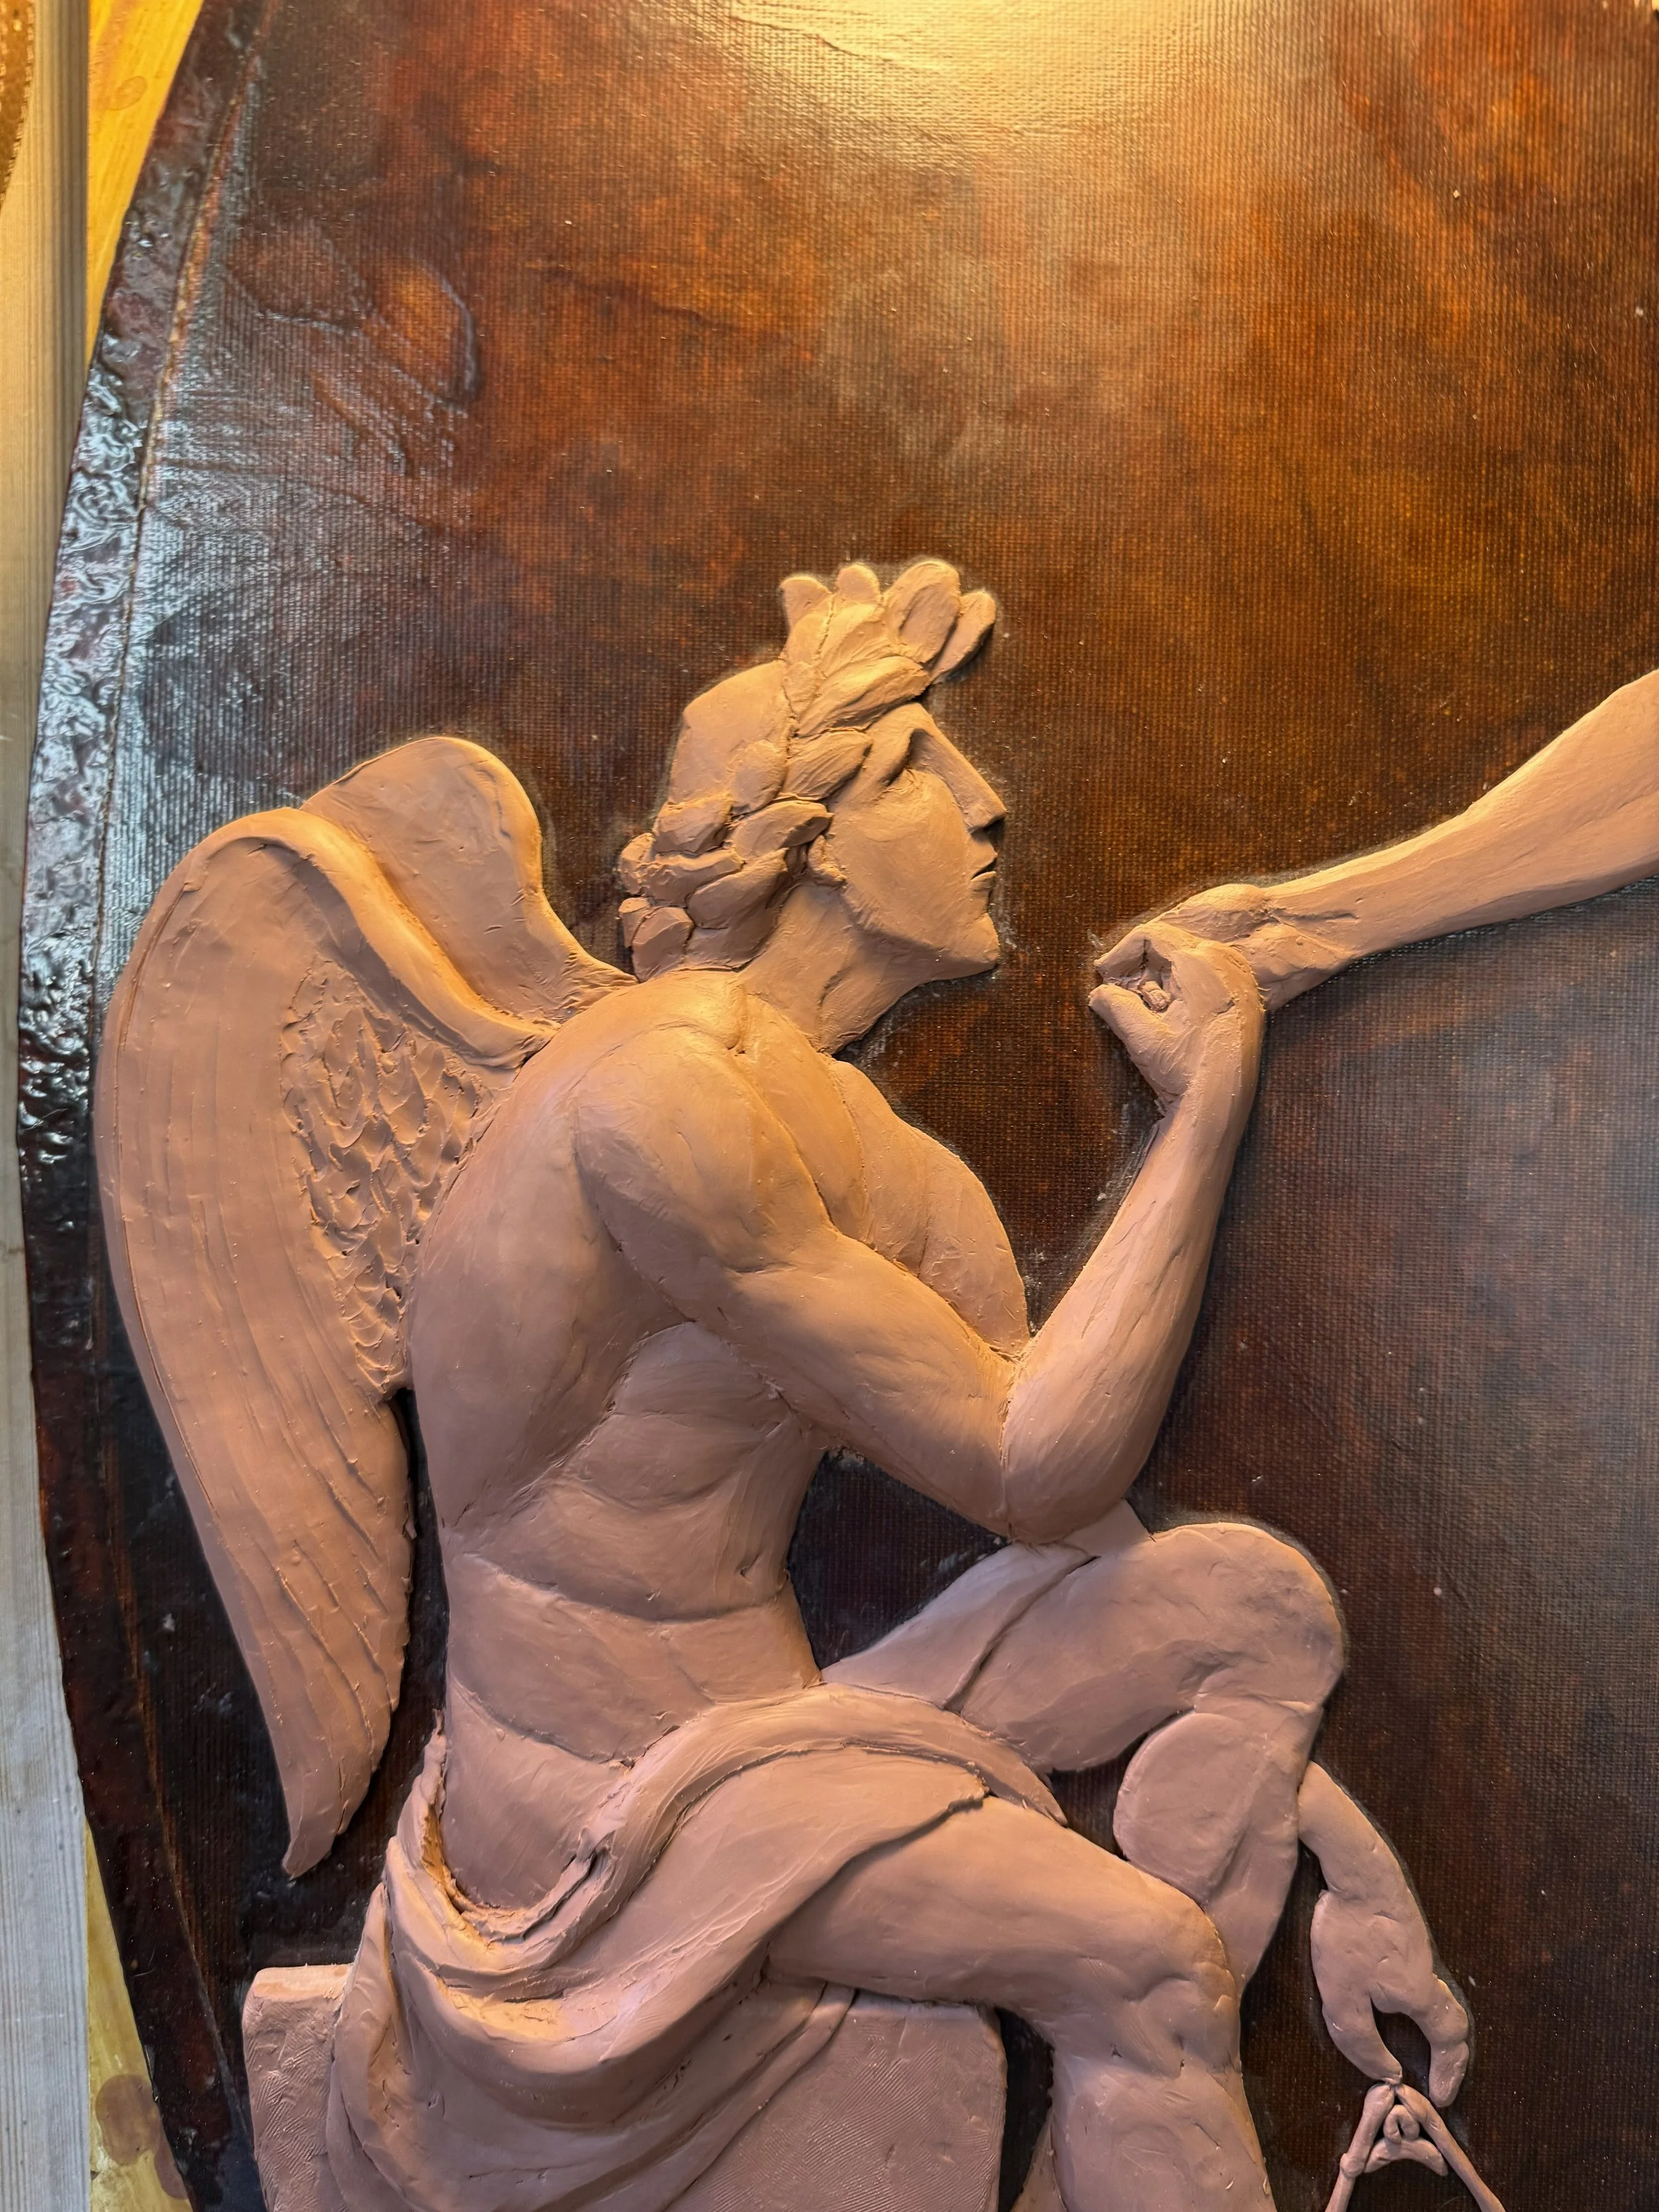
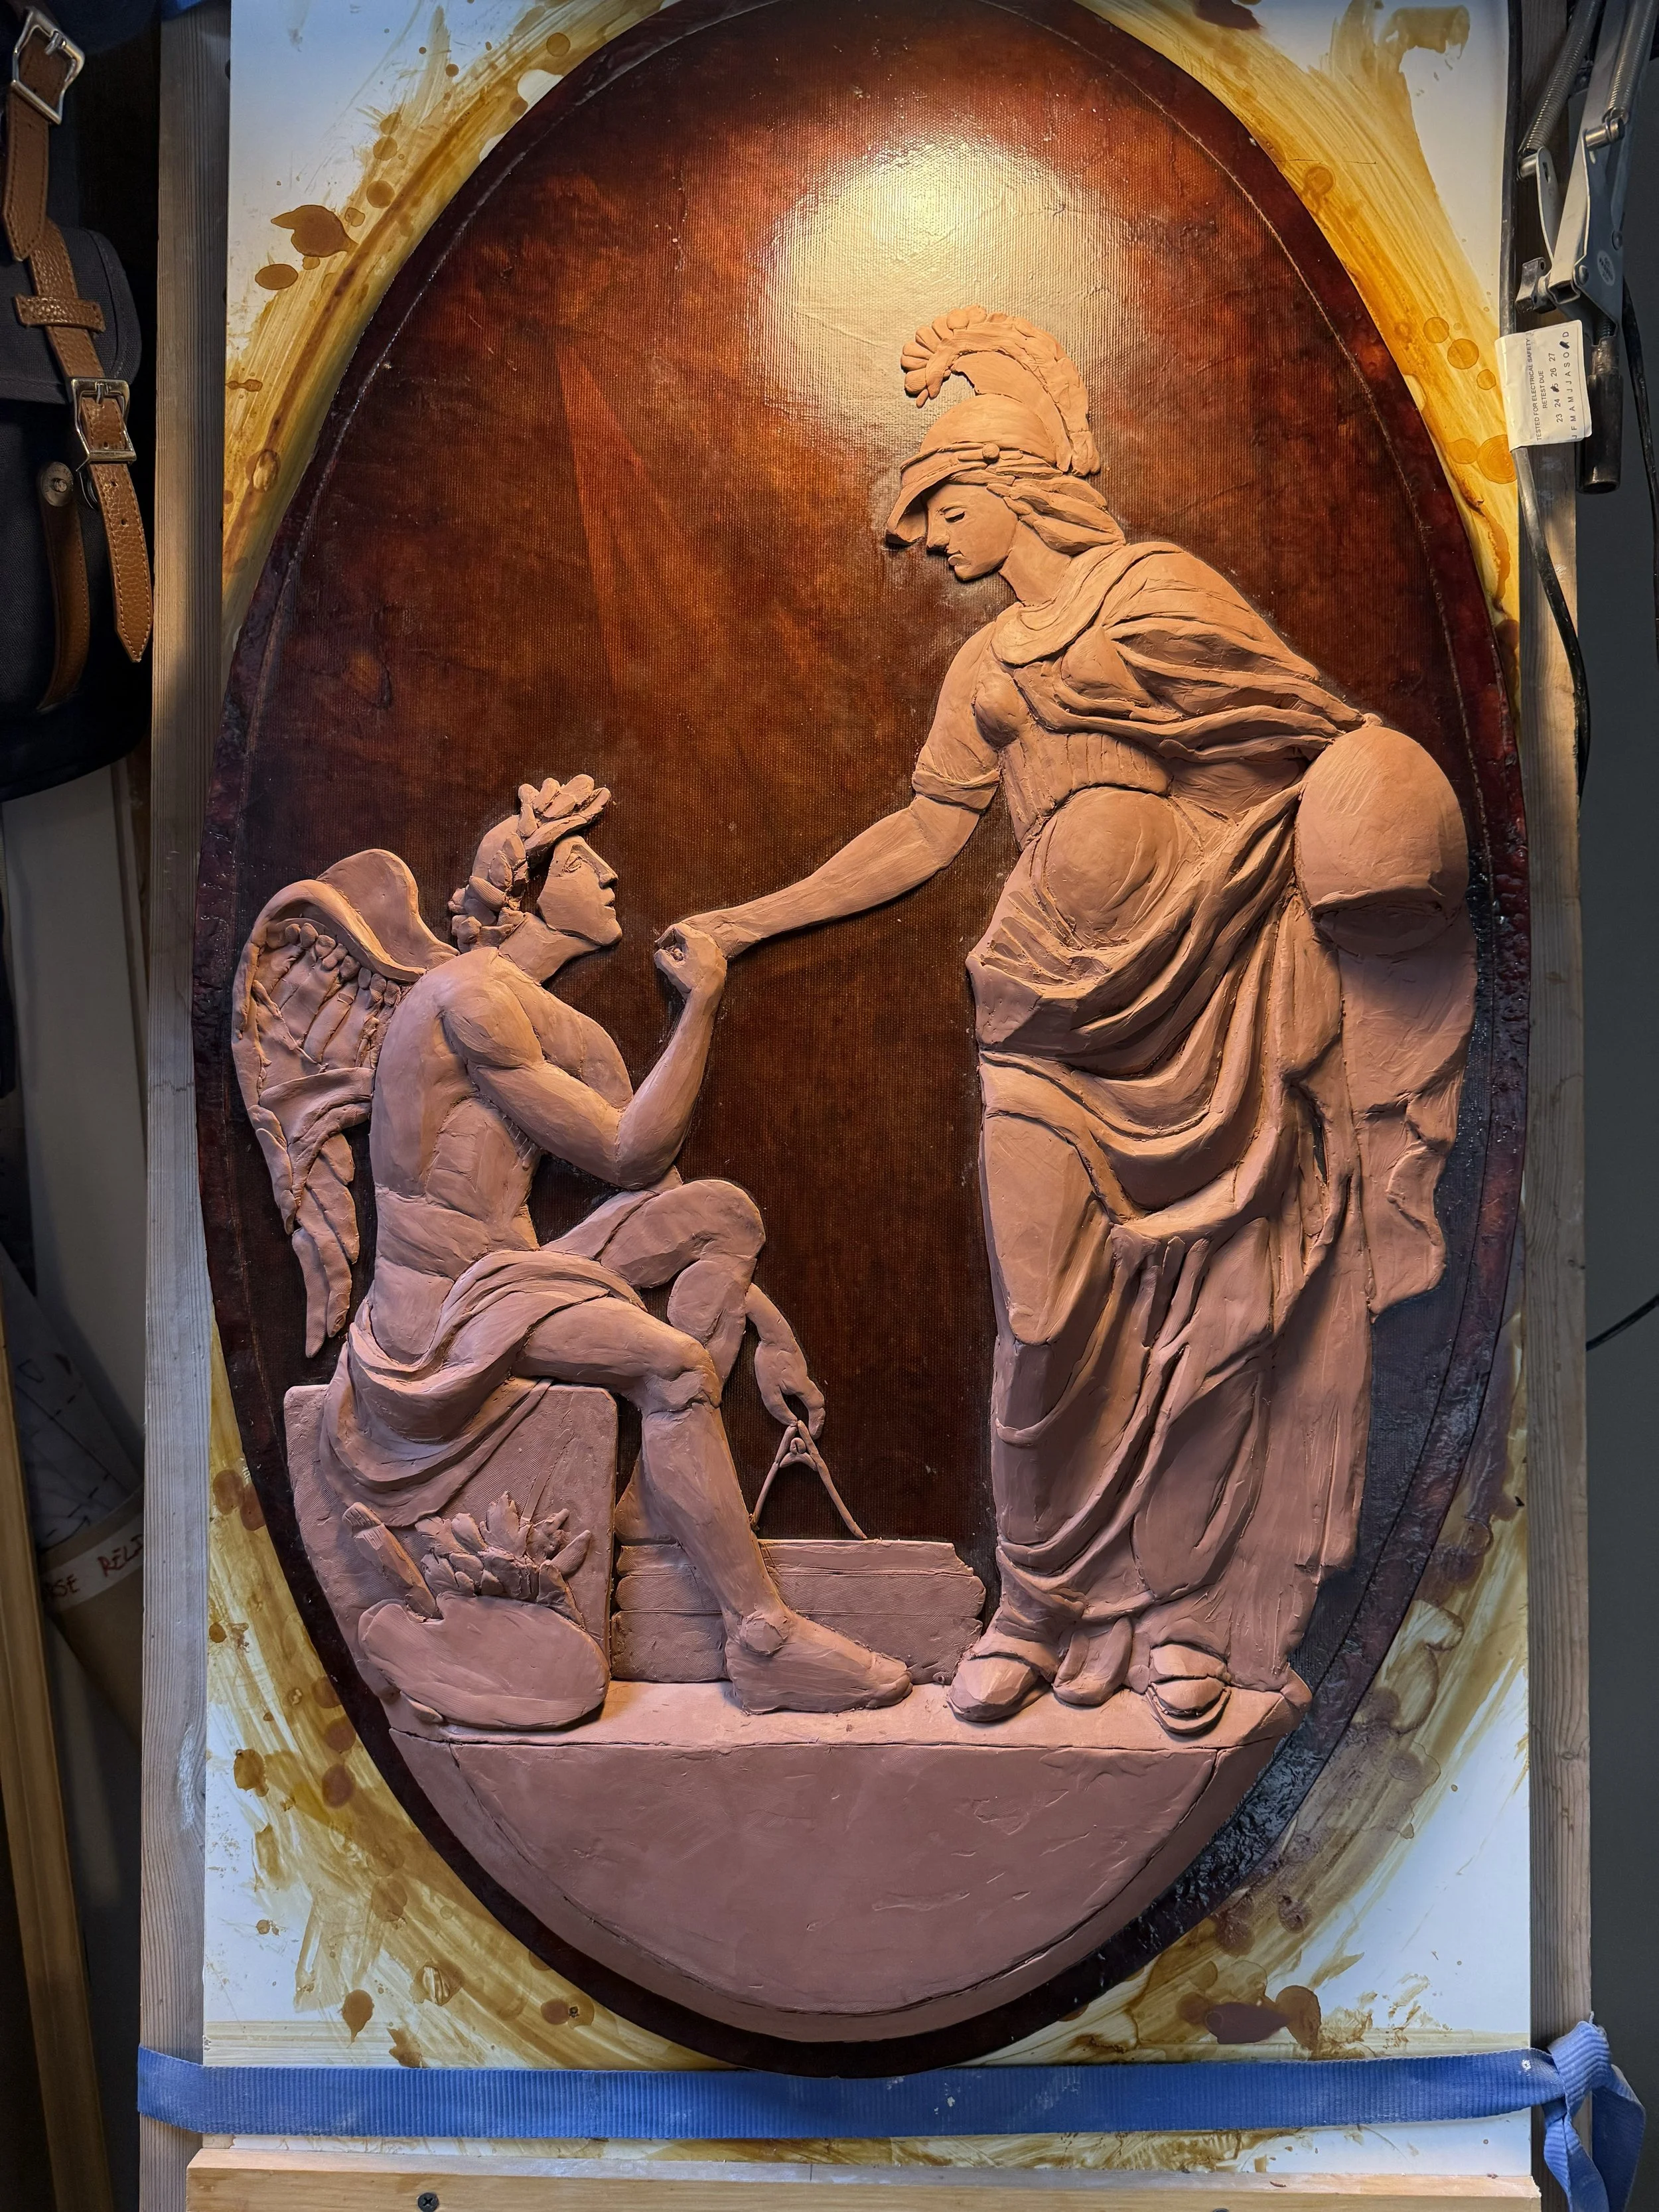
The curve and glance on the angel was difficult but mostly content at this point
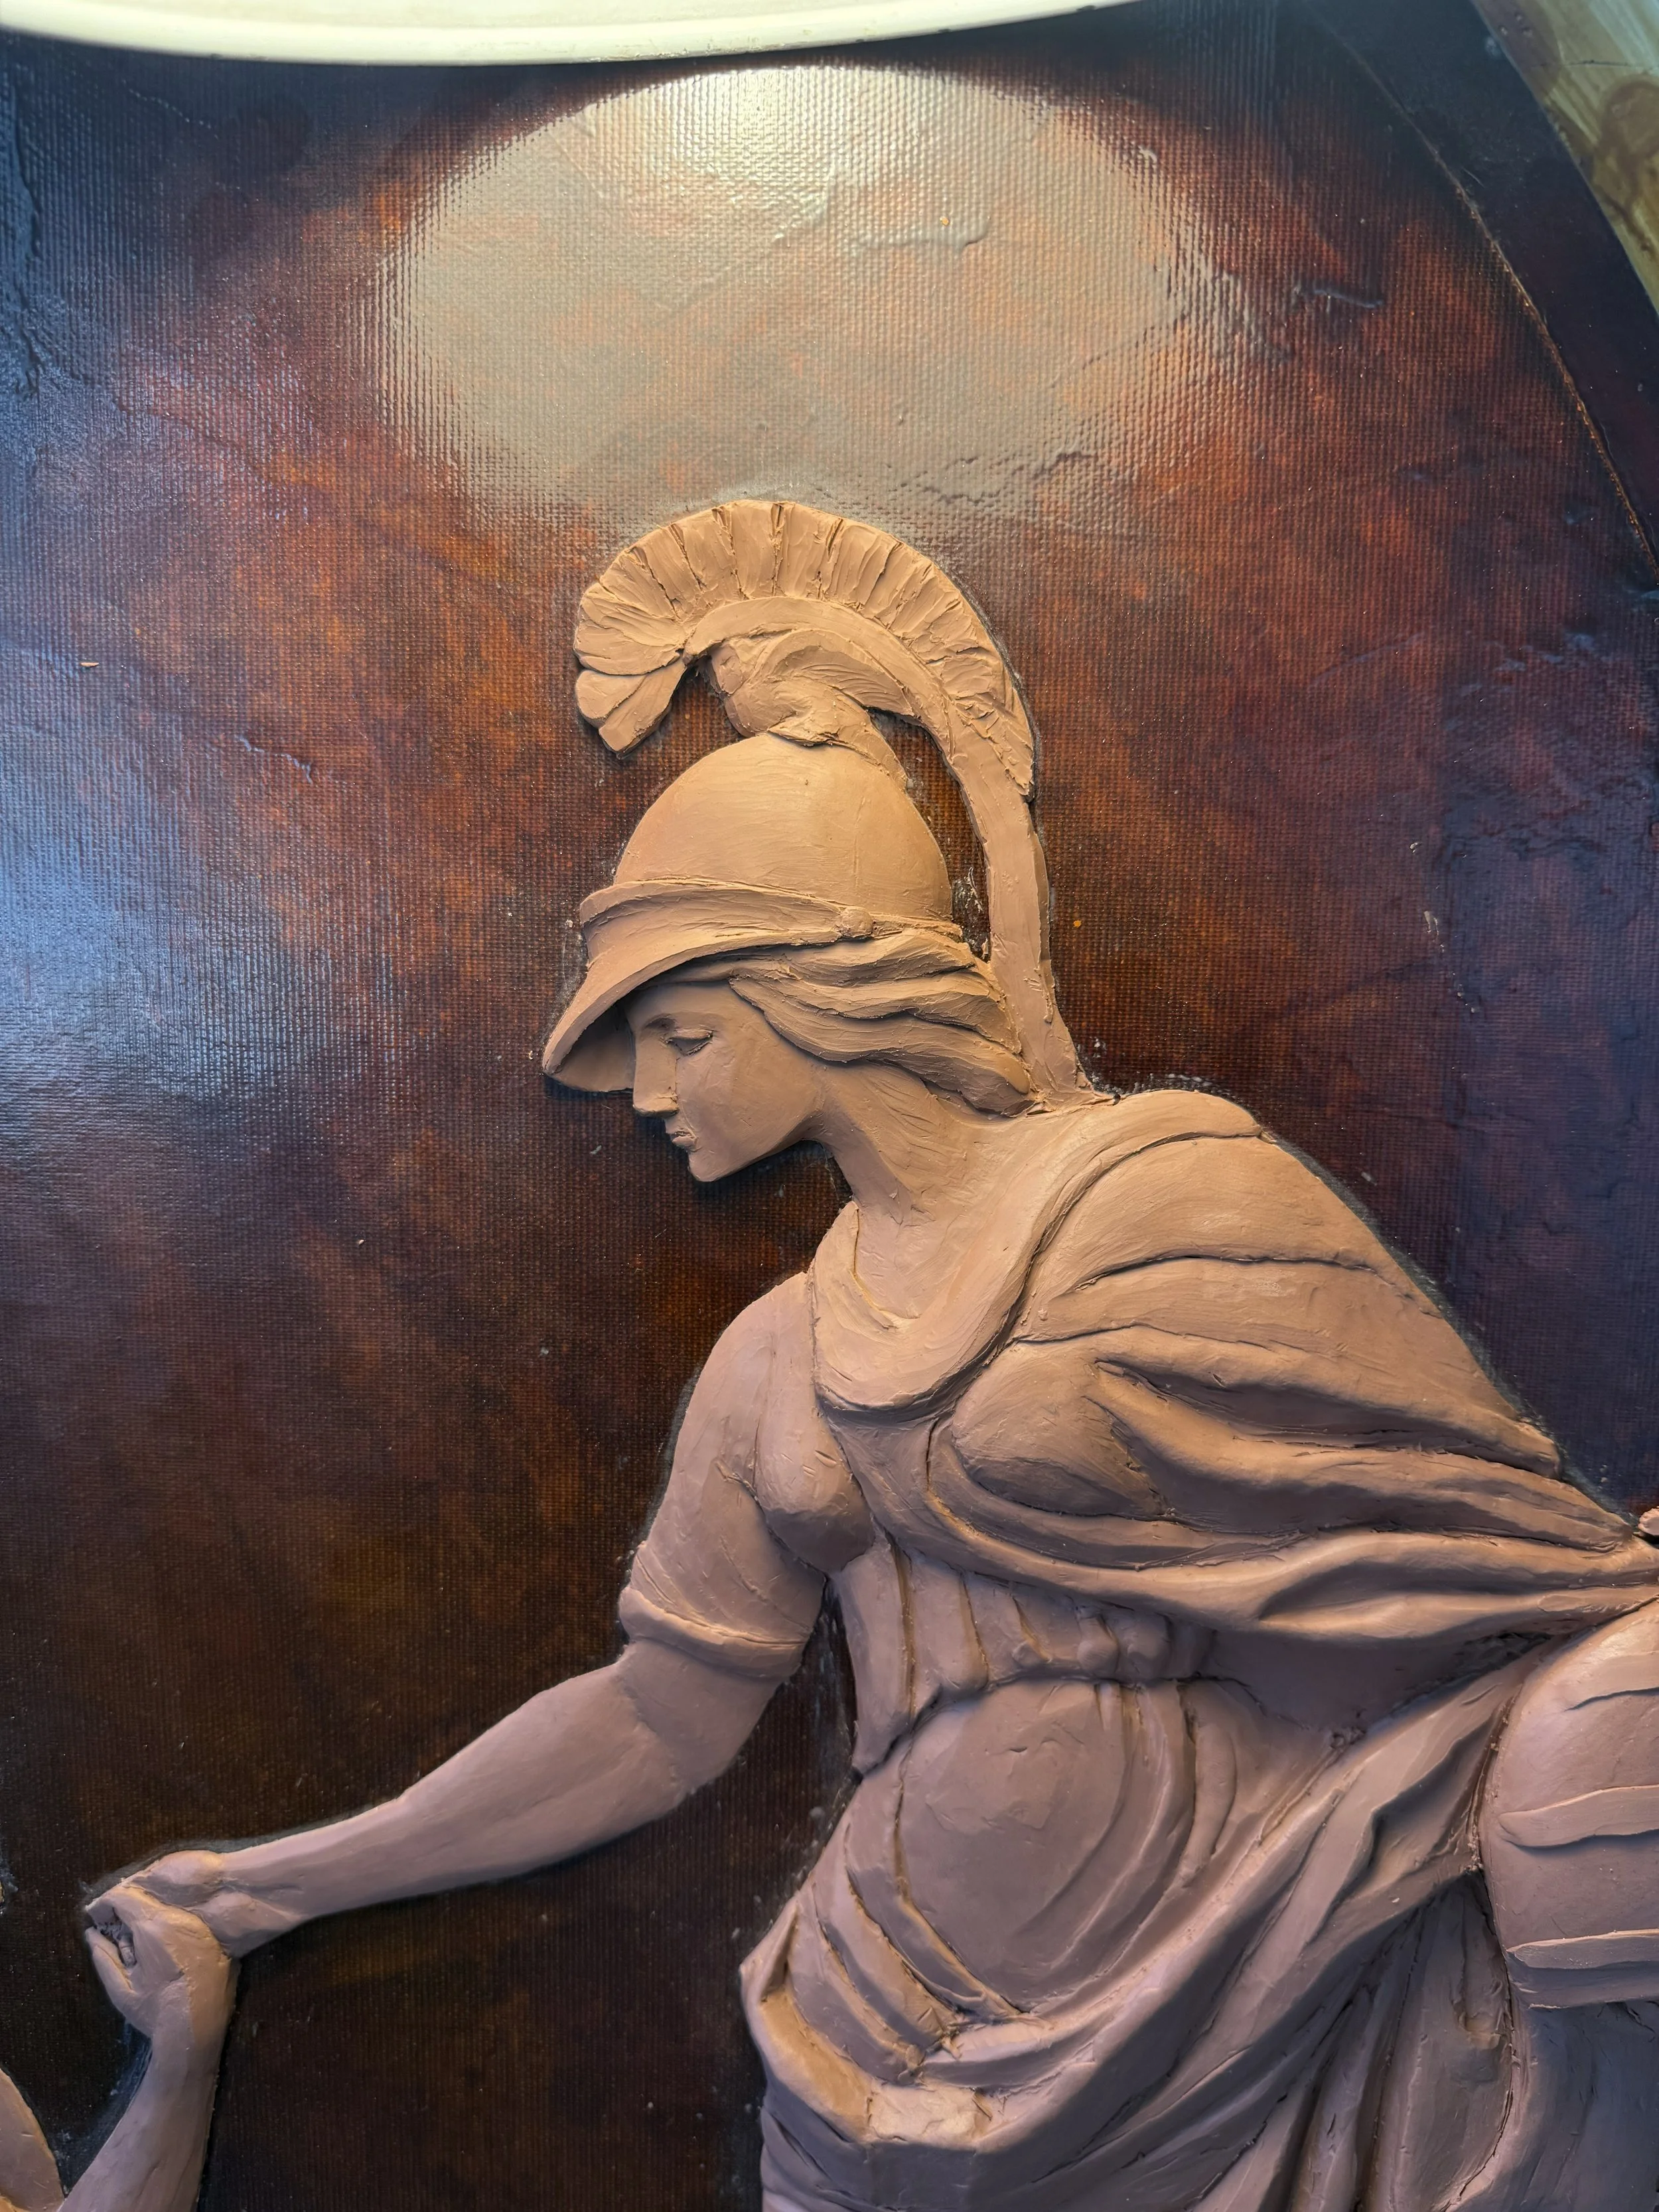
Helmet detailed and hair fixed I put a owl on the helmet crest because I think Athena would approve
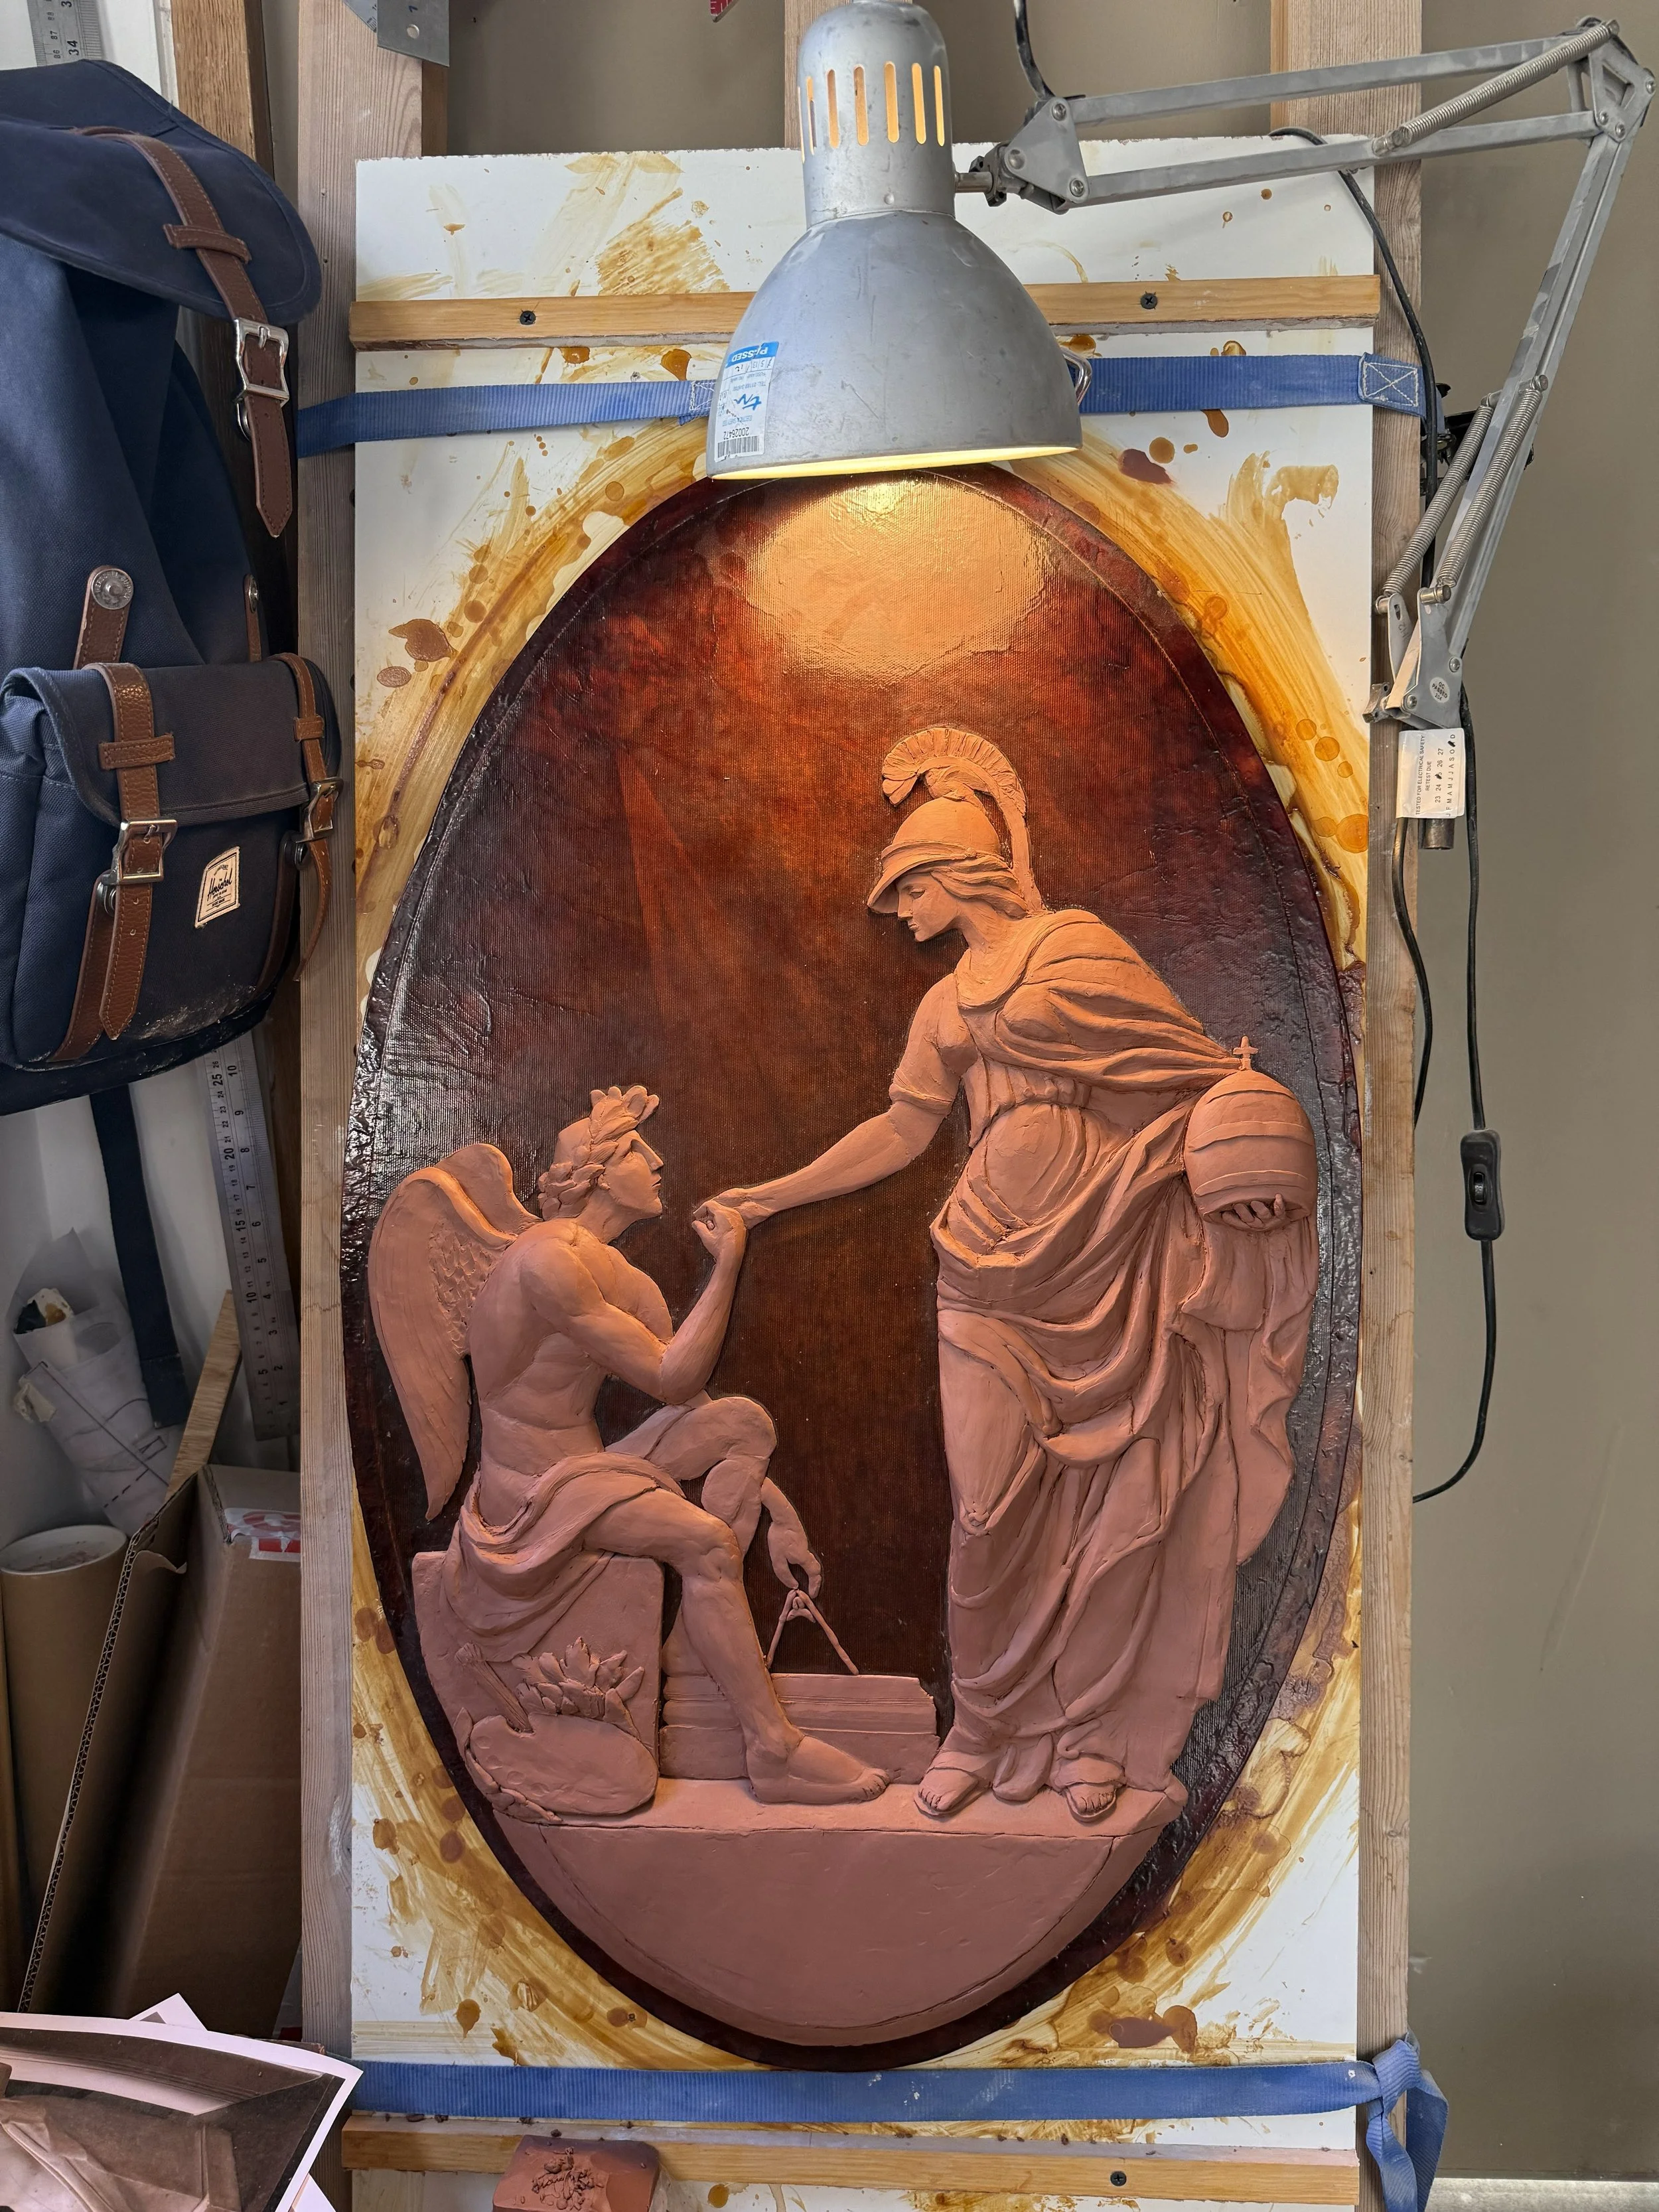
Ready for casting