Editing a mould and glass casting
In this project I take the ornamental sgraffito design I made earlier and edit it, so that it no longer has the joining ornamentals on the sides to make a running moulding, but only contains the central. to do this I will have to make alteartions to the mould before i cast it in crystal cast, a special type of plaster that stands up to high temperature for glass casting. I have never worked with glass before so wanted to take the chance when i could this year.
A nice shade of blue glass, it is pretty but expensive! This one billet cost 50$. I would end up needing 10 billets. Consider this before doing glass projects.
to make the alteration I first try a sample cast of the area to test the crystal cast material
Filling the area to make a sample cast
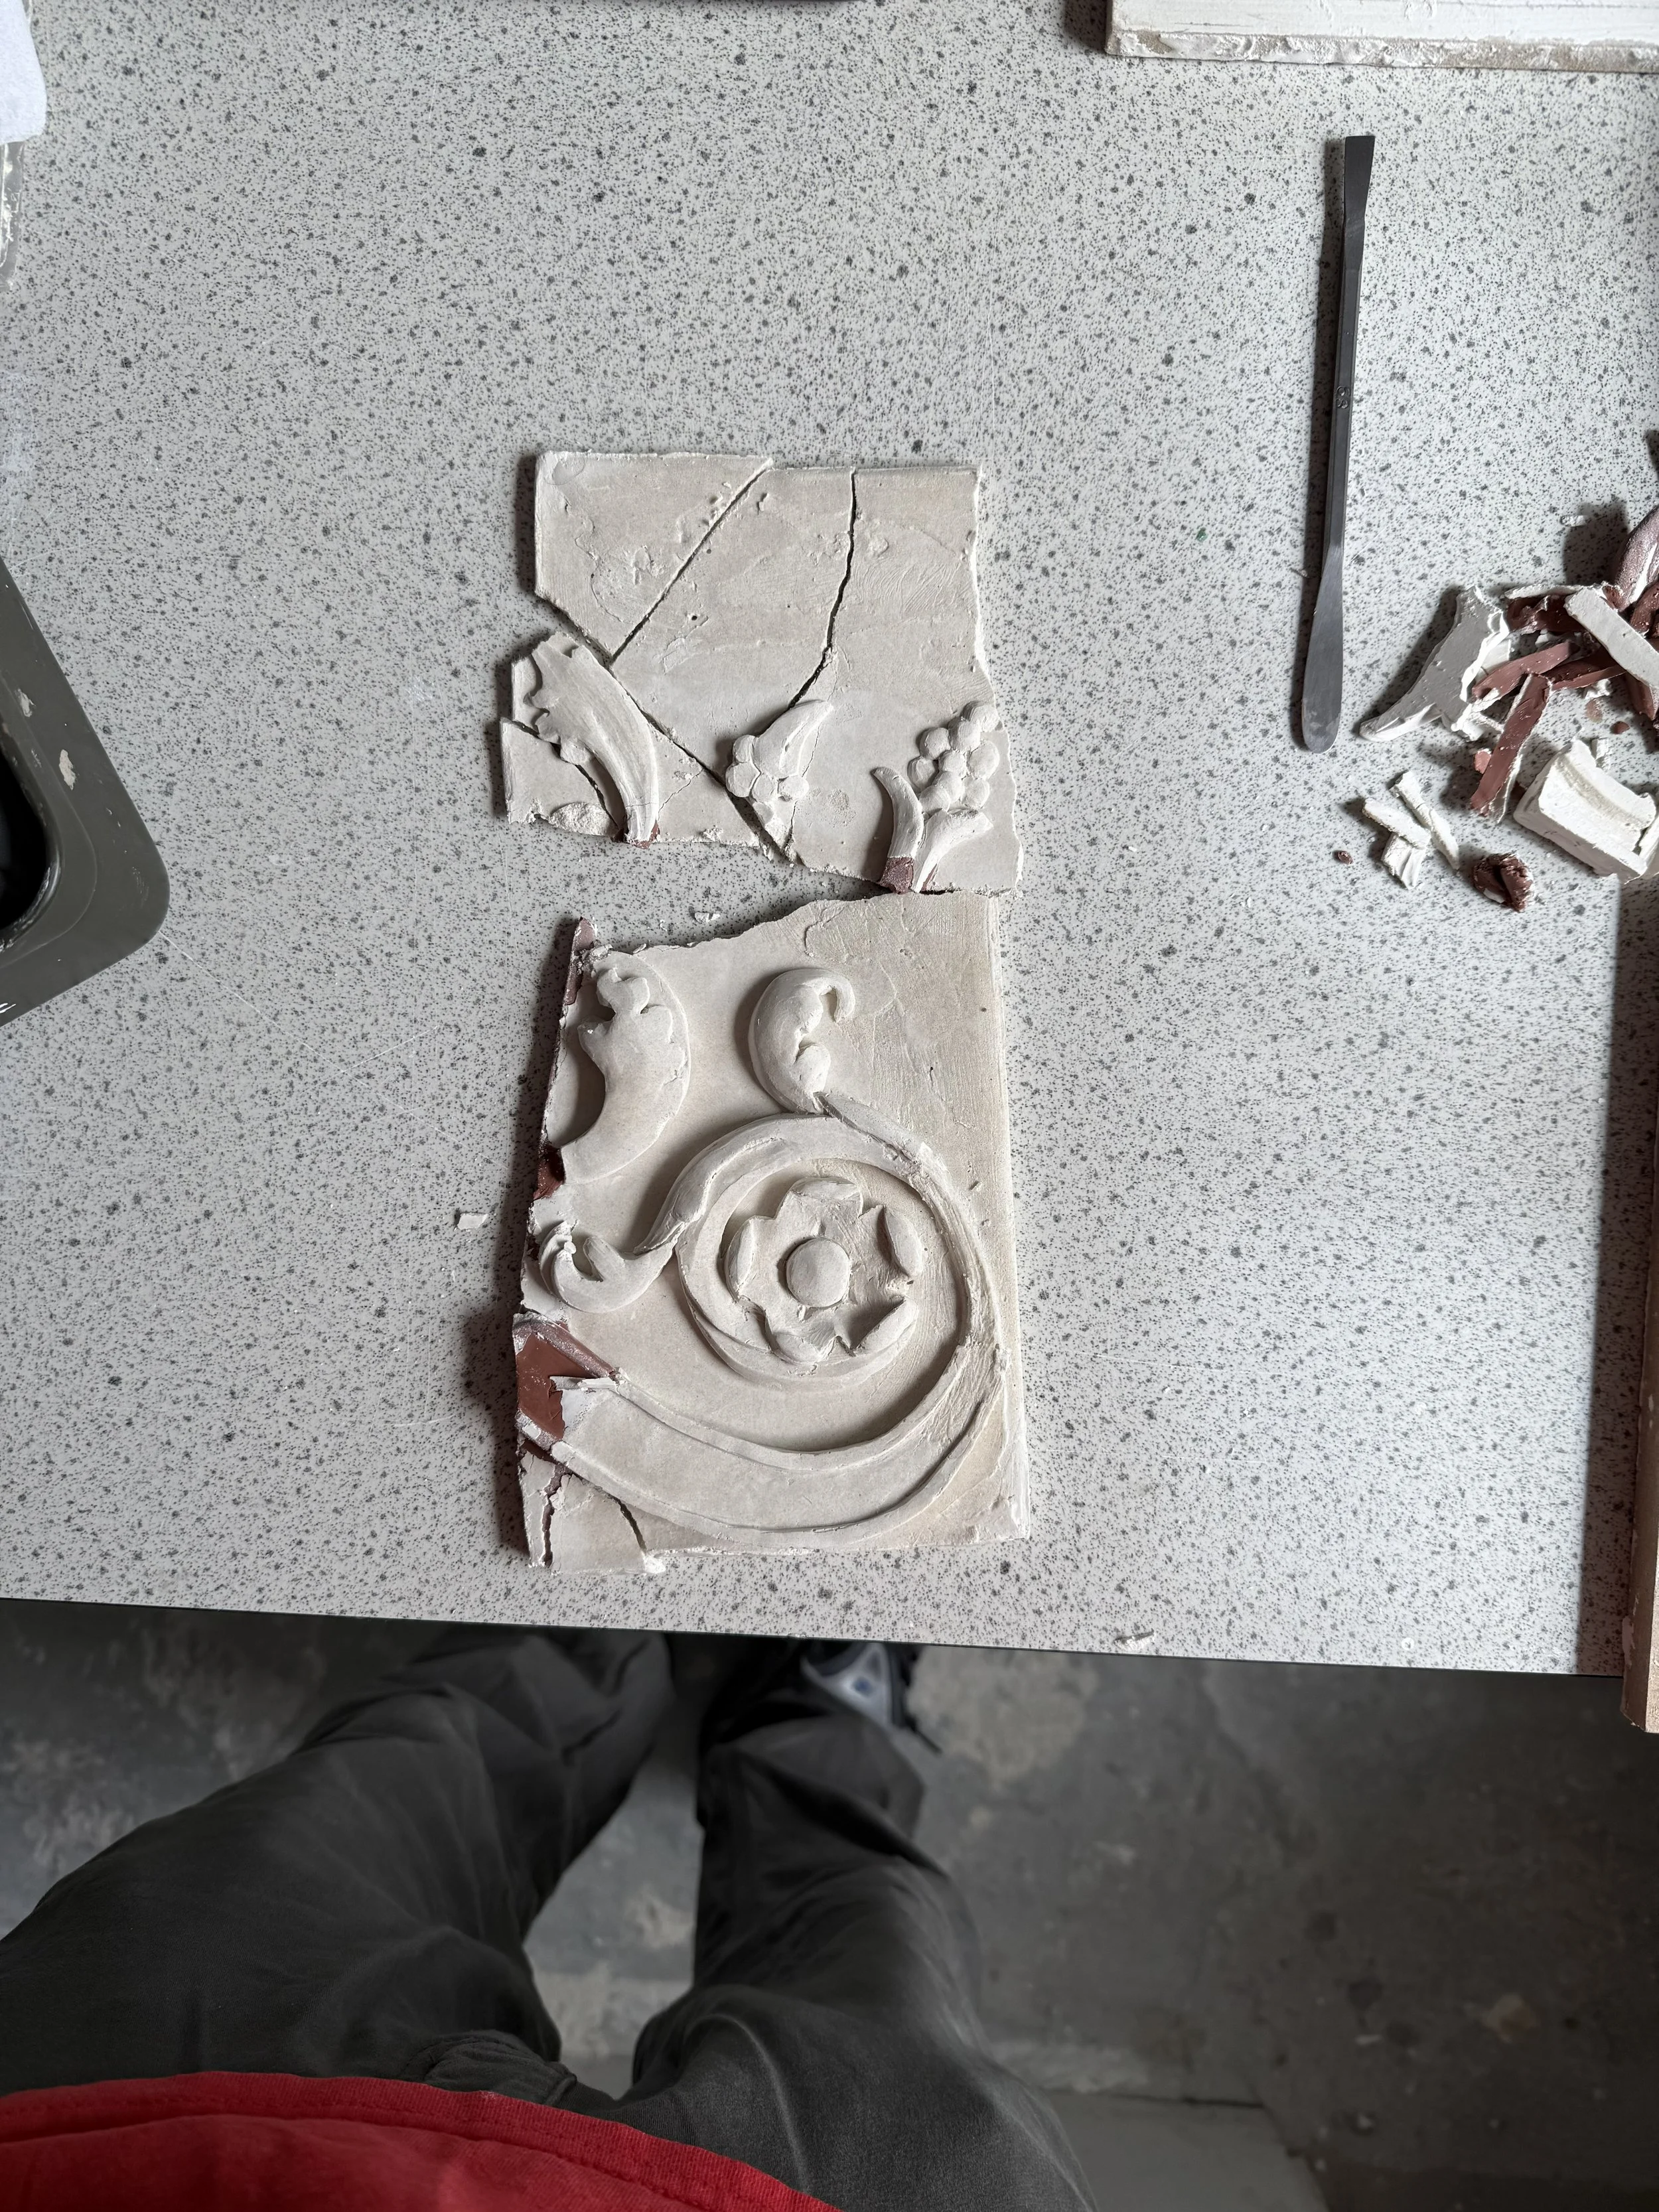
Krystal cast has certain properties different then casting plaster. It is not very workable at all once it sets due to the high amount of sand in the mix. any changes made will need to be done through altering the mould

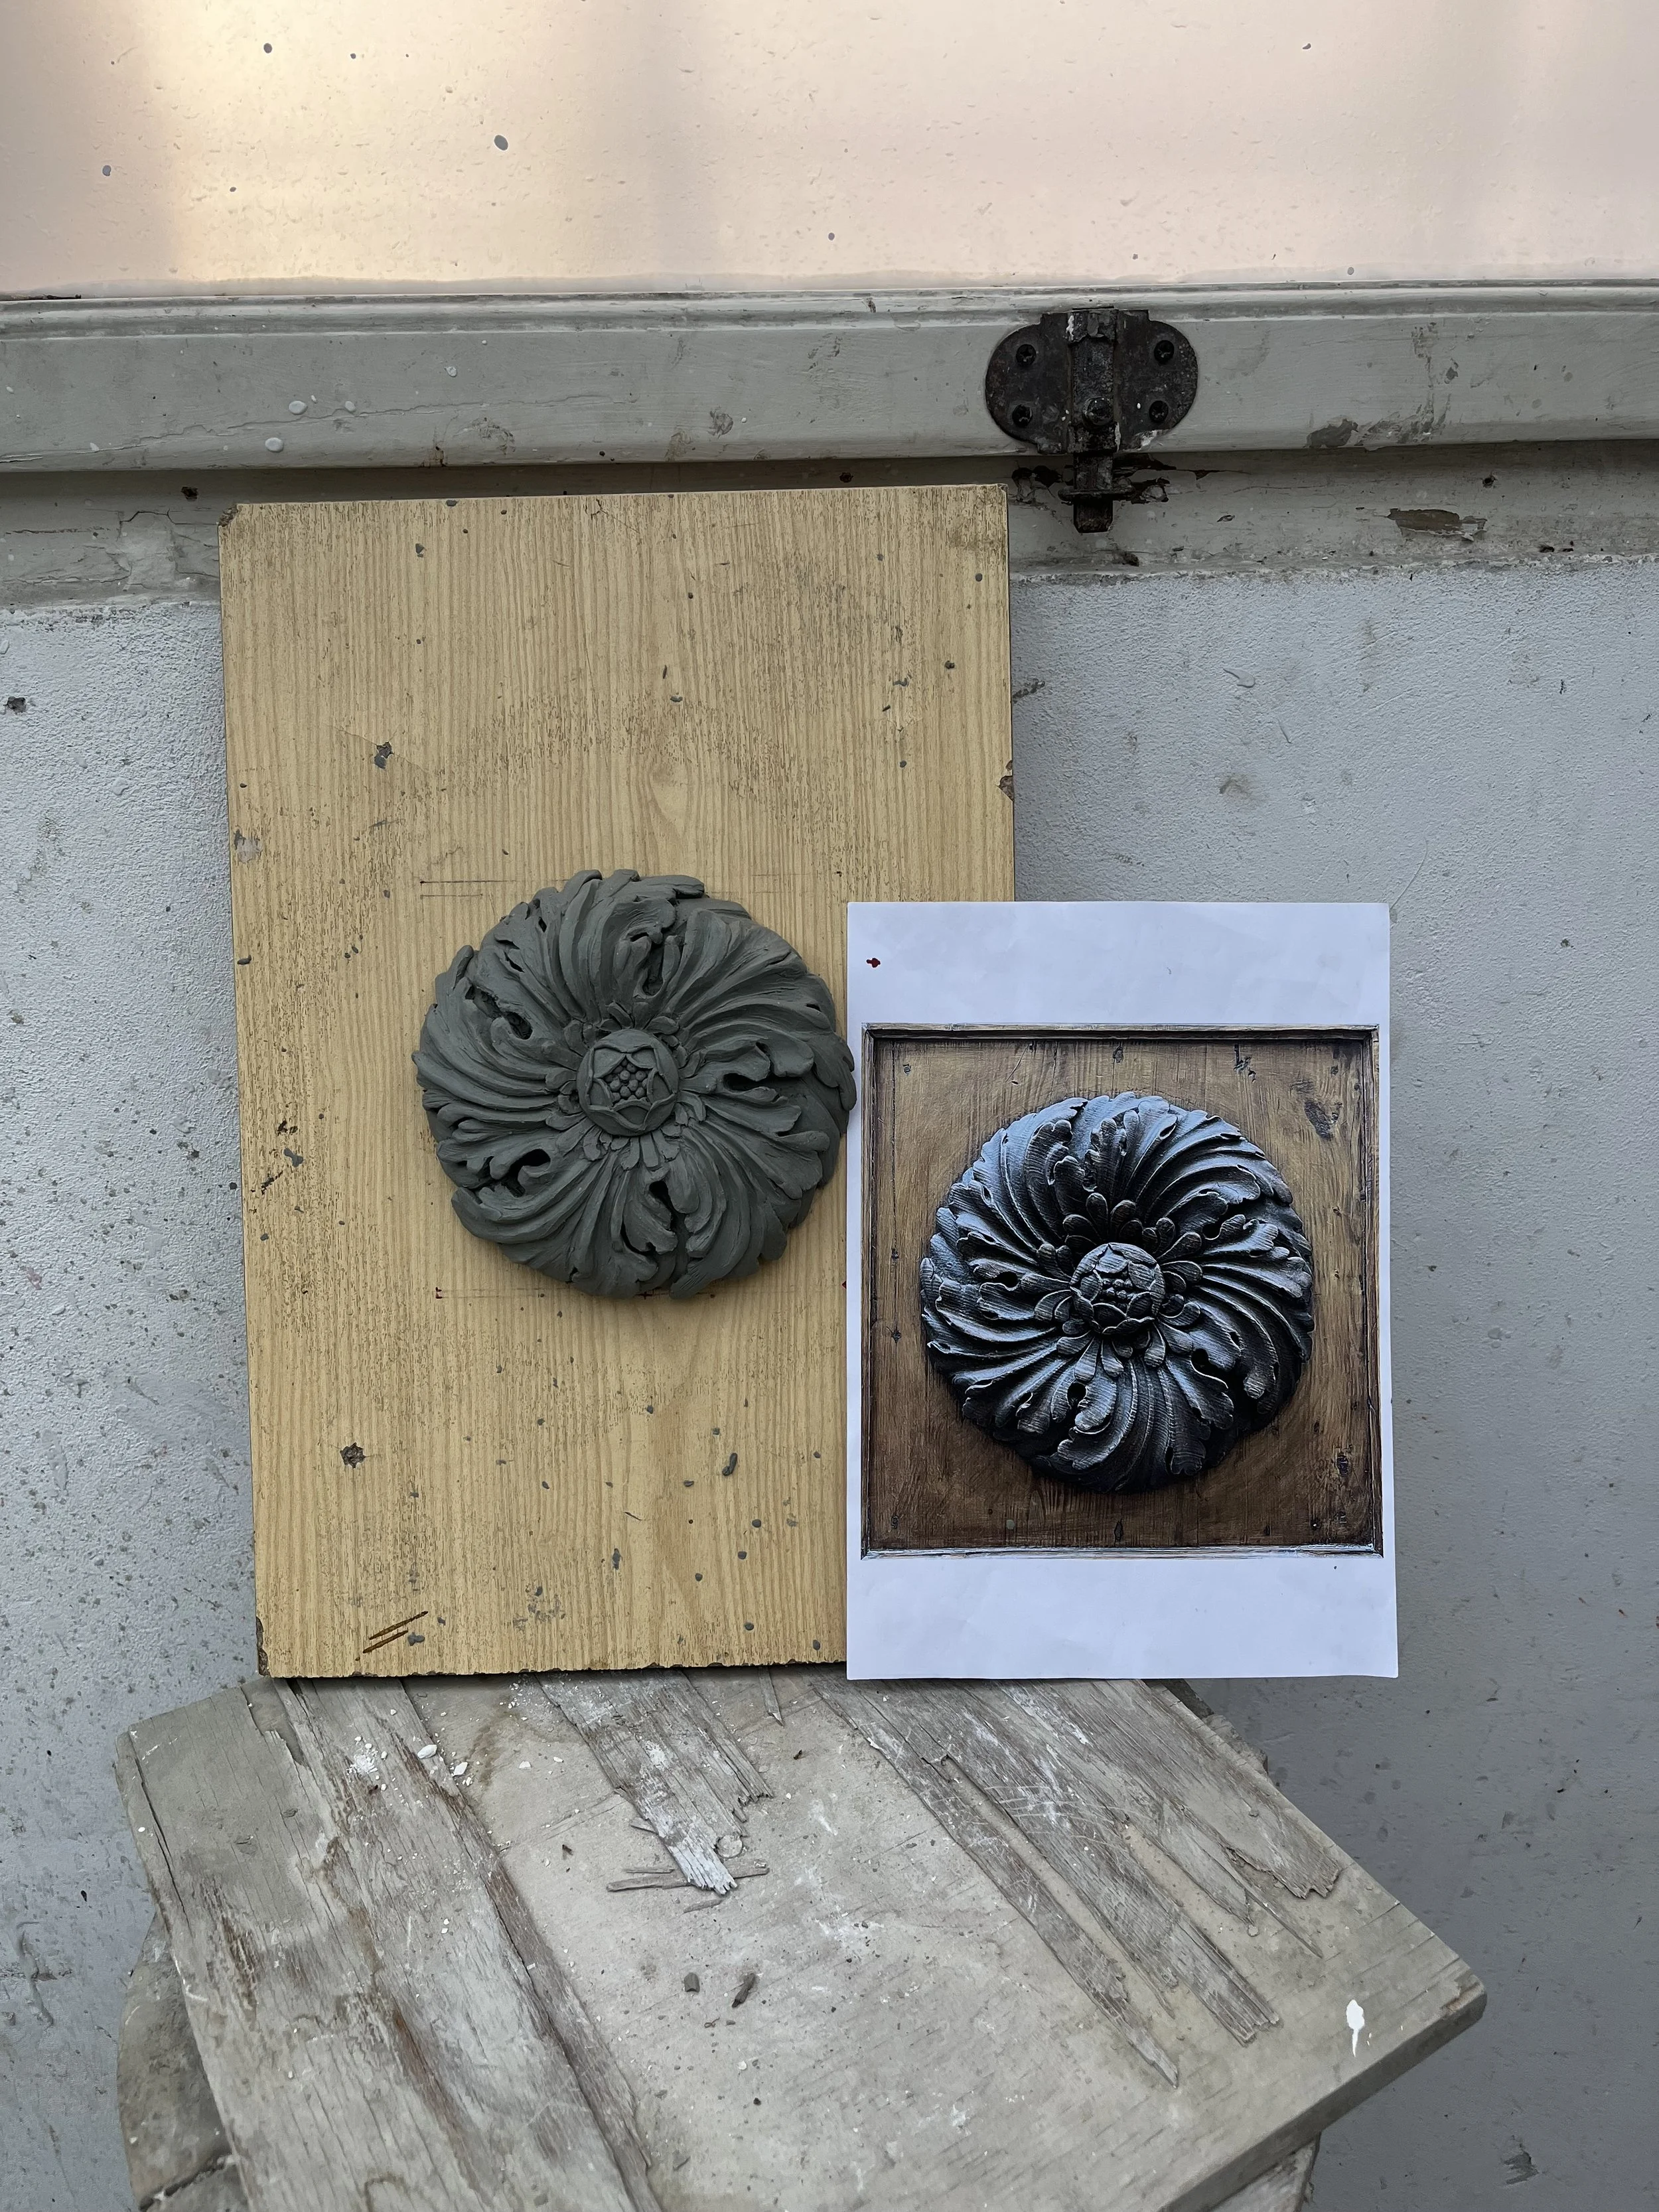
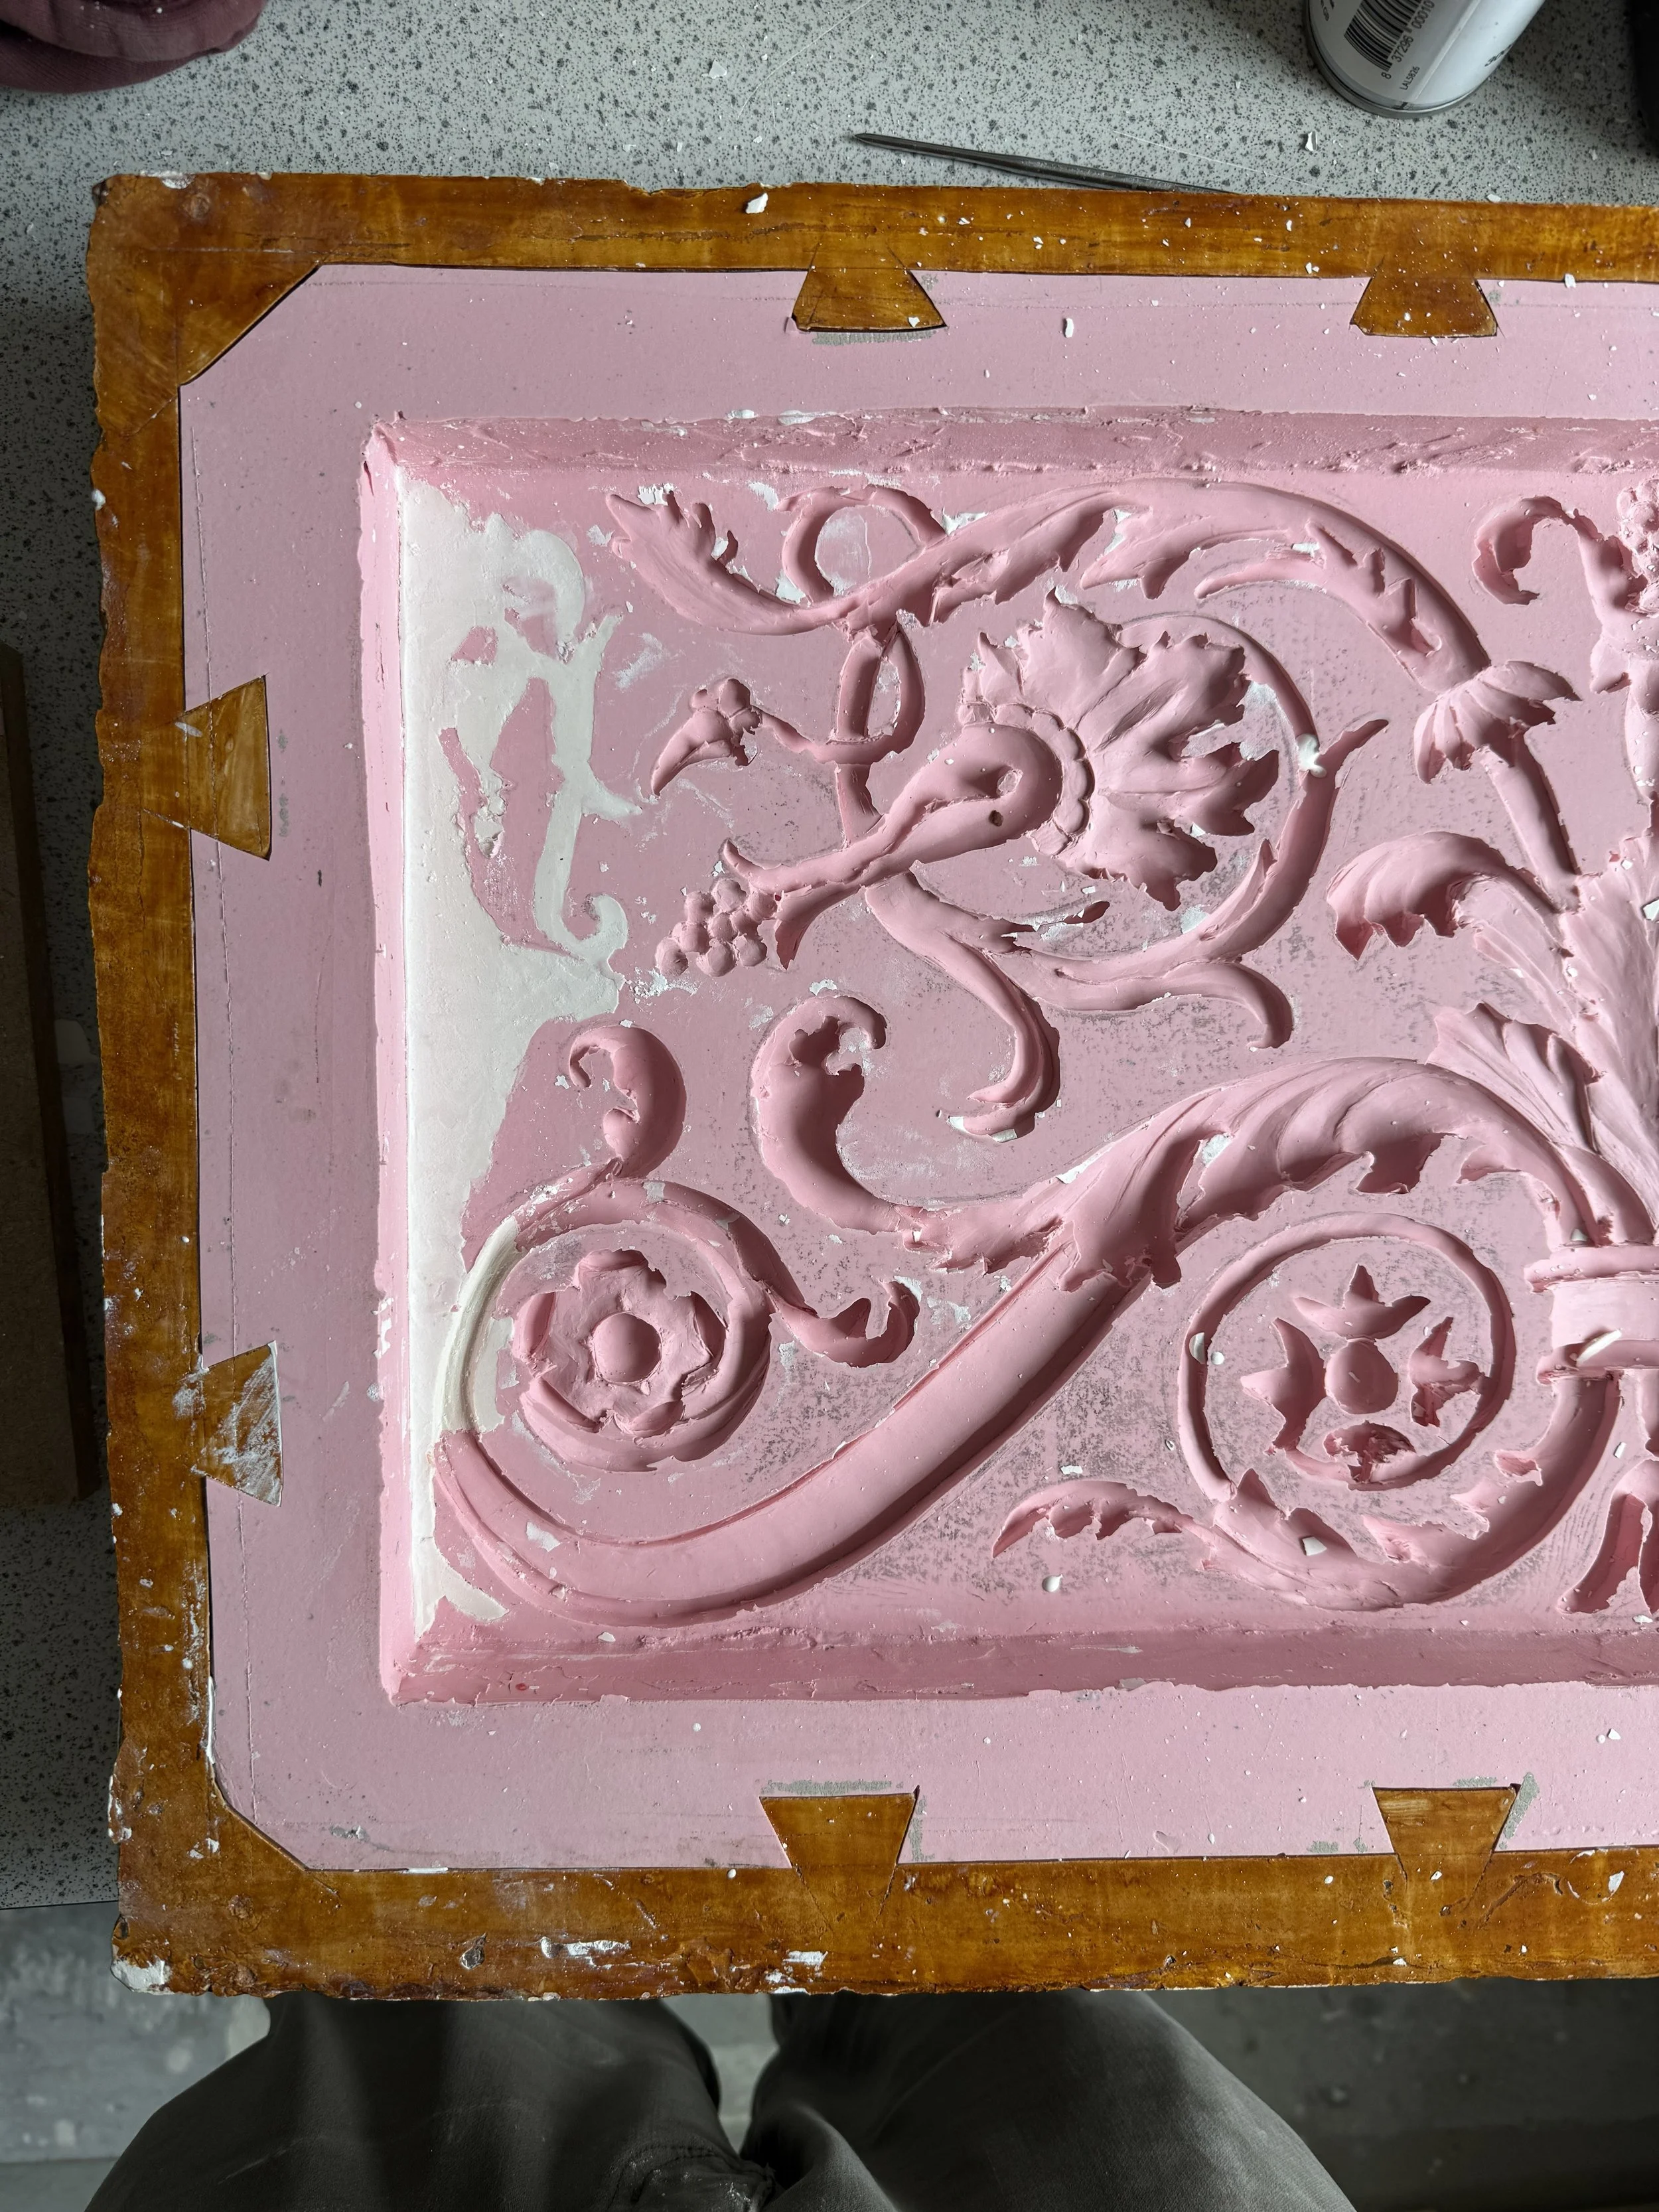
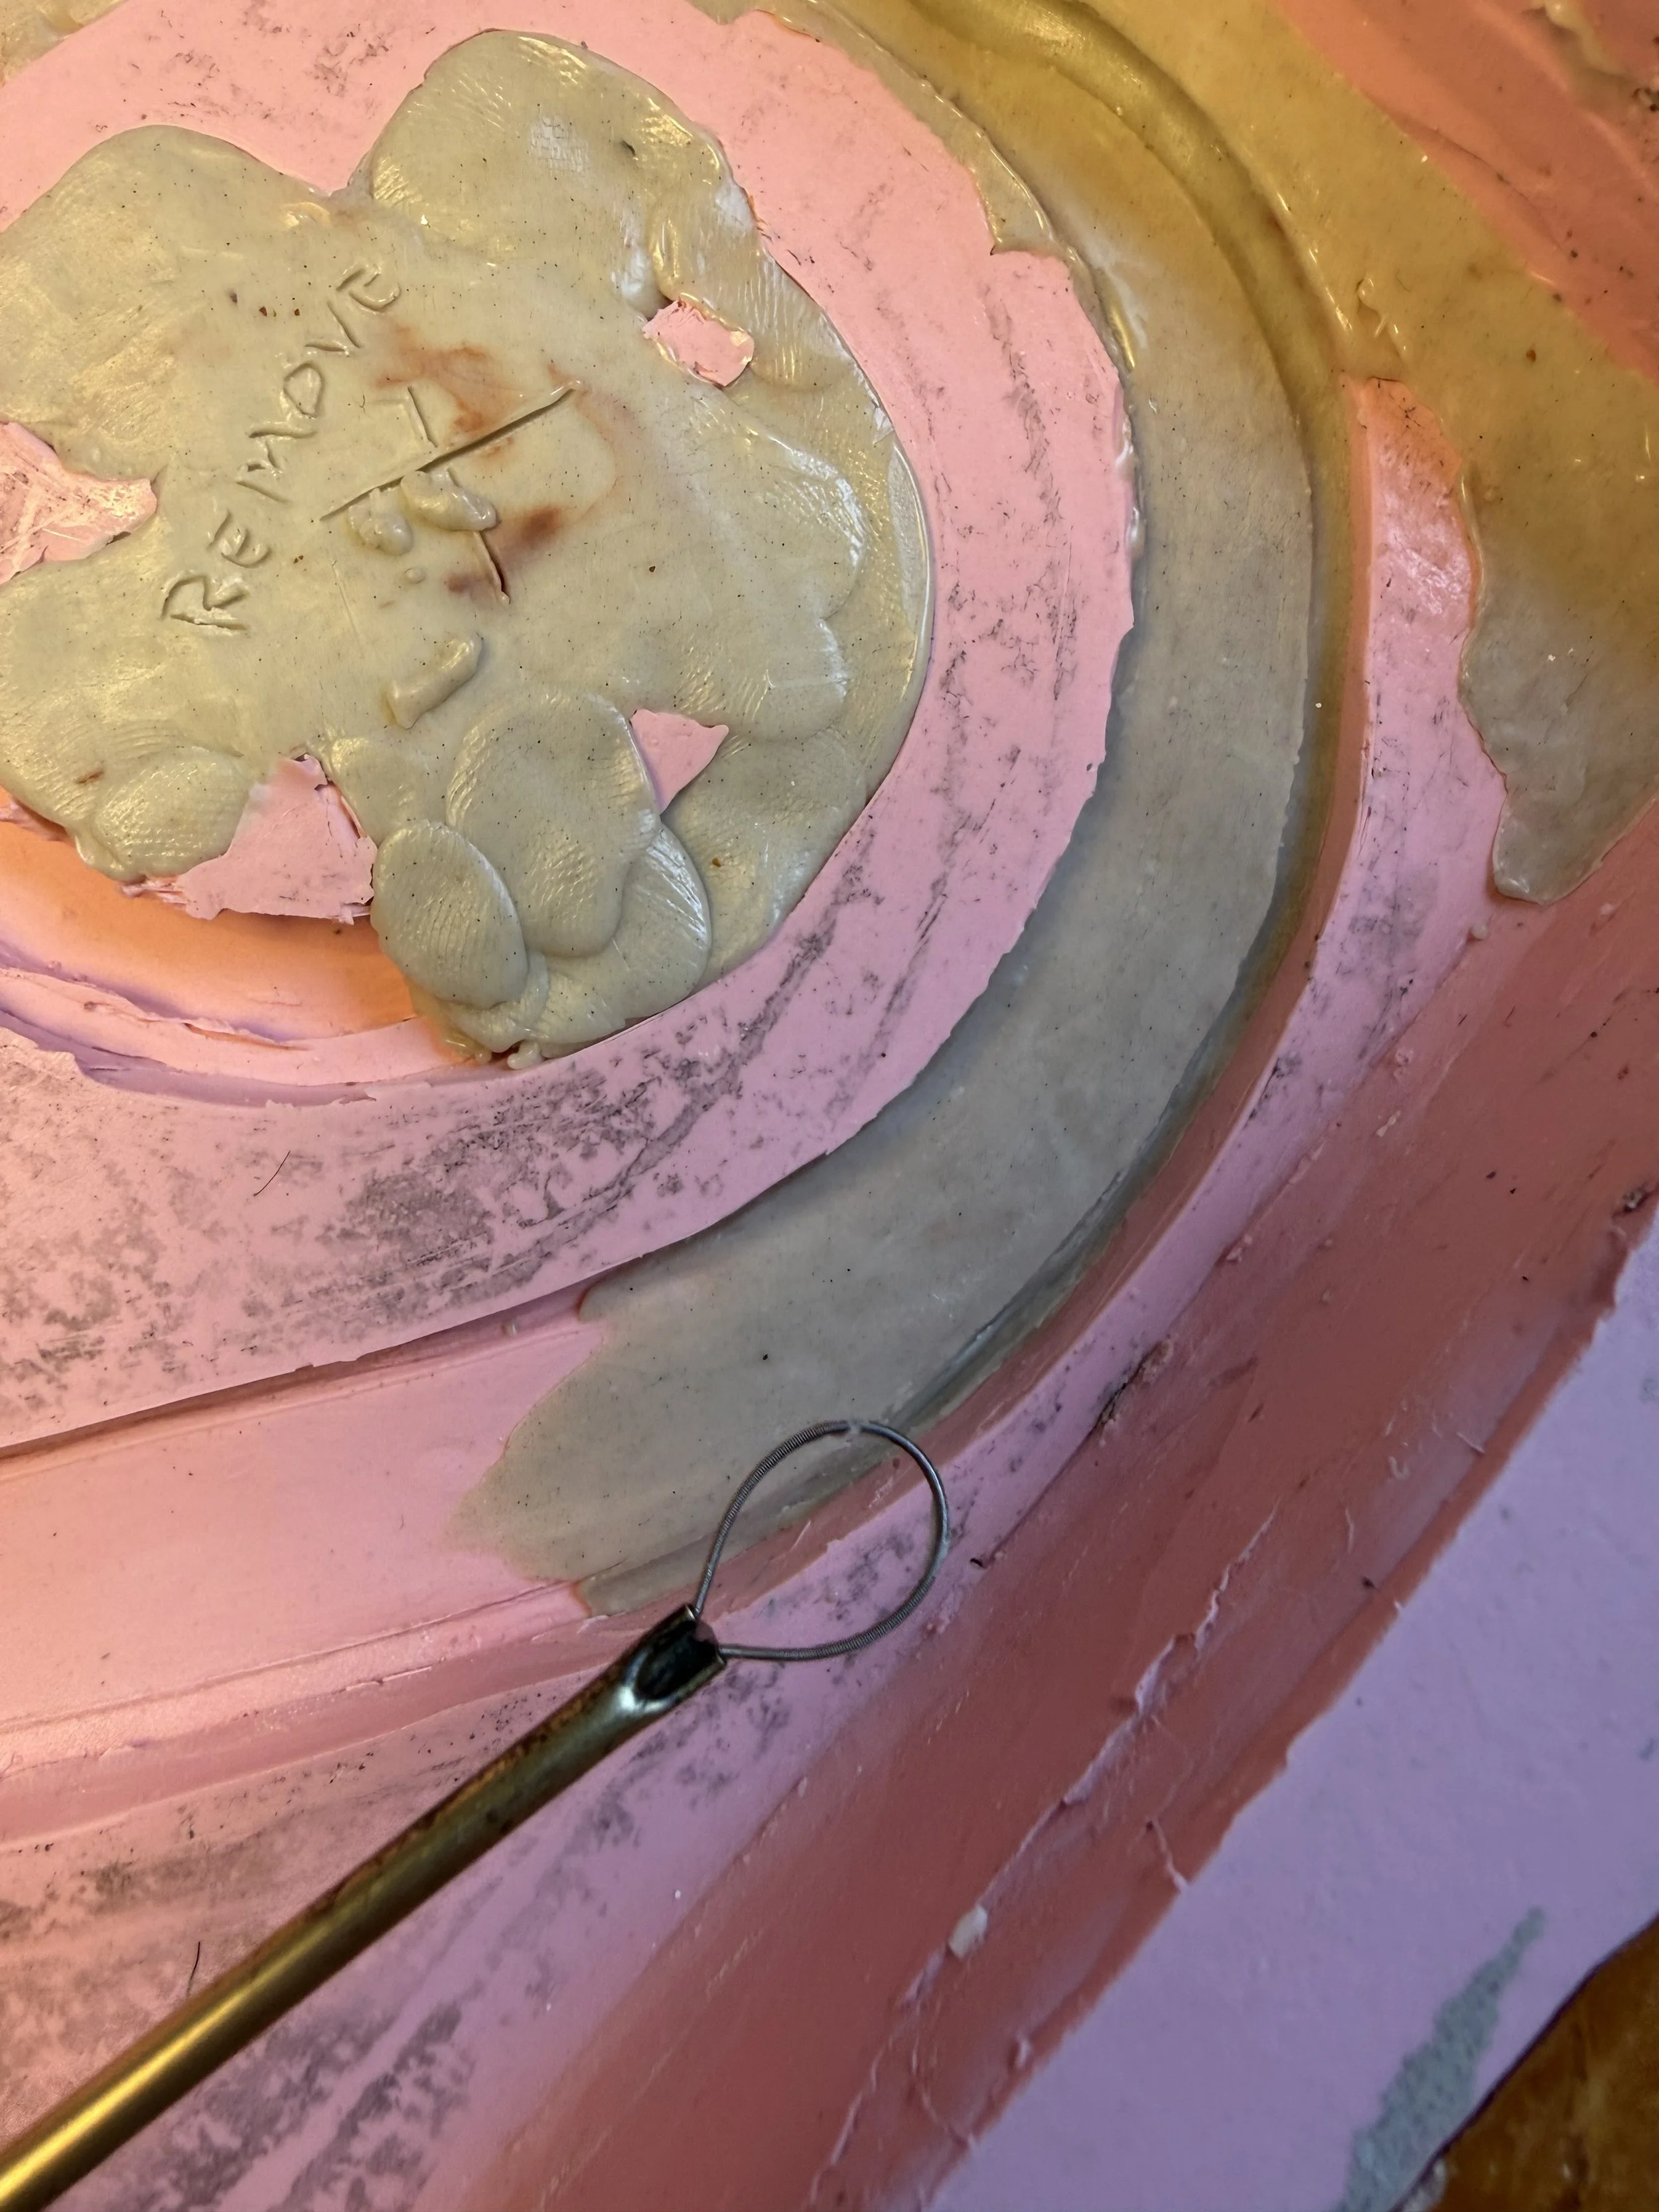
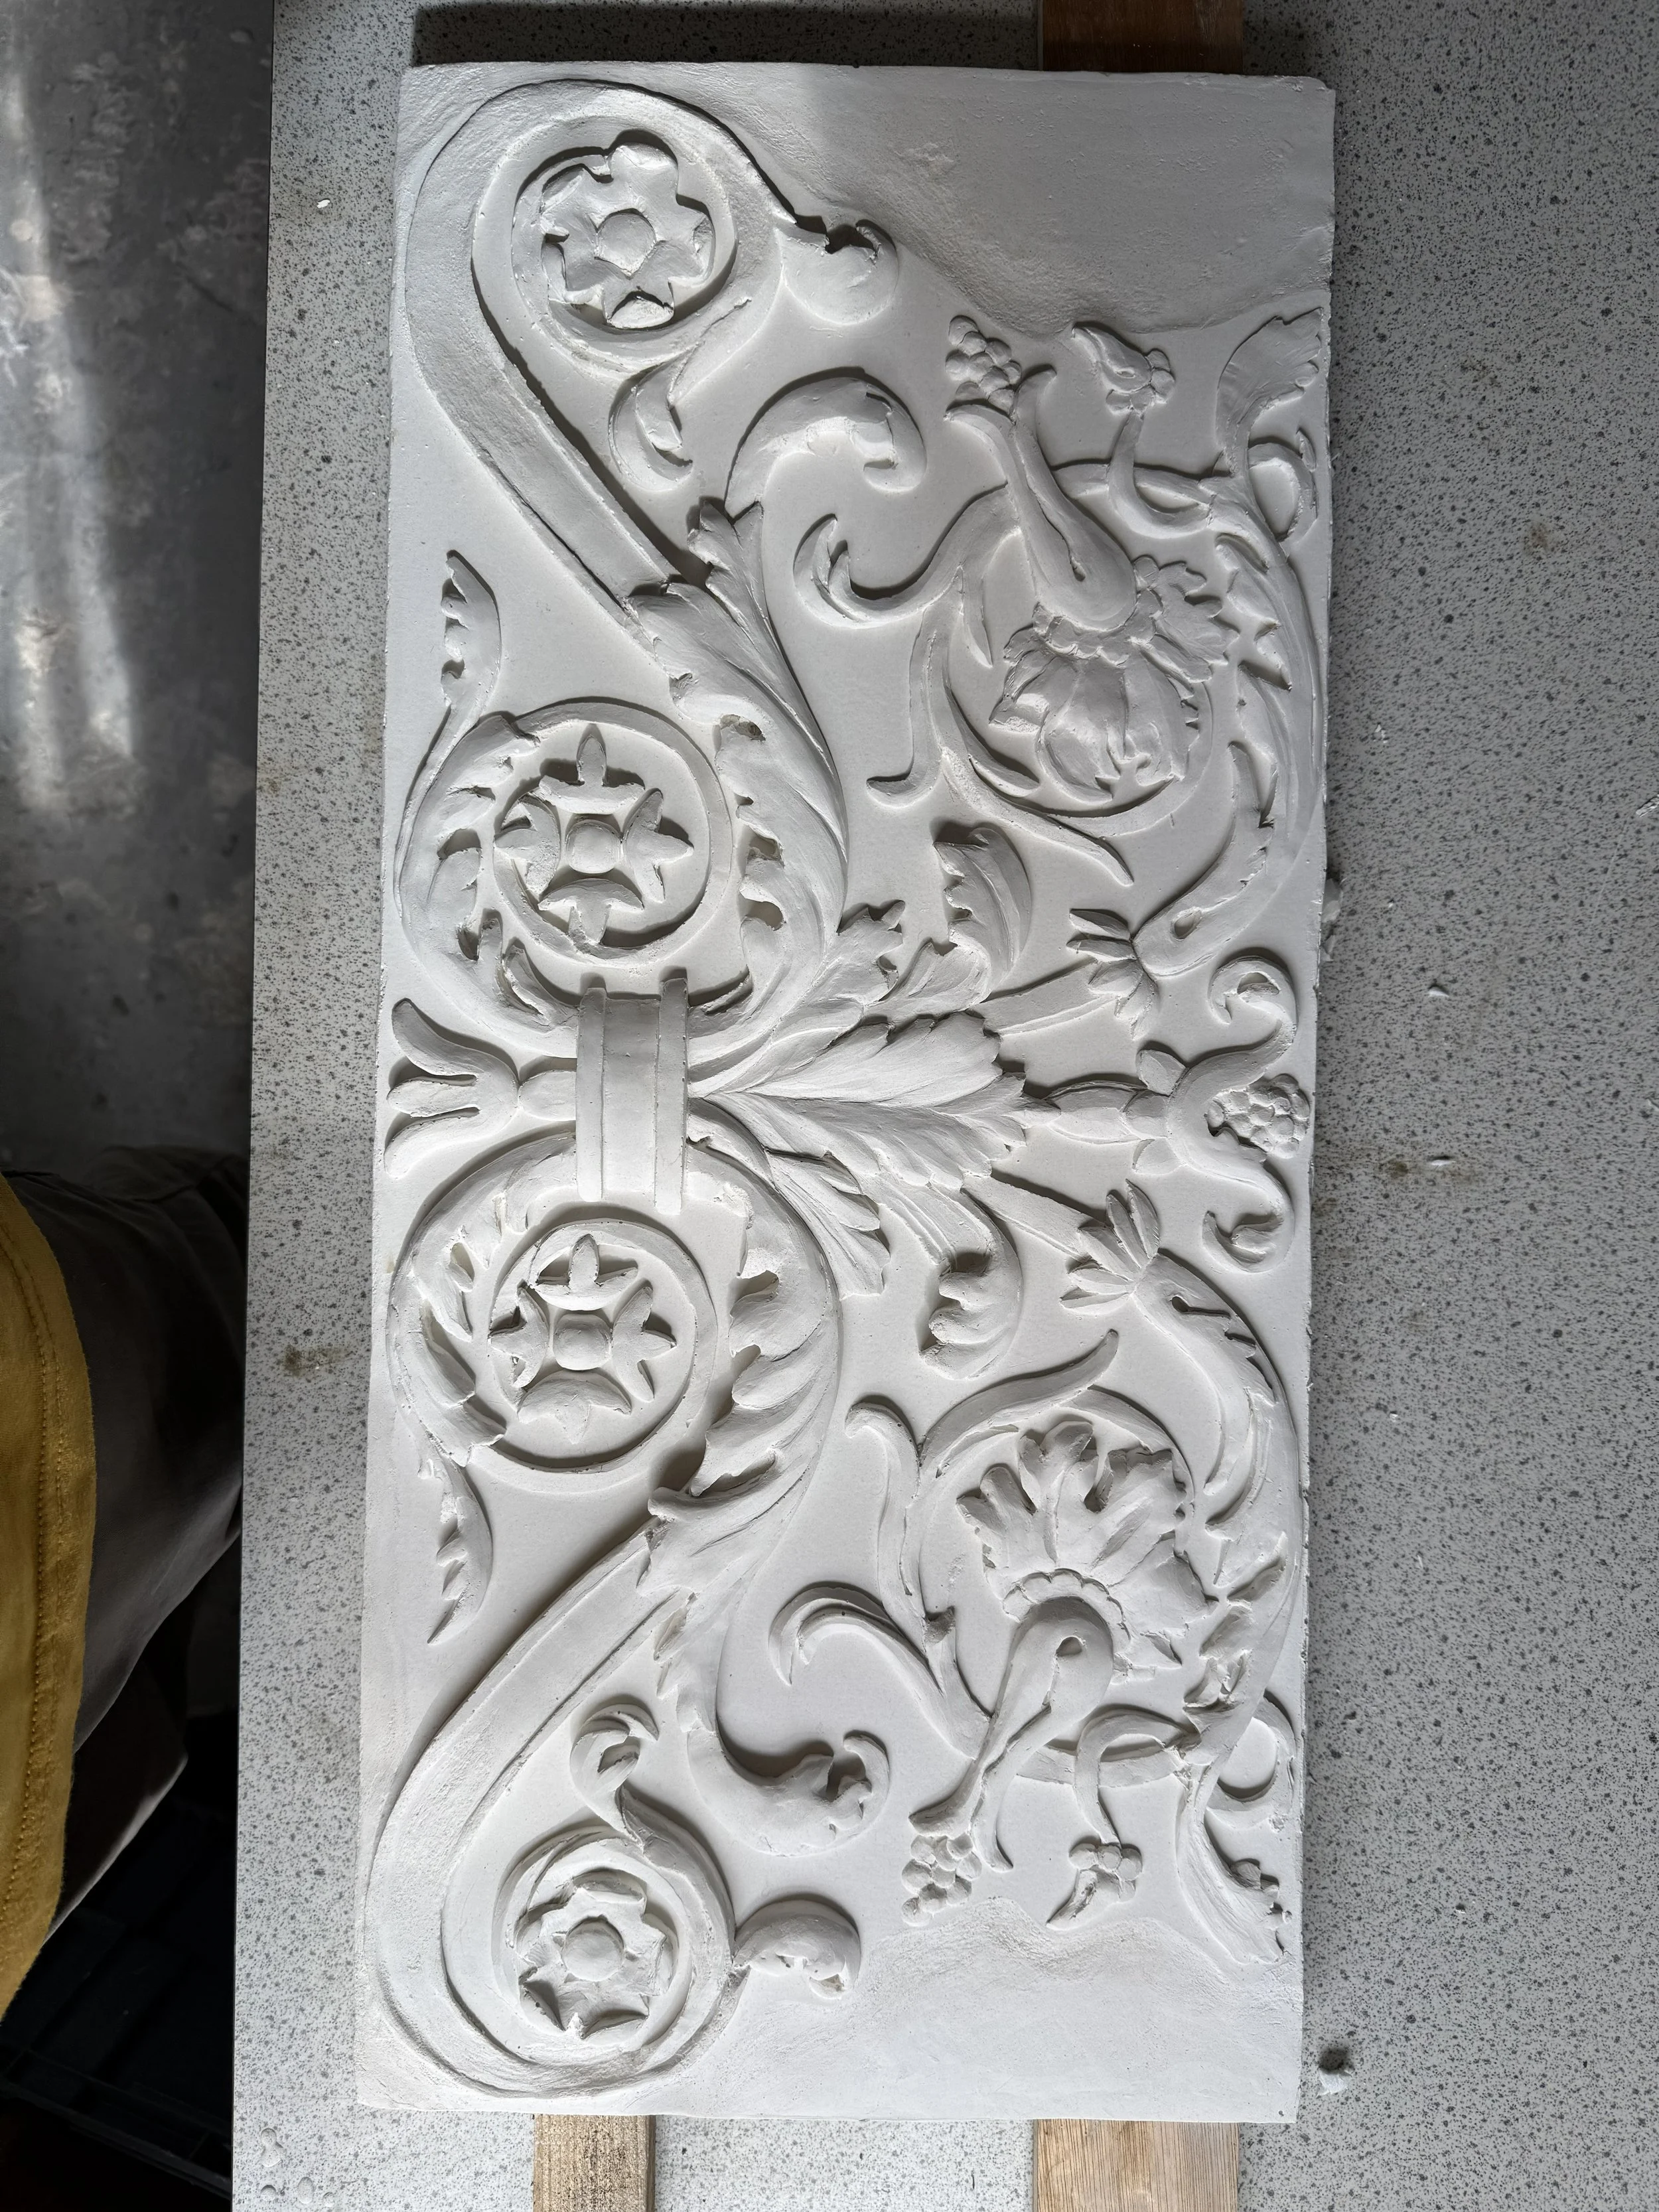
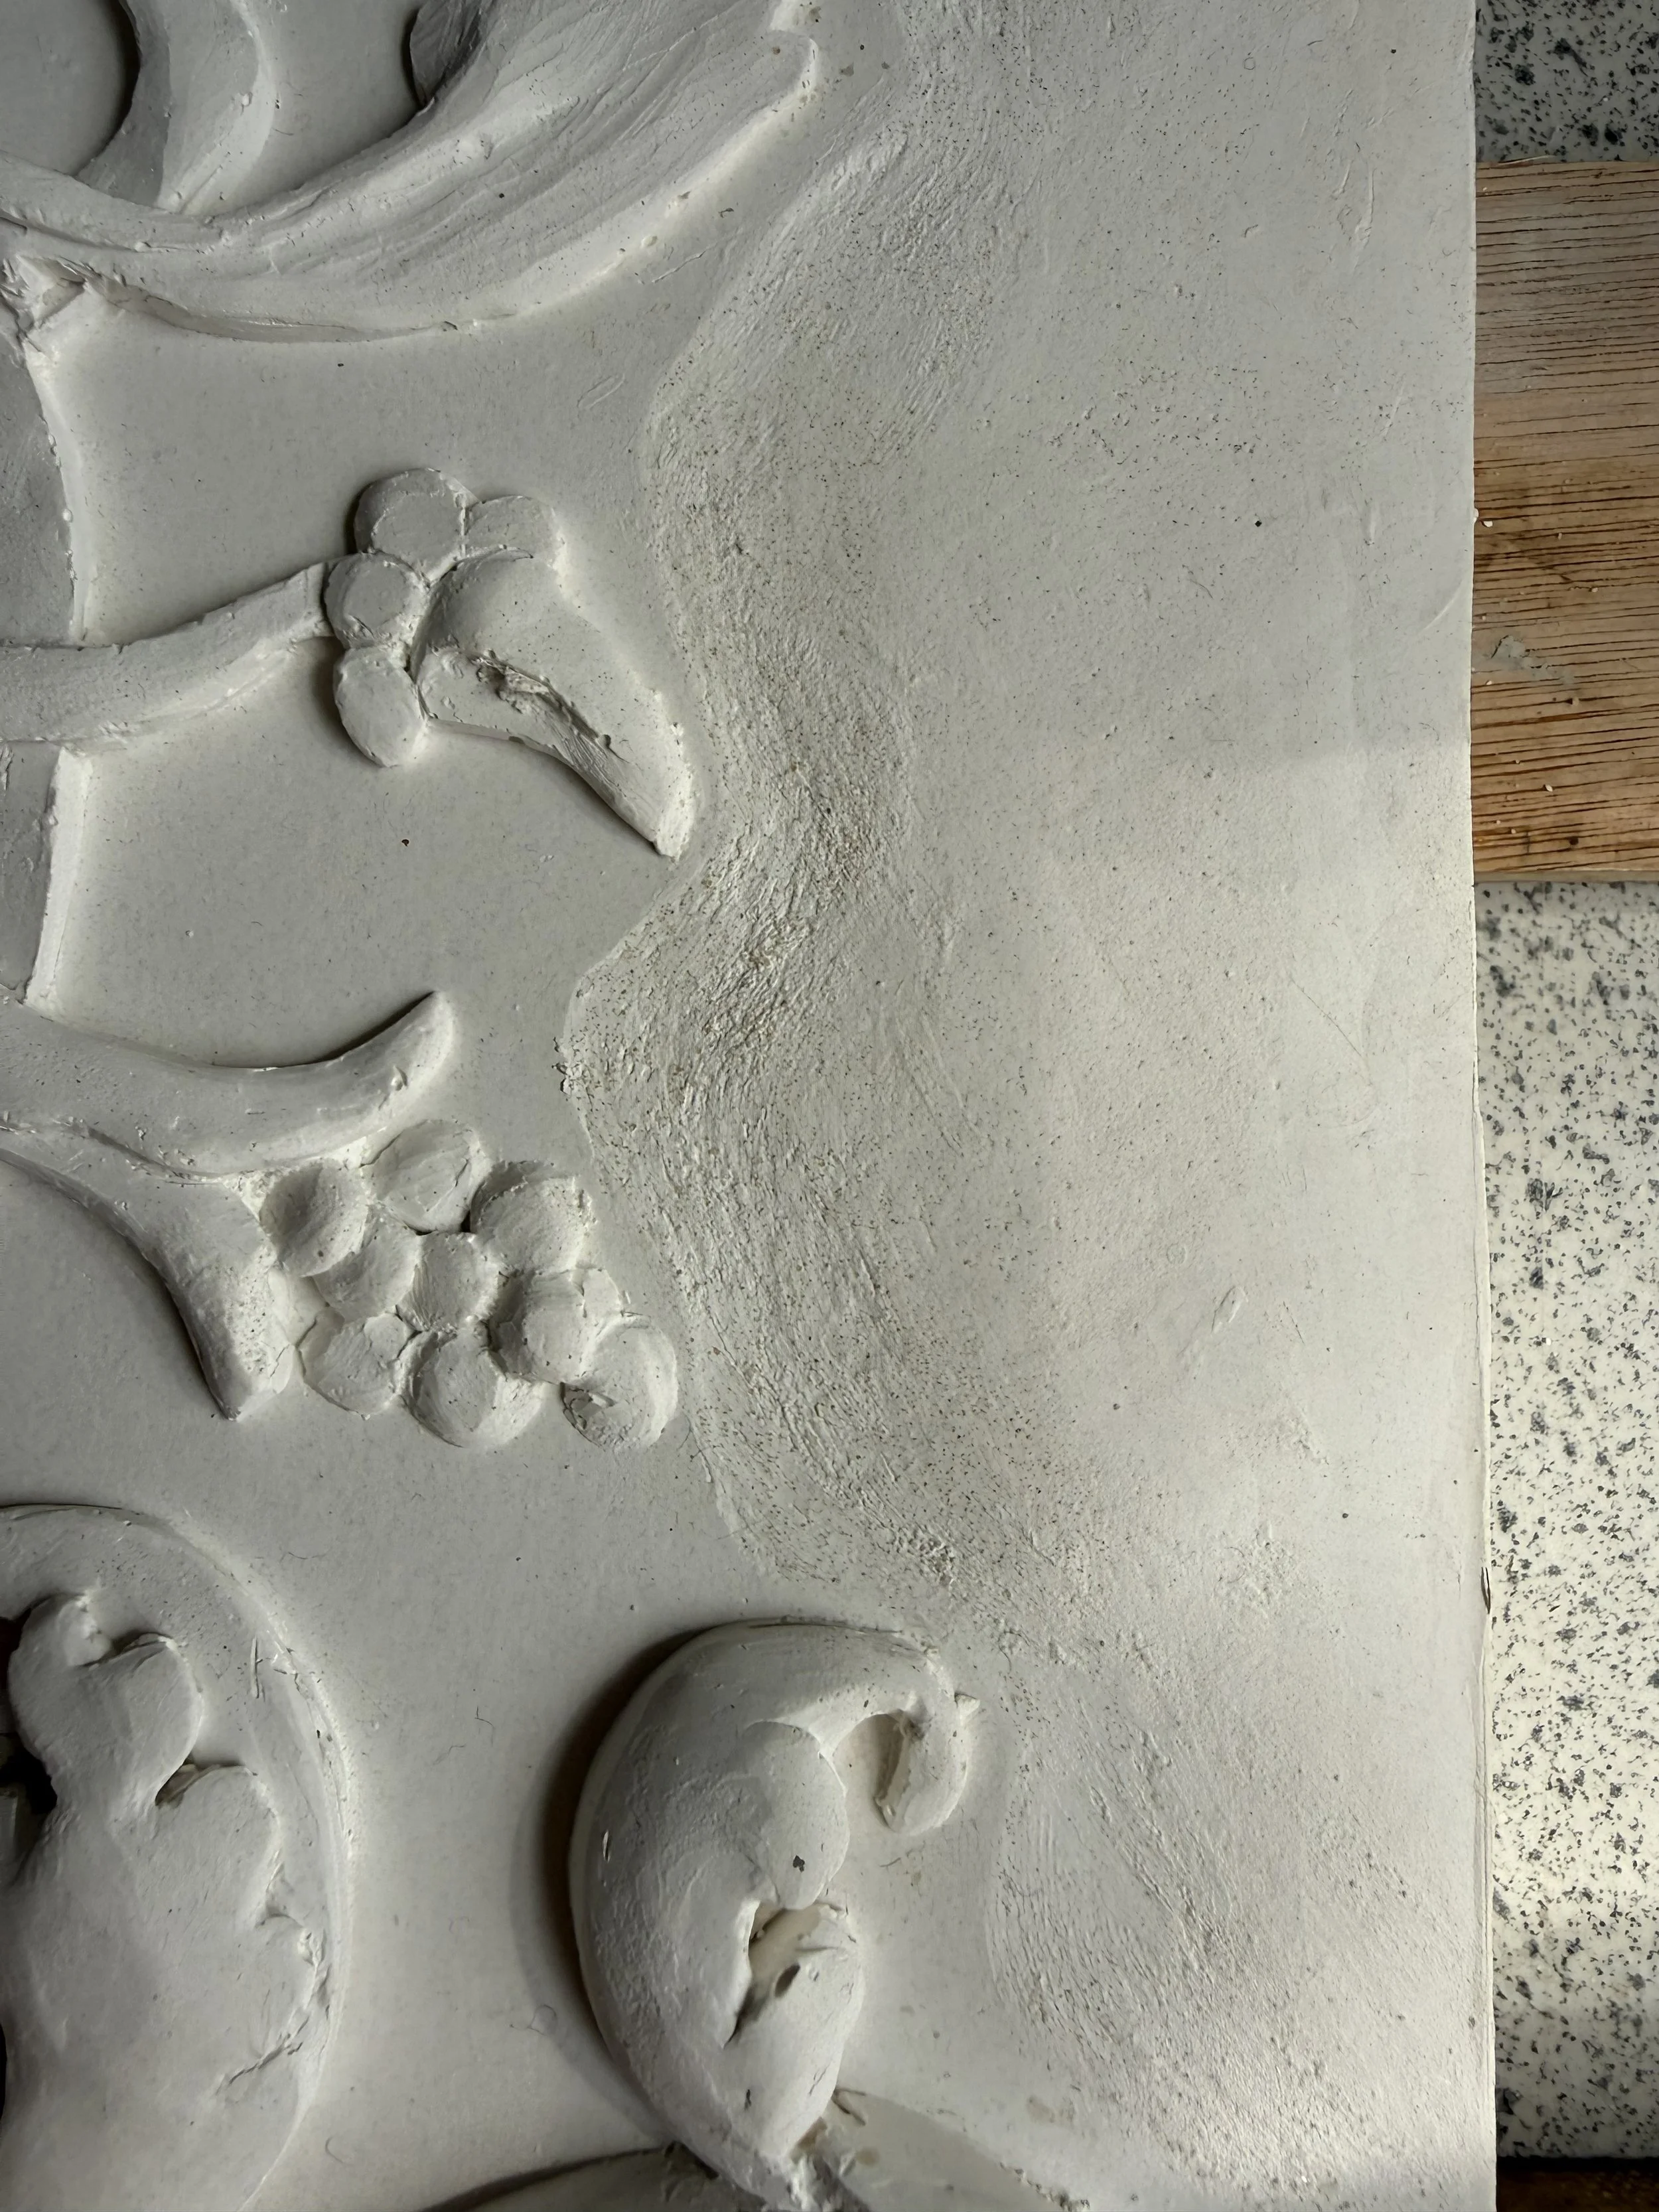
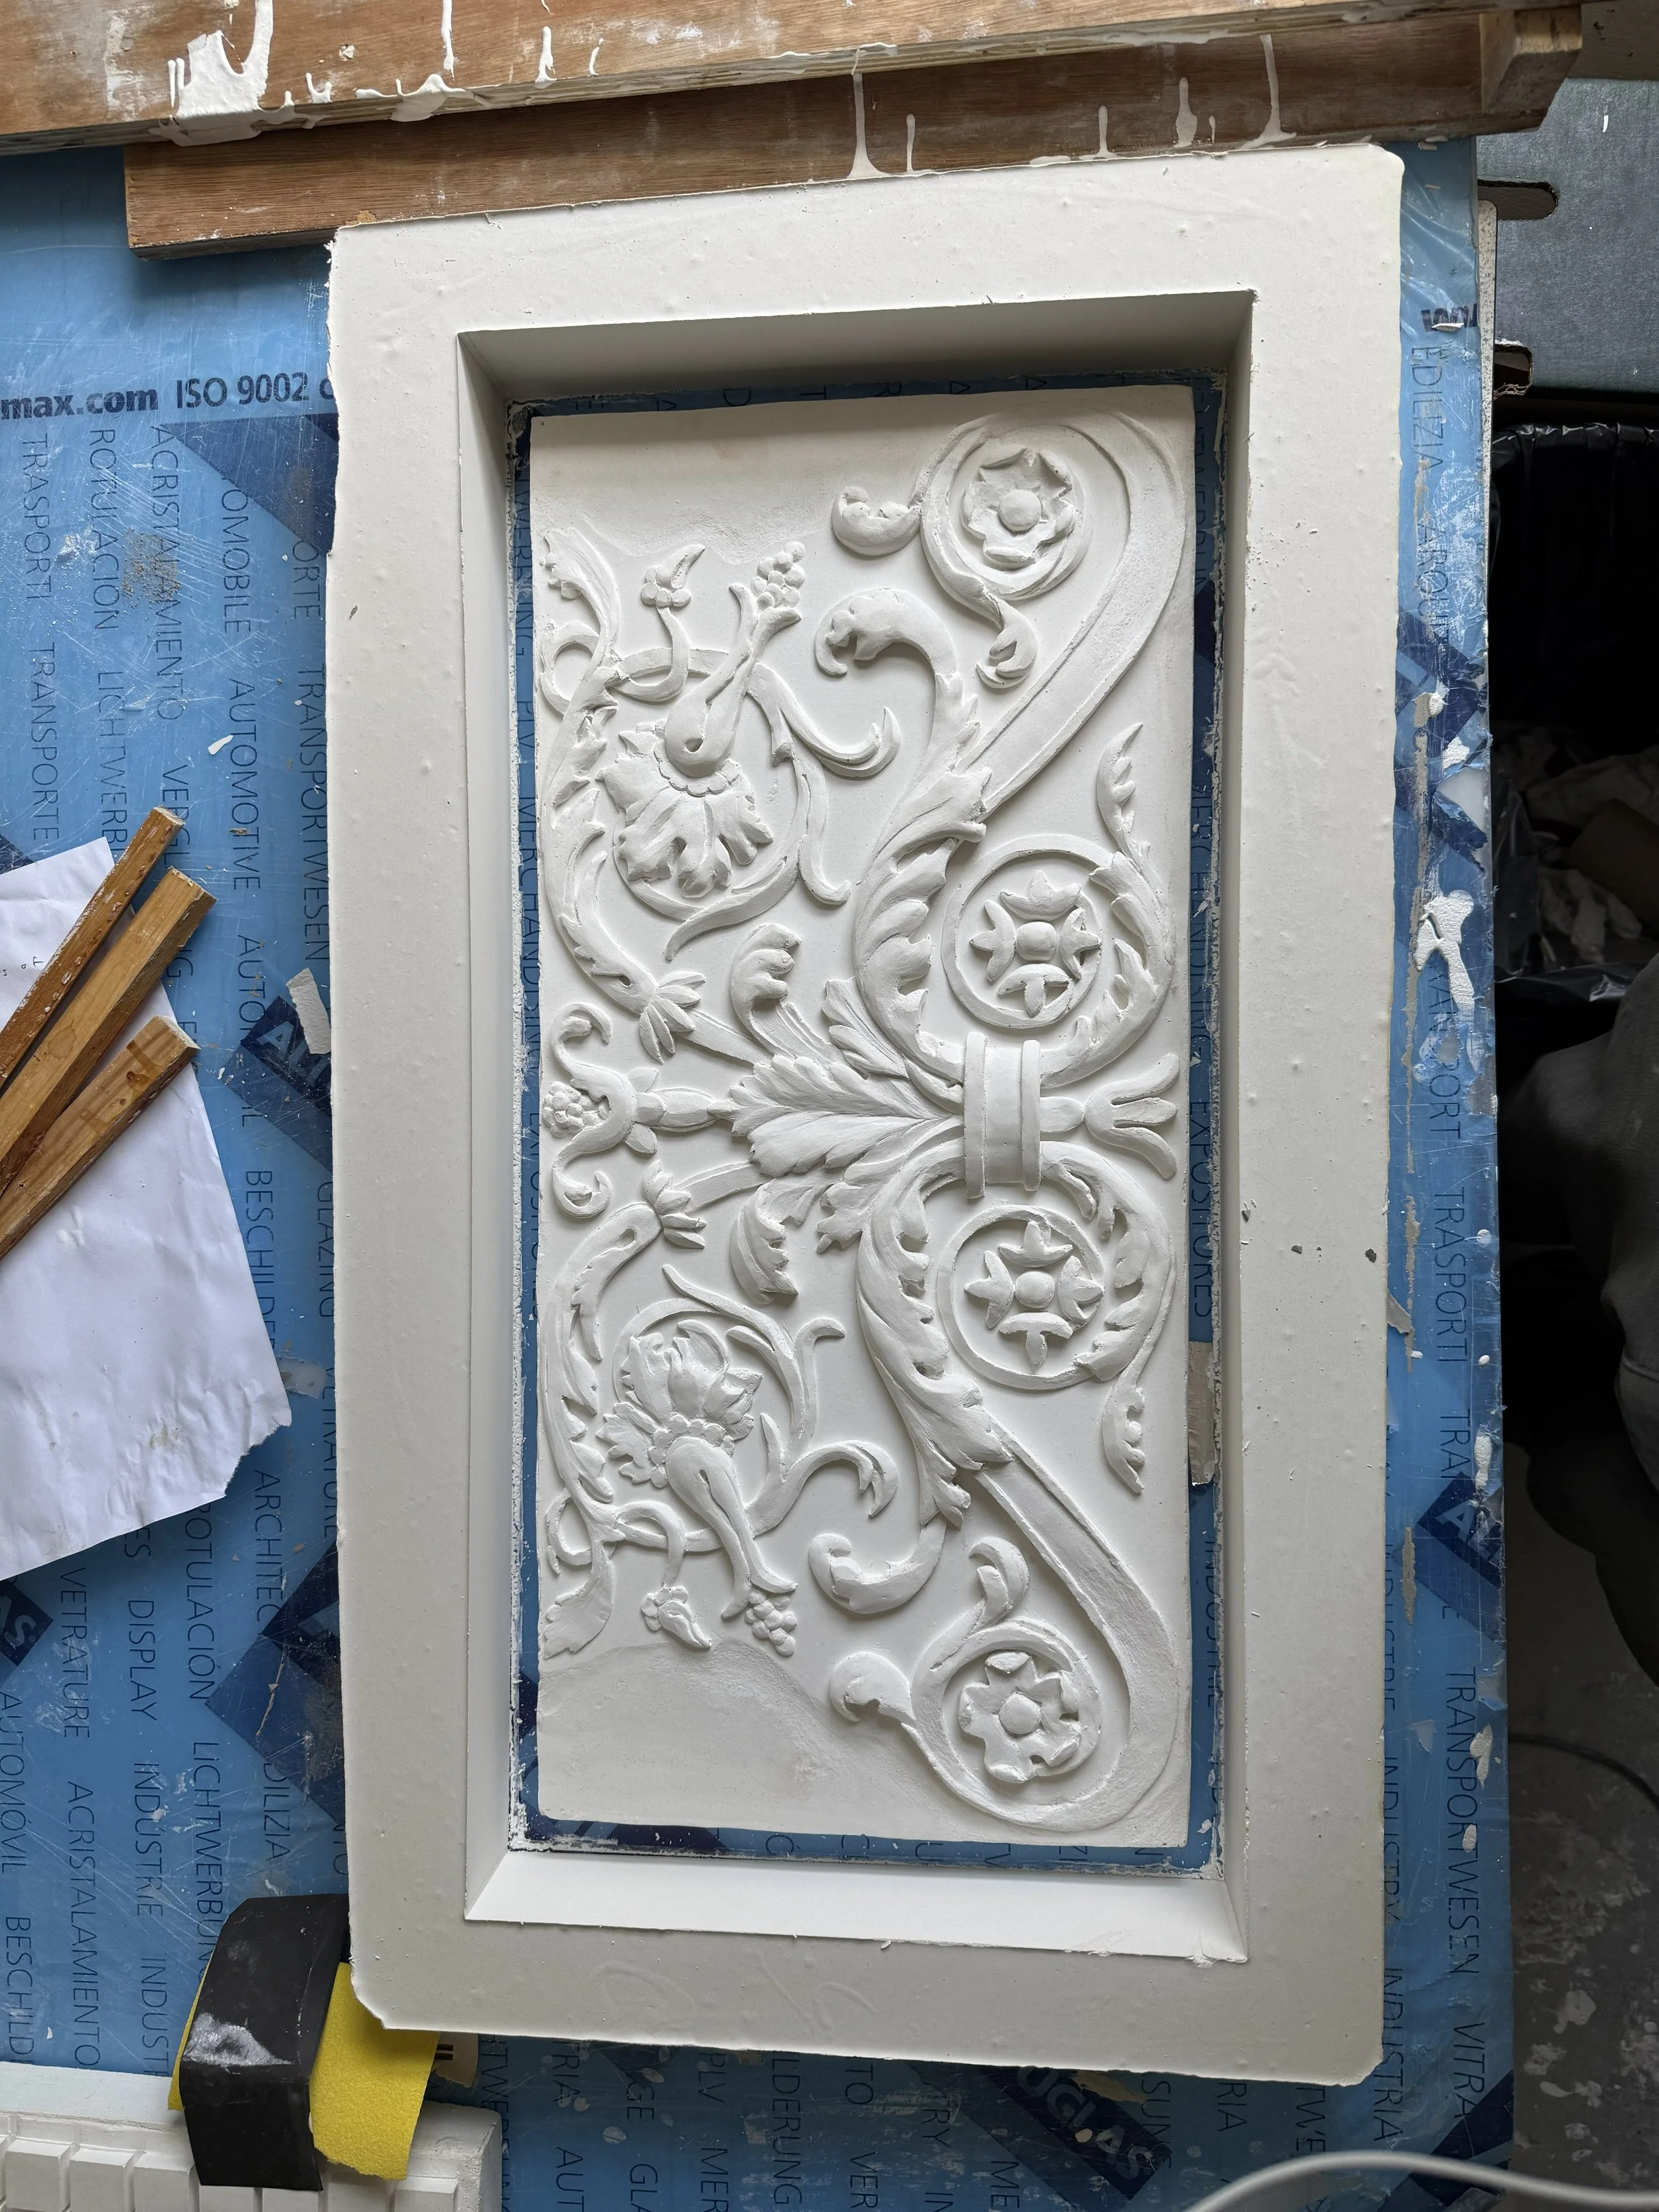
Here is the section i am trying to change on the original, with excess ornament removed
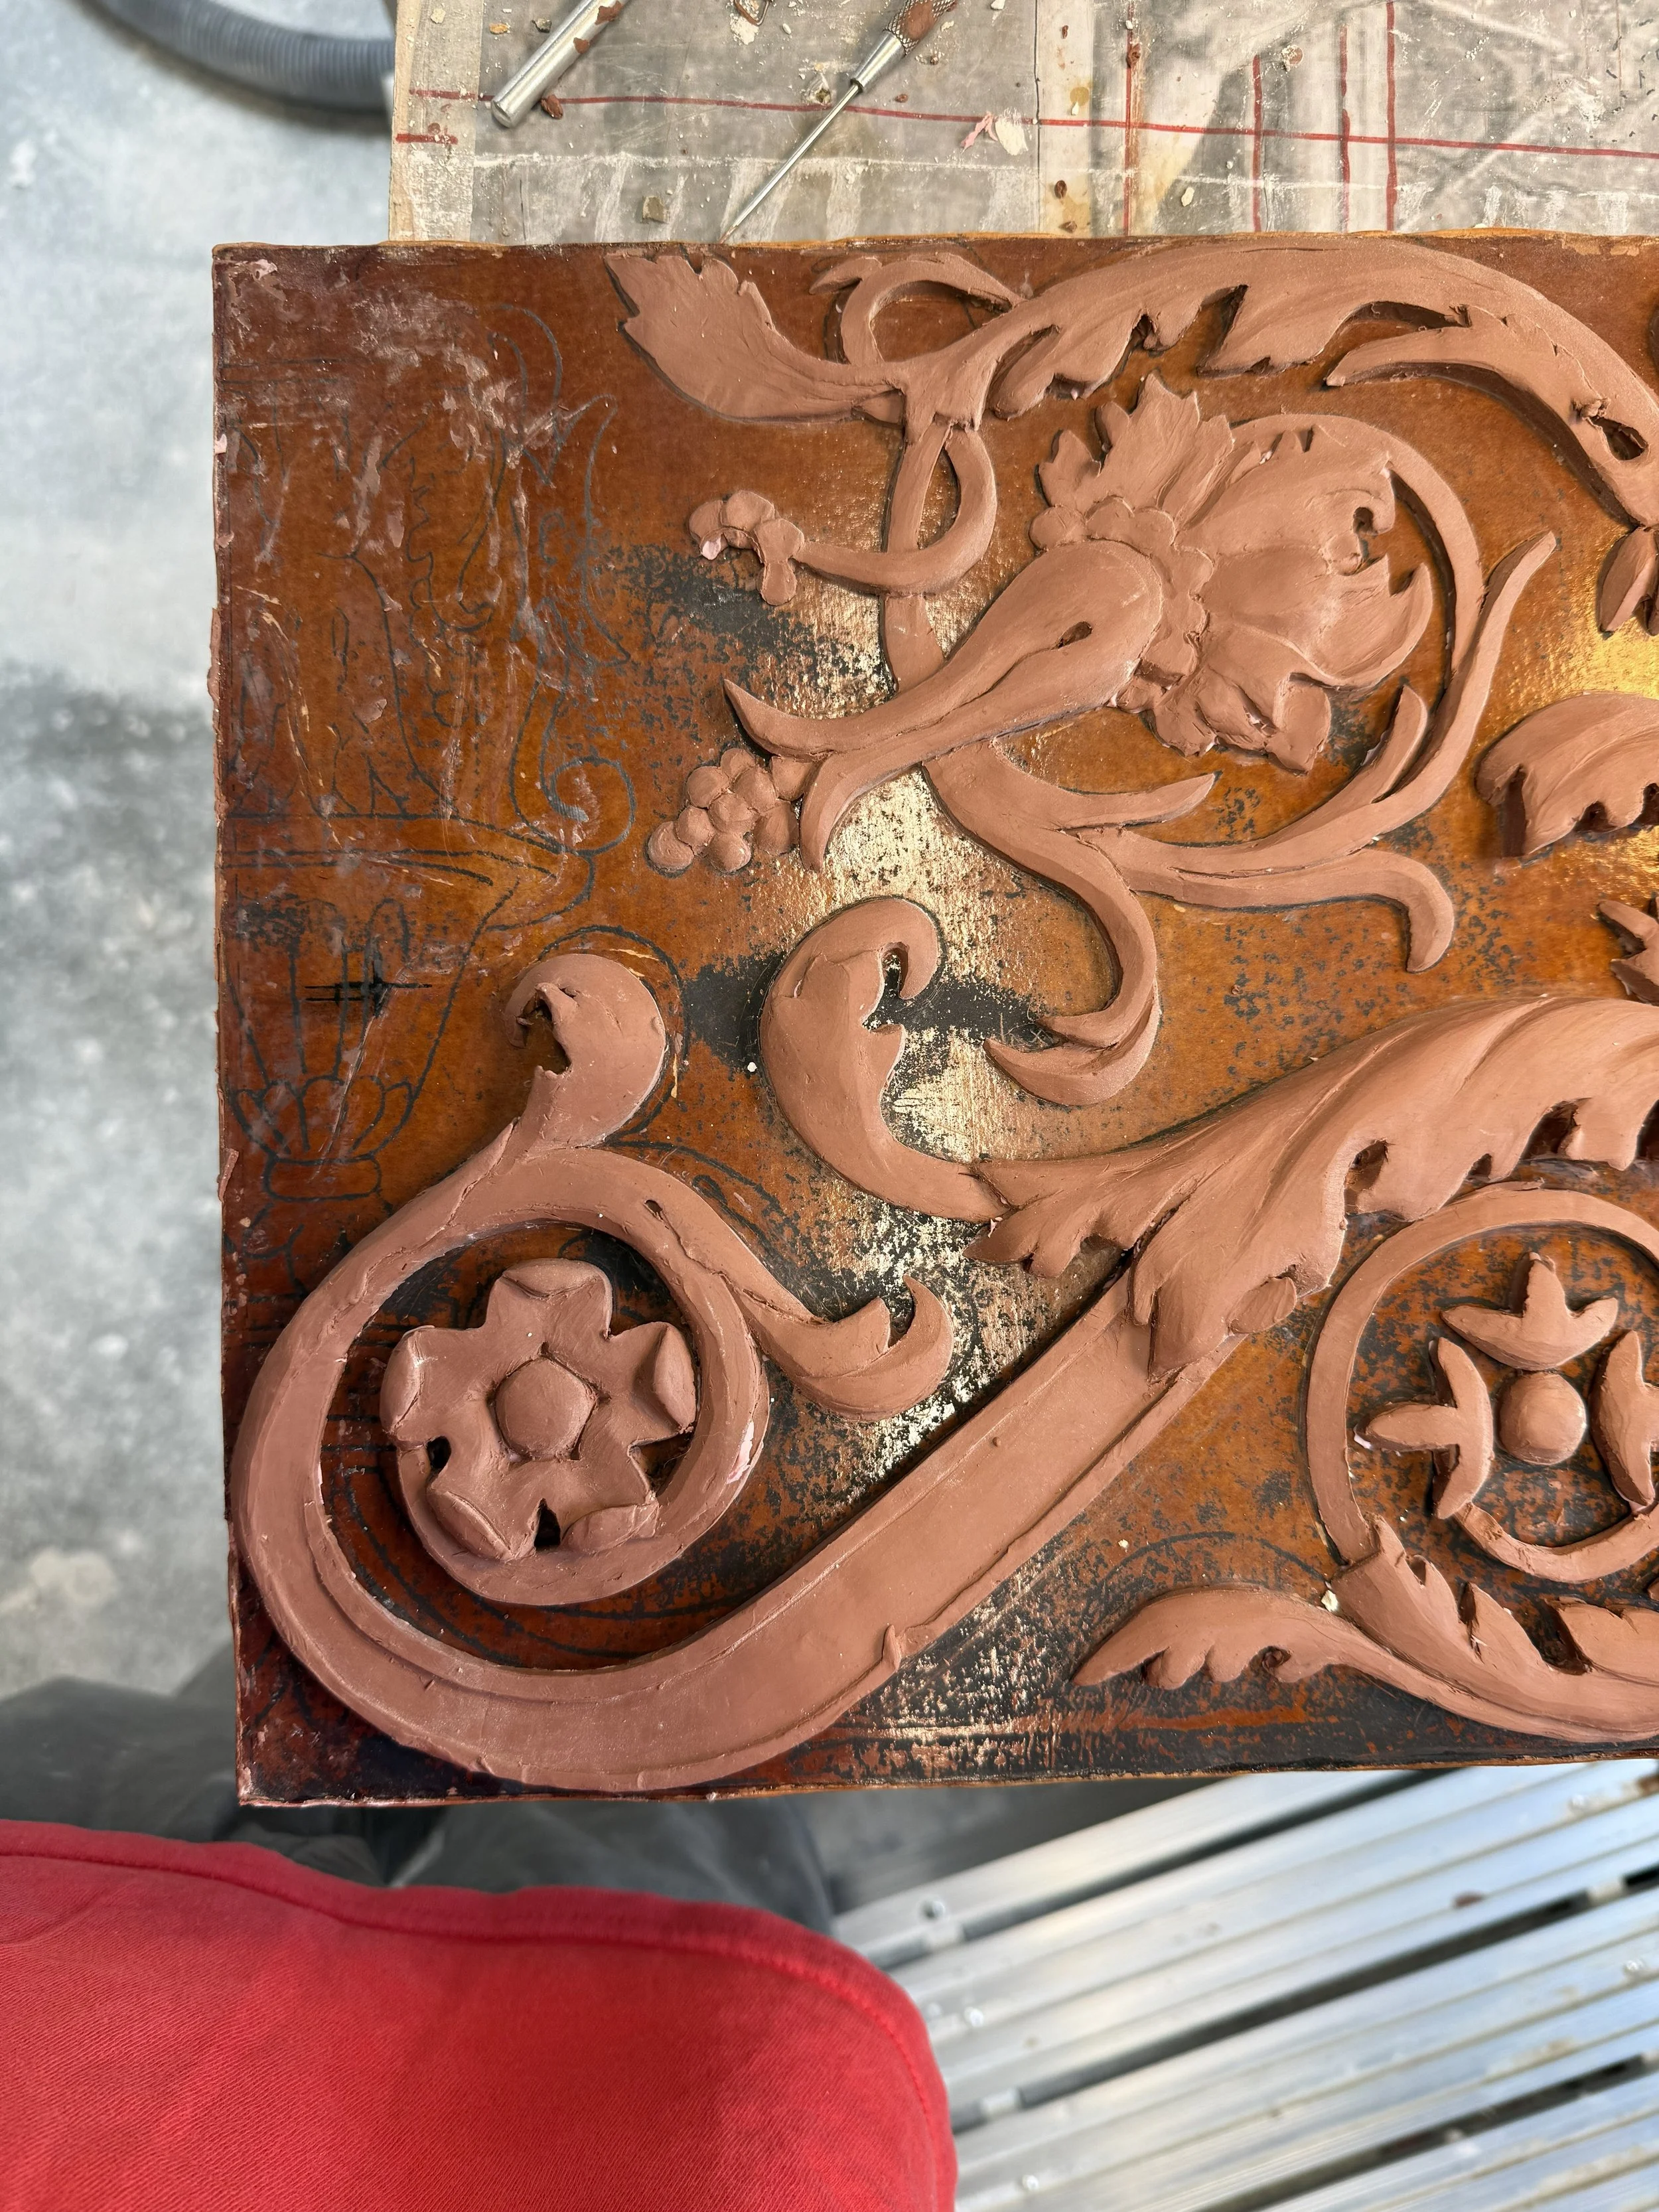
This is how i wanted it to look. In an ideal situation it would be best to make a separate silicone mould, but this is expensive and time consuming, so i tried to edit the existing mould using different techniques and material
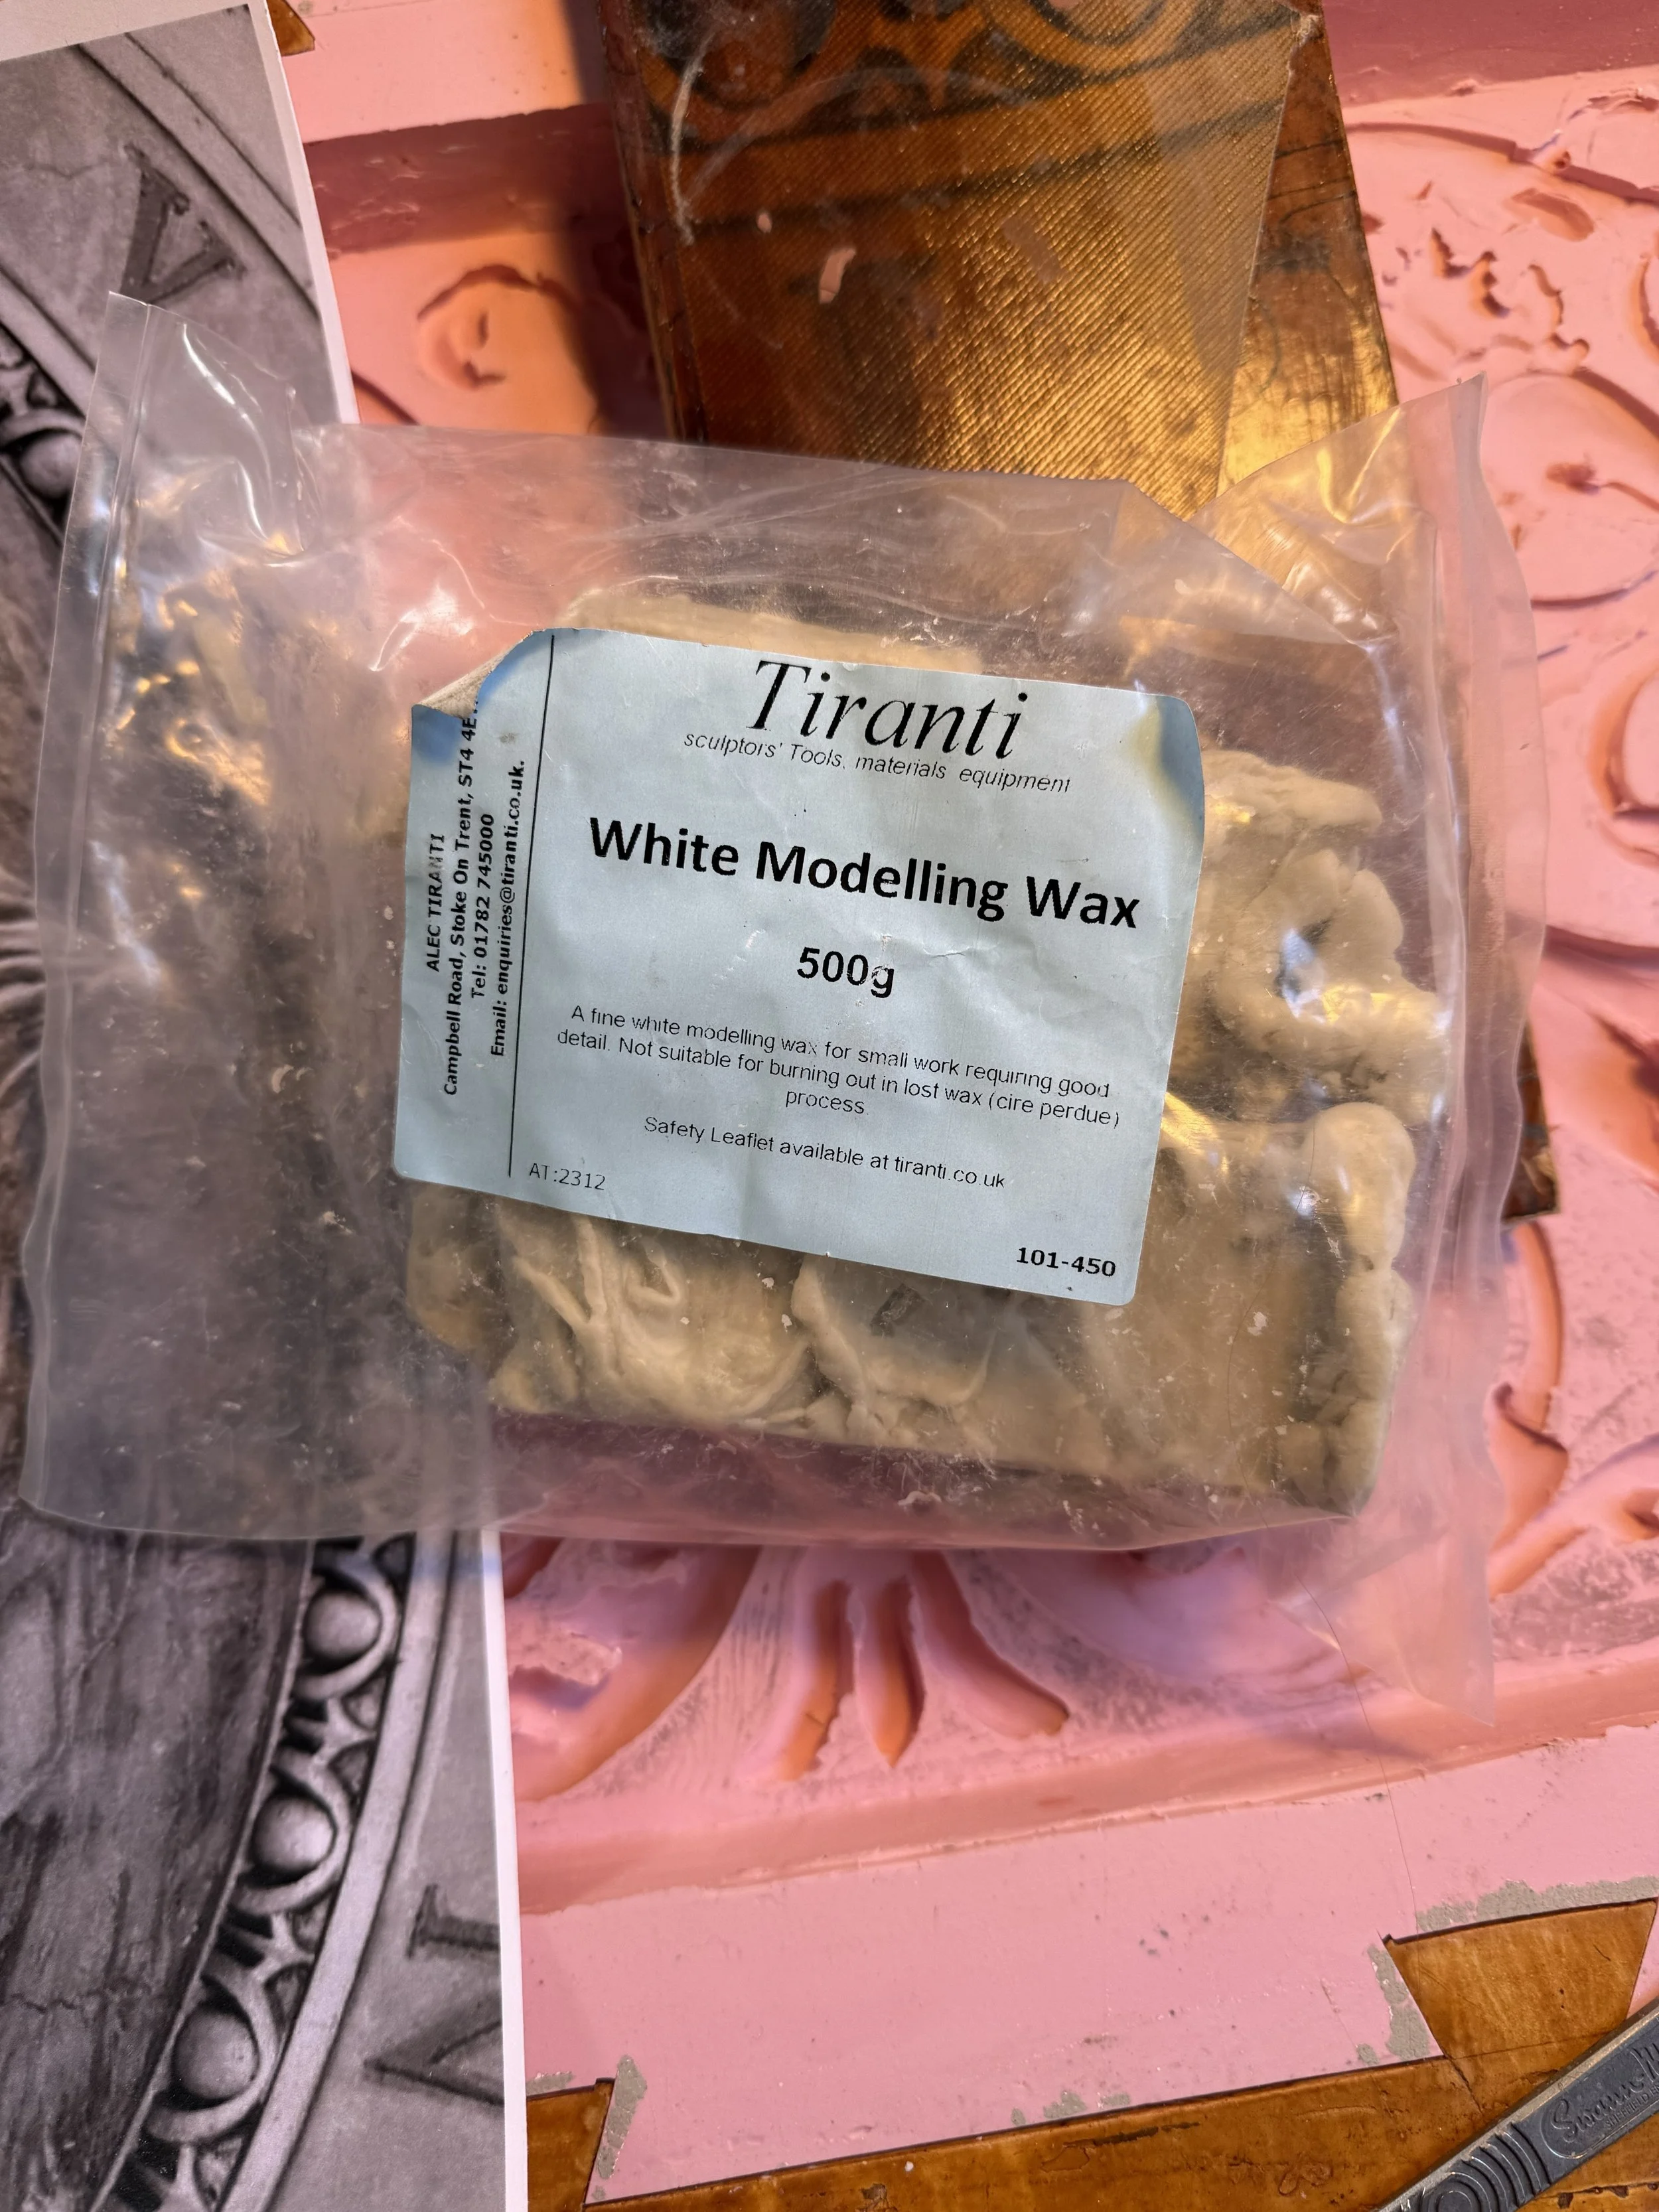
I had a hard time deciding what material to use. I though of using plastacine to fill and shellaking and sanding it, but though maybe modelling wax might be easier to smooth into the silicone without need of shellac.

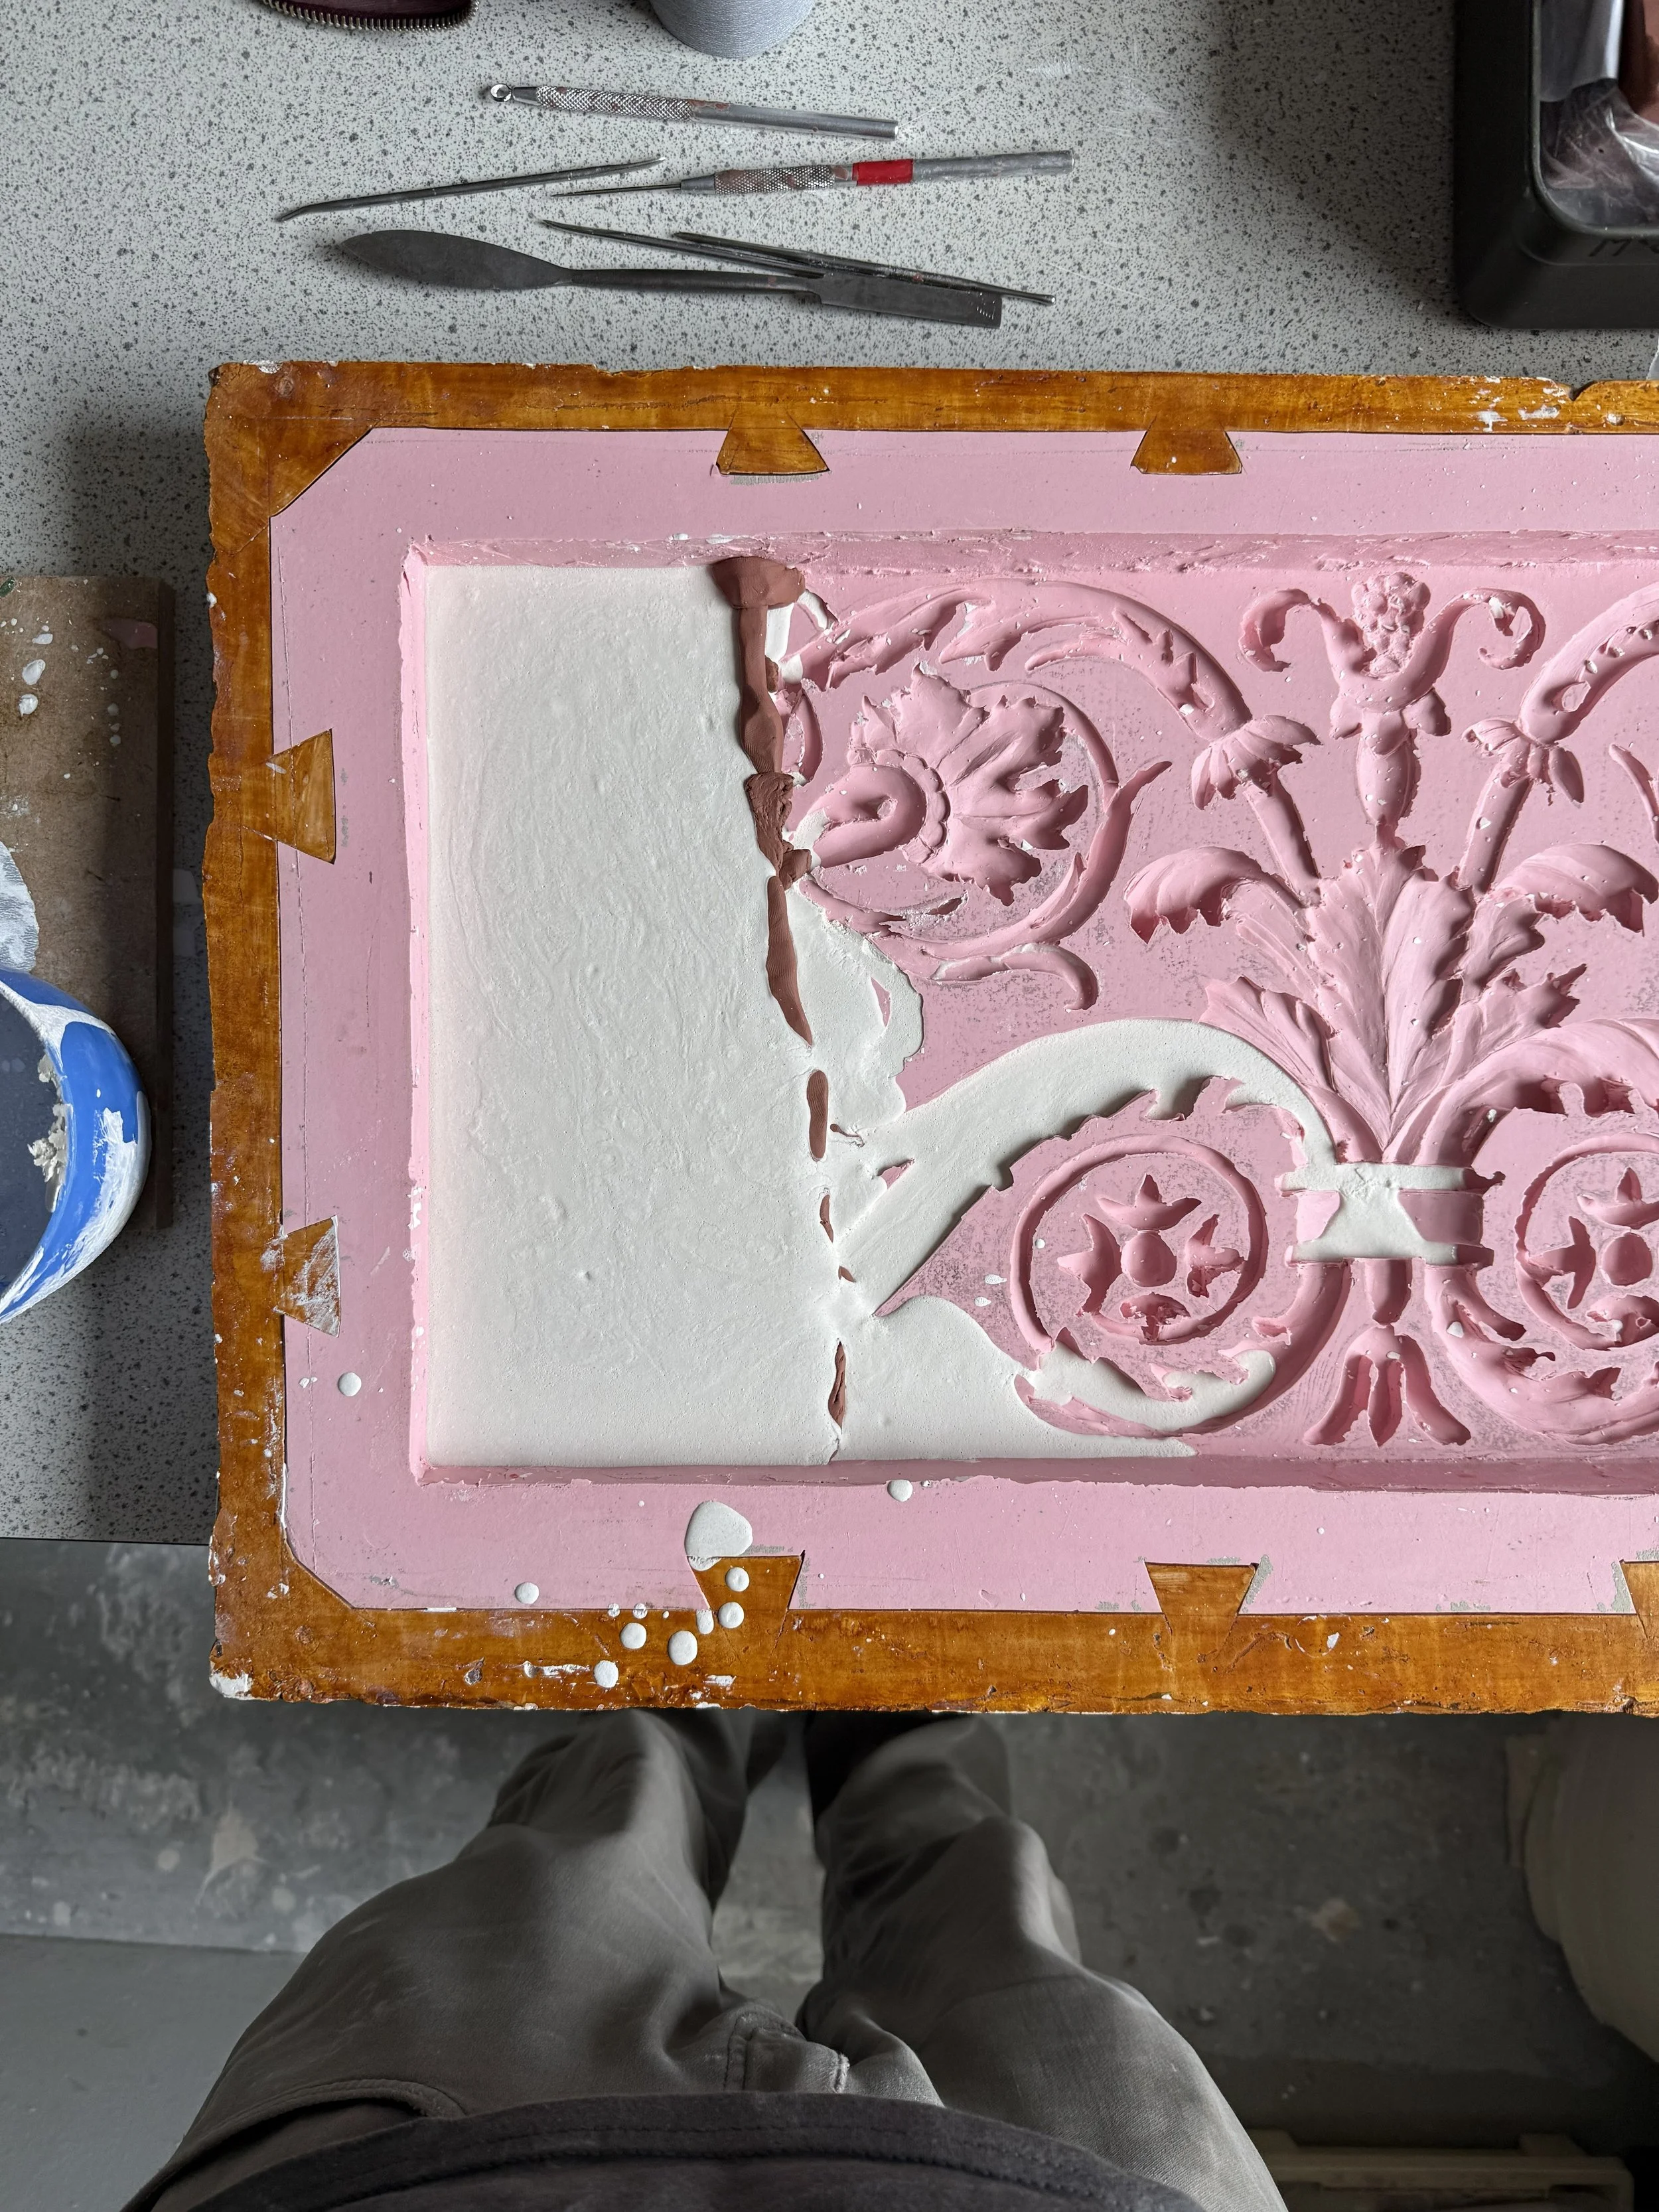
here i have carved into the wax a reverse of the shape i want. I ended up having difficulty getting the wax and silicone to join
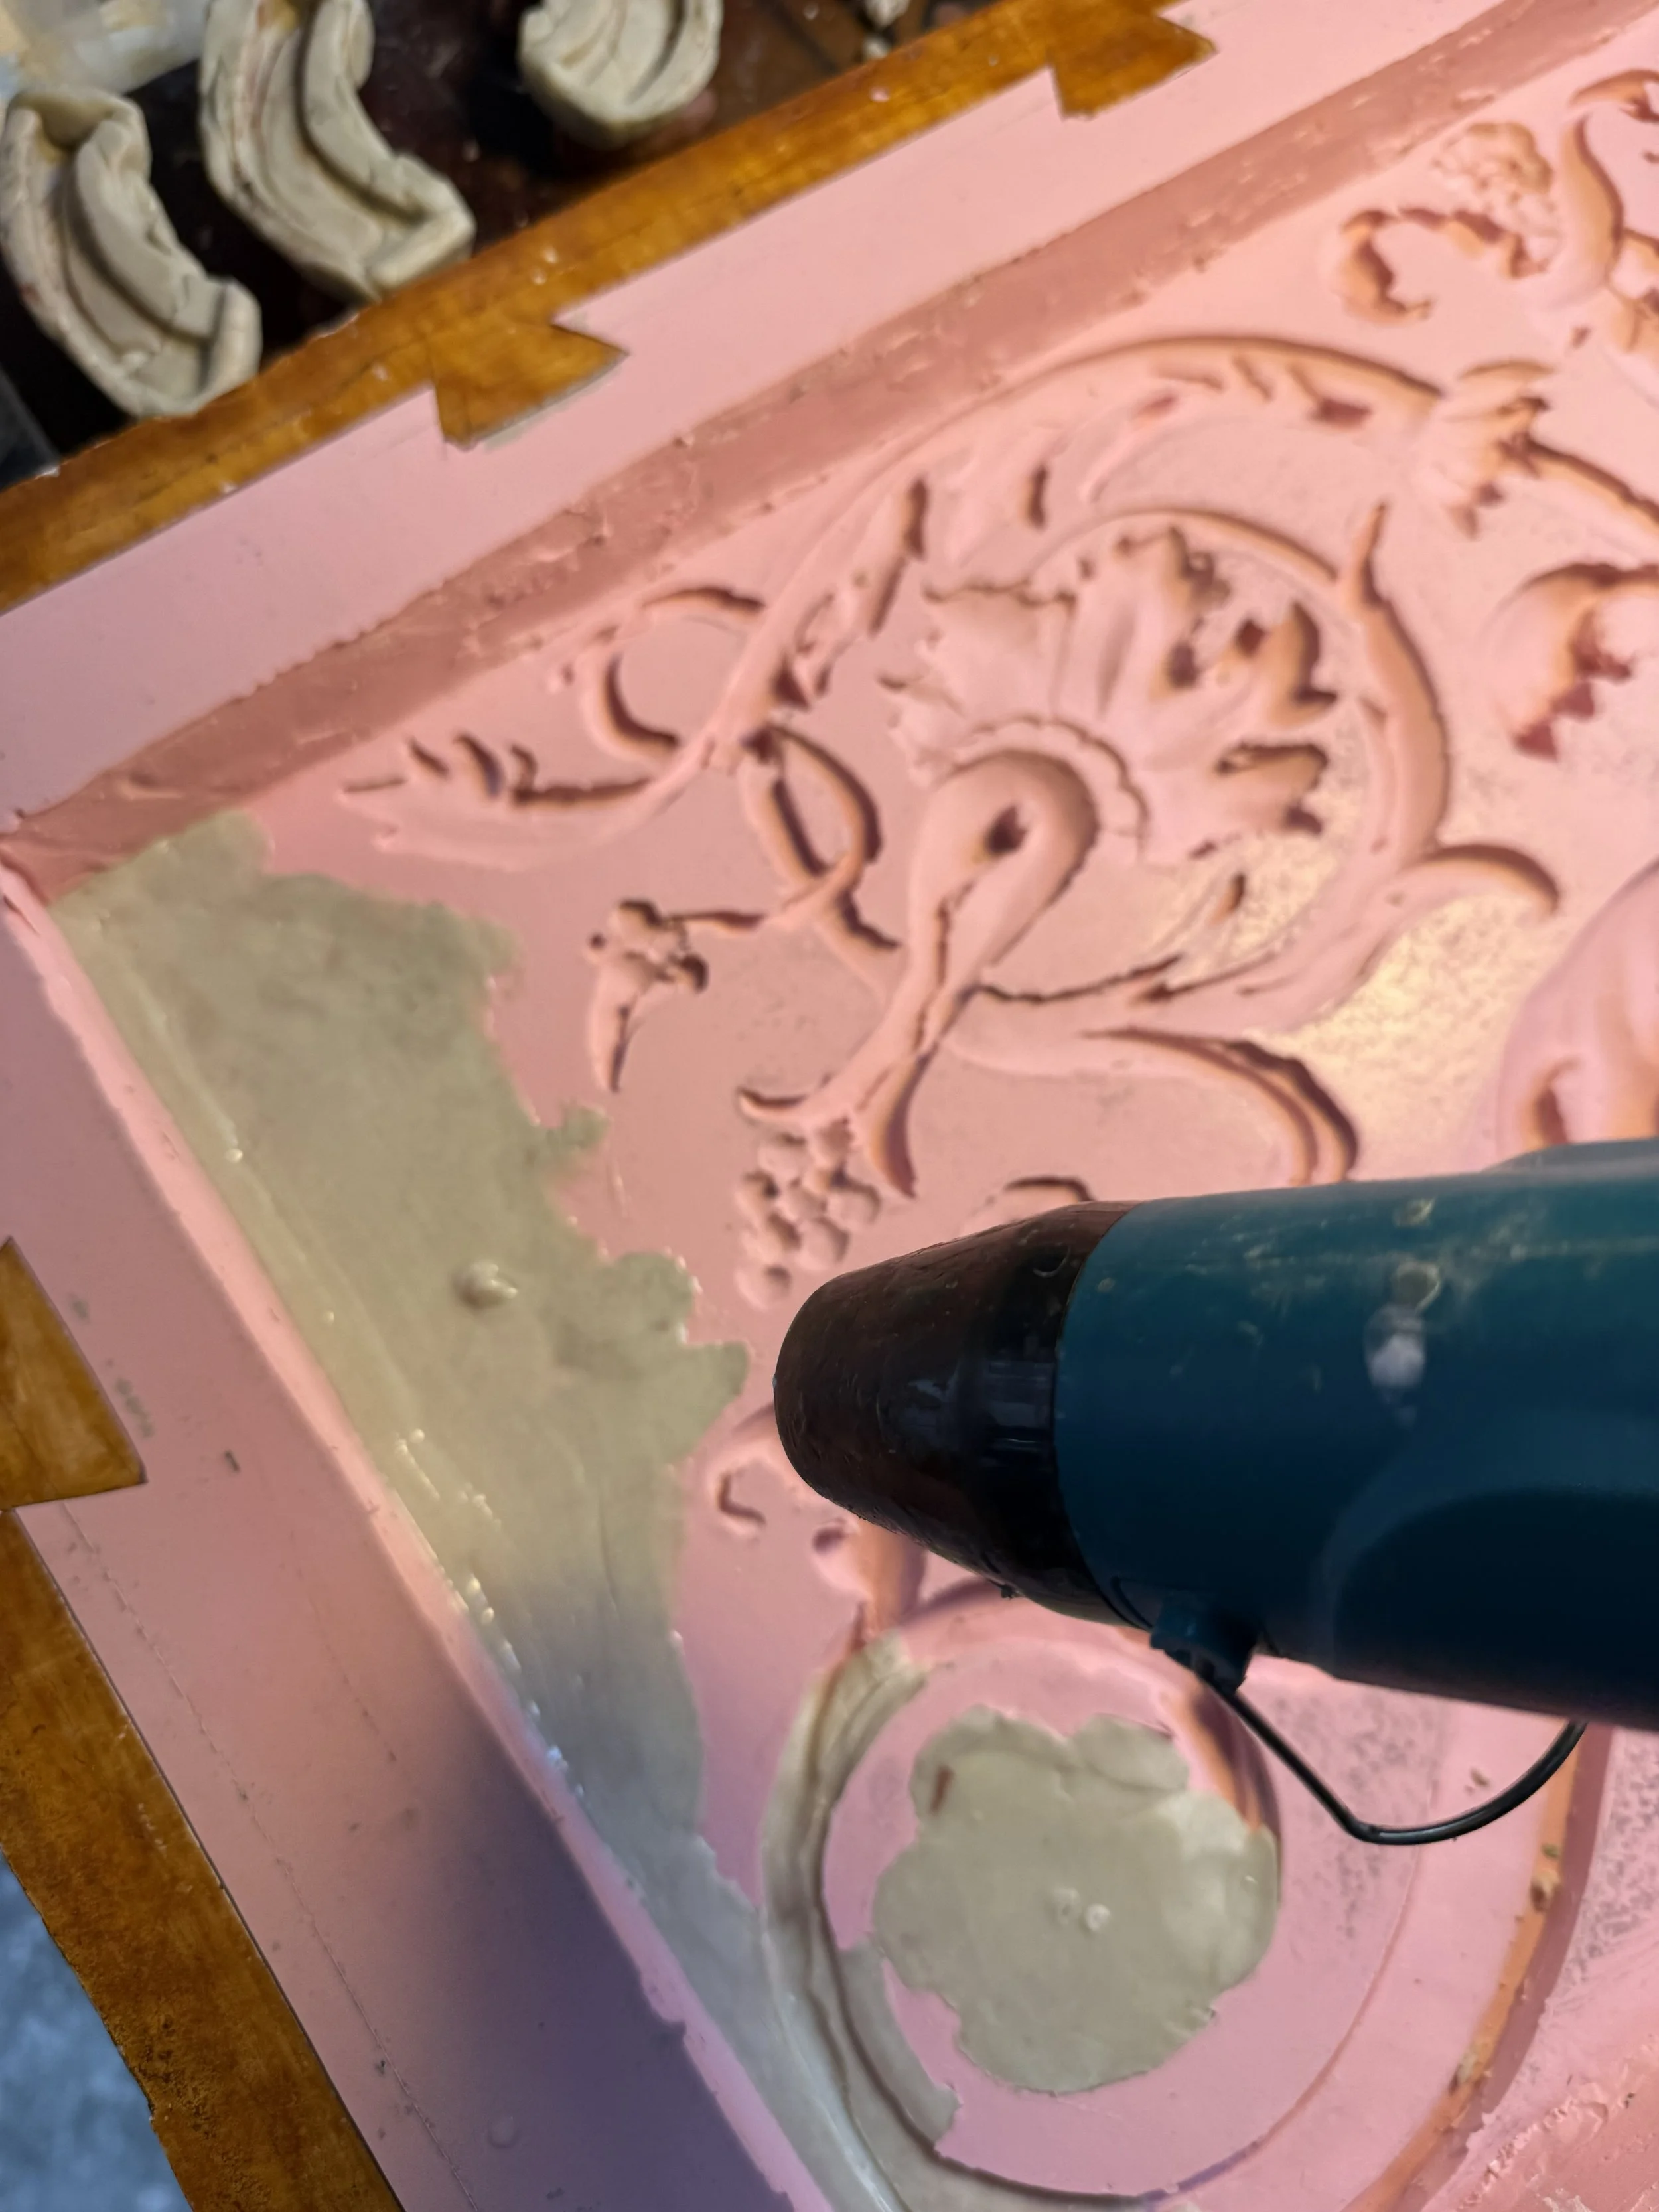
when using wax a heatgun is extremely helpful
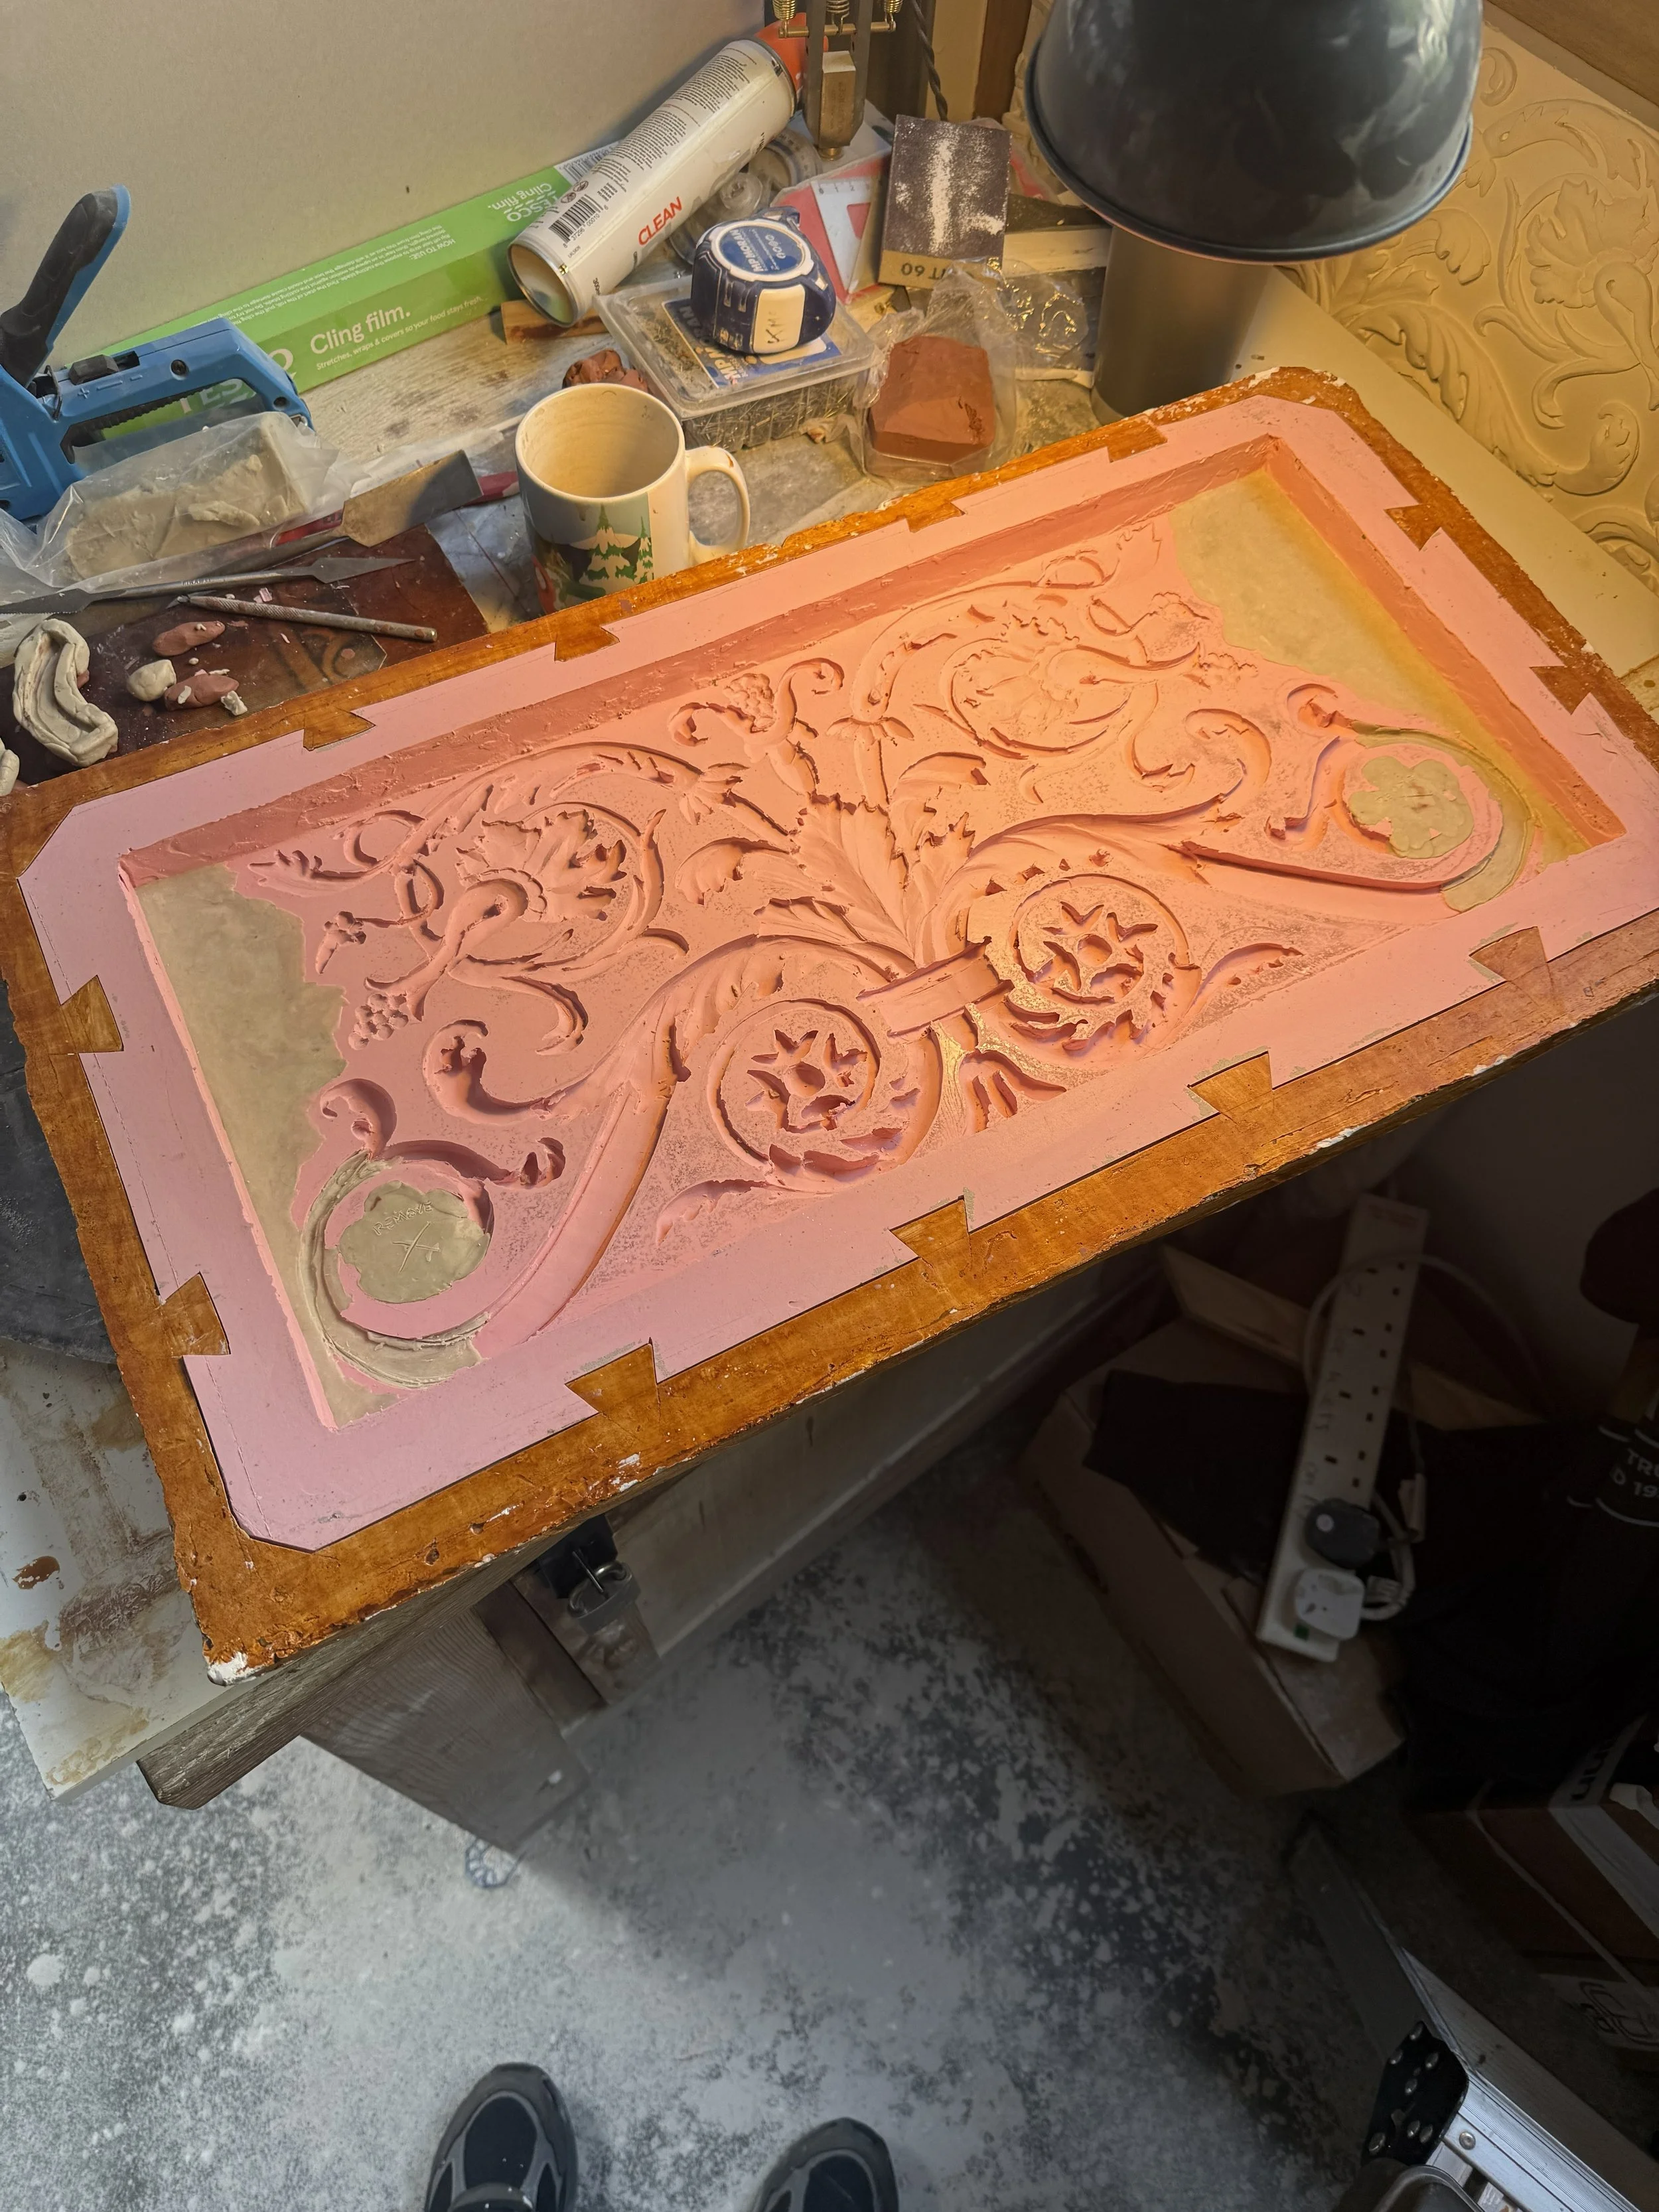
I never totally got it to perfectly blend, but did realize I love working with modelling wax. I intend to use it more on future projects.
the wax is soft enough the clay tools work with it very well
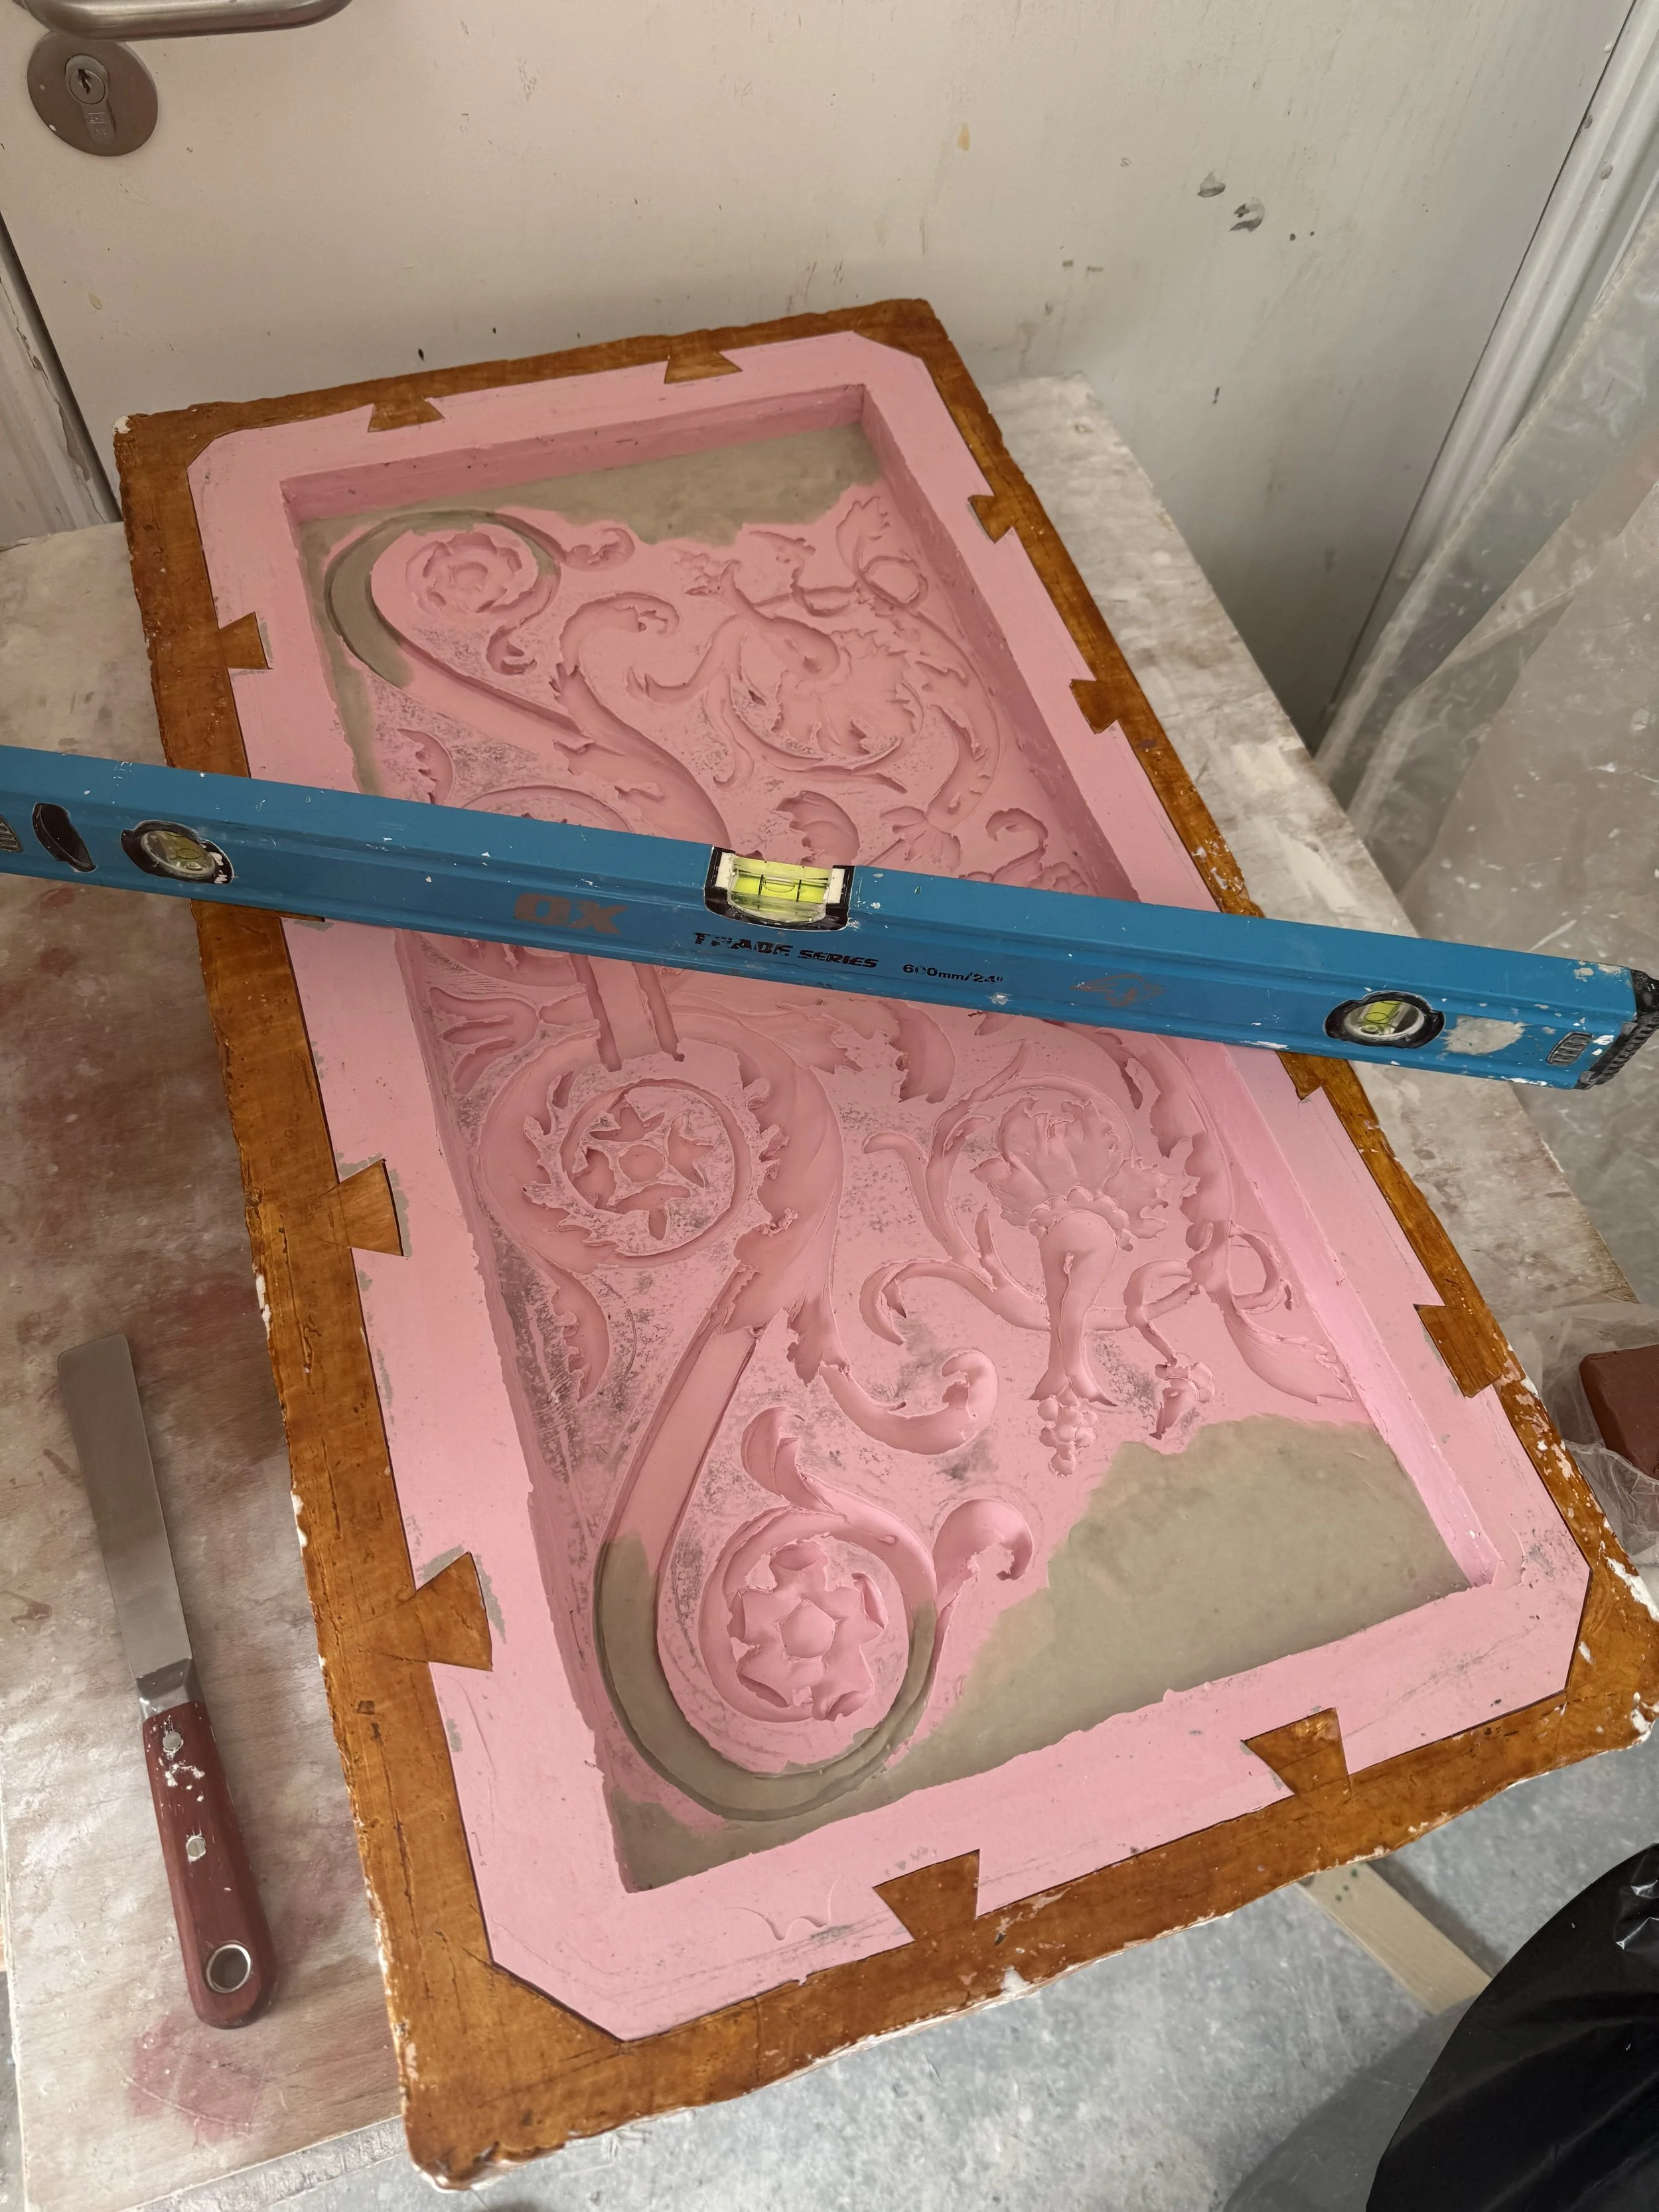
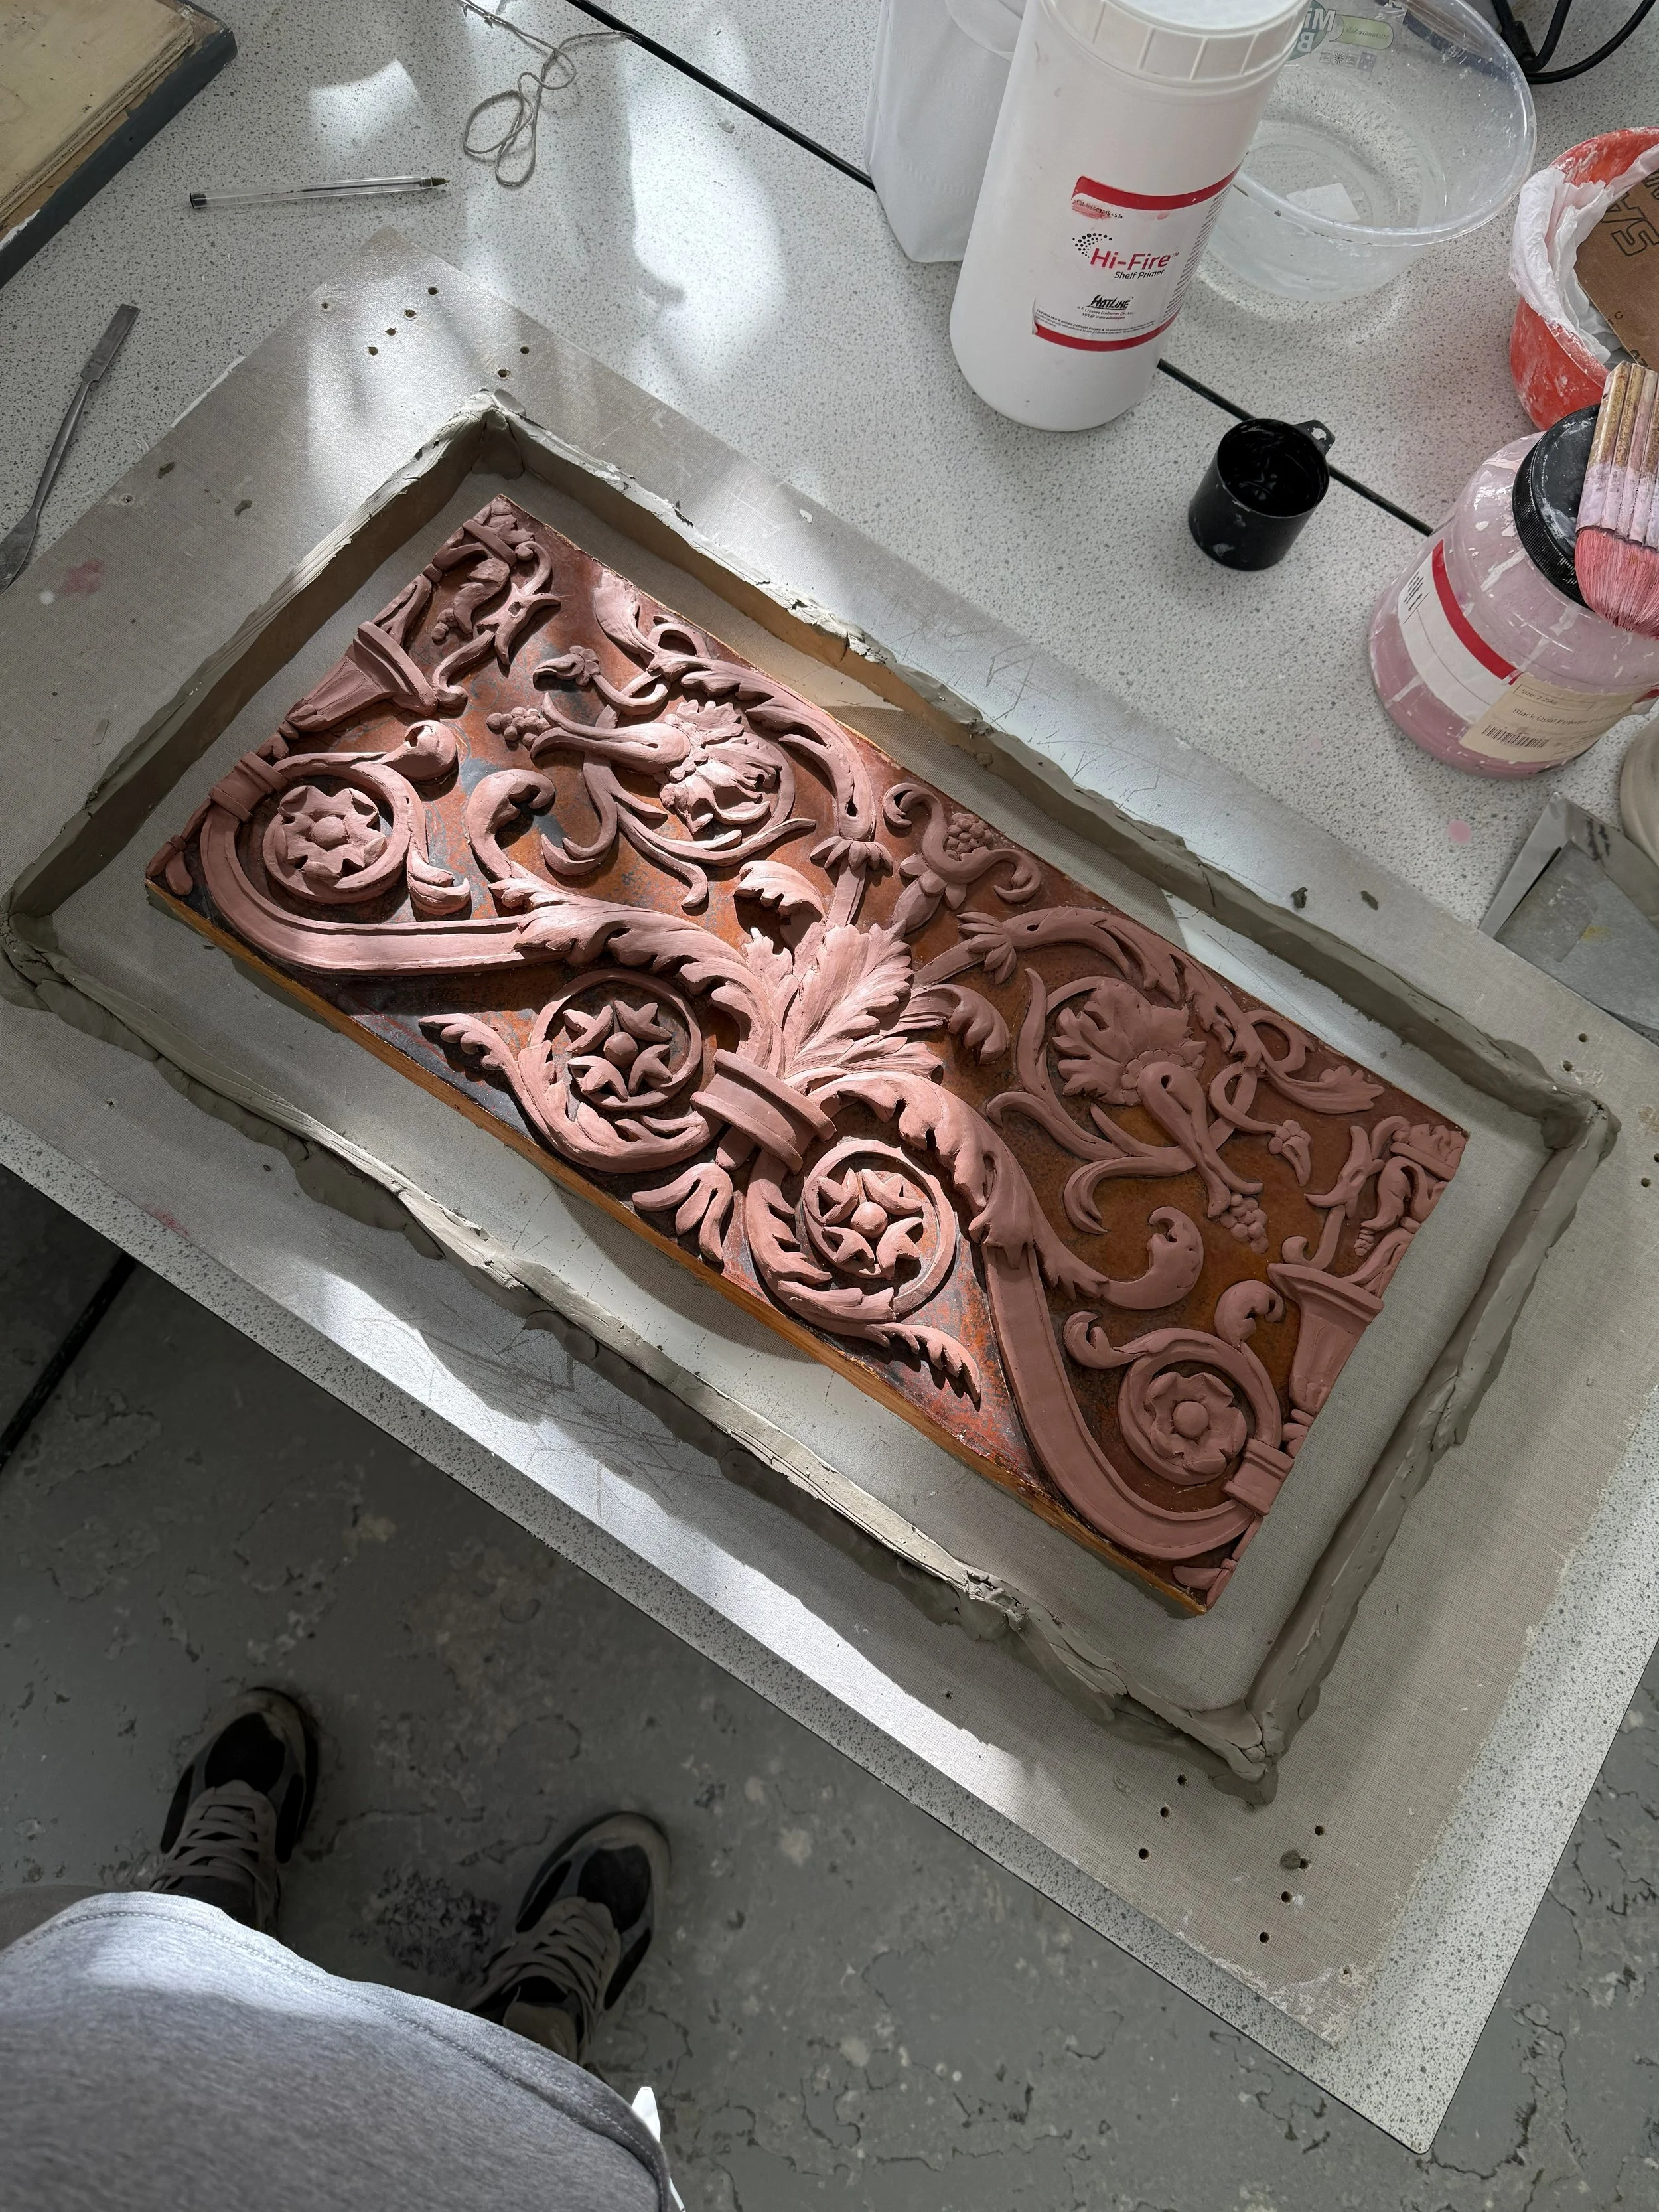
getting ready to pour the krystal cast. leveling is very important, if it is off level, the glass peice will be off level. take the time to make it right
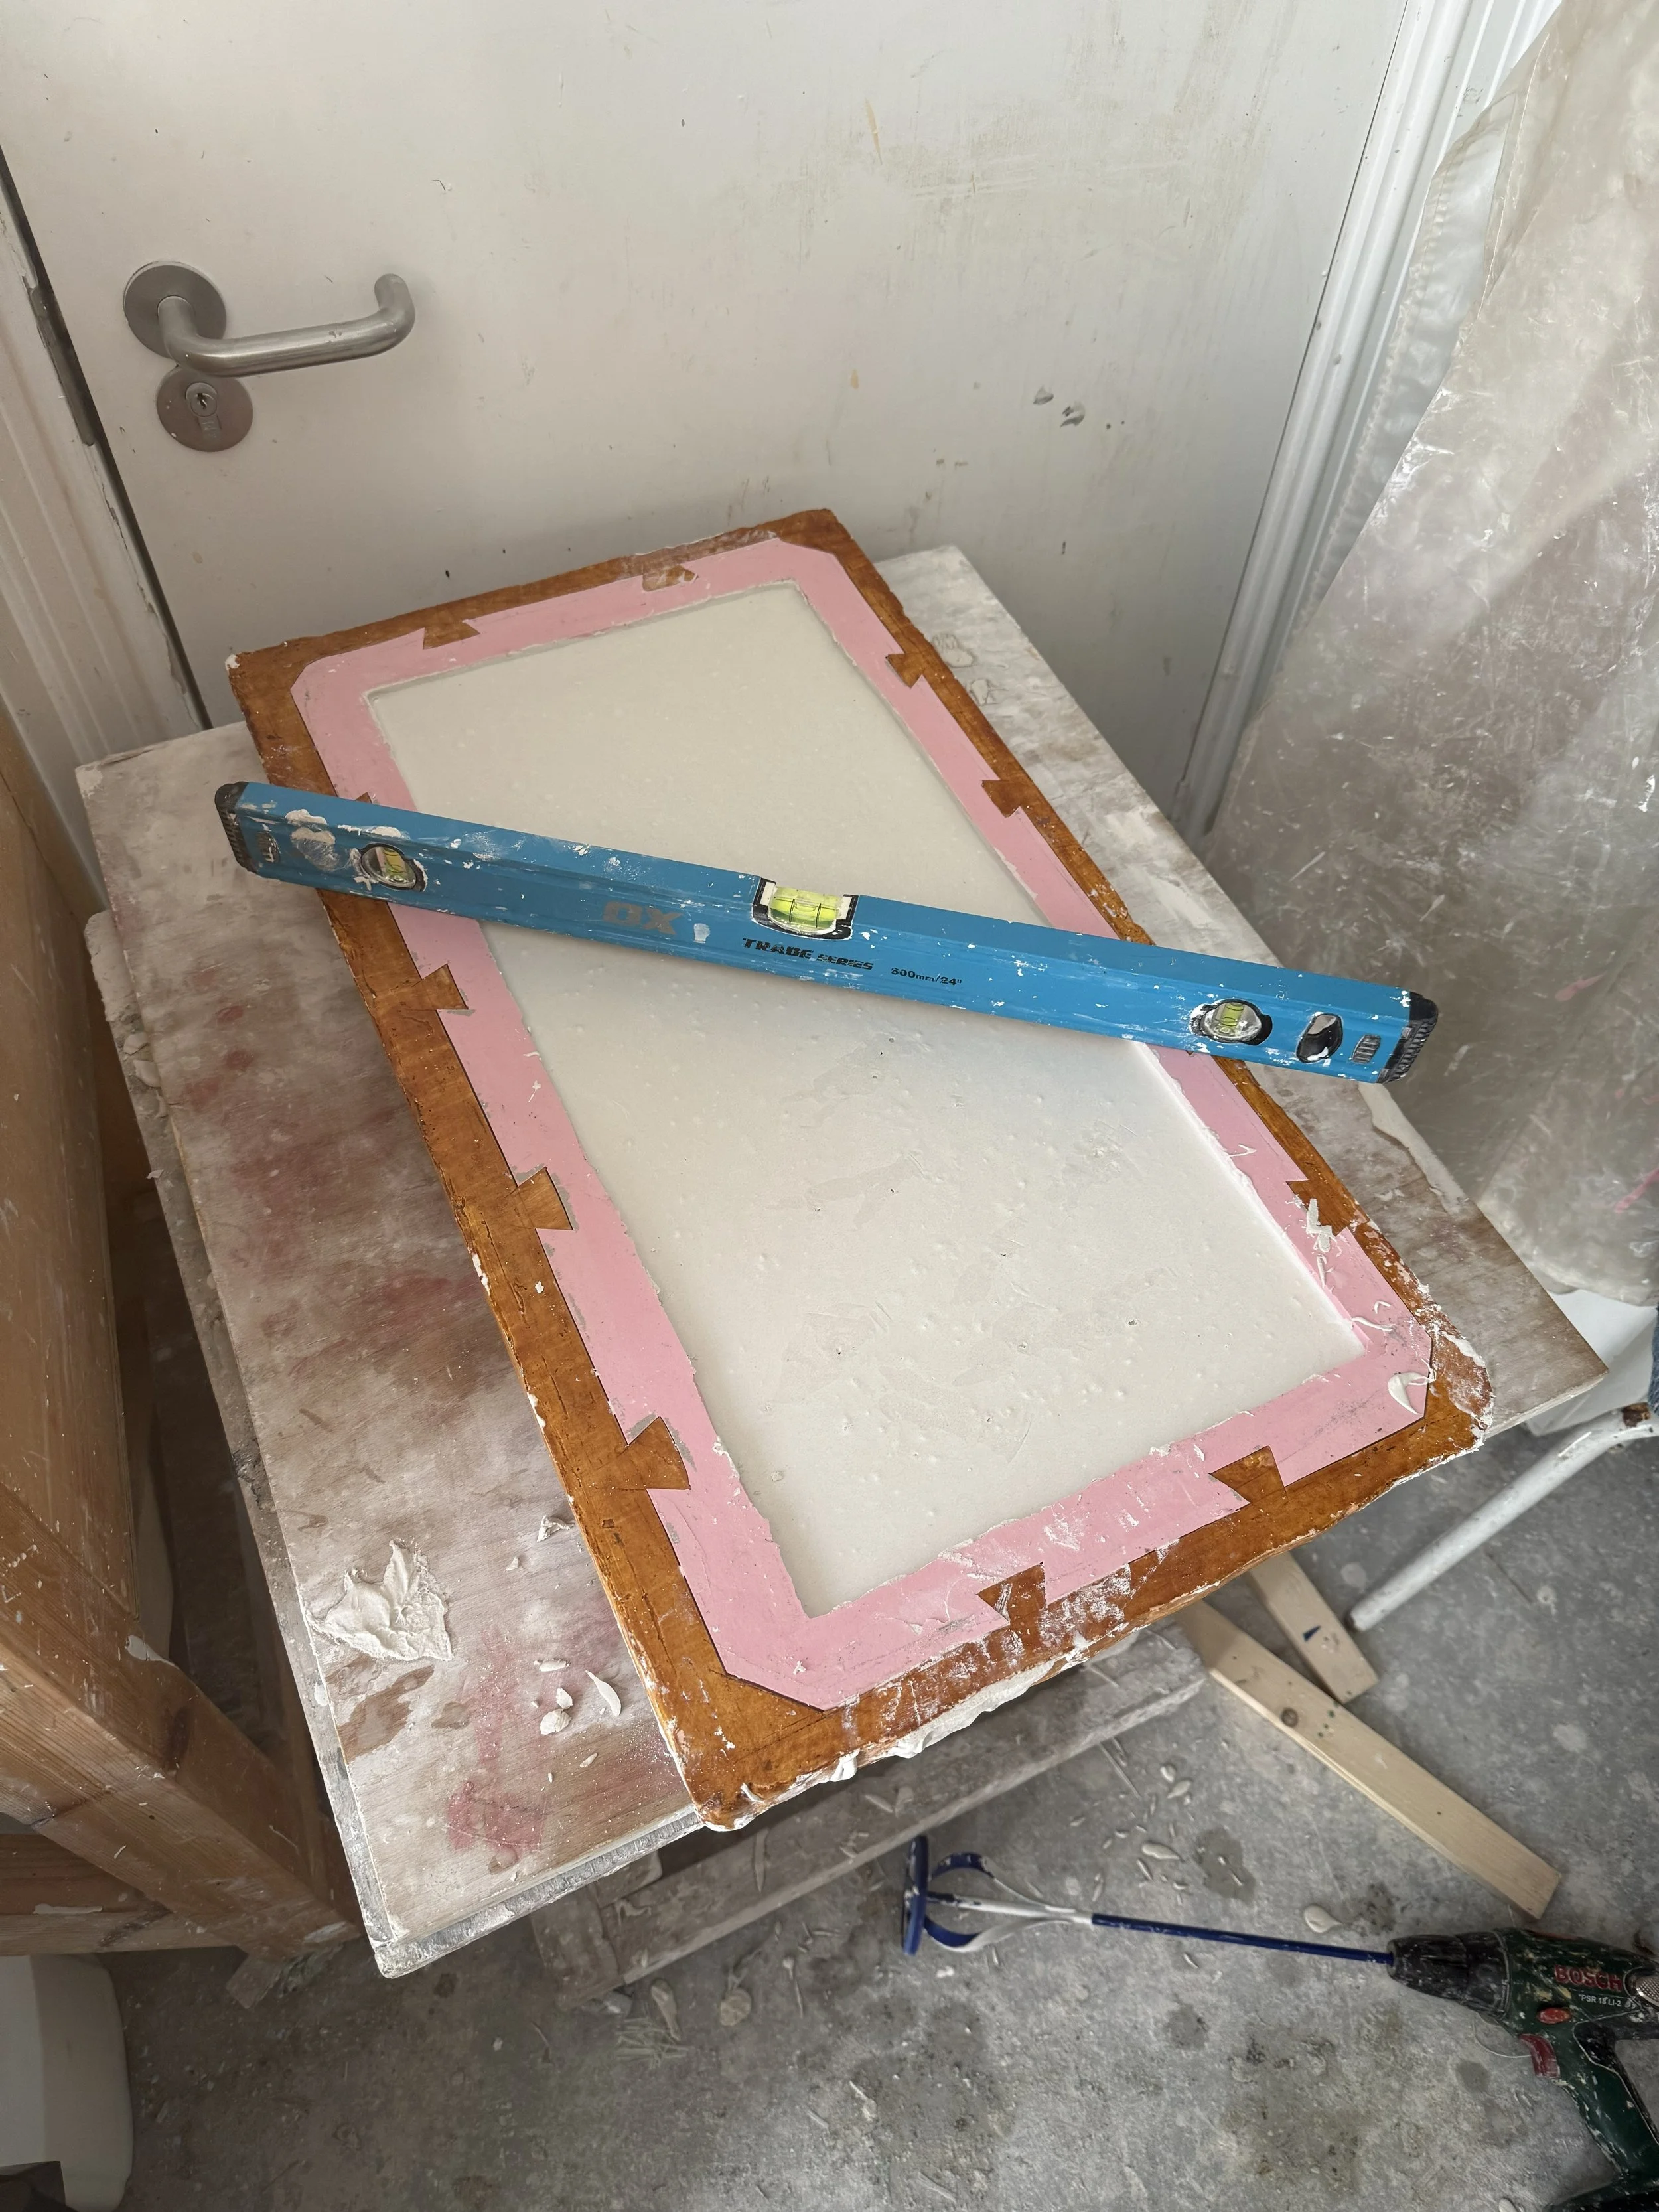
krystal cast poured
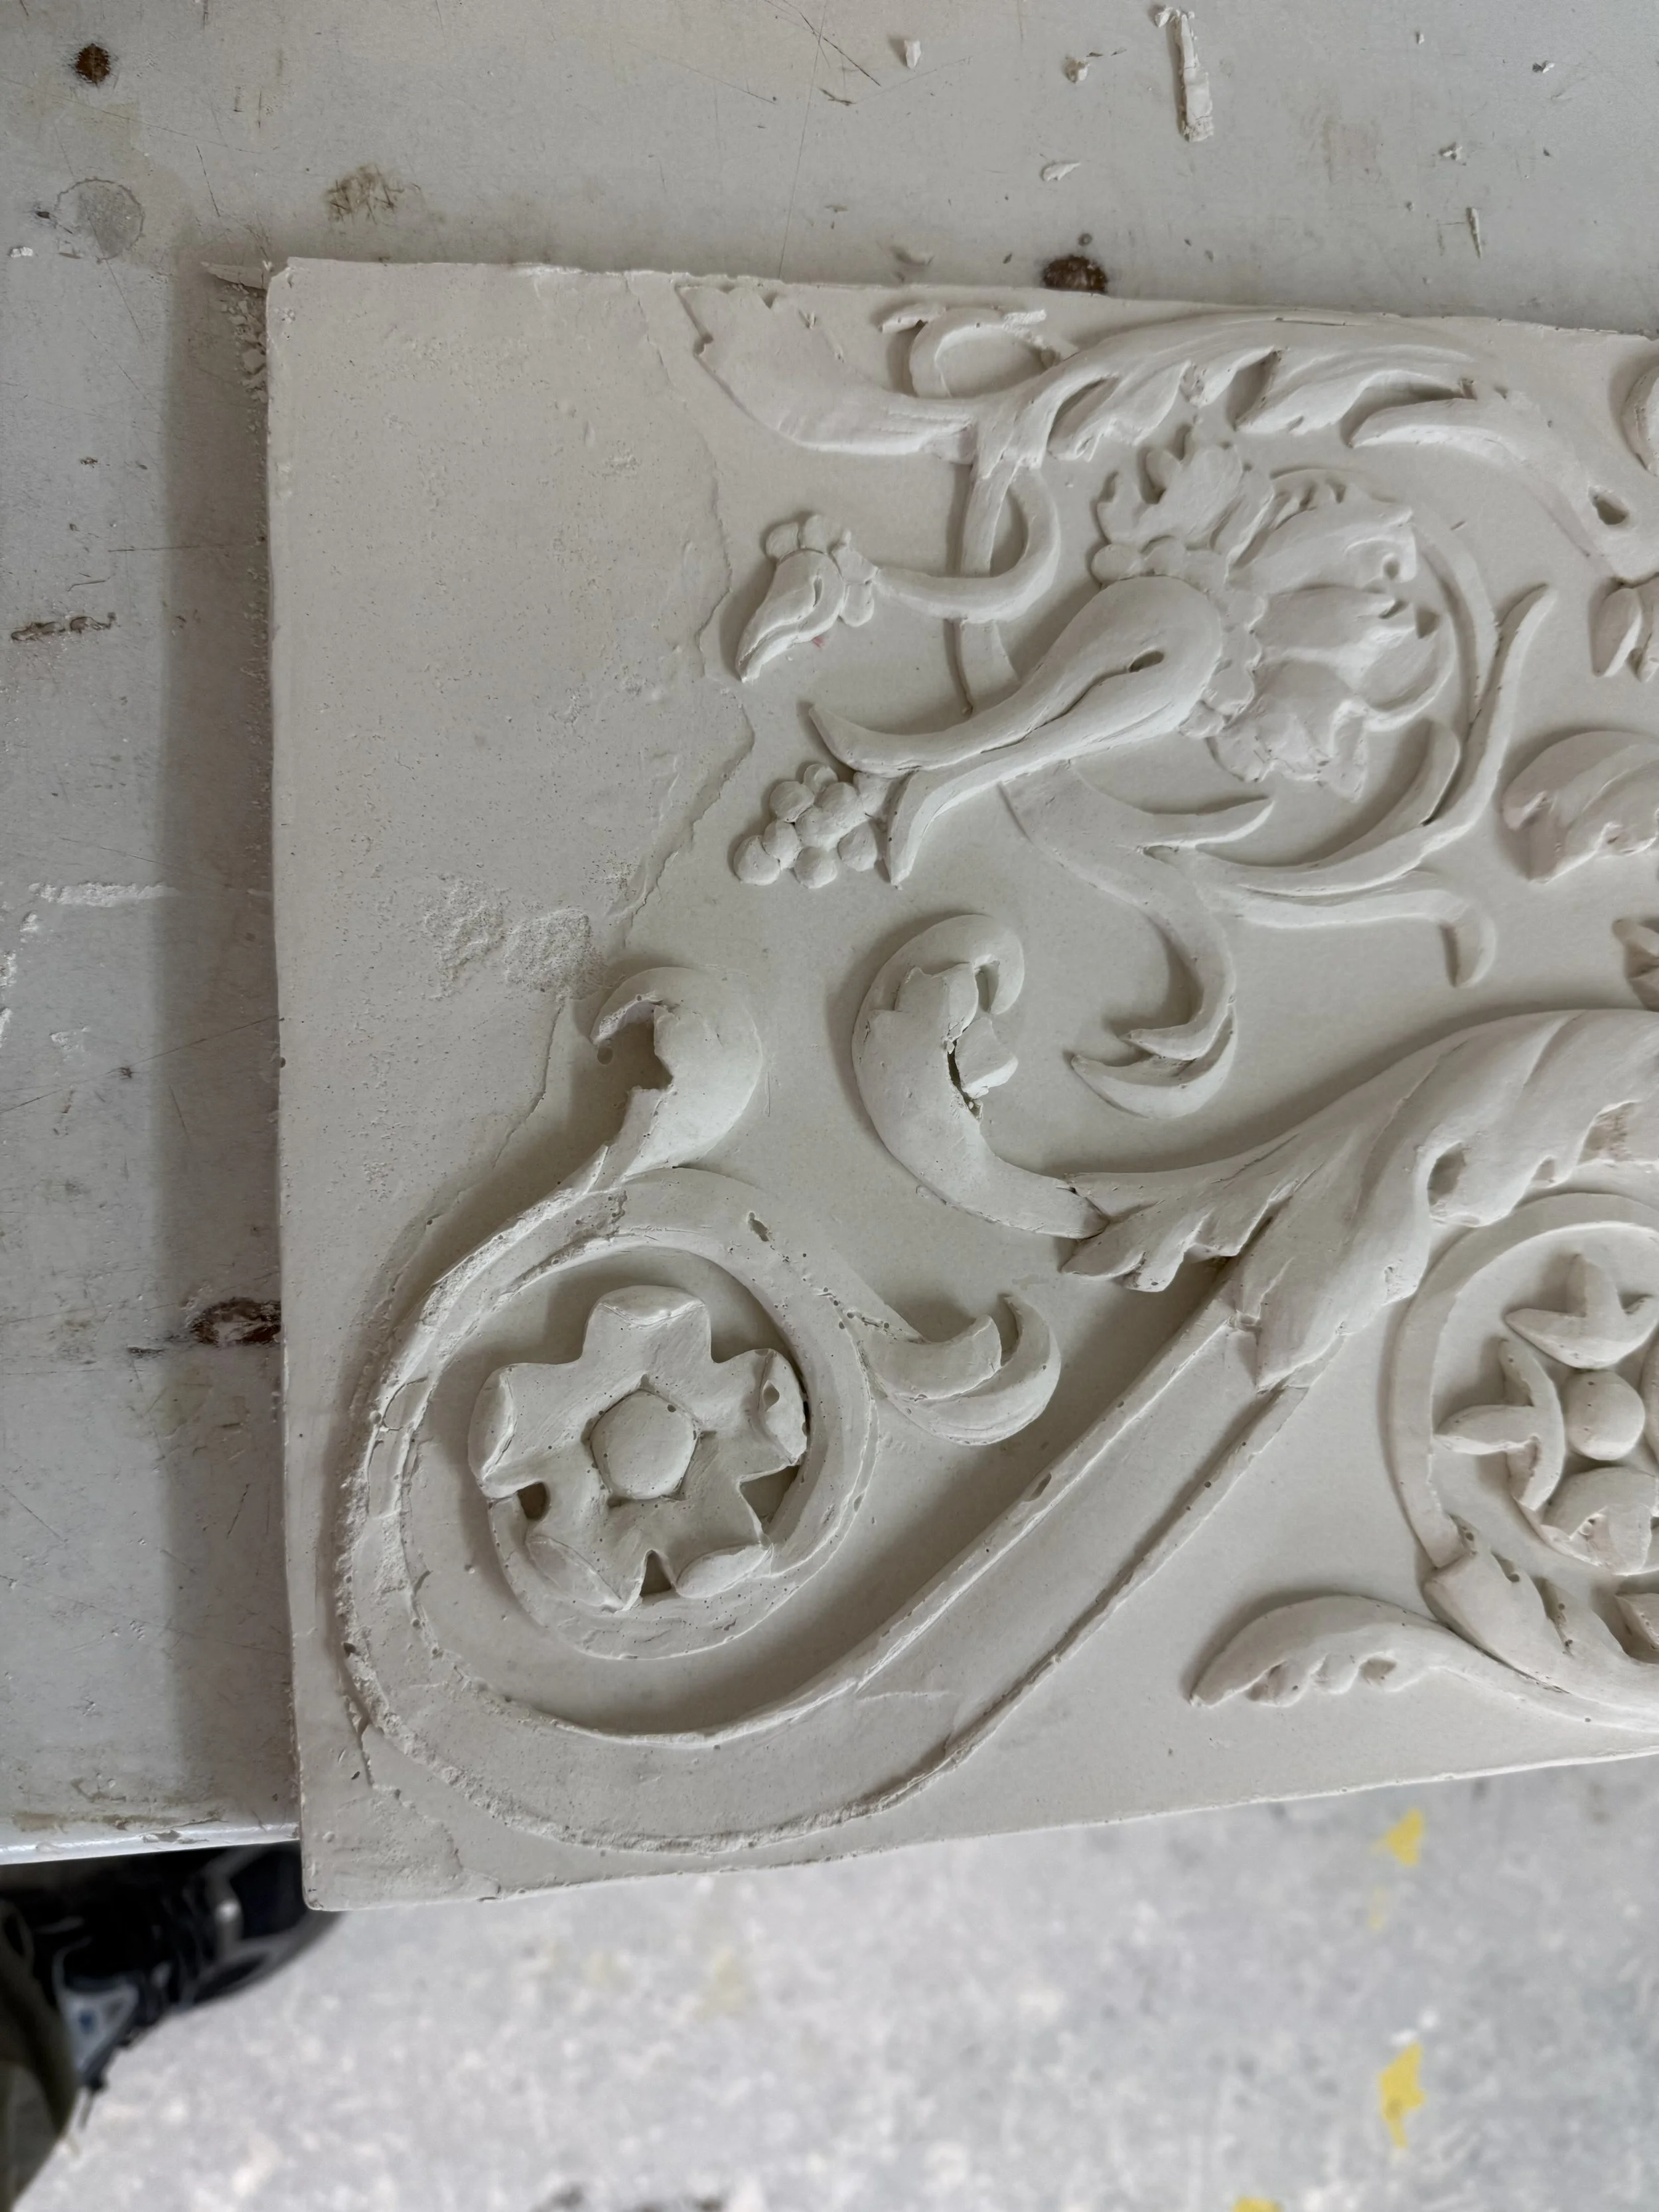
Fresh out of the mould… this was not the result i was hoping for, but as time was running out, i had to make due with it. when this happens if you have time recast and try again, if you dont have time, grab sand paper and get to work.
here I have cleaned it up to an acceptable level, the grittiness of the crystal cast will be seen wherever you had to work it though. it is very unforgiving in this way.
here is the transition area of the wax and silicone, did not come out as i was expecting, but perhaps it will be ok in the end.
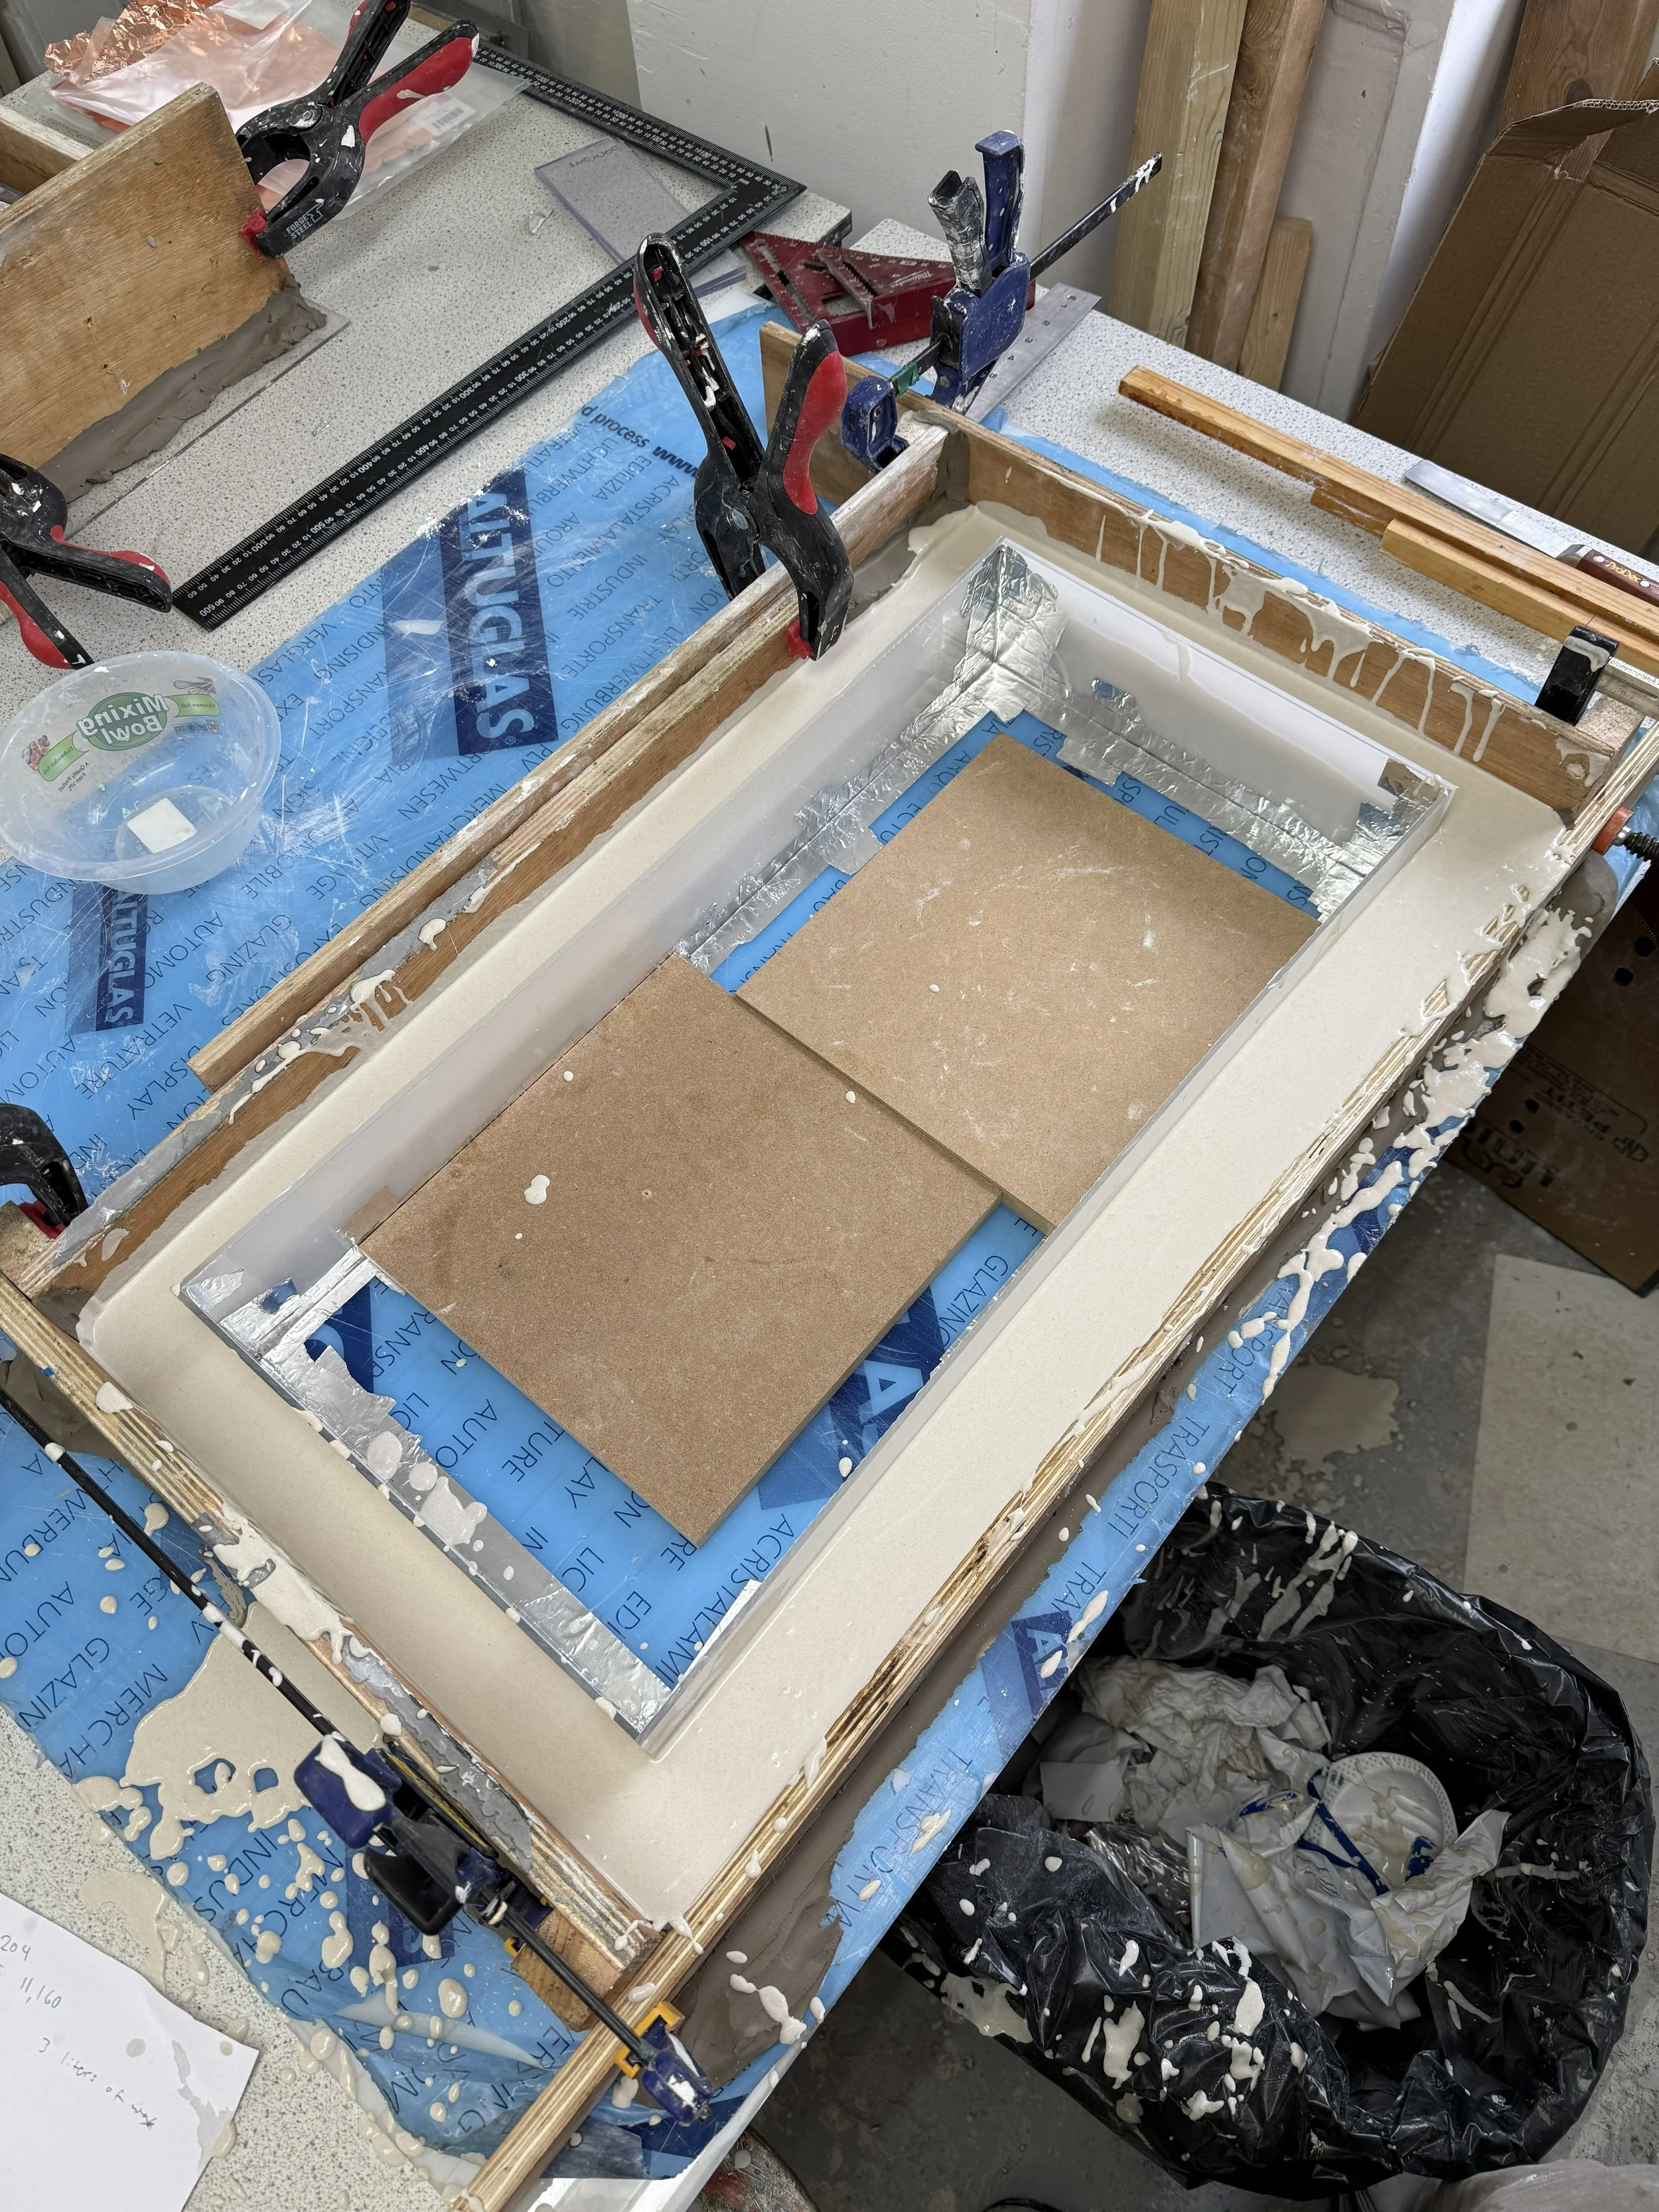
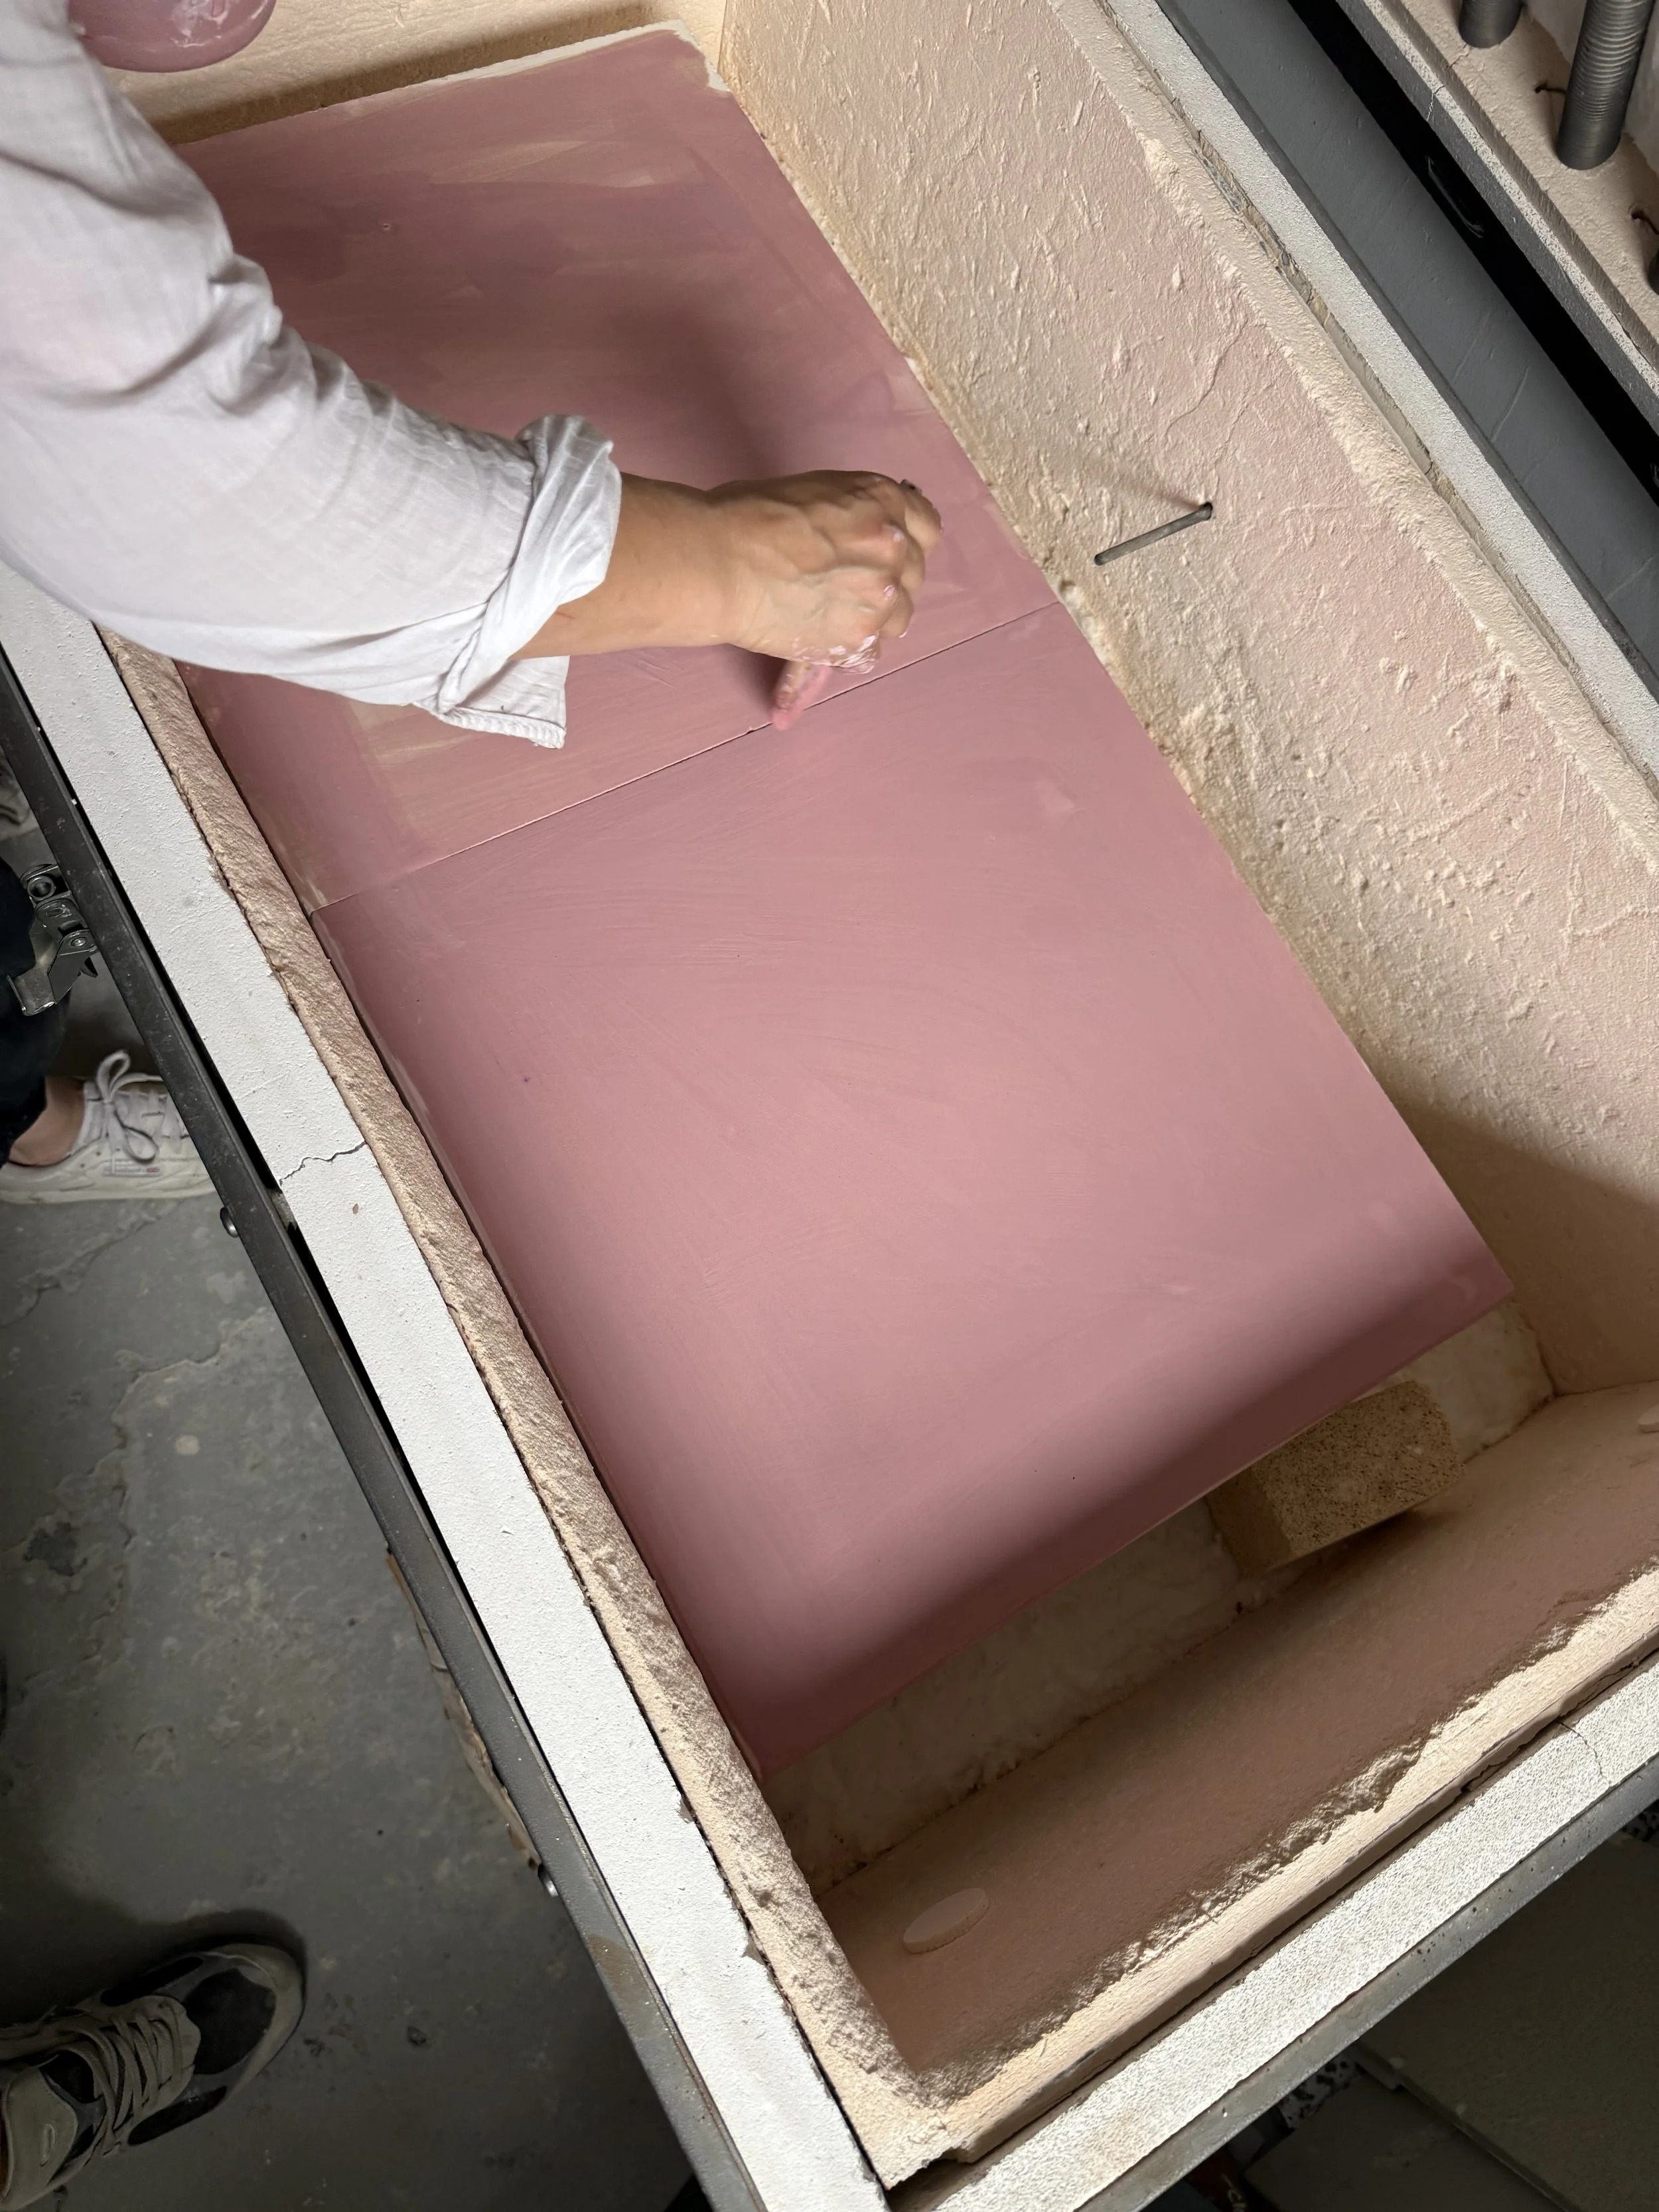
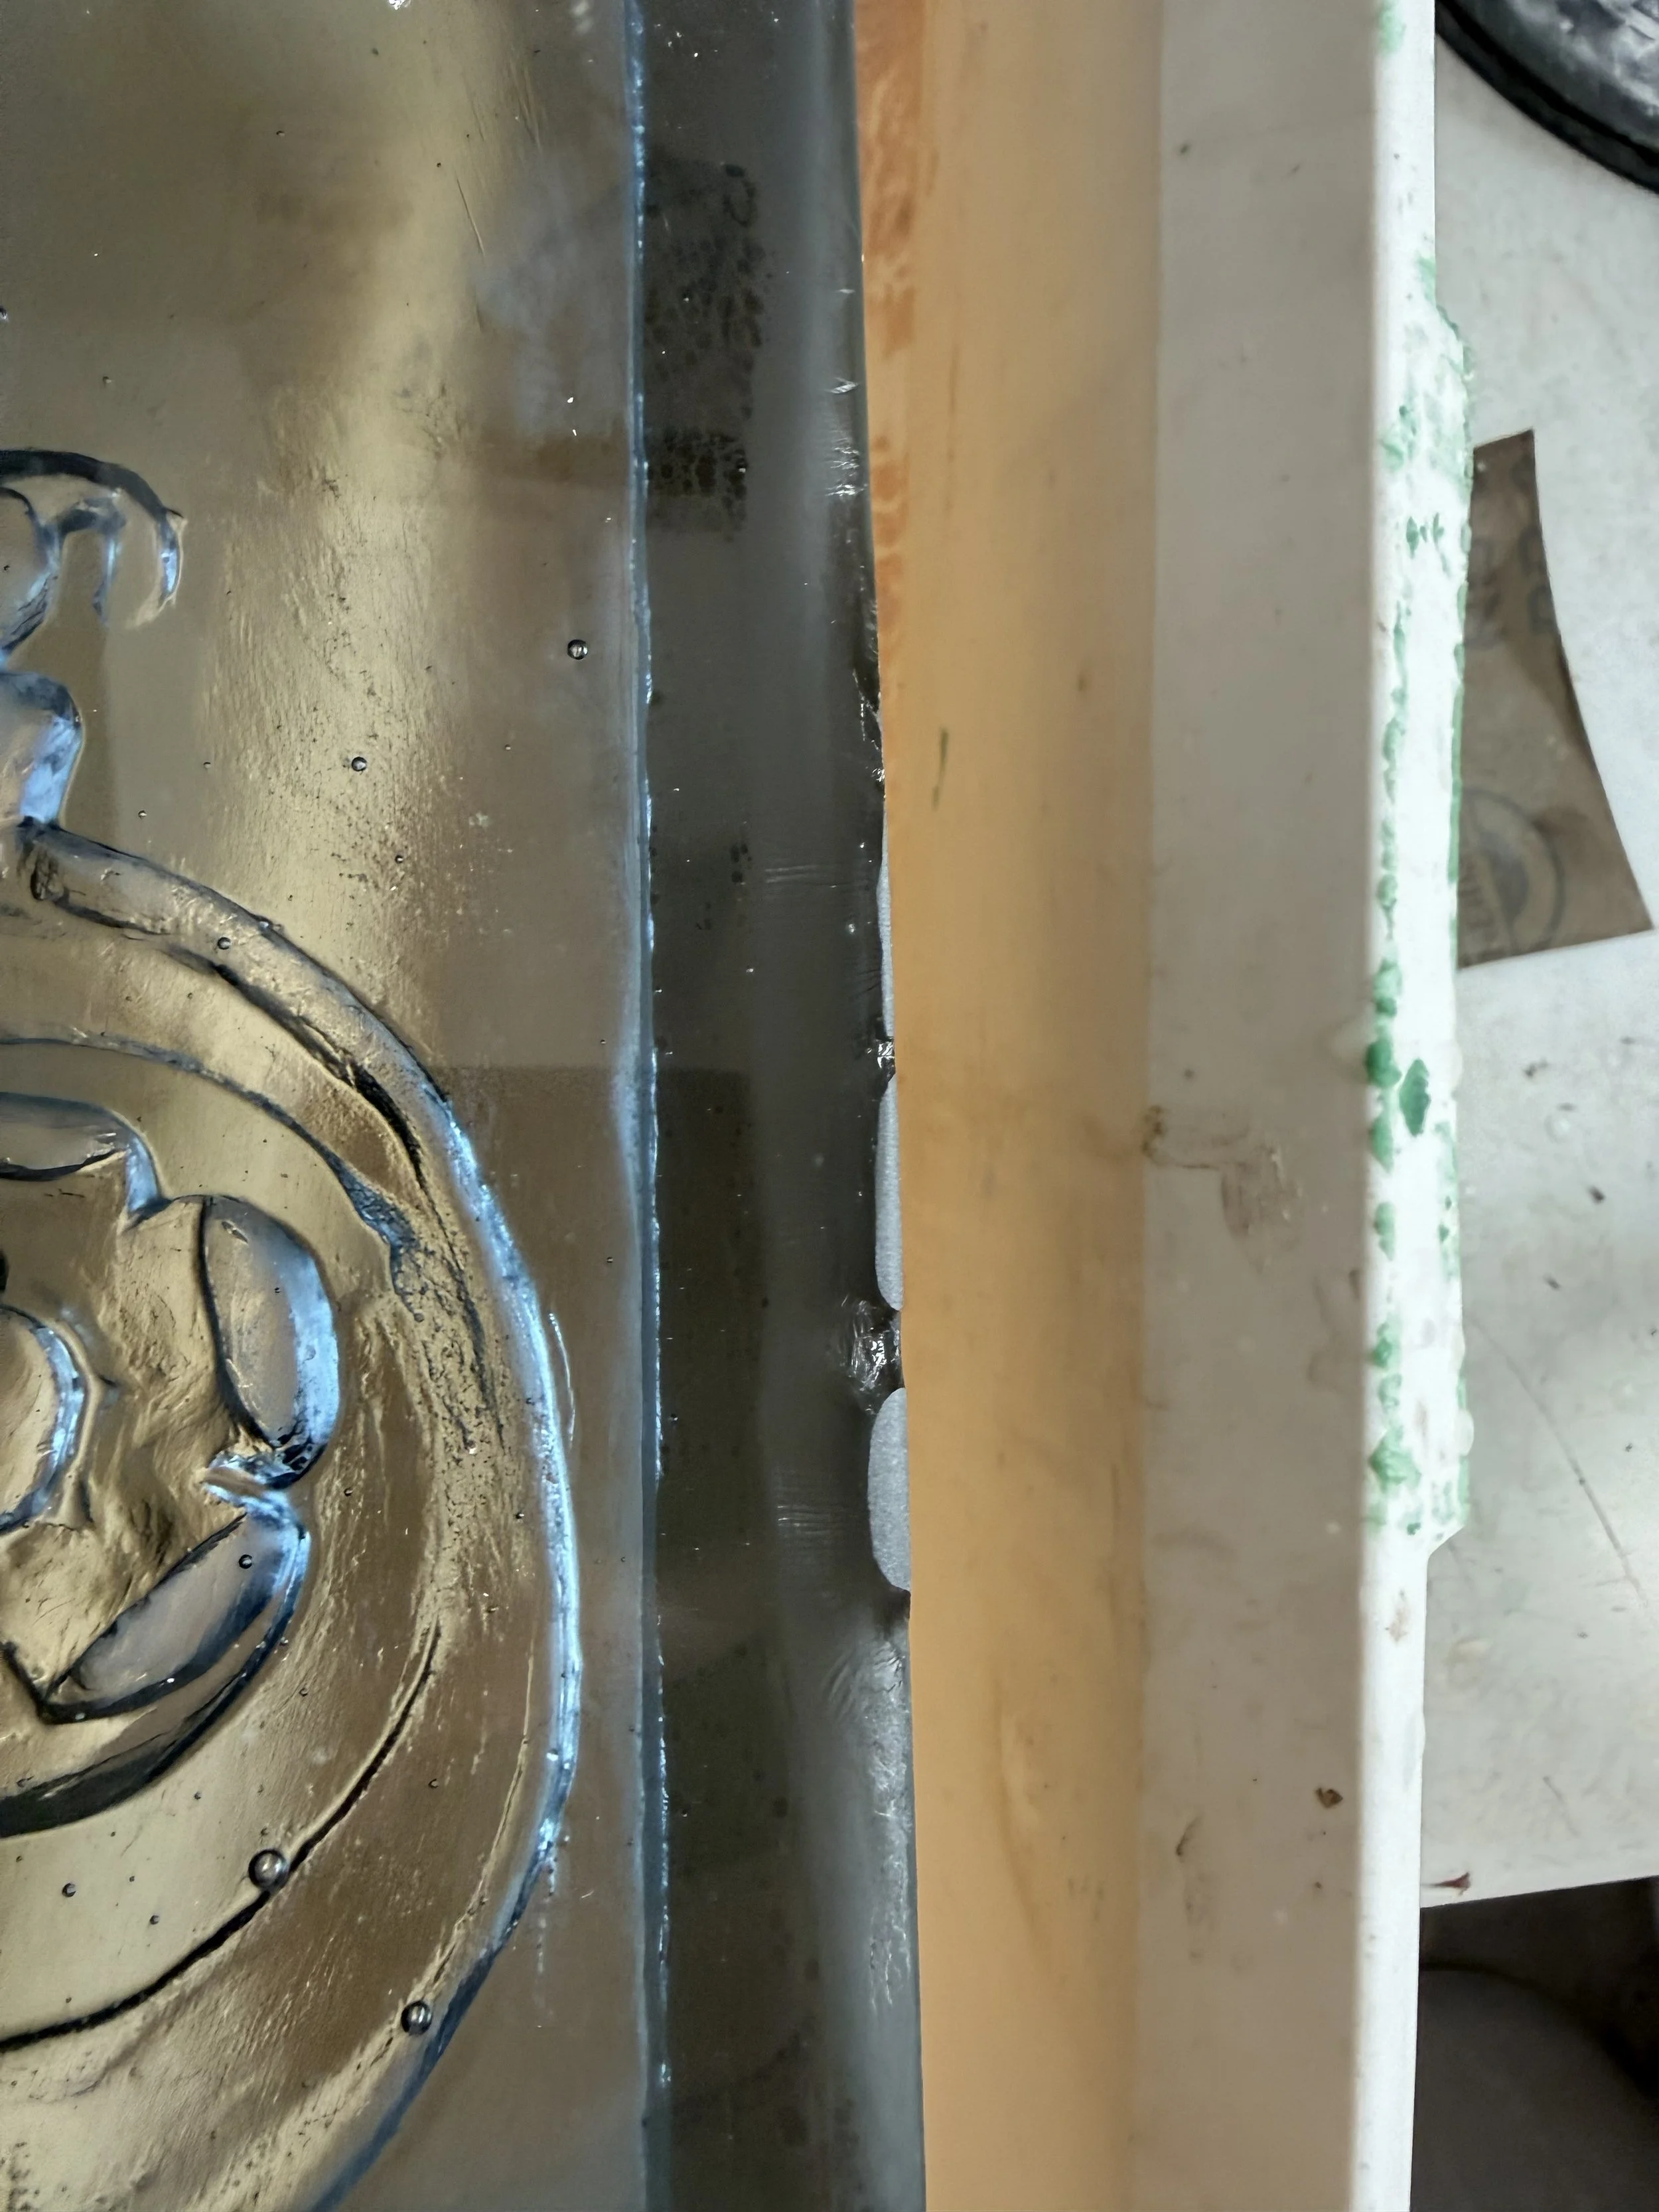
now a box is made of plexiglass, this is to make a frame made of crystal cast. it will funtion as the clay wall does with regular plaster casting, its purpose to keep molten glass from spilling out in the kiln. the plexiglass is used to give a very smooth side to the final glass peice. If i had to do it again i would use thicker pieces of plexiglass because they distorted slightly under the weight of the crystal cast.
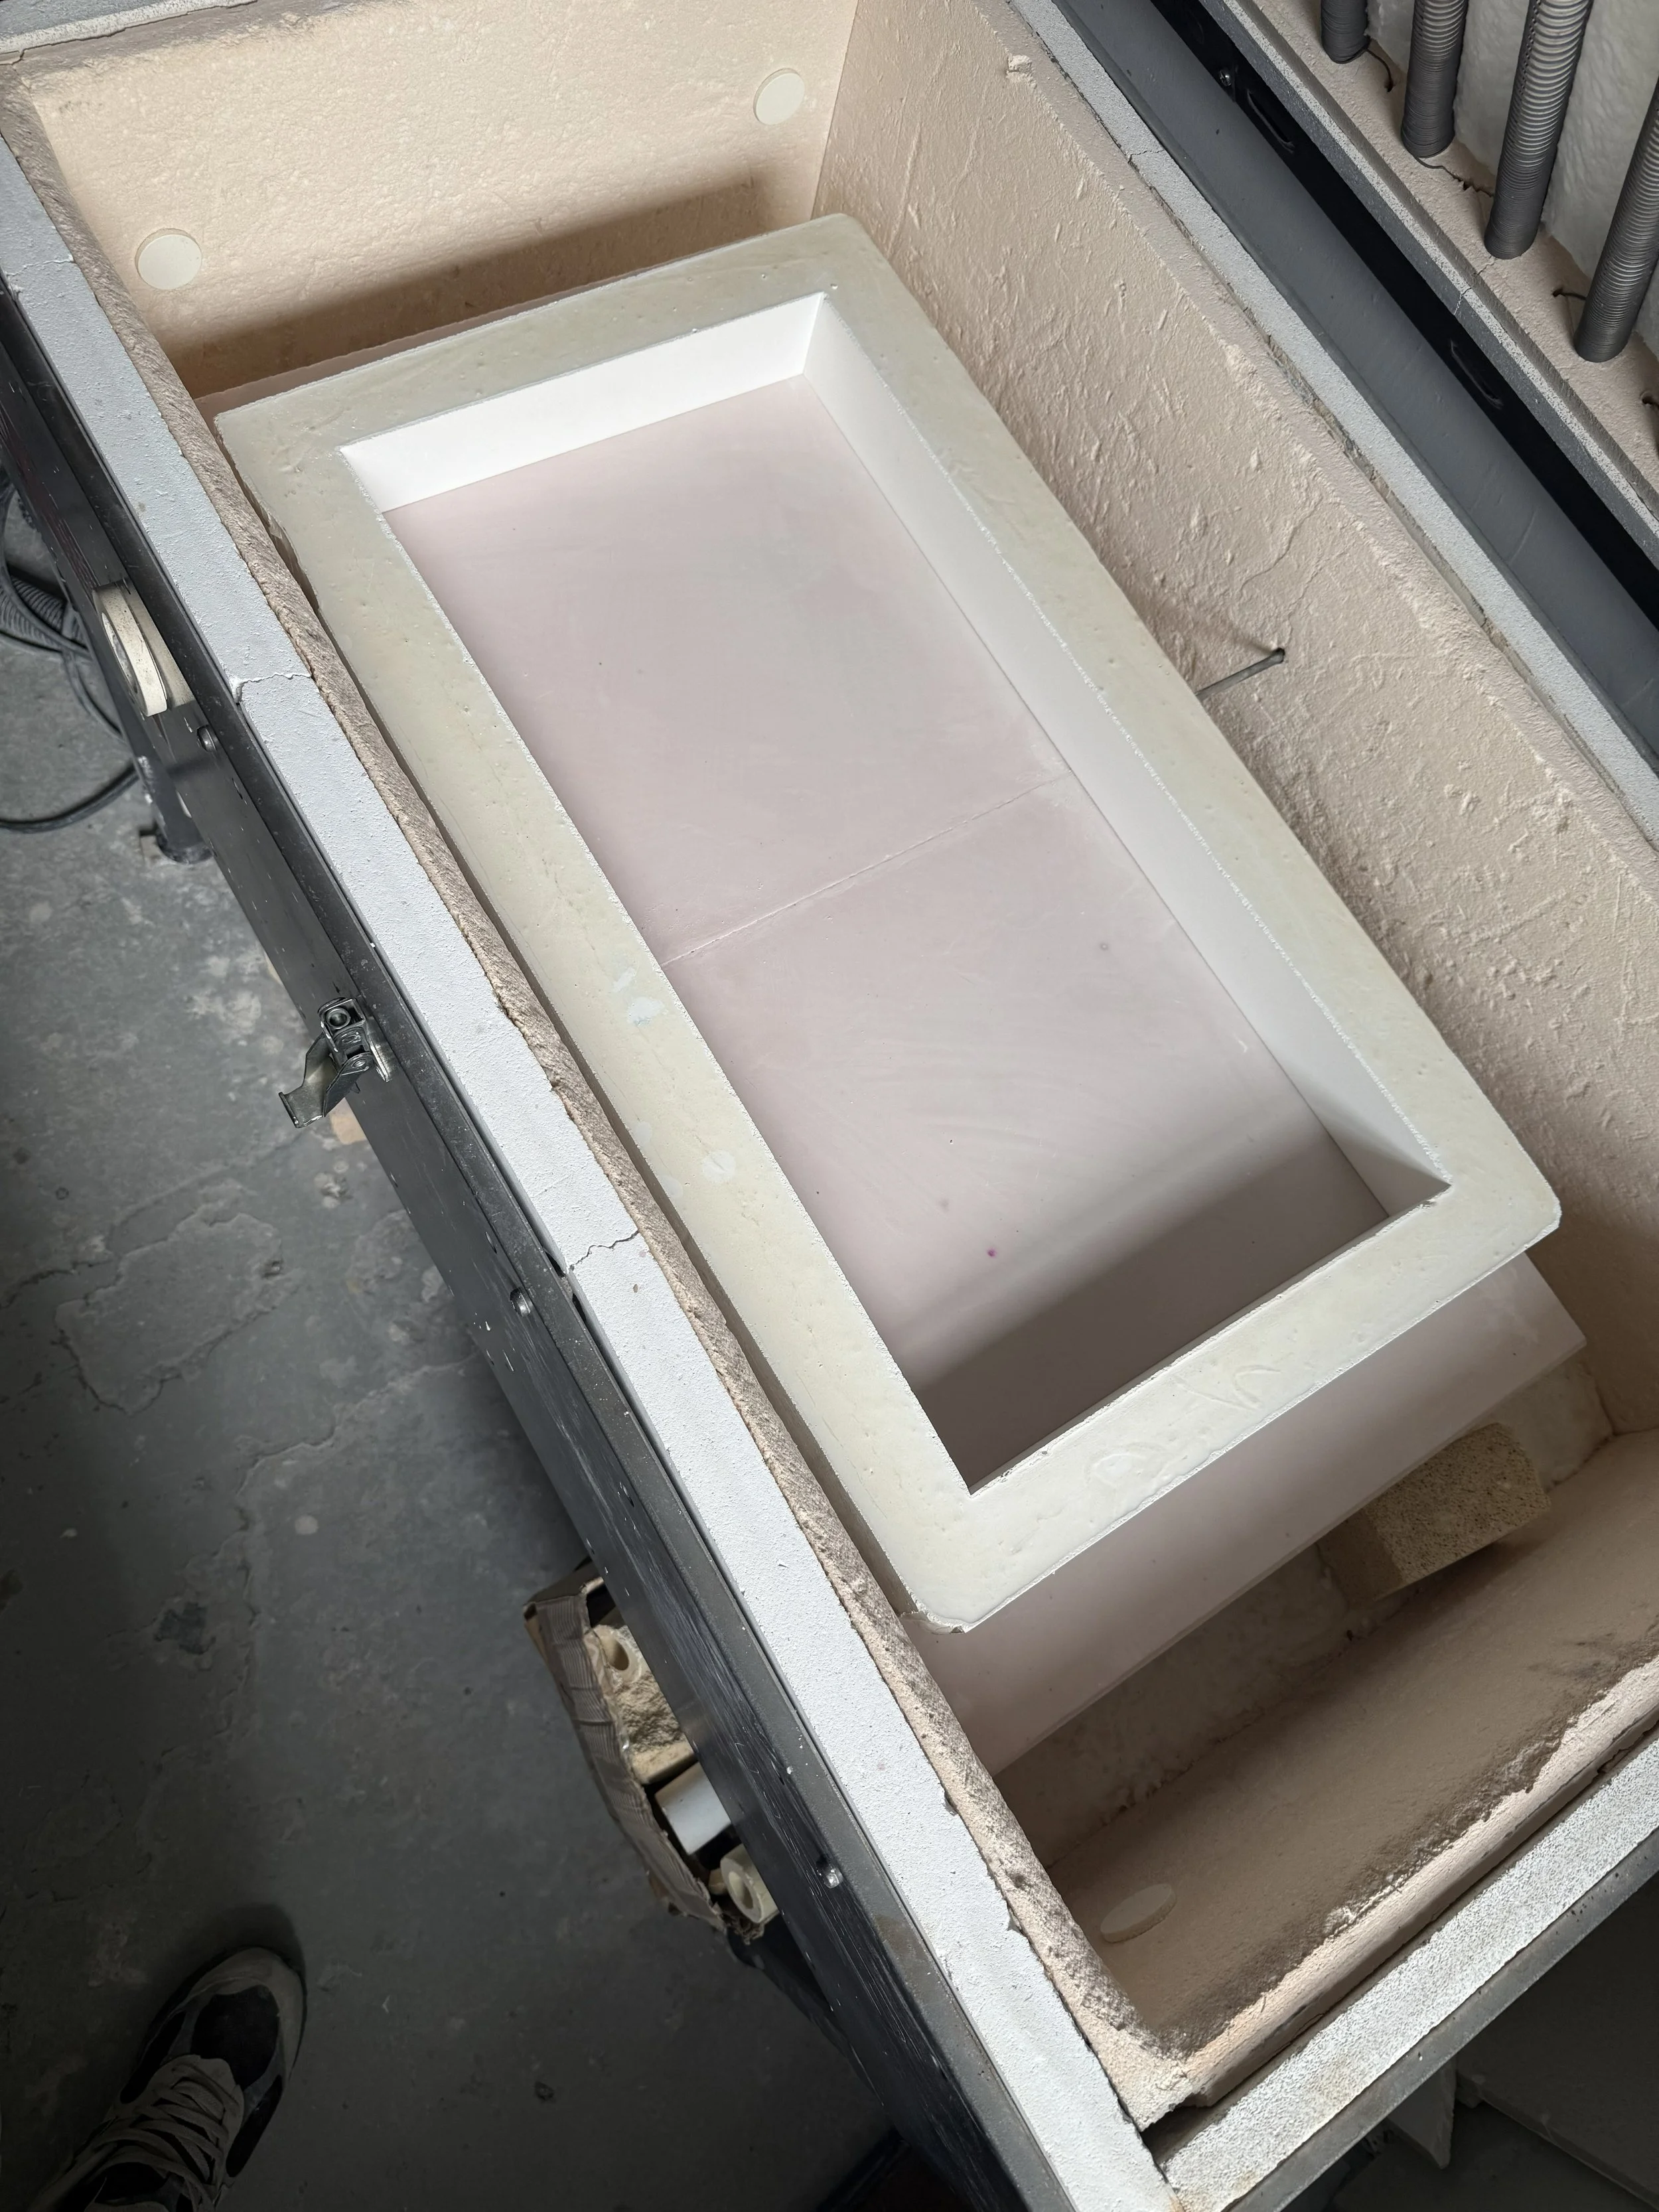
crystal cast poured in the frame
the crystal cast needs to be fired in the kiln. after it is cured it is ready for adding the glass.
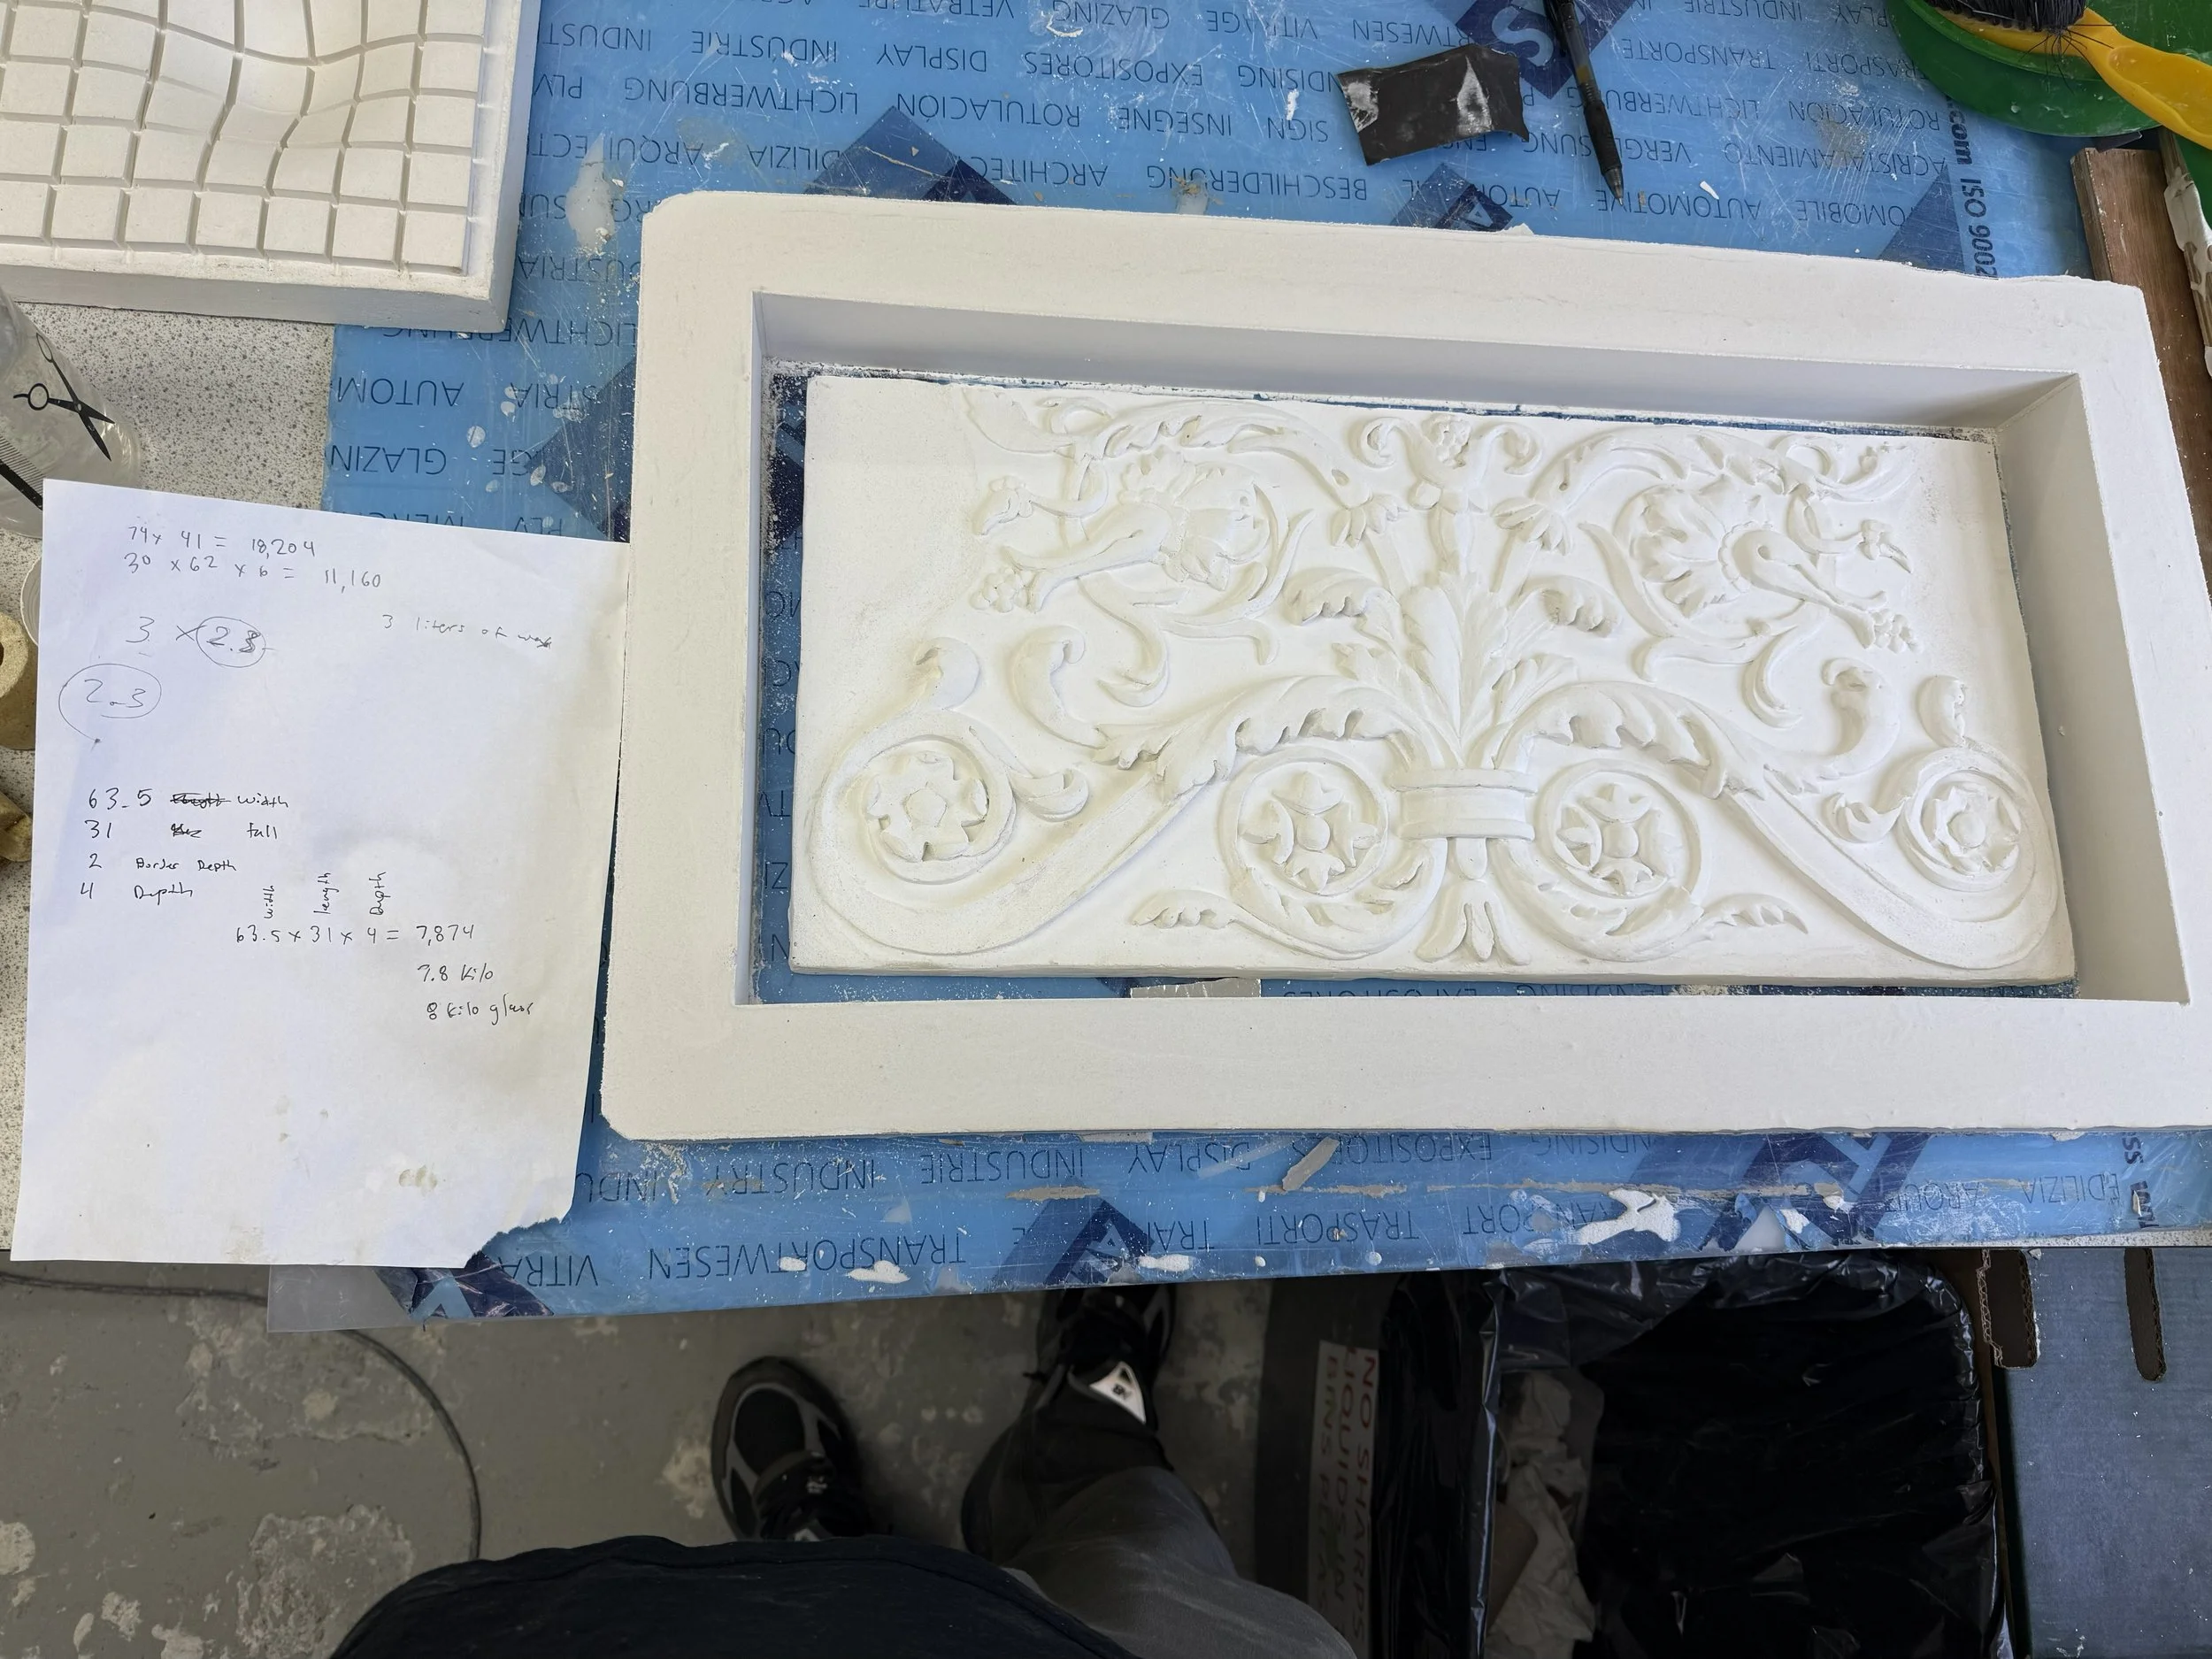
it is important to do the math to make sure you have enough glass added to fill the space and make the piece not too fragile. here the math sheet is next to the crystal cast.
the board it will rest on in the kiln needs to be primed
making sure everything will fit
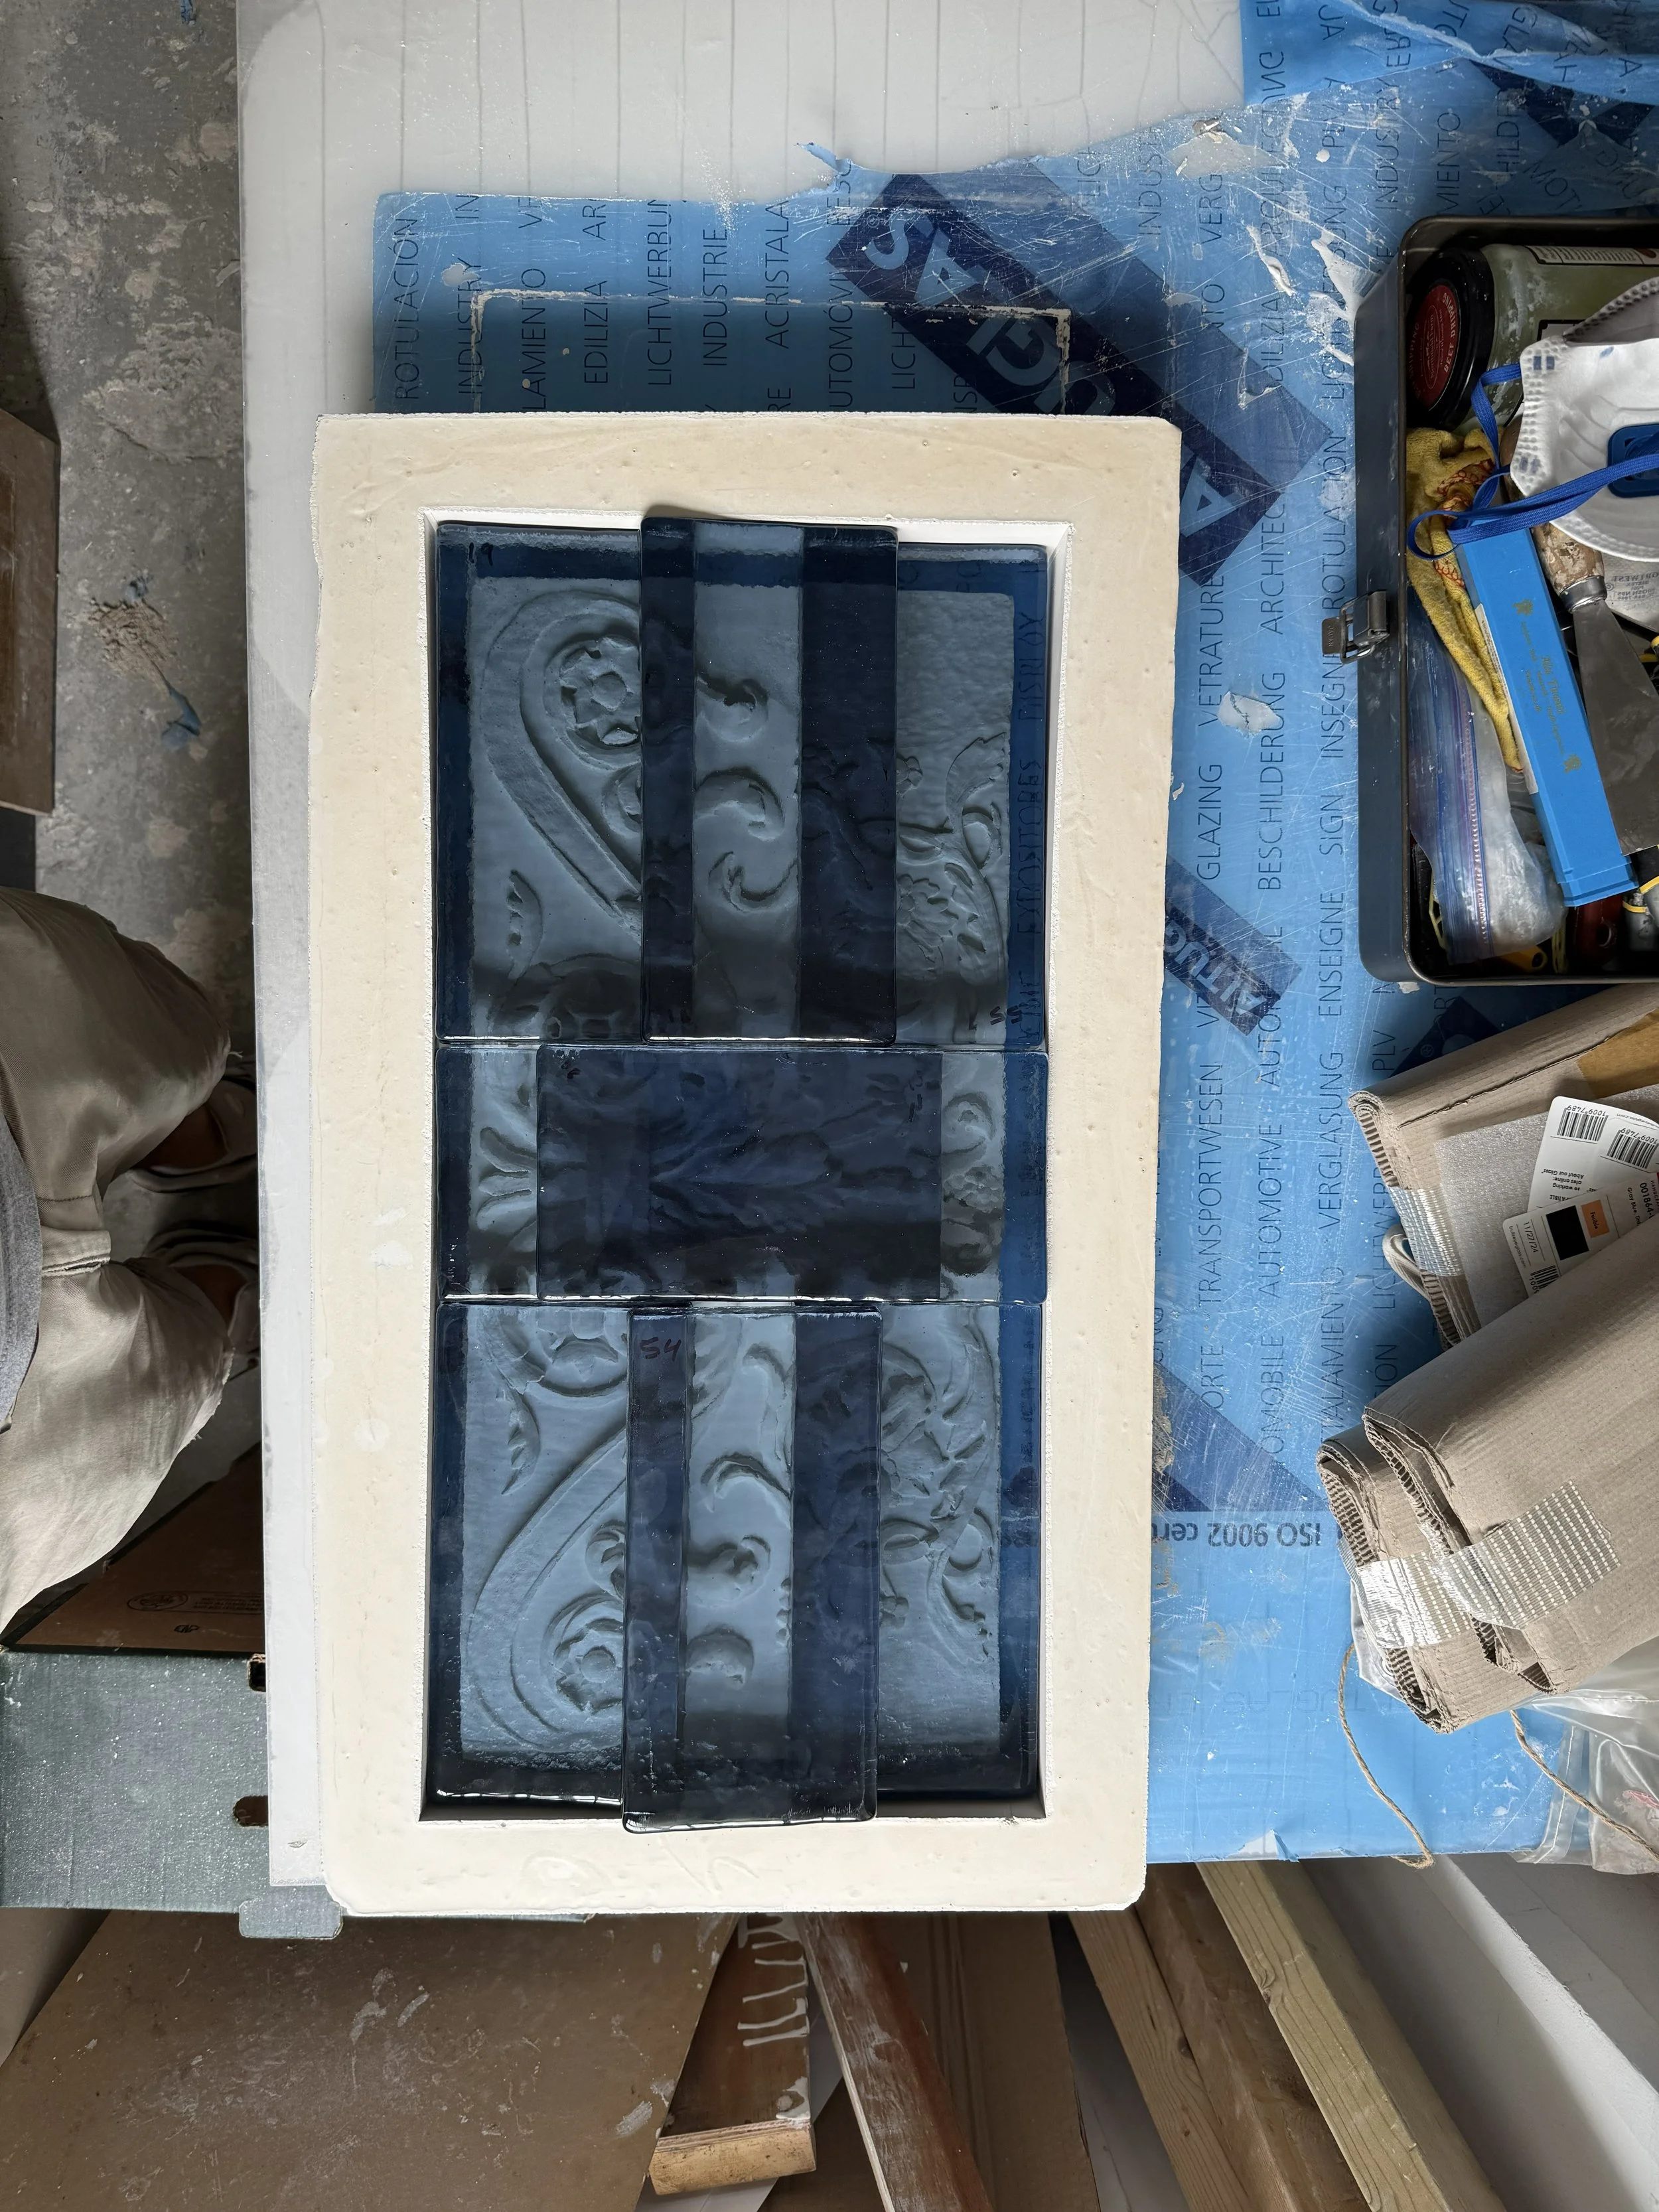
while laying glass out in this way seemed to make sense, if you do there may be lines from the glass billets in the final cast, it is better to make them random.

here we break up some of the glass to make it more random. a major goal was to avoid unnecessary air bubbles

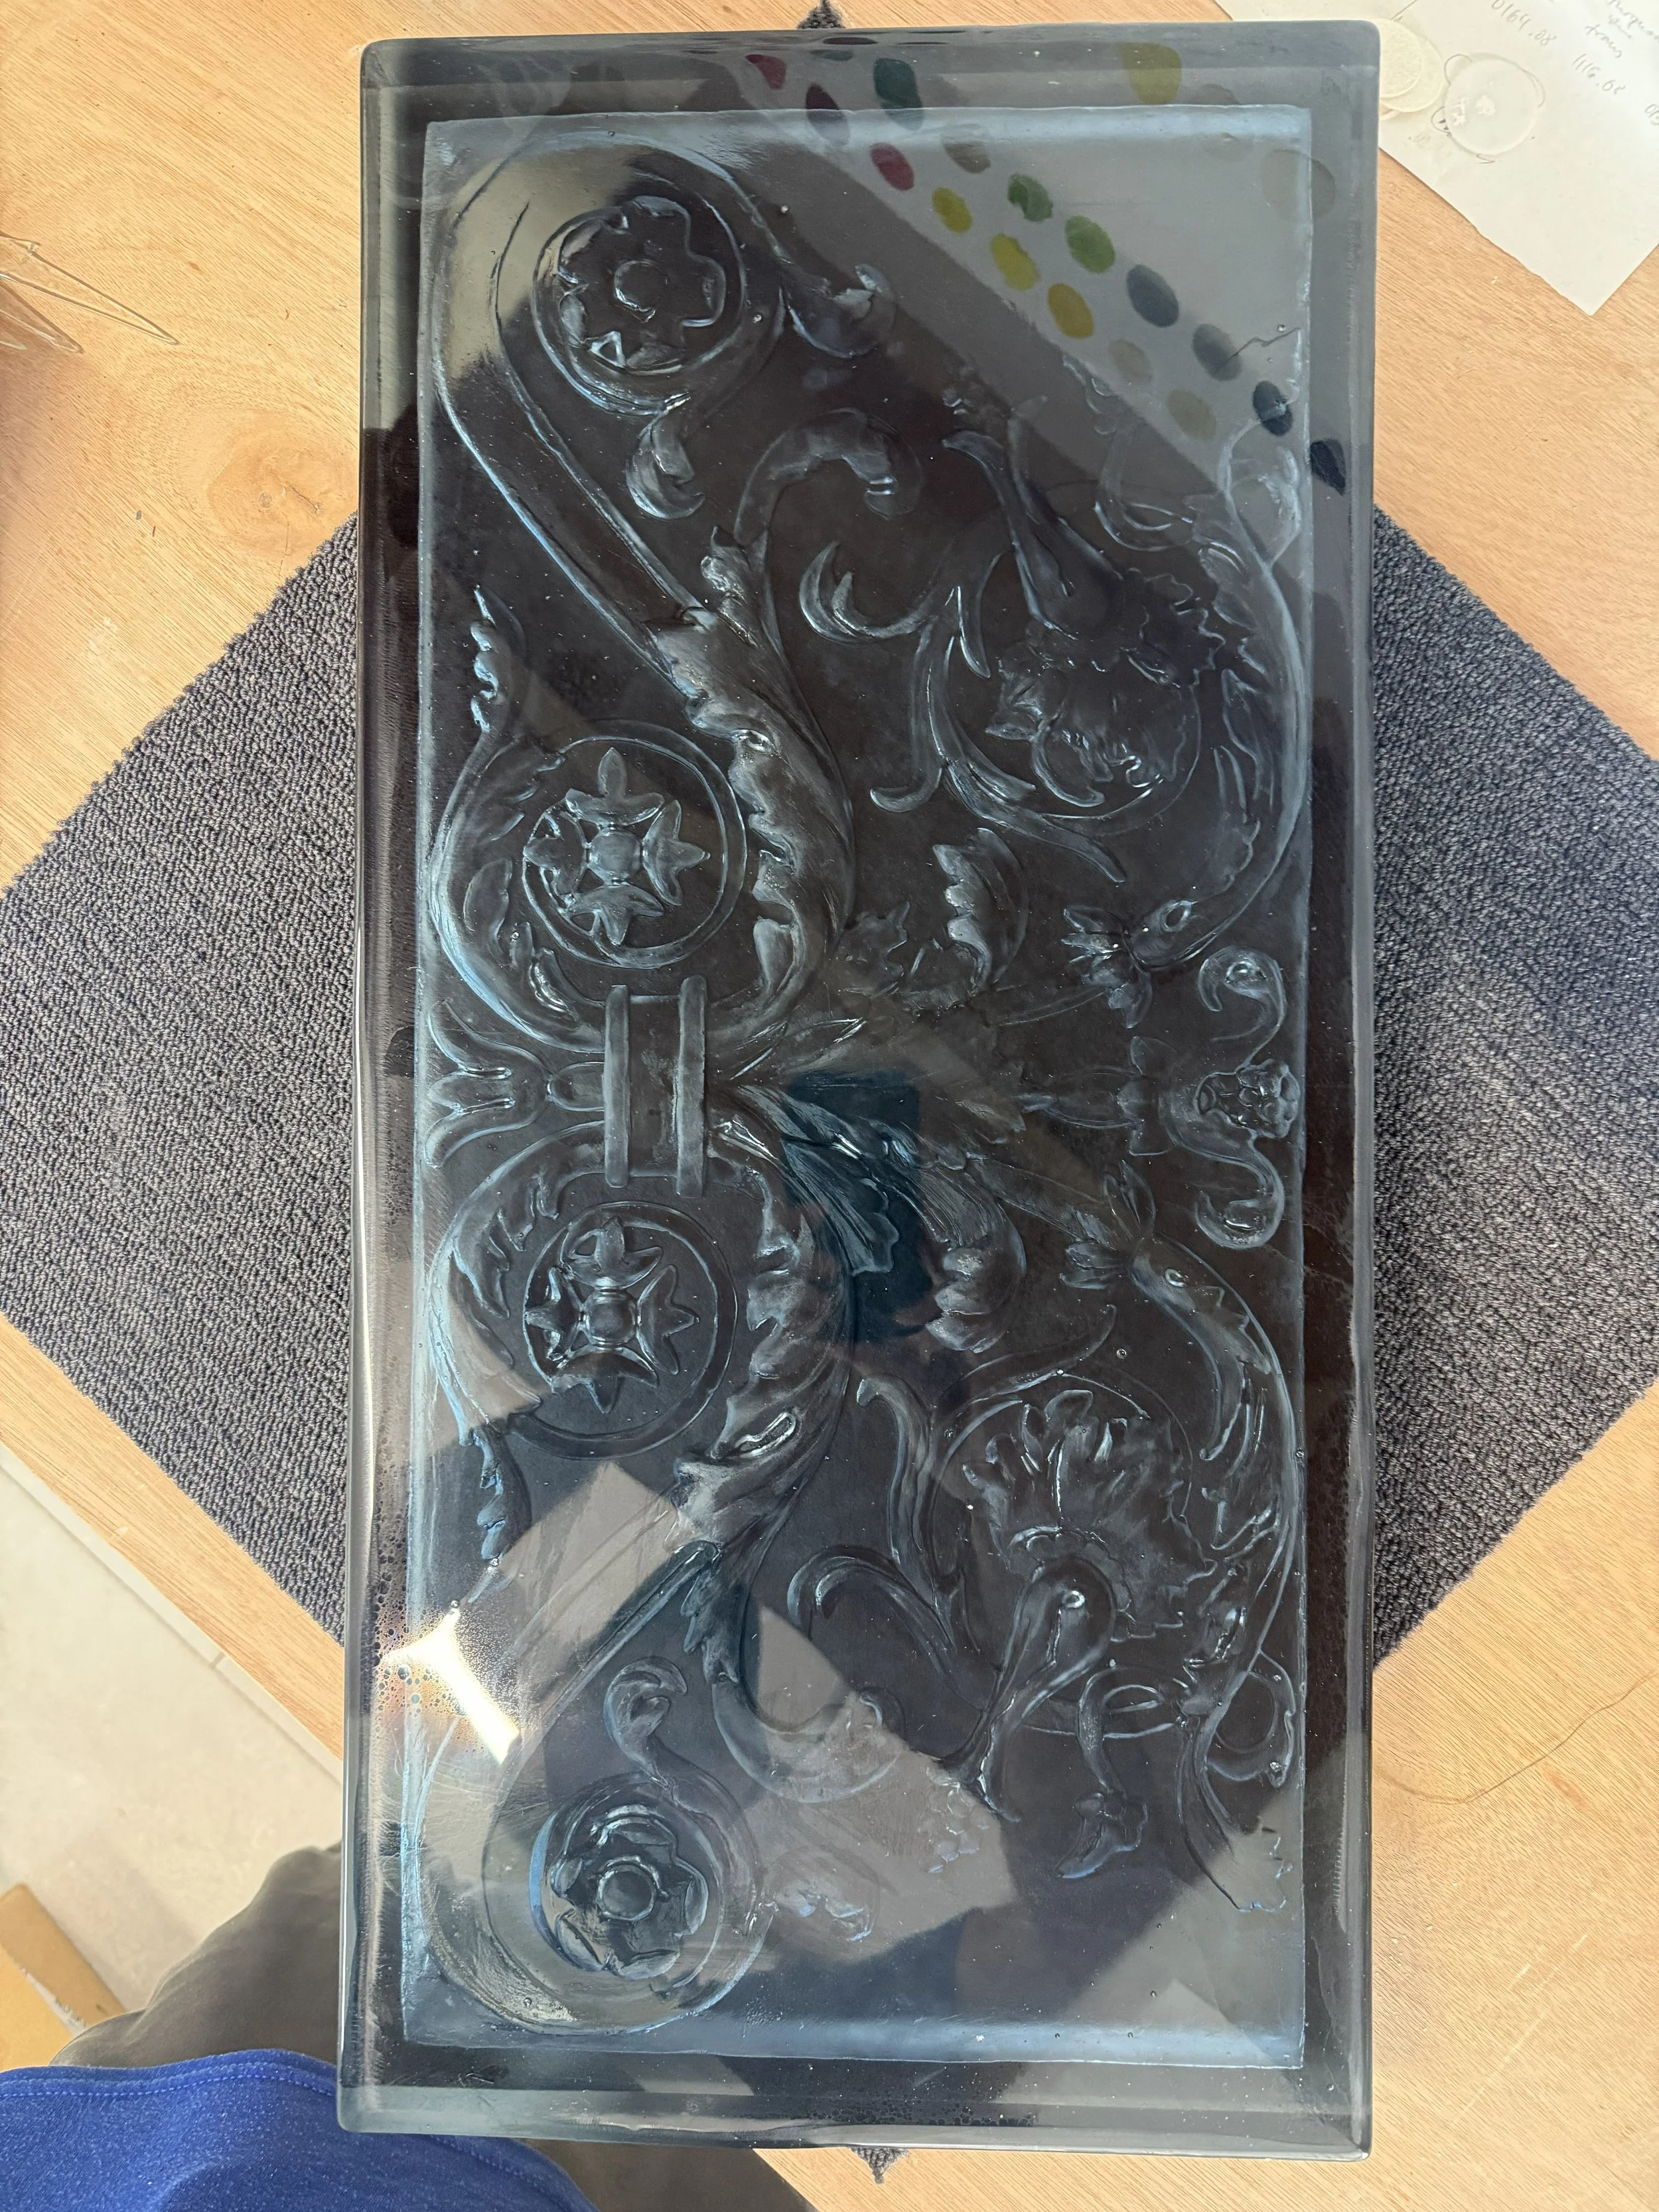
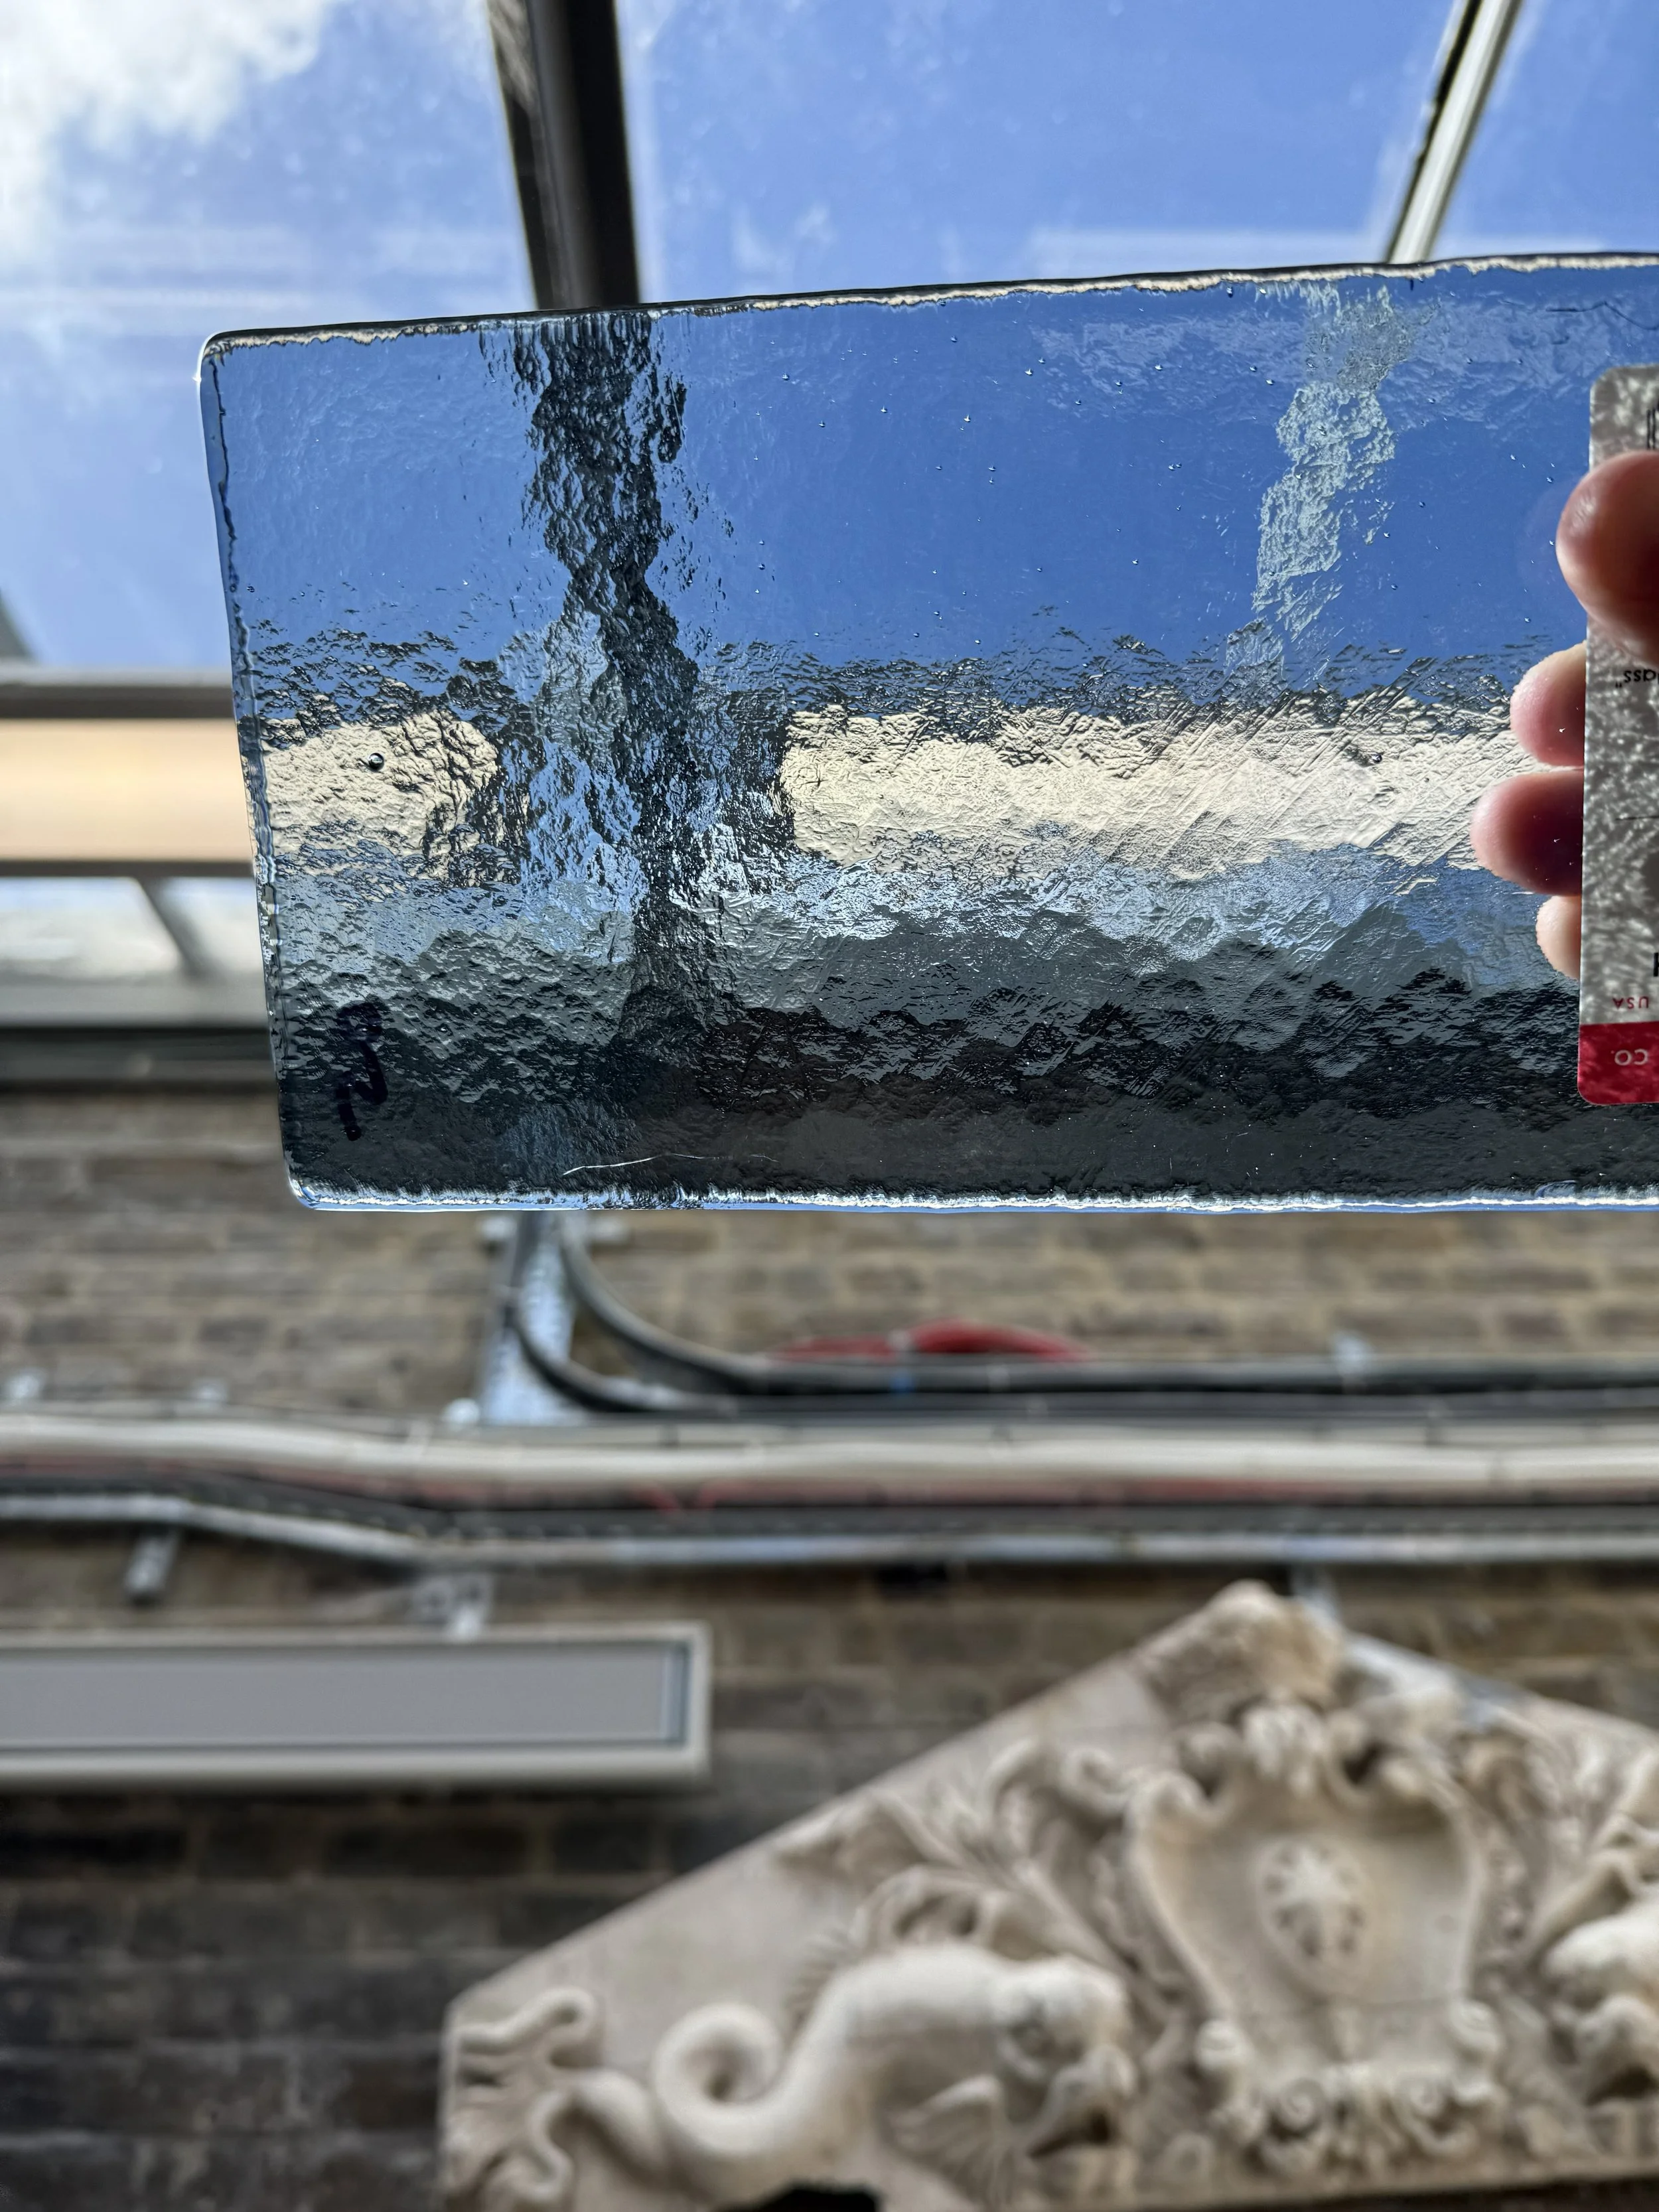
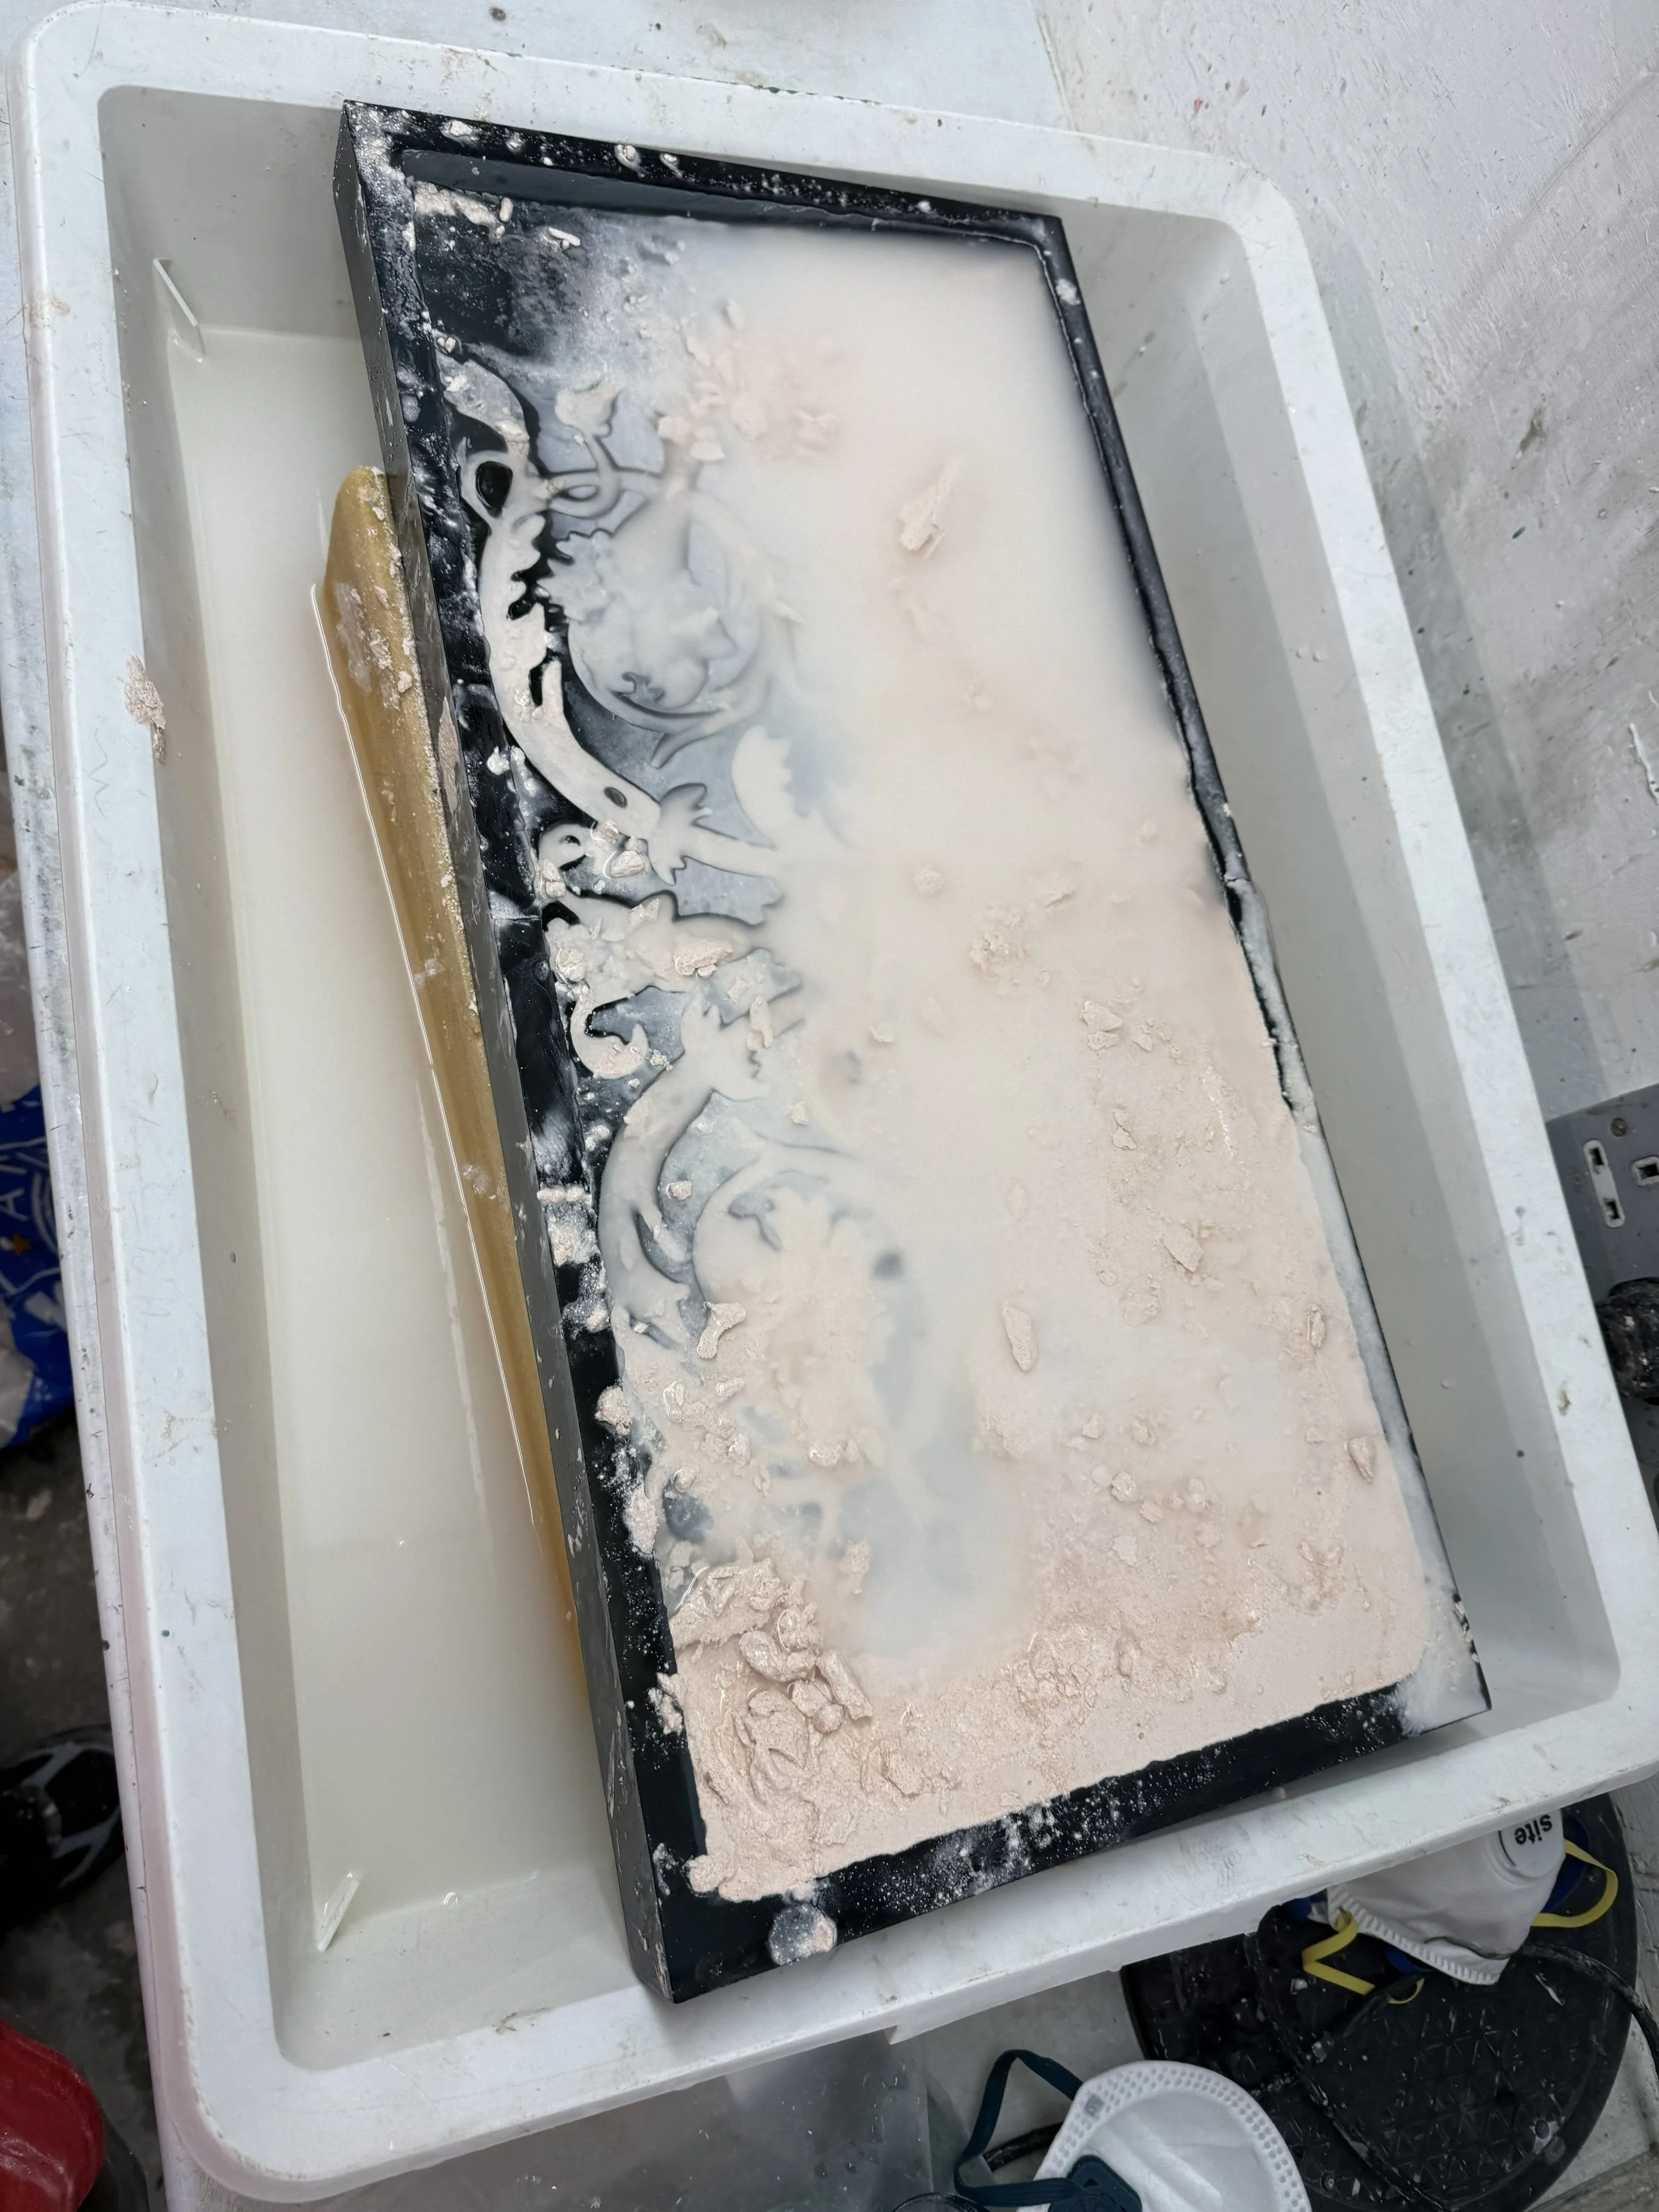
in the kiln after being fired all weekend. tiny air bubbles released from the crystal cast give it a mettalic look.
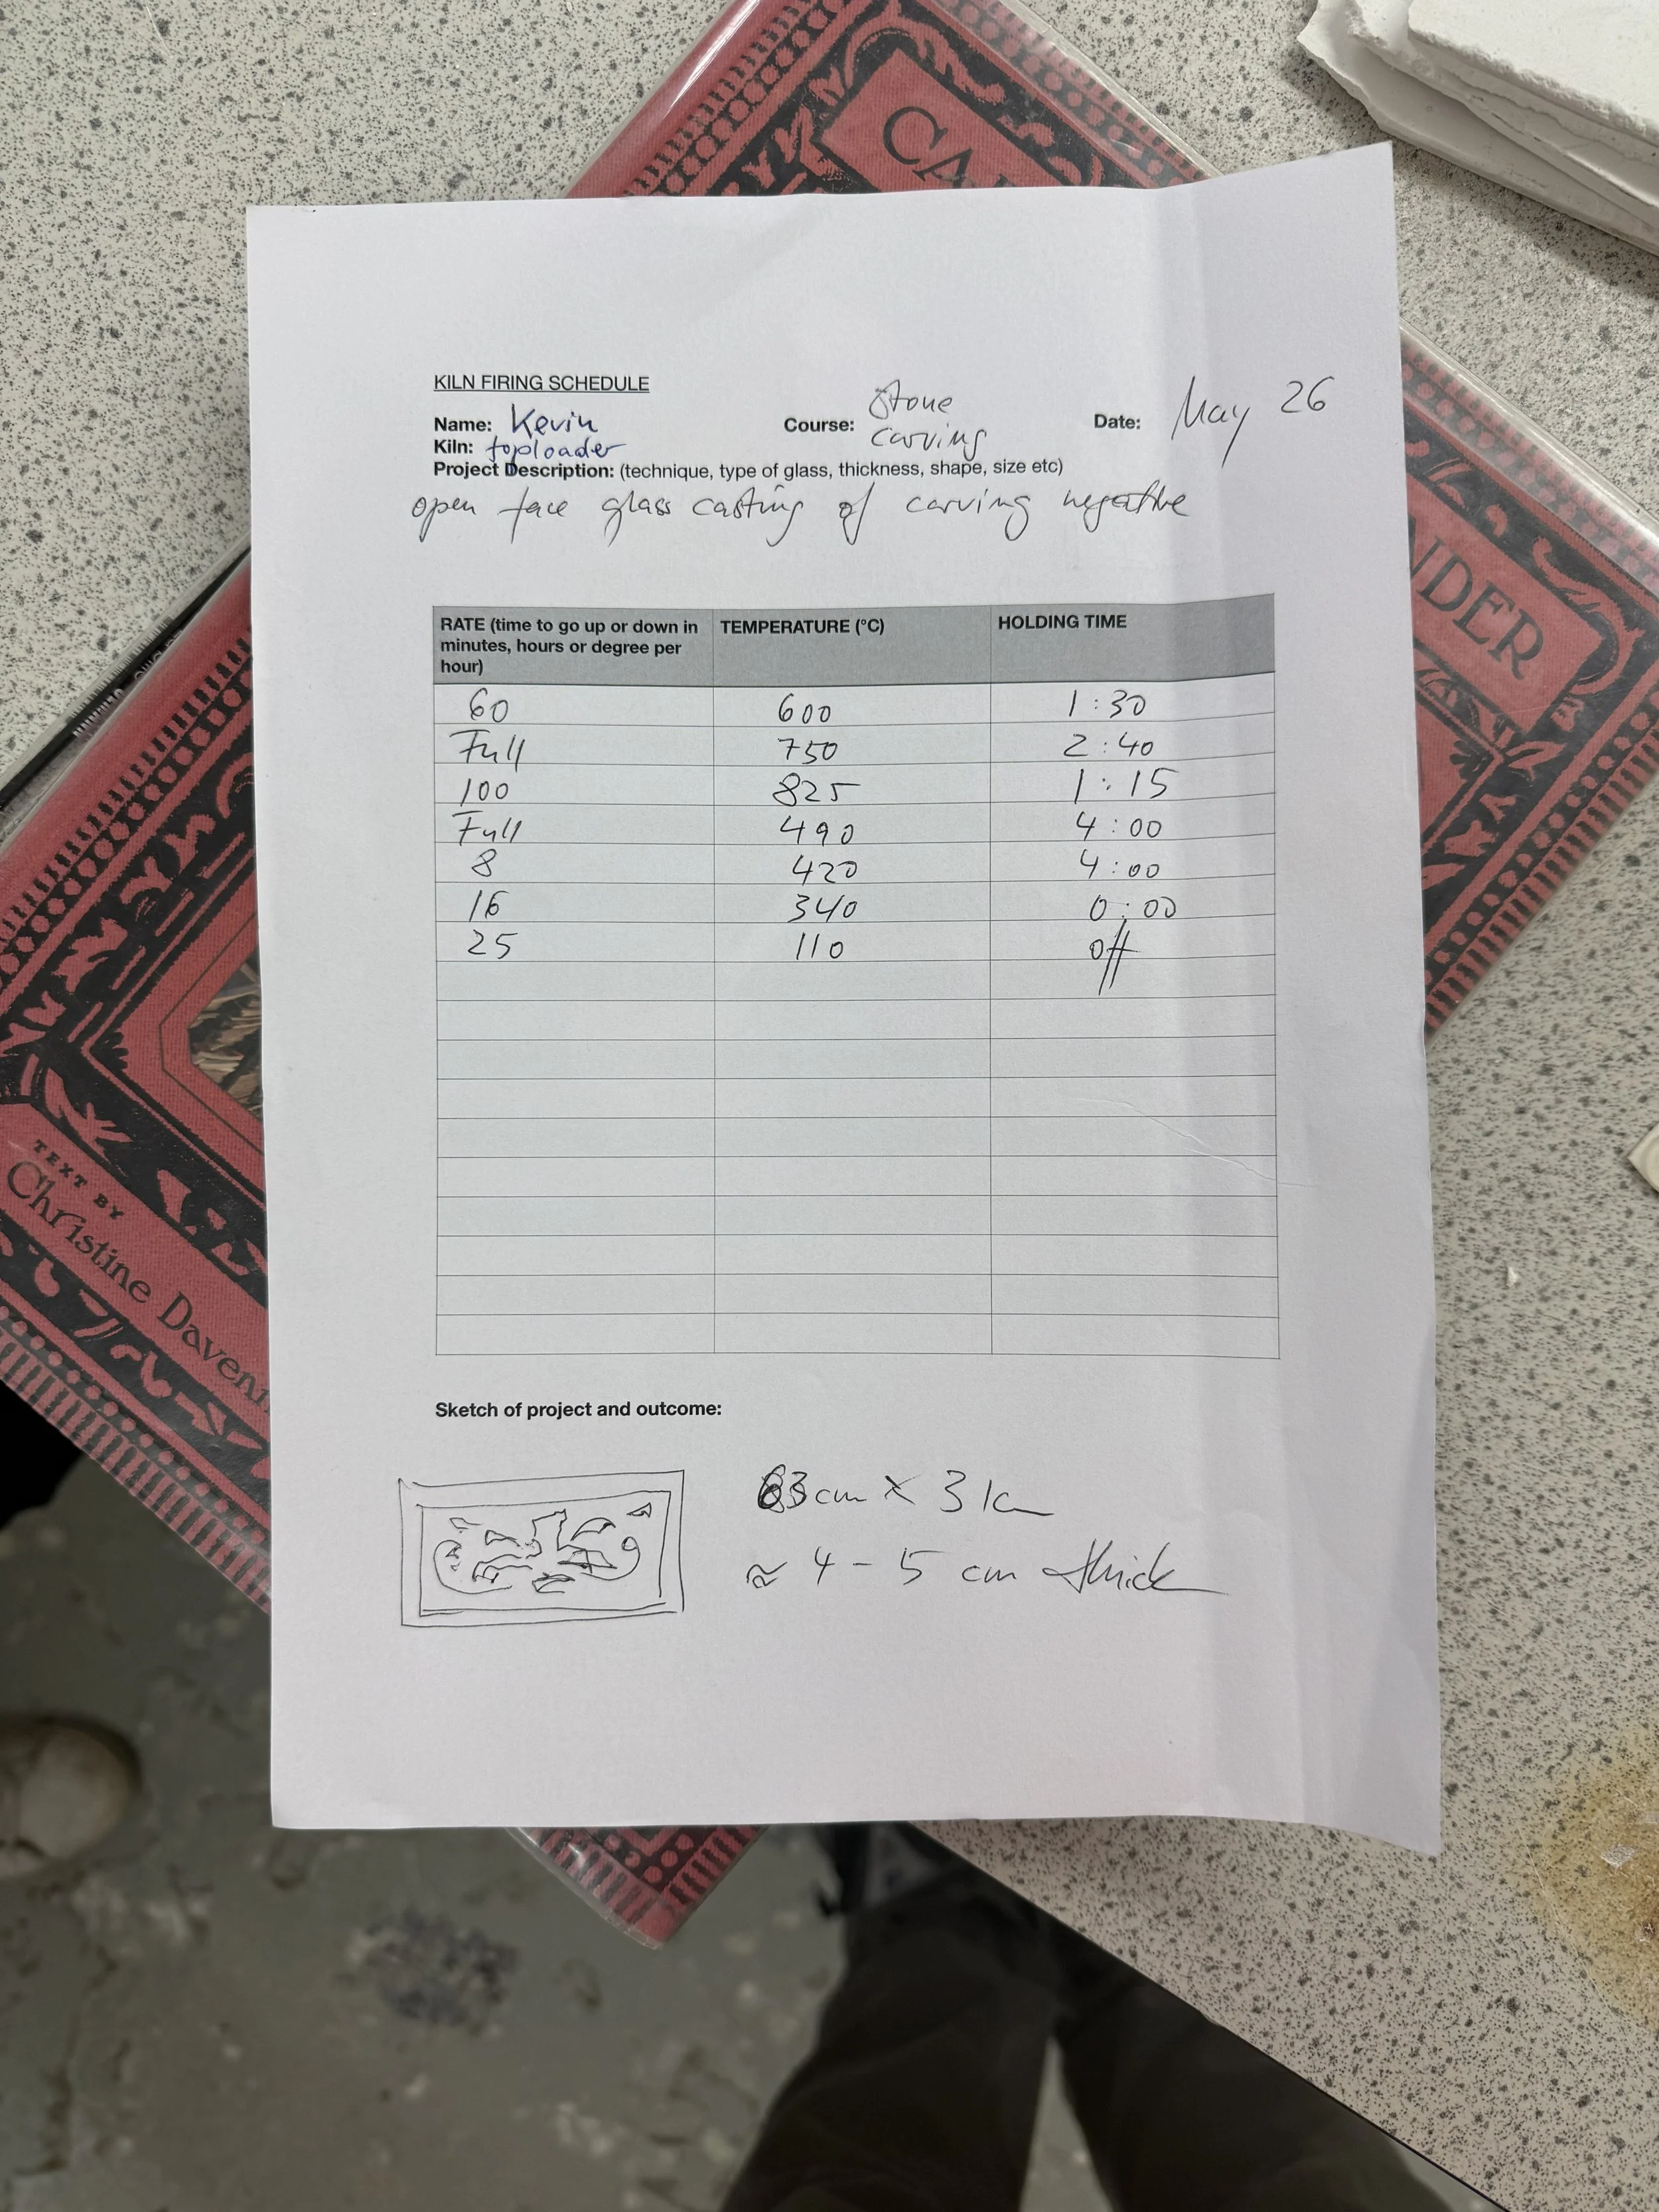
glass casting is science and art, here is the complex firing times used to give the finished result, each choice on temperature and time has an effect.
the crystal cast is removed from the central area with water, and patience
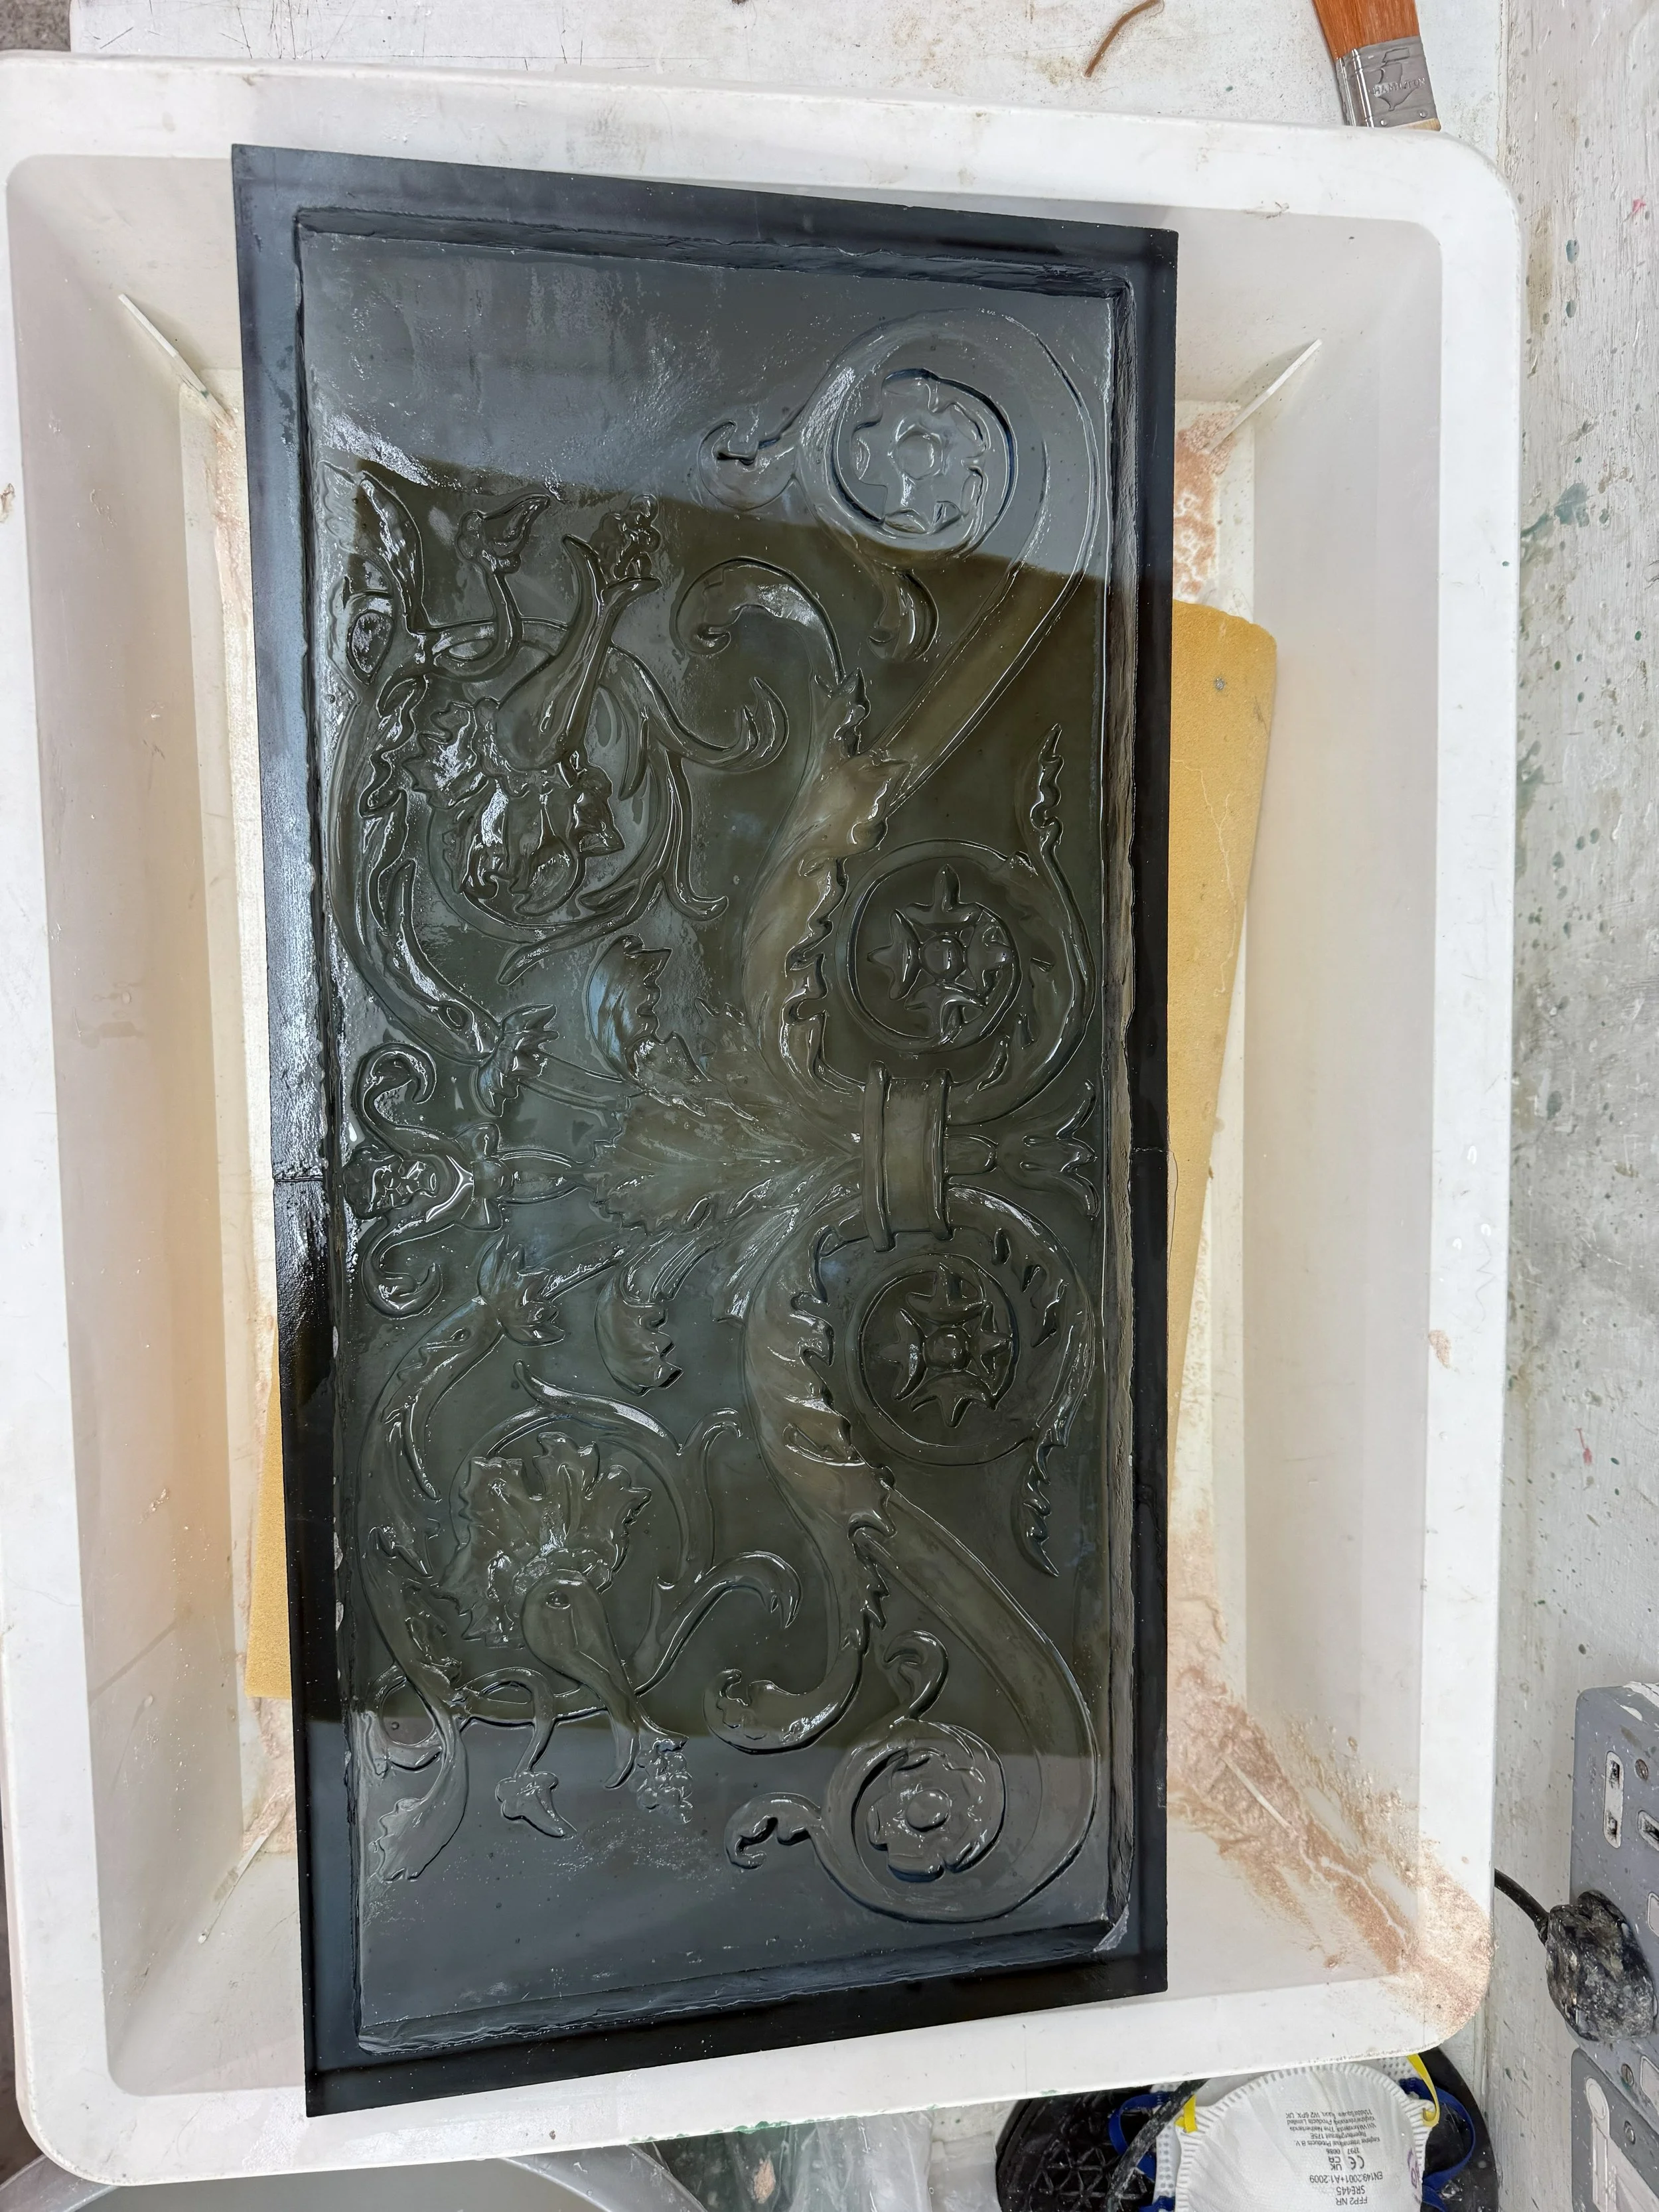
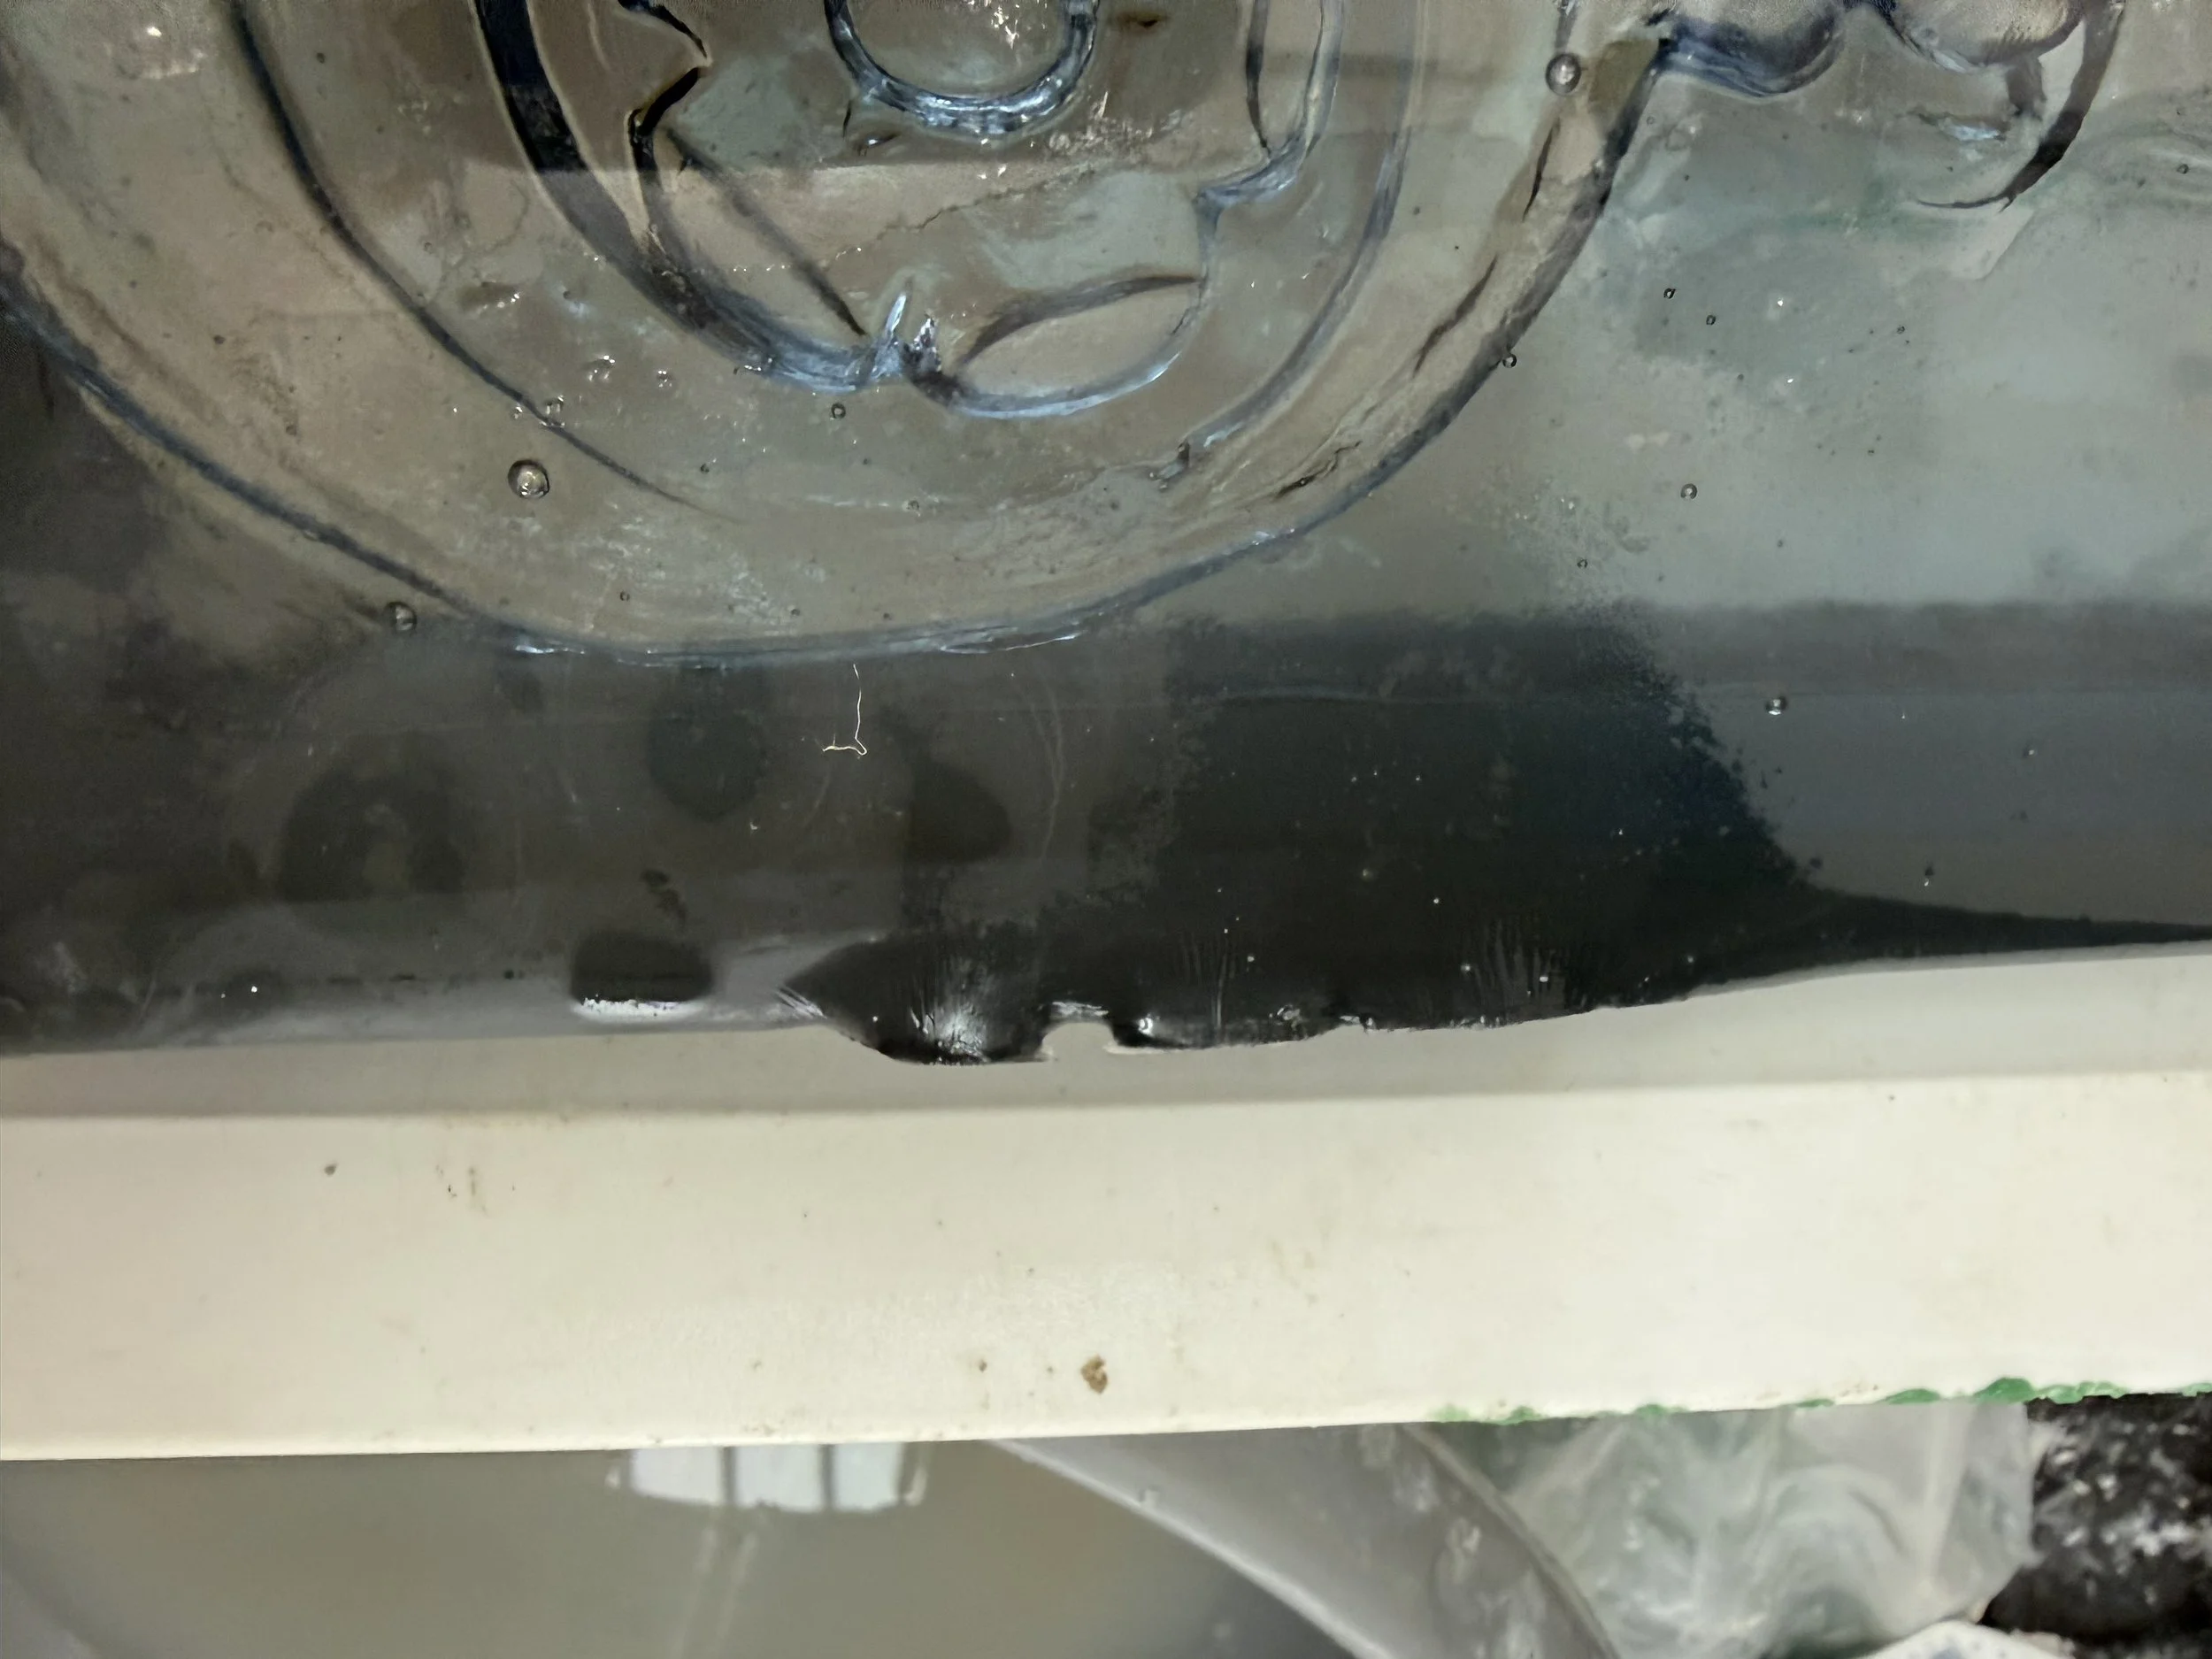
it is to be expected there may be imperfections in the glass after casting, these can be “cold worked” away
sanding down sharp areas
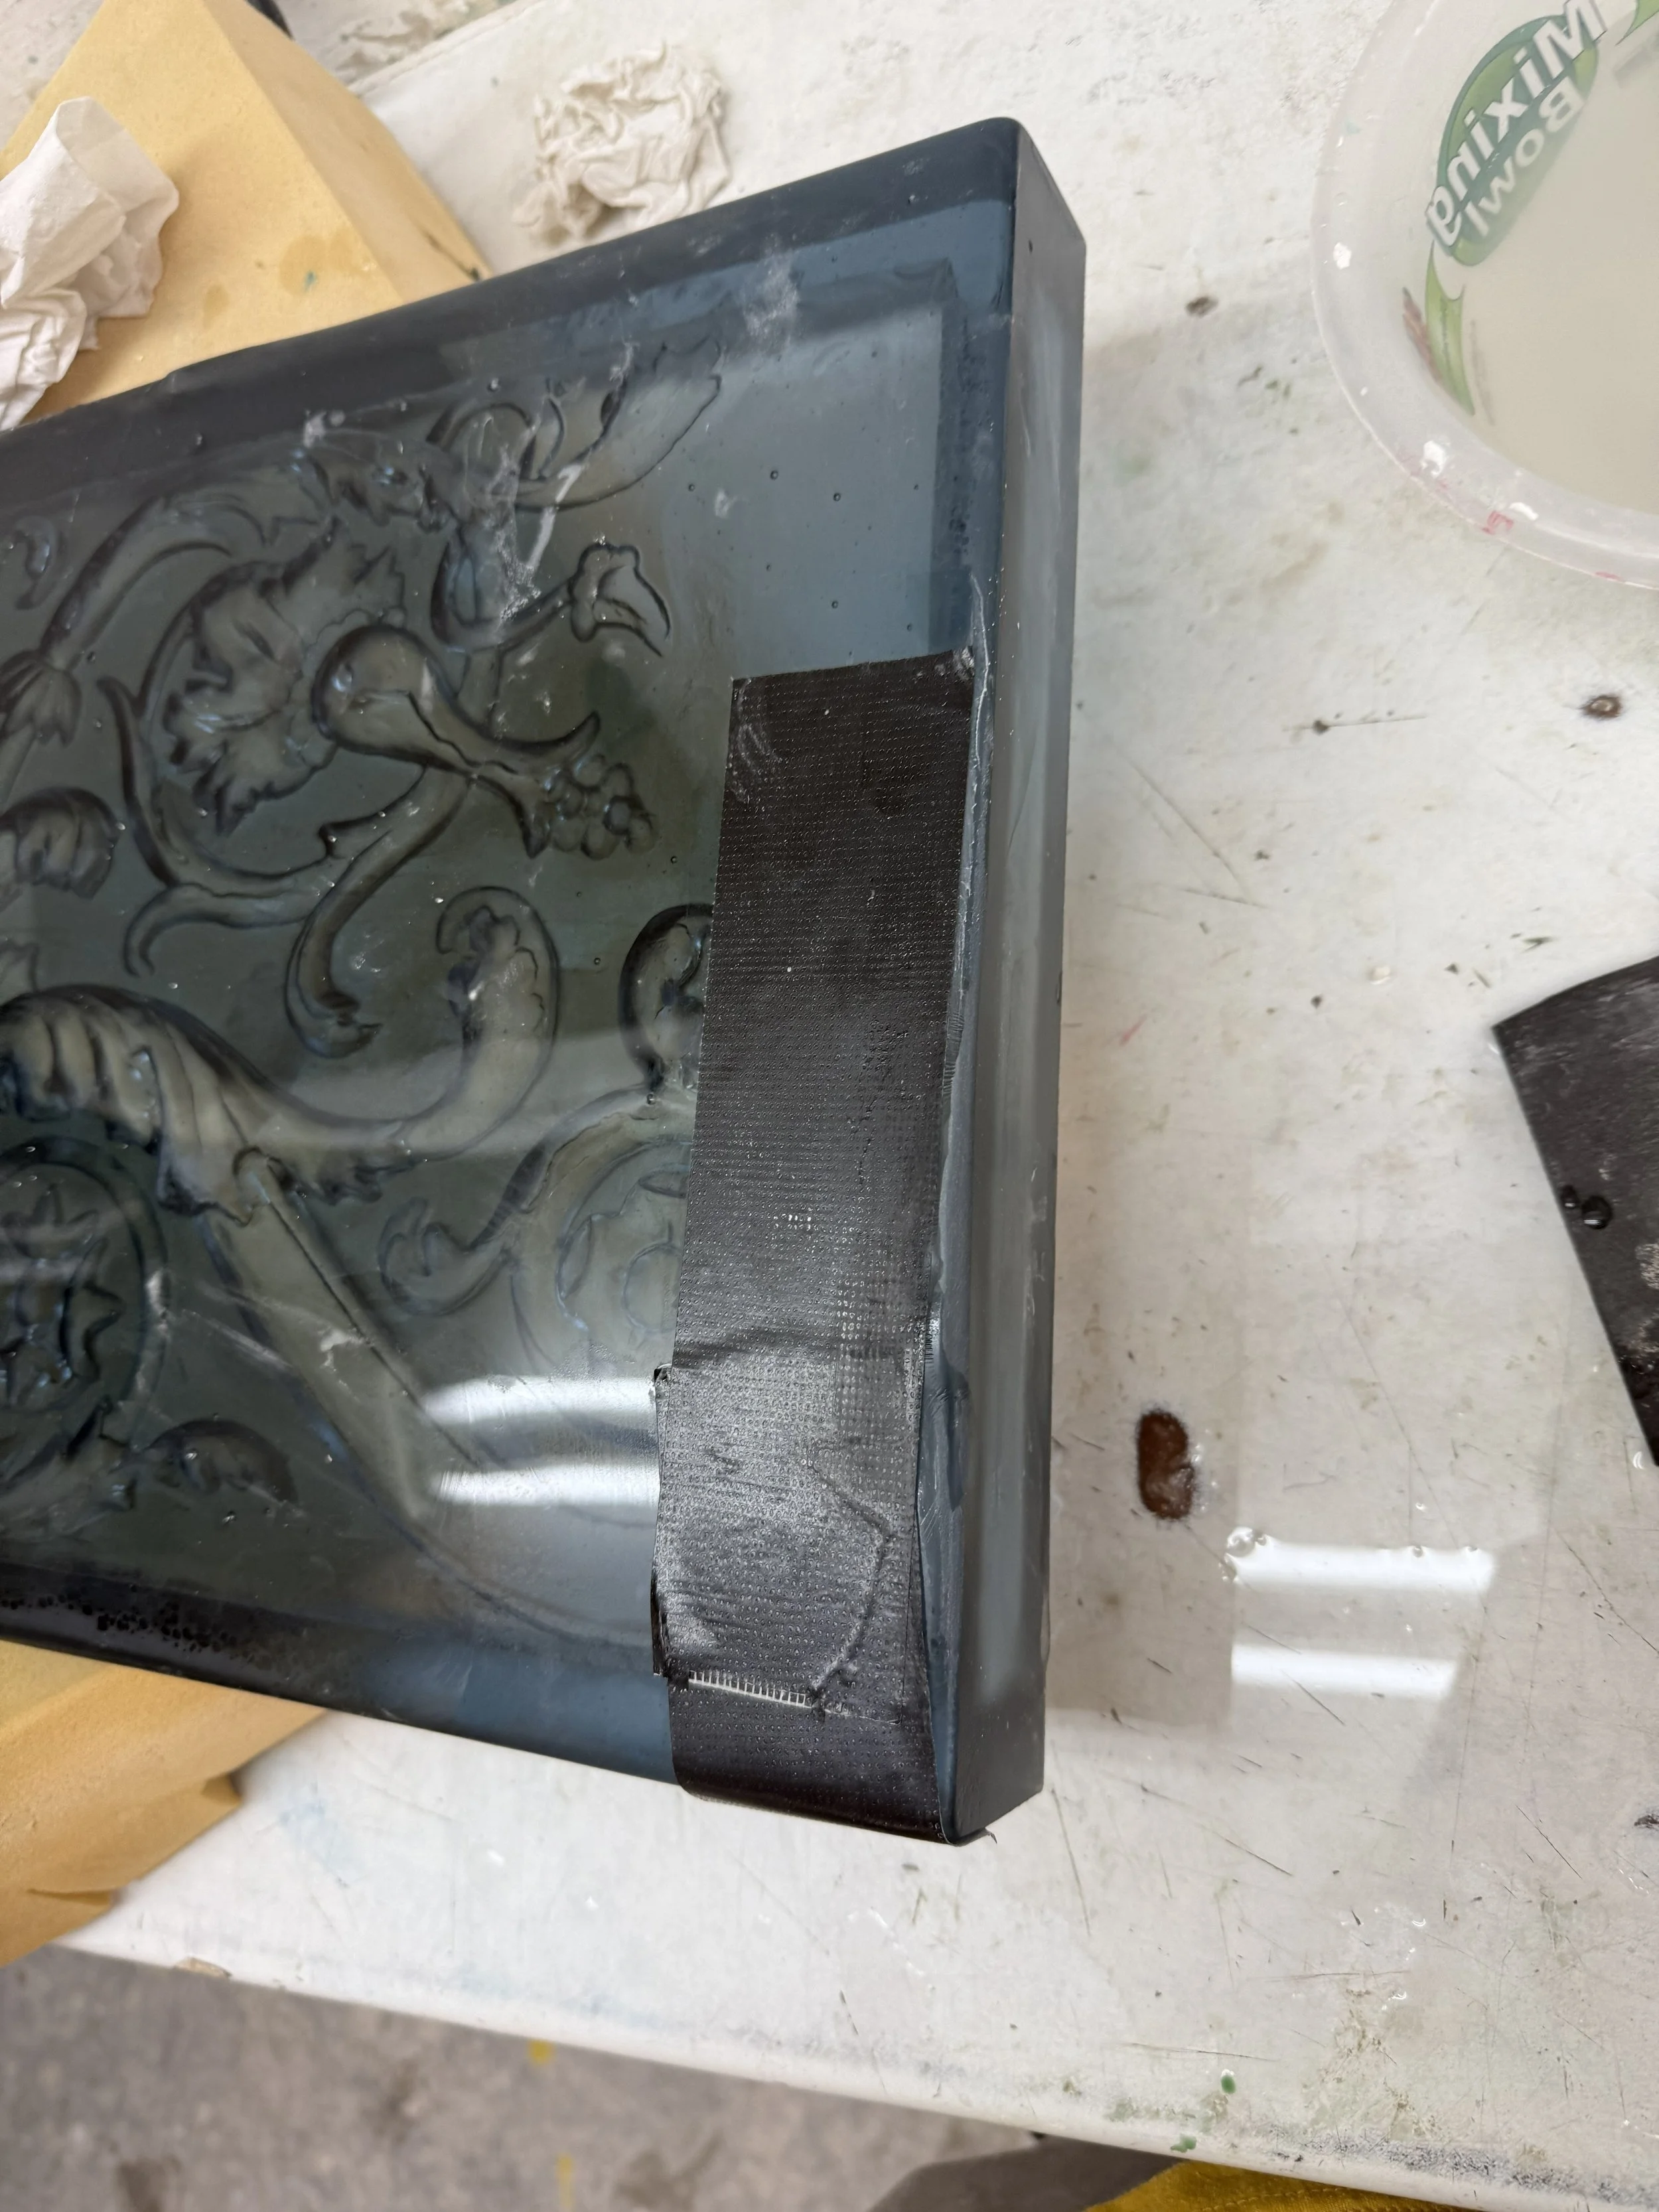
using tape helped keep from scratching the central area, but some of the areas would need to be worked with a water grinder
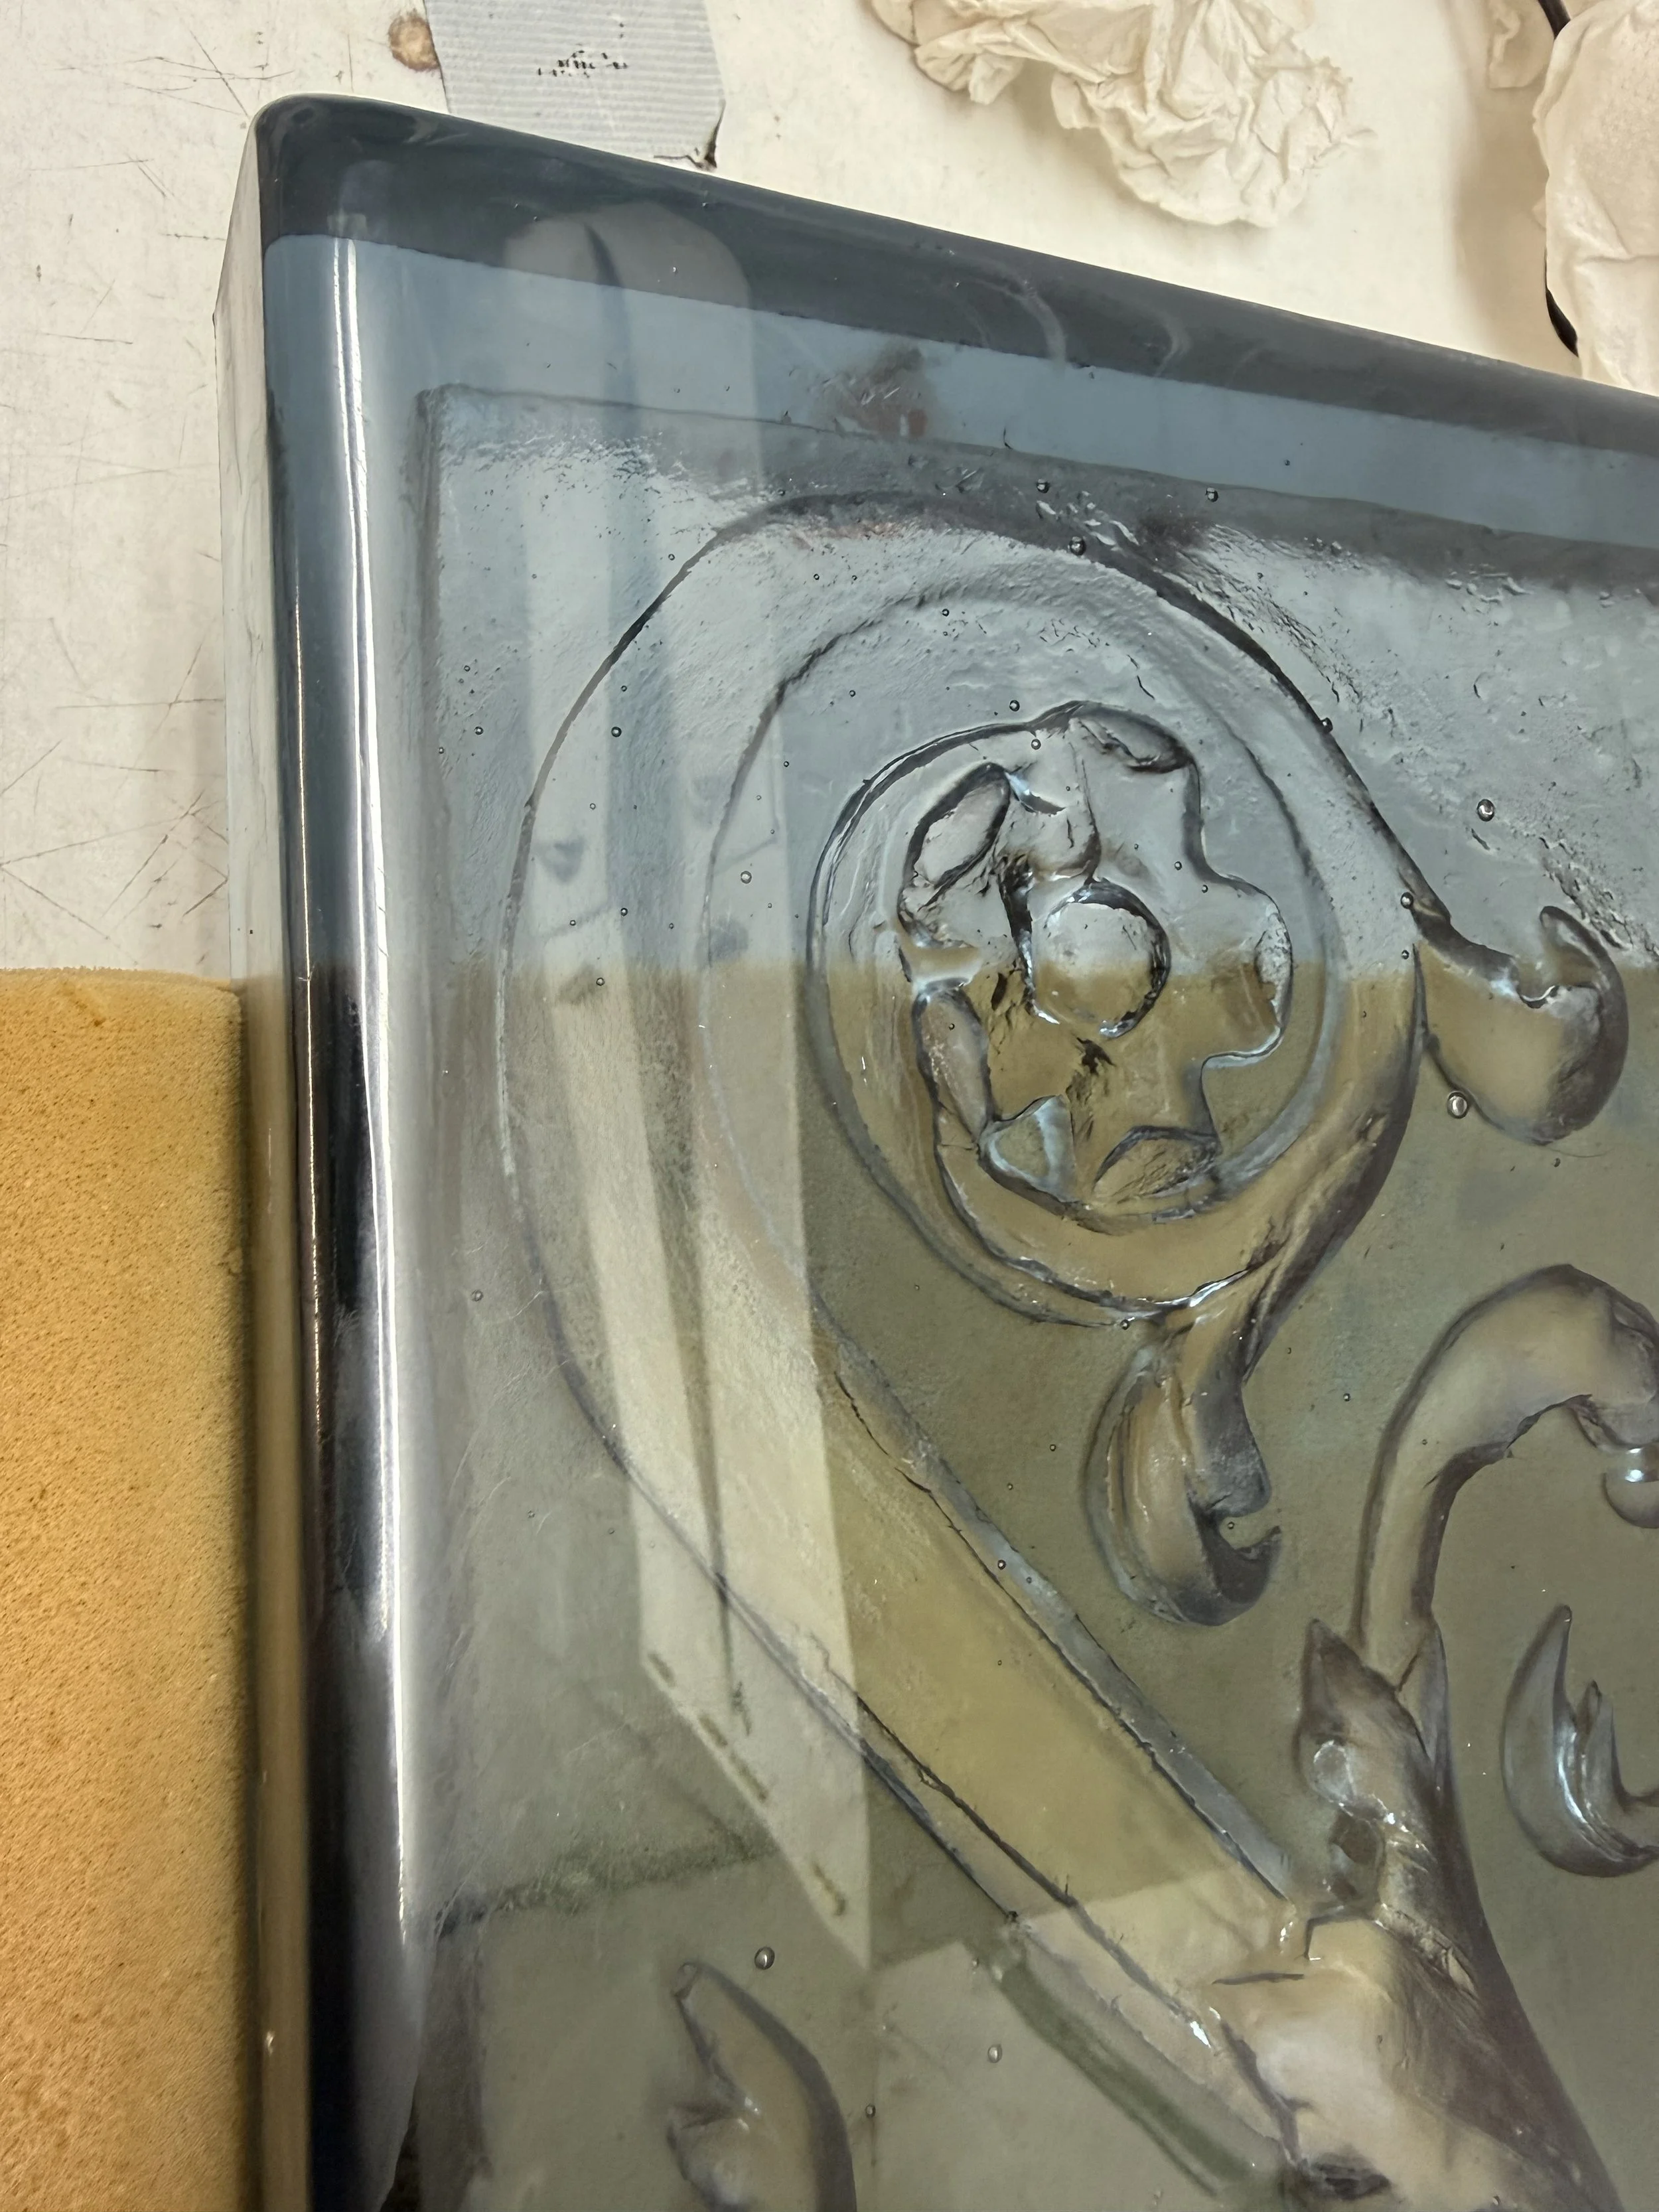
using a grinder to smooth the edges