Modelling and Moulding an Ornament
In this project I work on modelling an ornament from an image in a book on plastering. I then take the finished model and make a mould from it to make more casts at a later time.
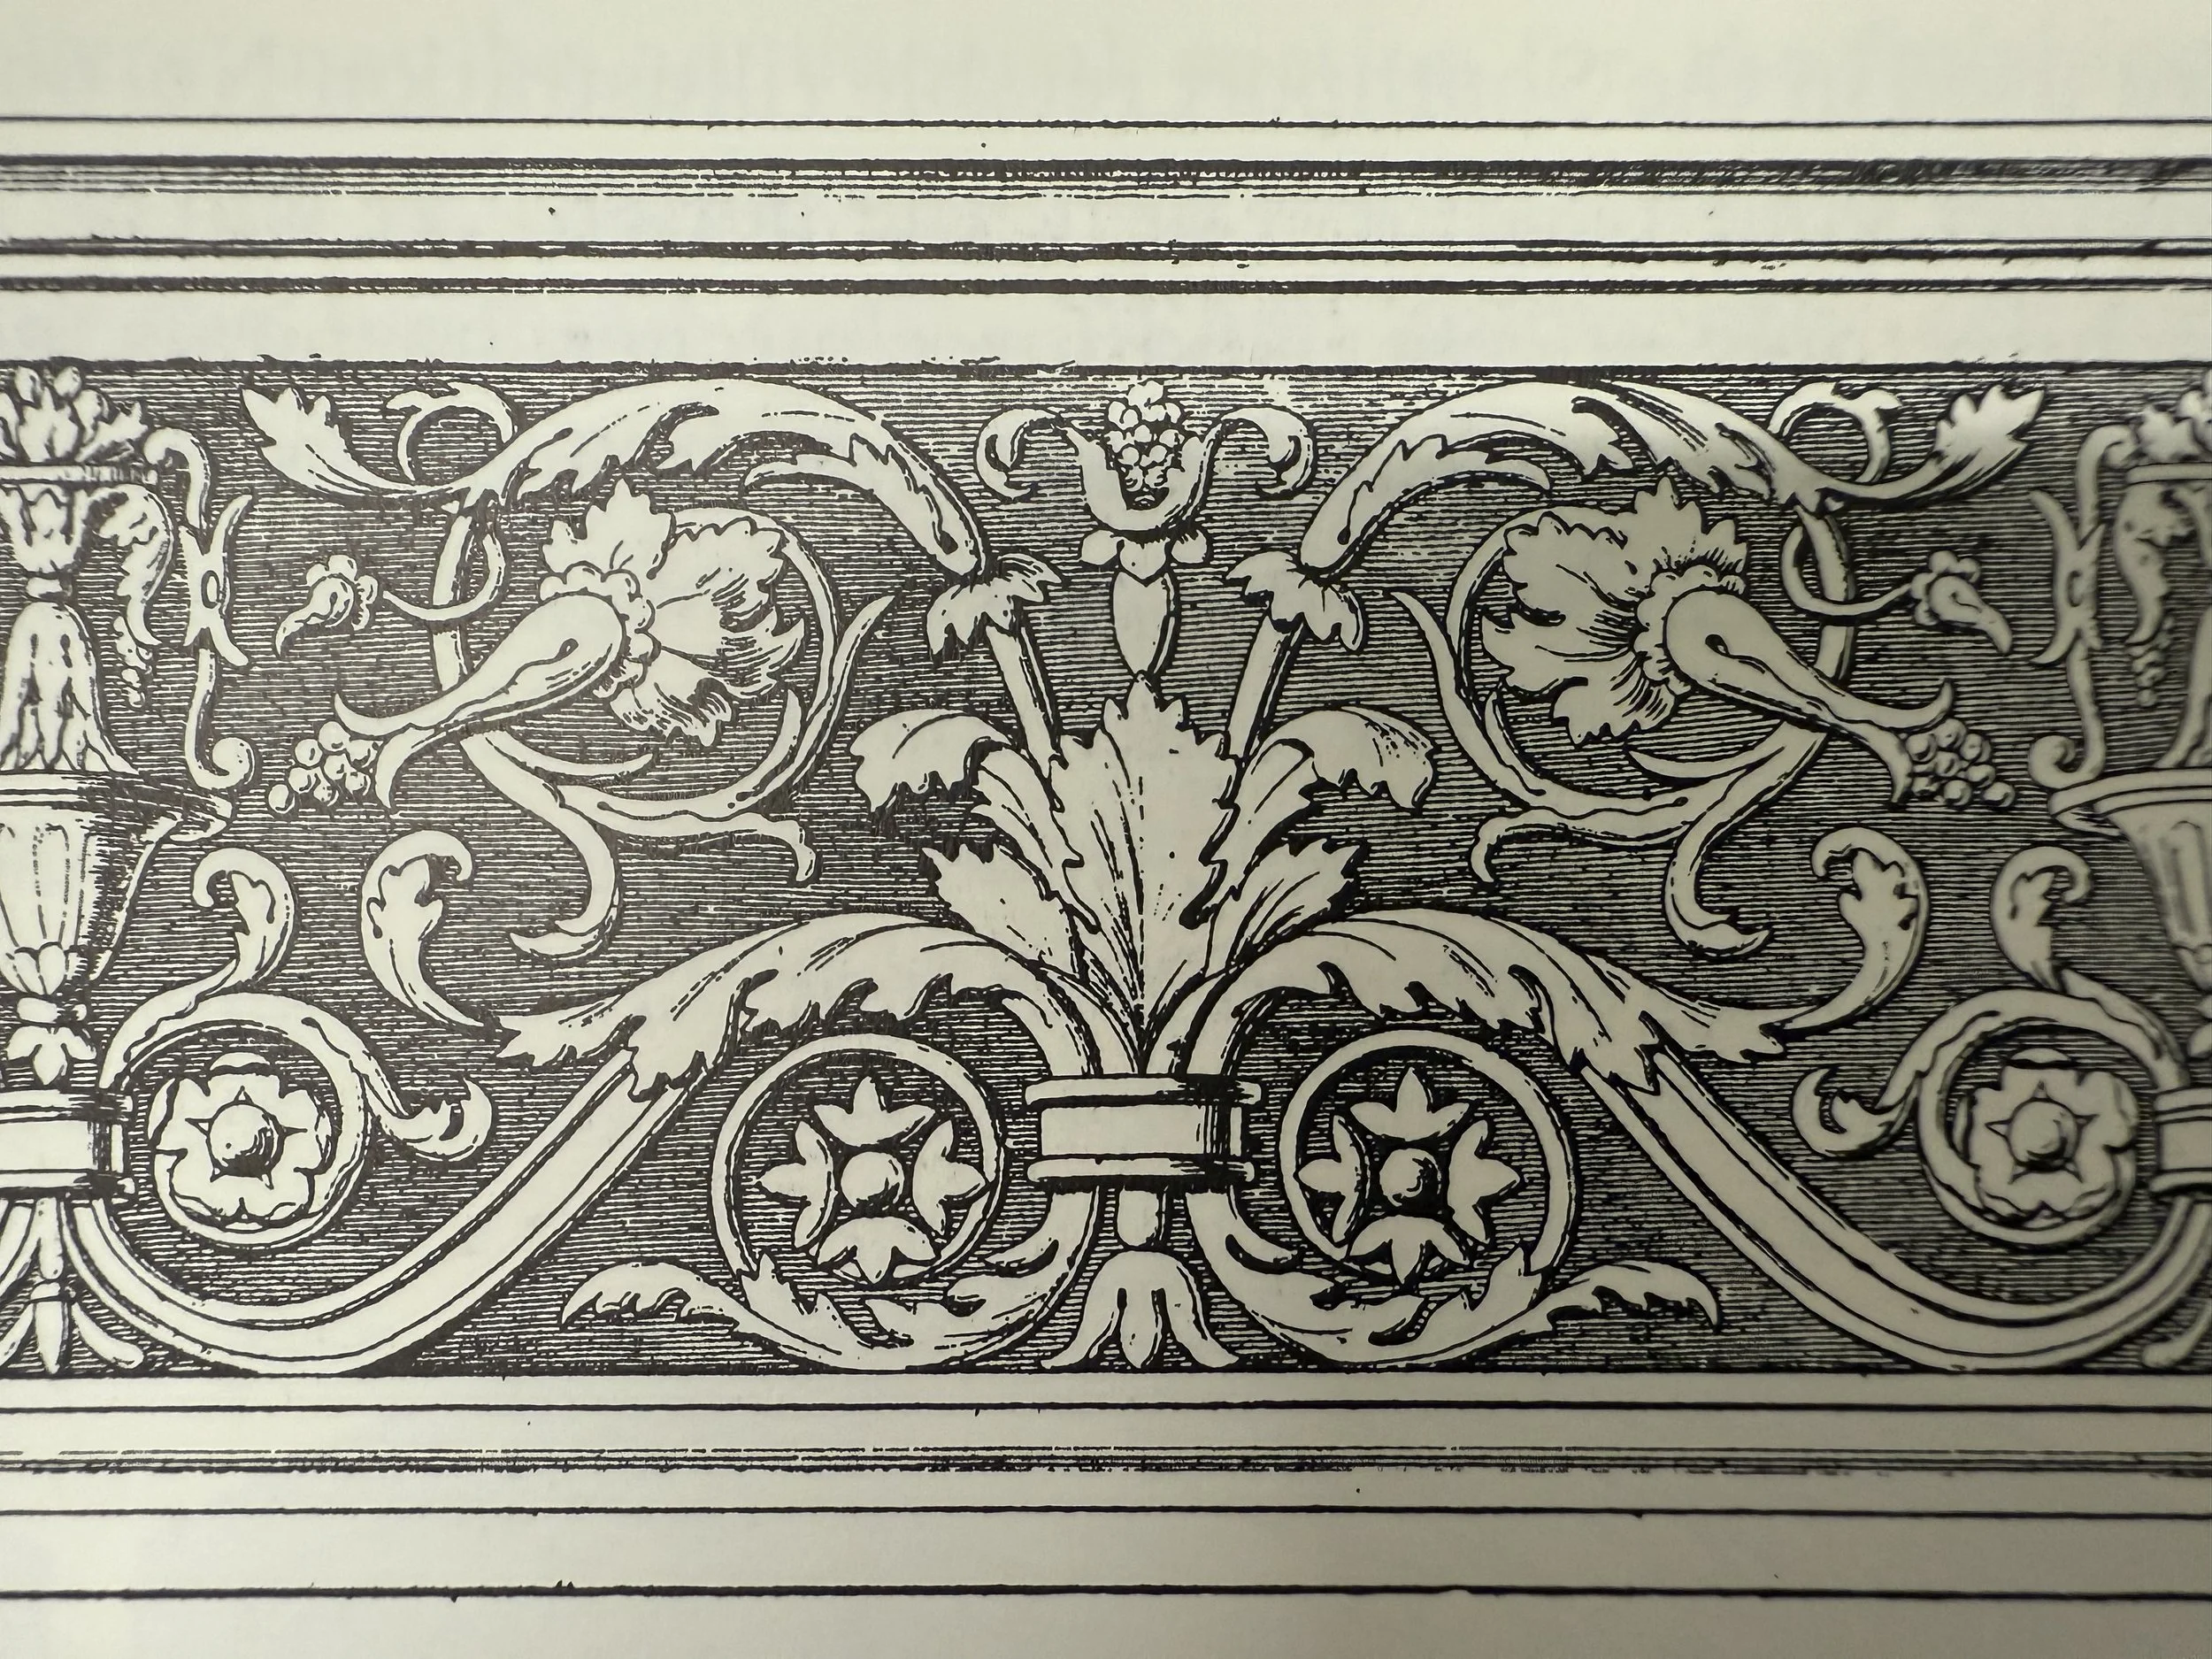
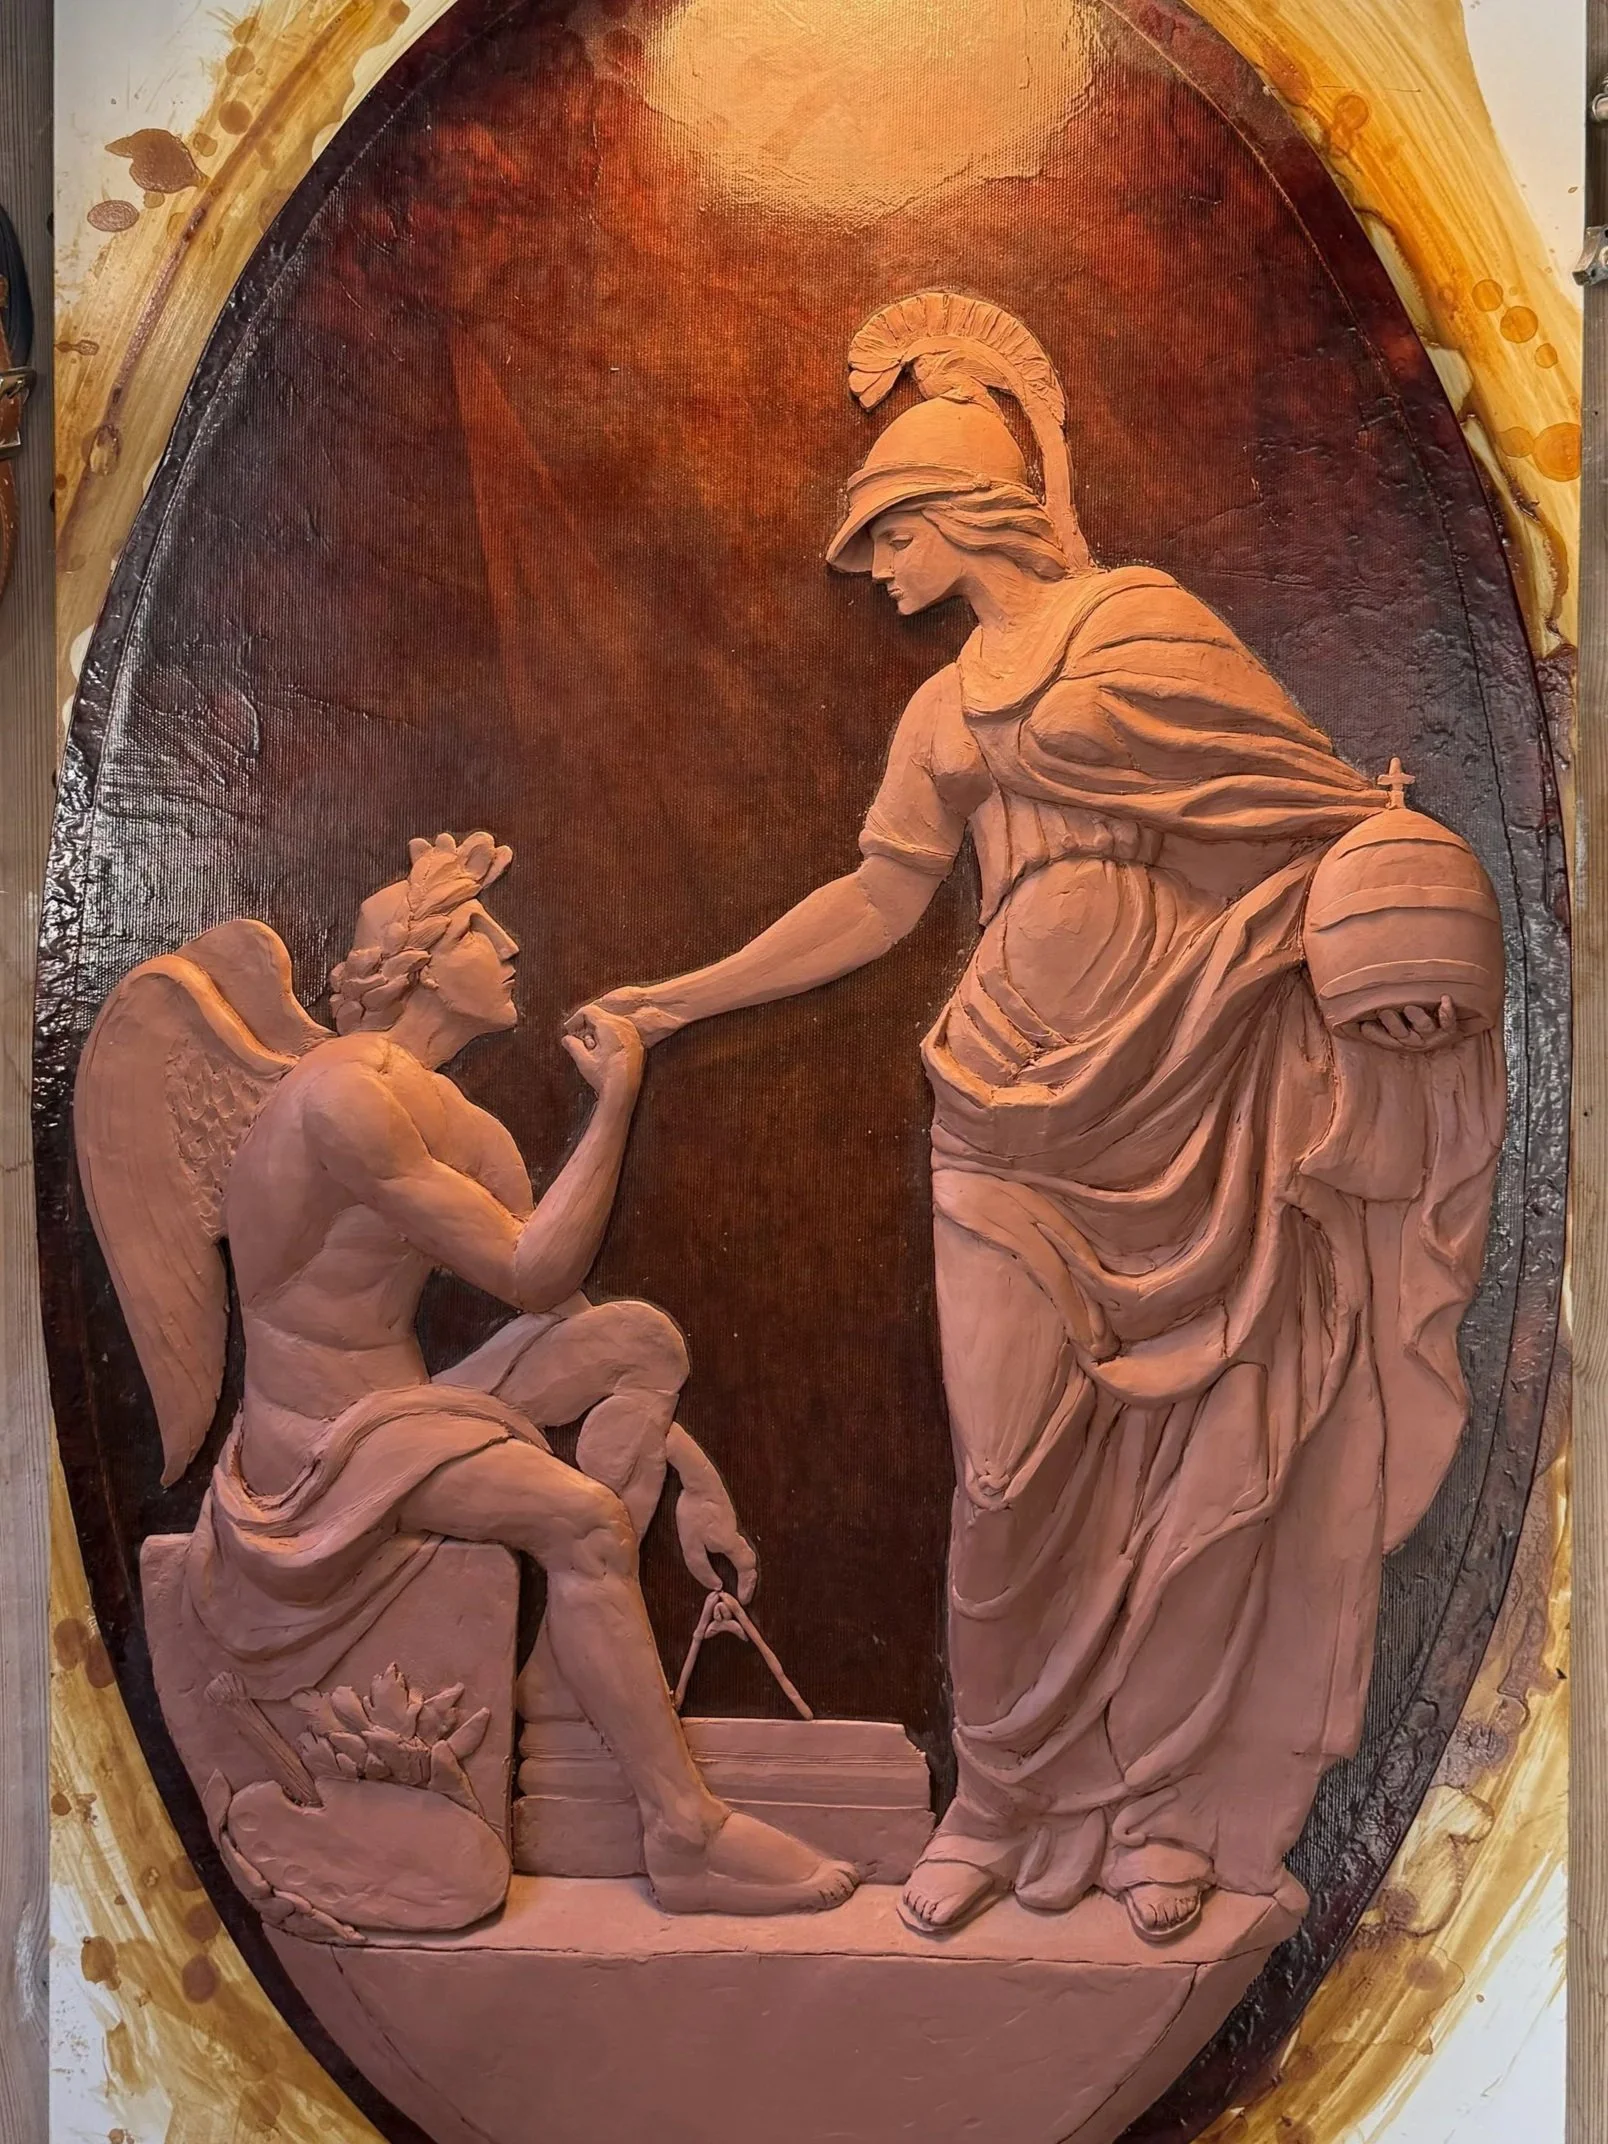
Image from a book on plastering of a Sgraffito from Rome
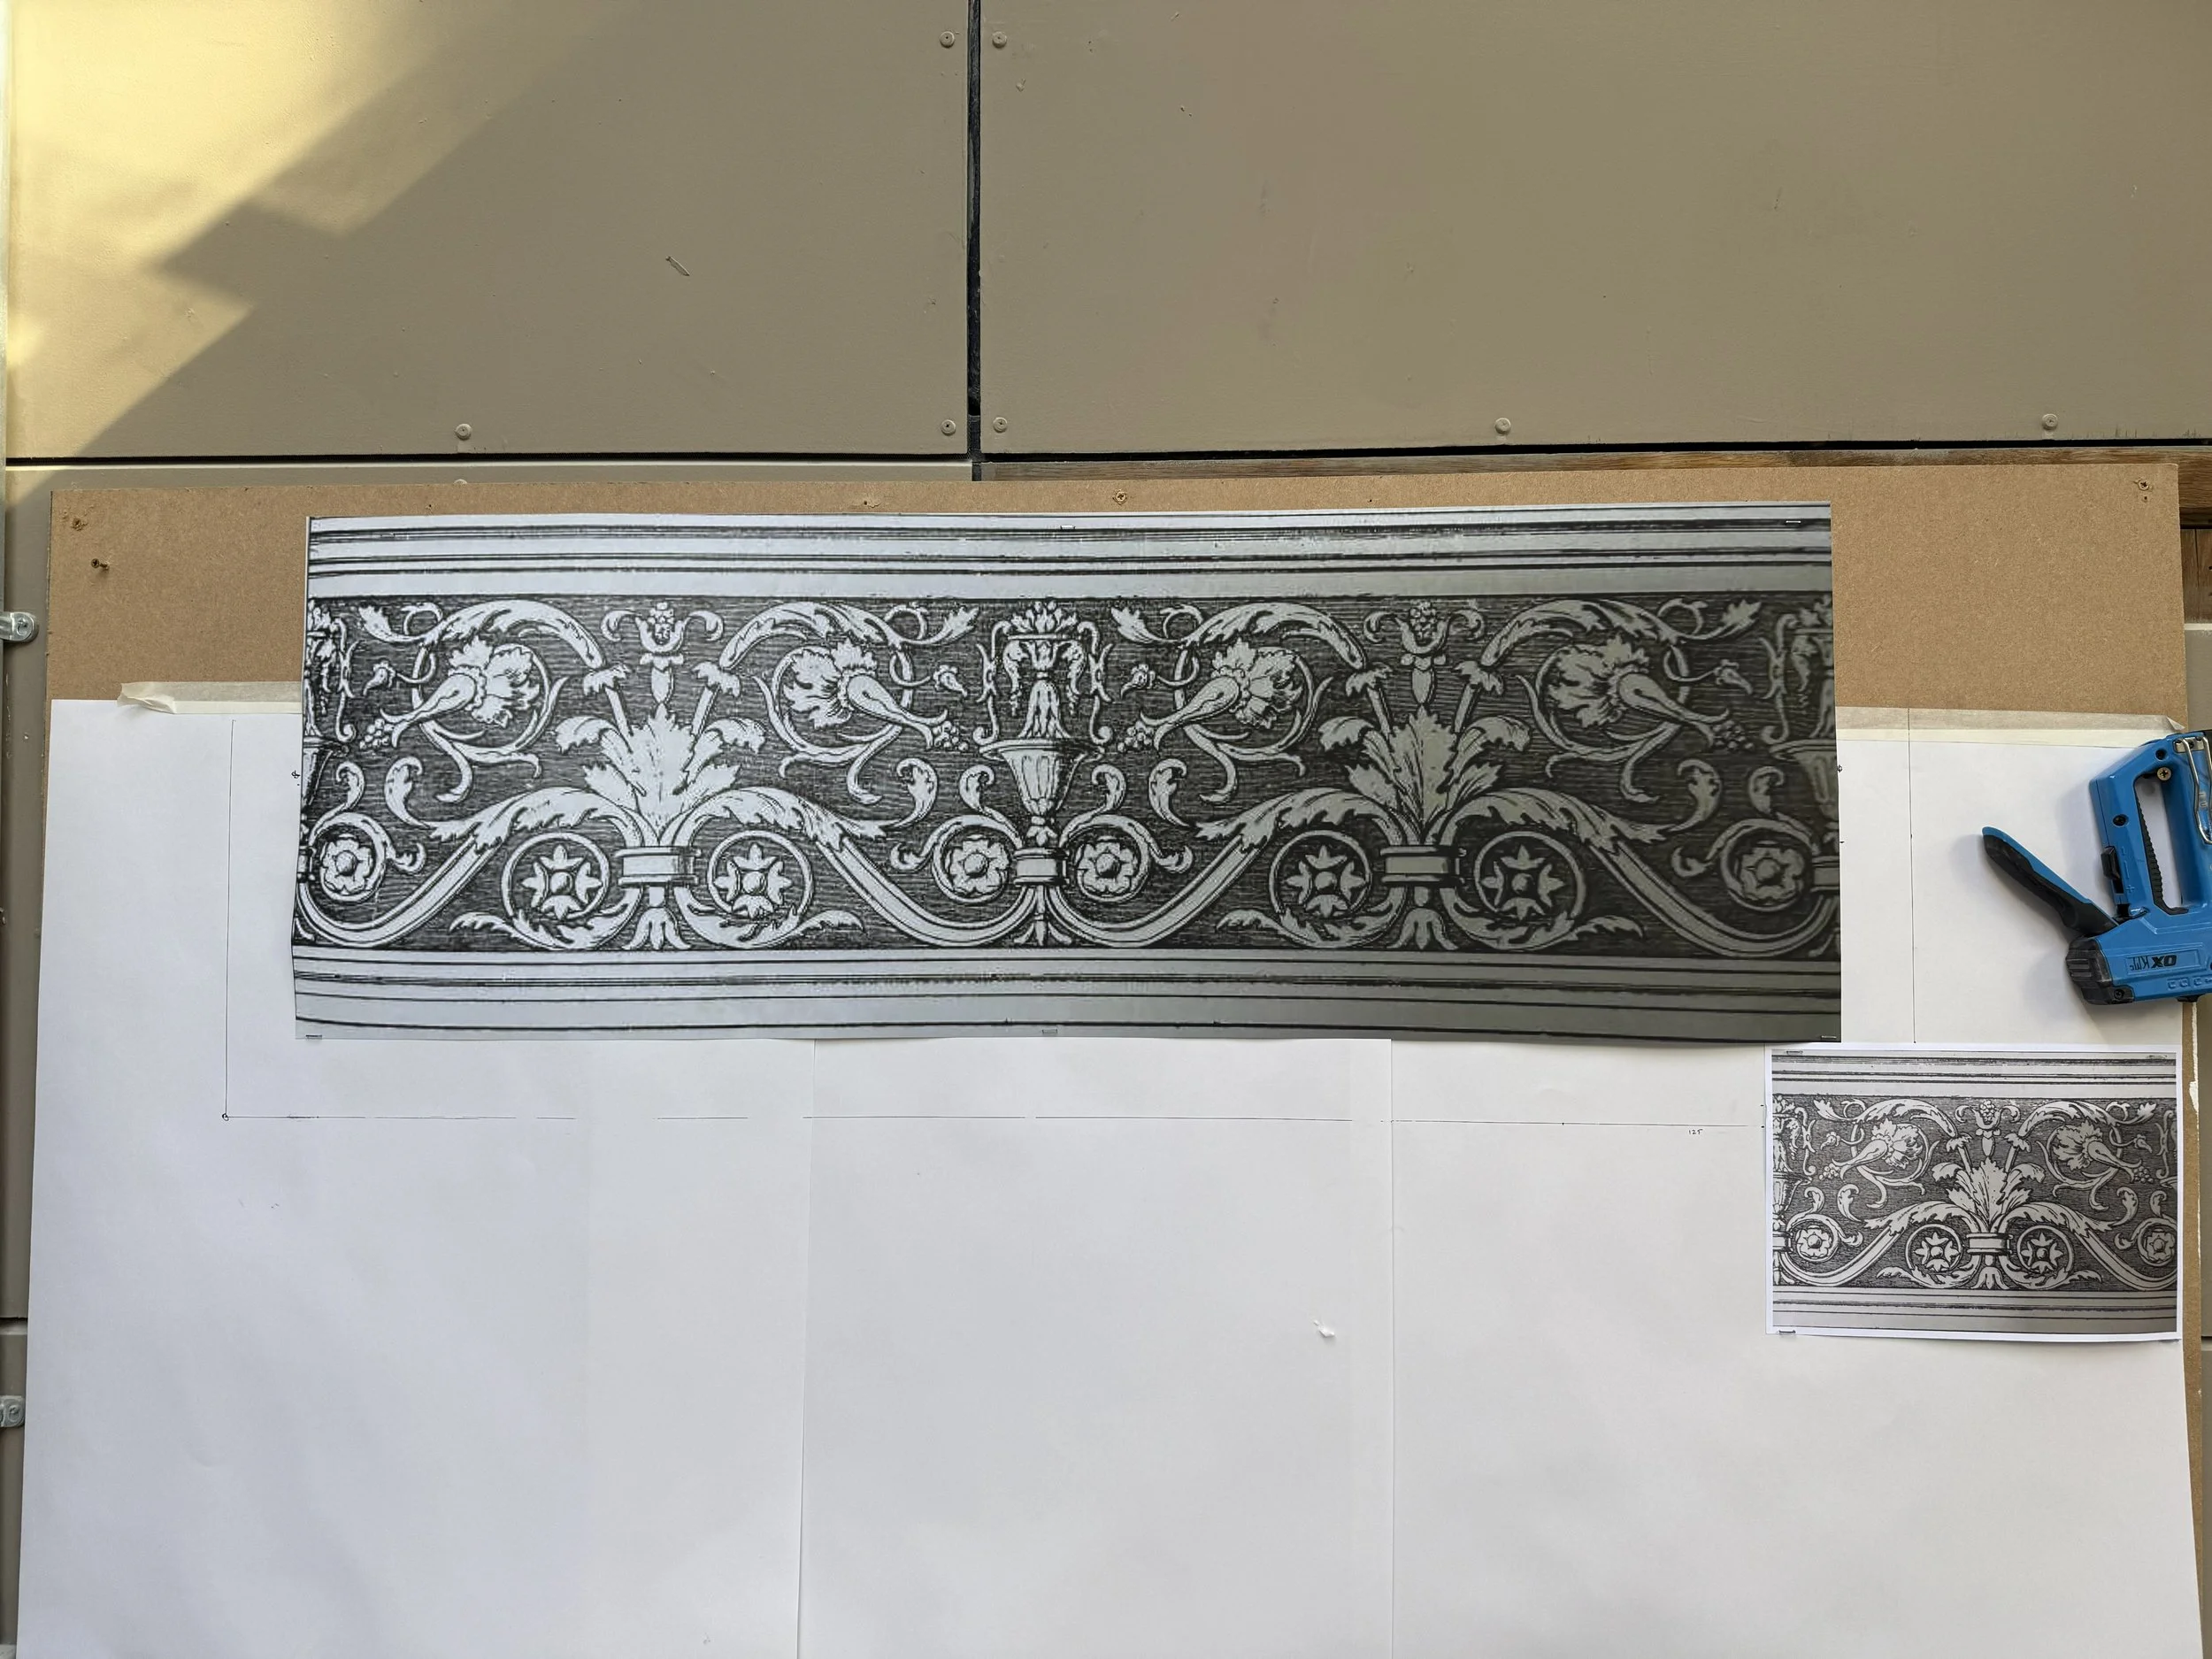
The Image is printed out to the dimensions of a stone I have left over from last year for potential carving later.
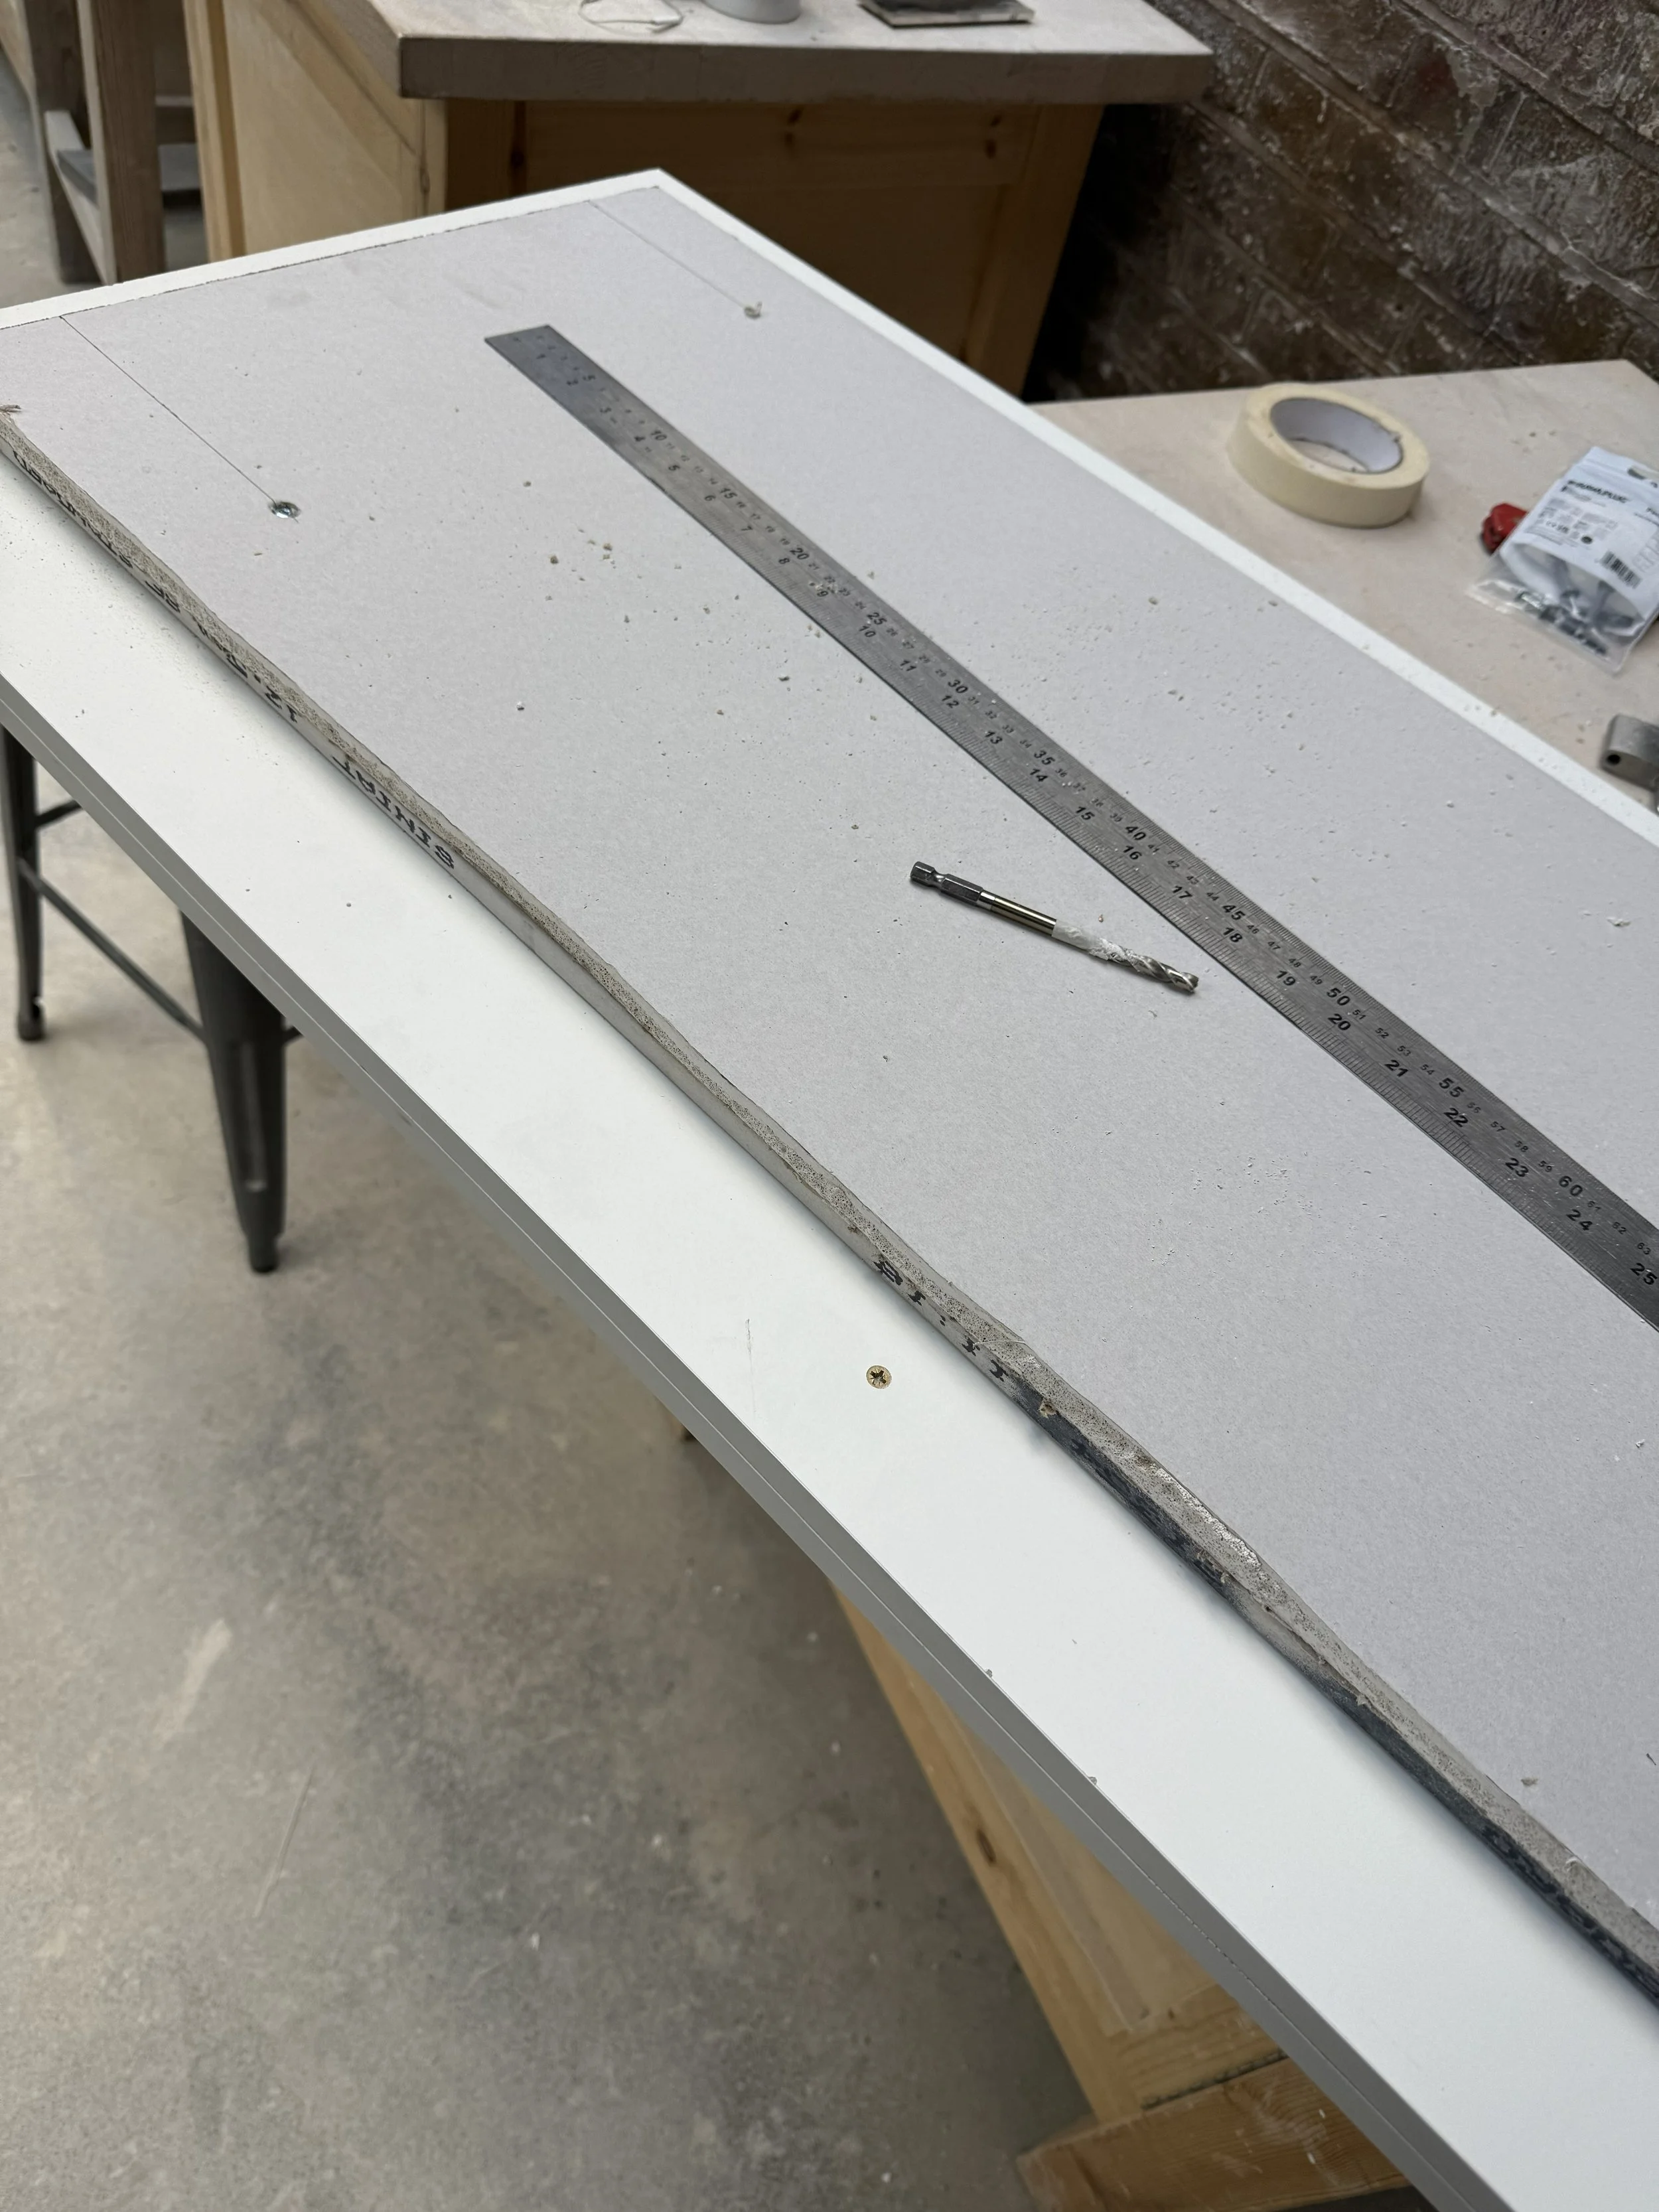
A working surface of melamine board is prepared to do the modelling in. The melamine board will be a useful surface from taking a silicone mould from. Plasterboard, sheet-rock is then constructed as the background surface for the model to the same proportions as the original drawing print.
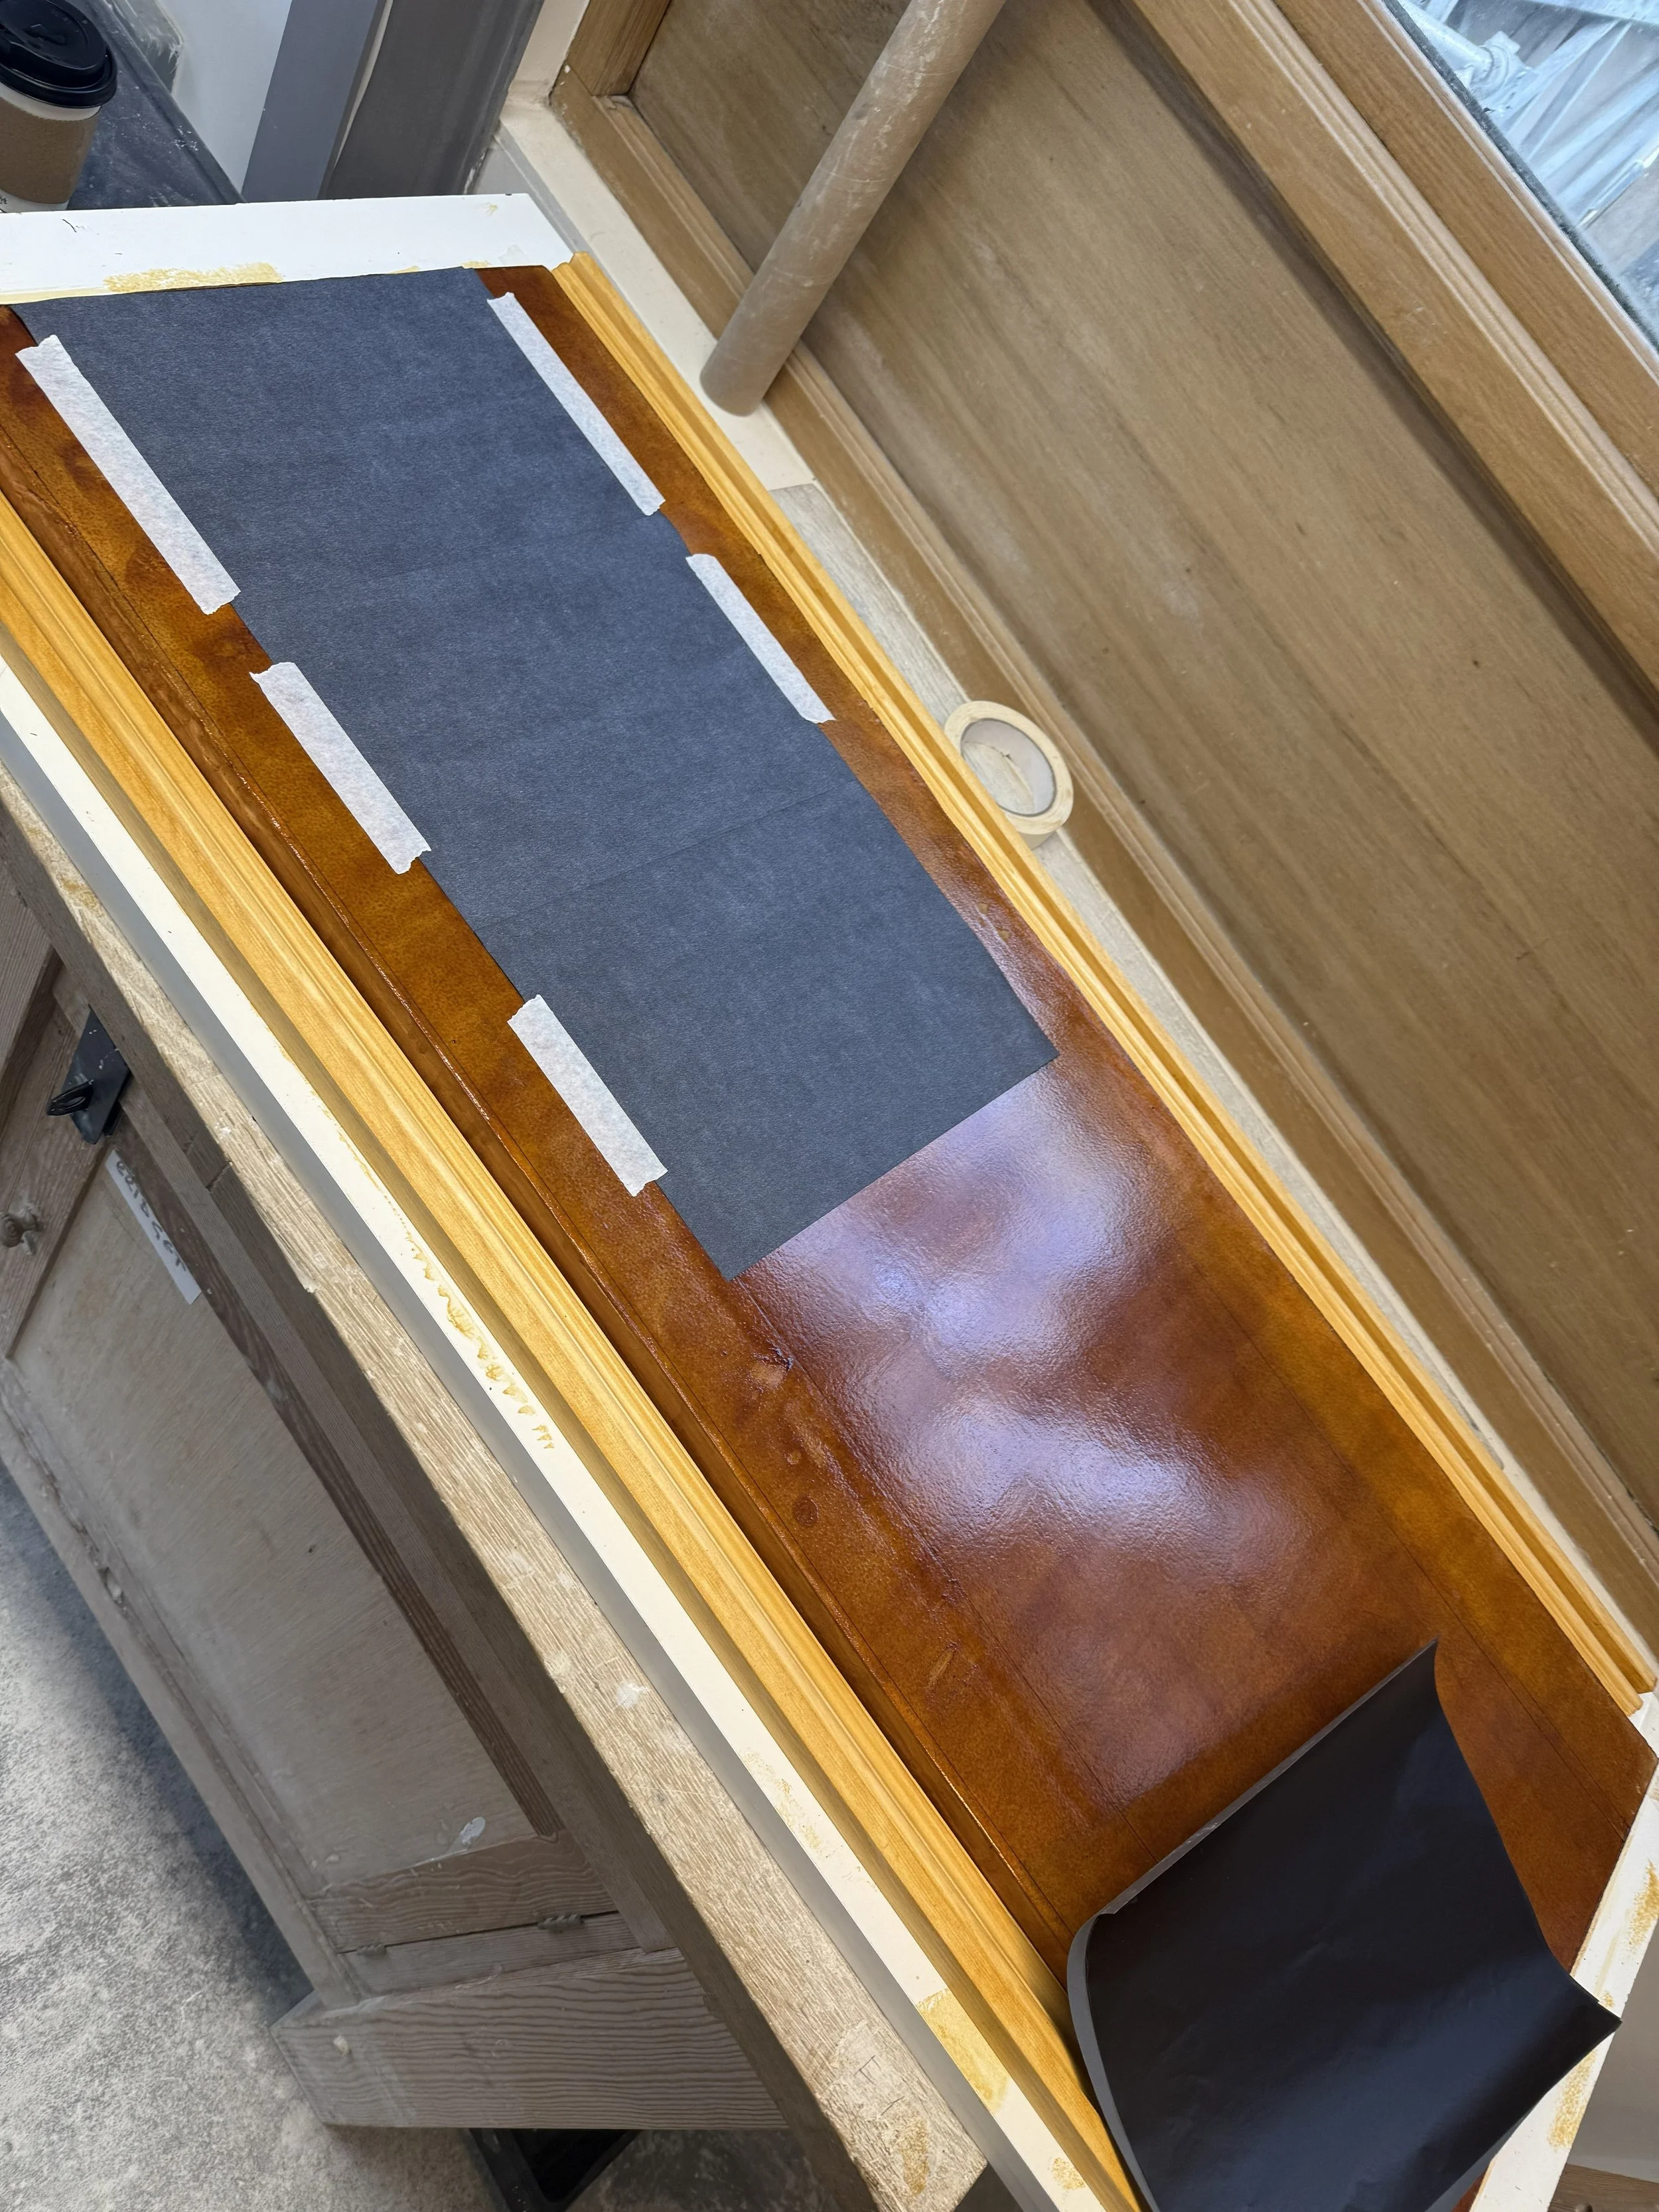
The surface of the plasterboard is then shellacked.
The image is laid out and borders triple checked for square and lines drawn on the sheetrock for outline.
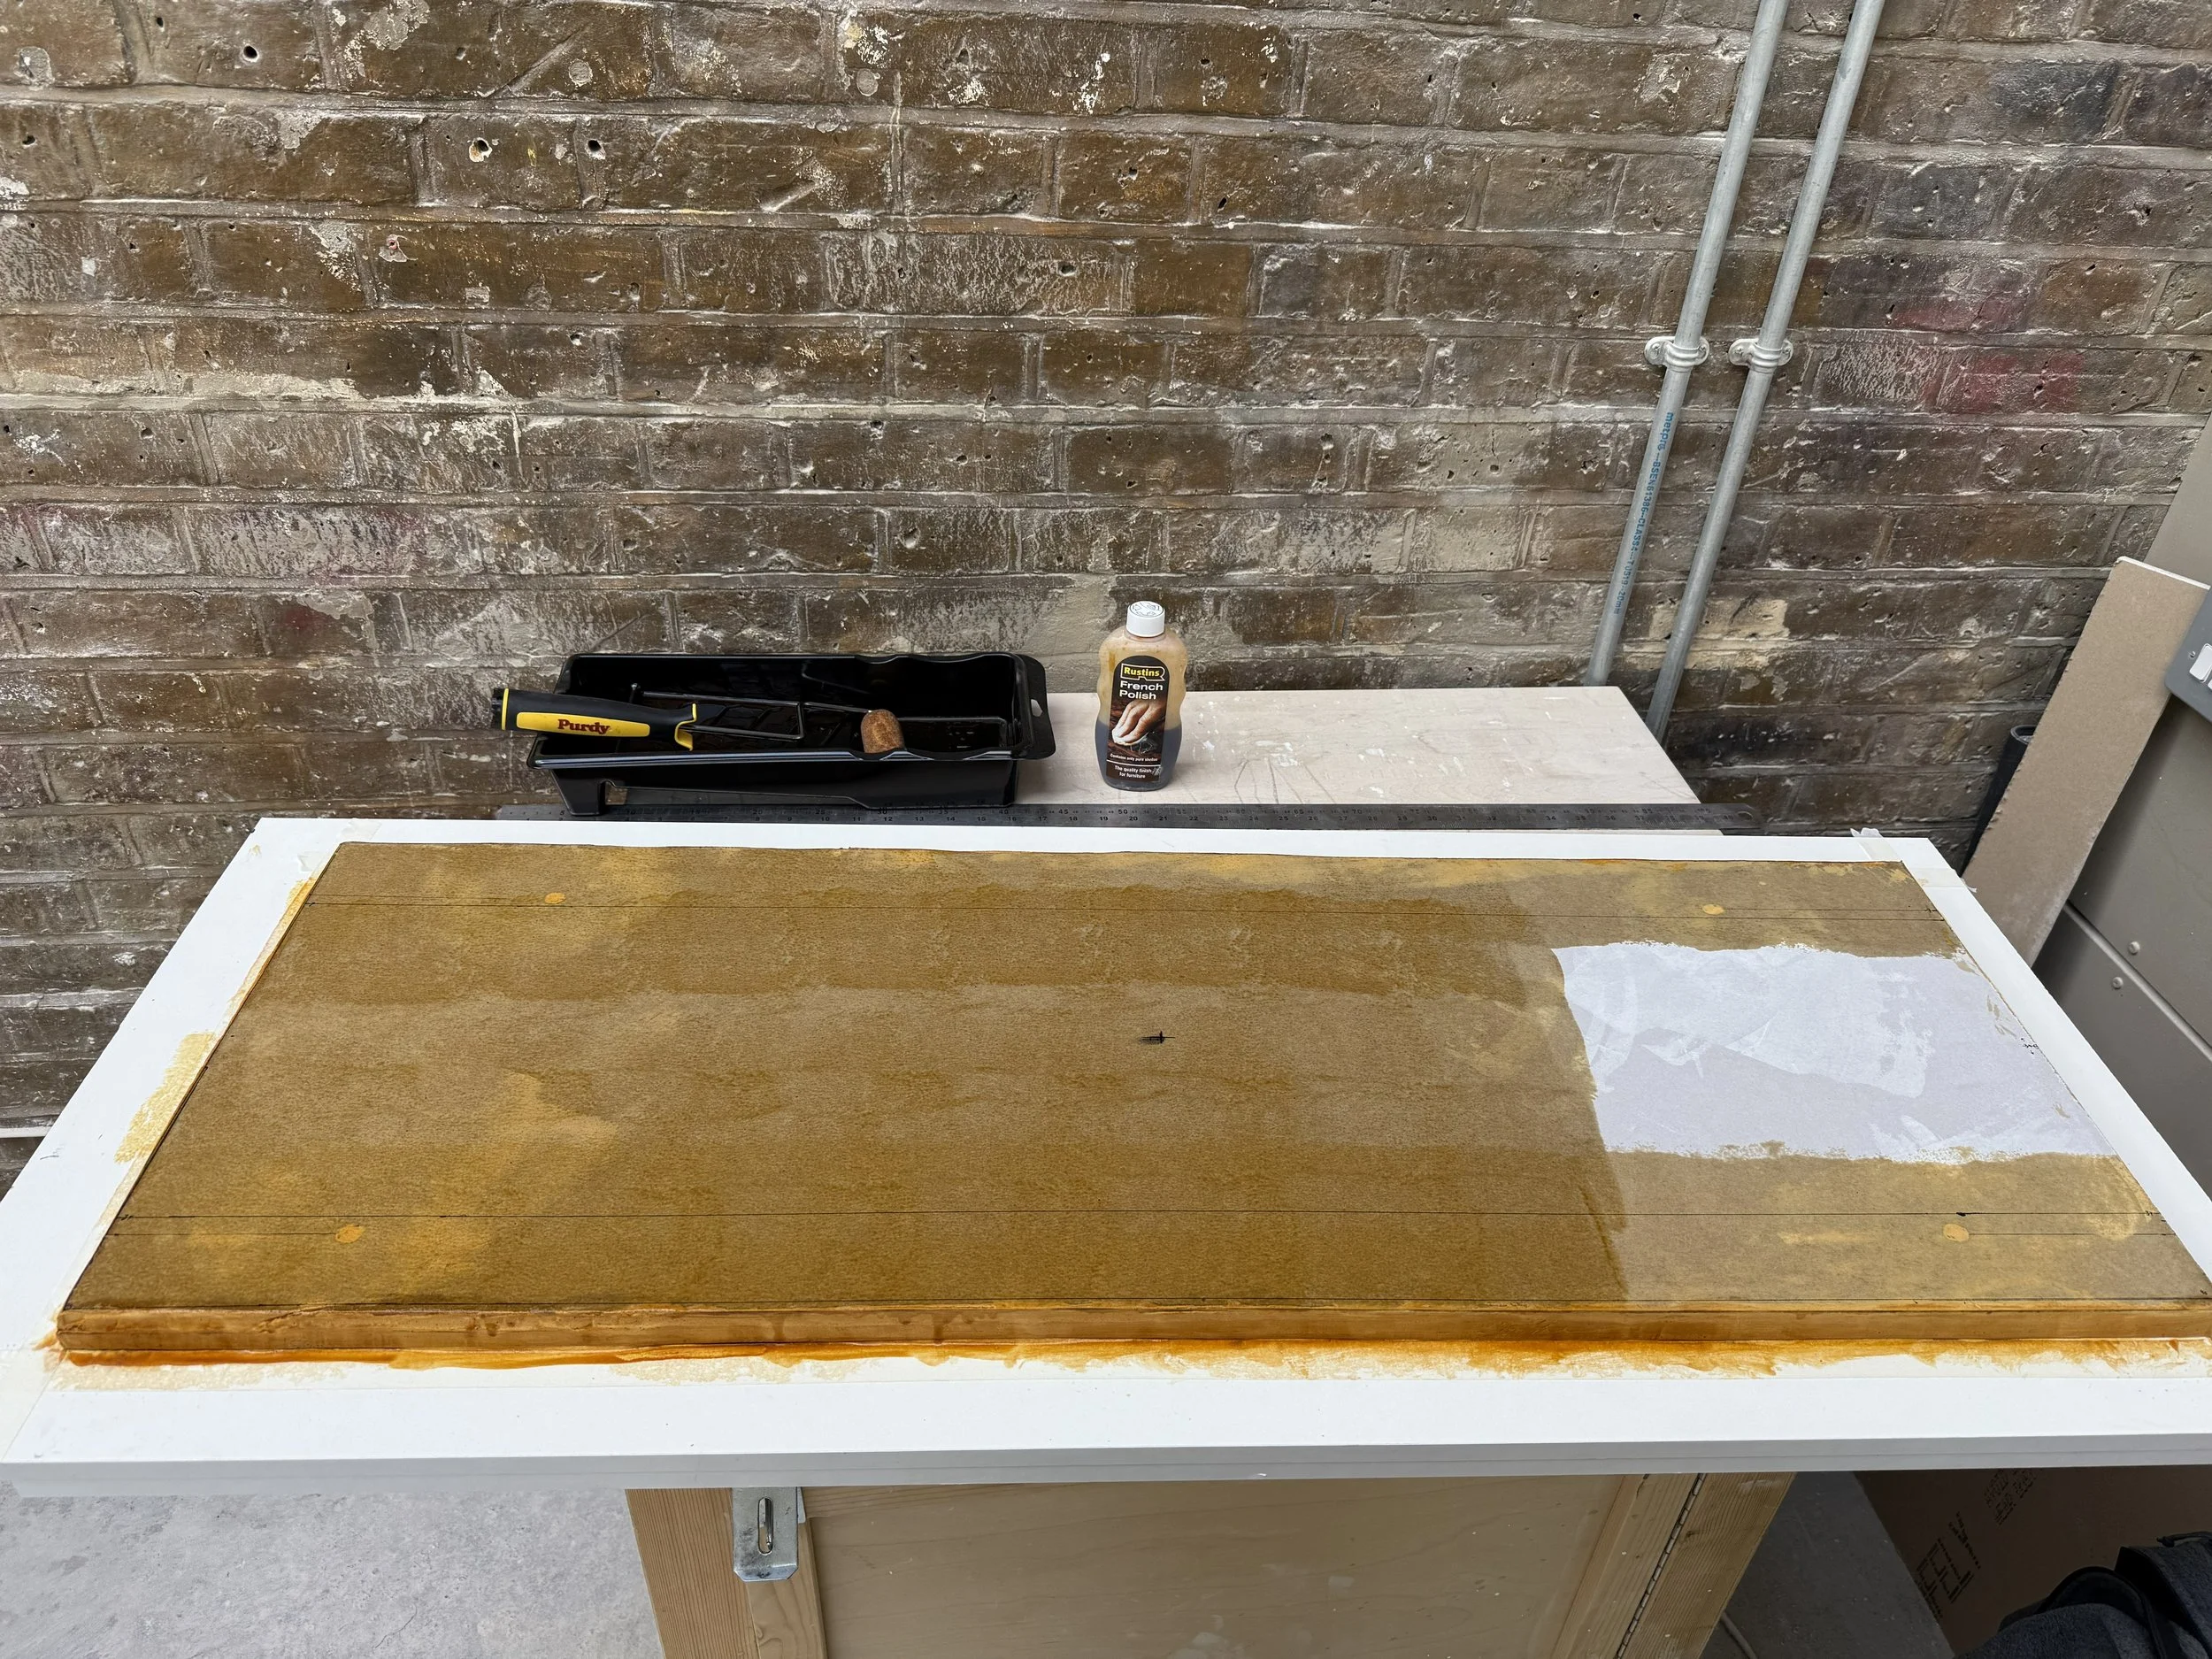
Multiple layers of shellac are used and attempts made to french polish to give the background a very smooth surface that will appear in the silicone mould later.
After the surface is smoothed enough with french polish, carbon paper is then prepared for tracing the template for modelling.
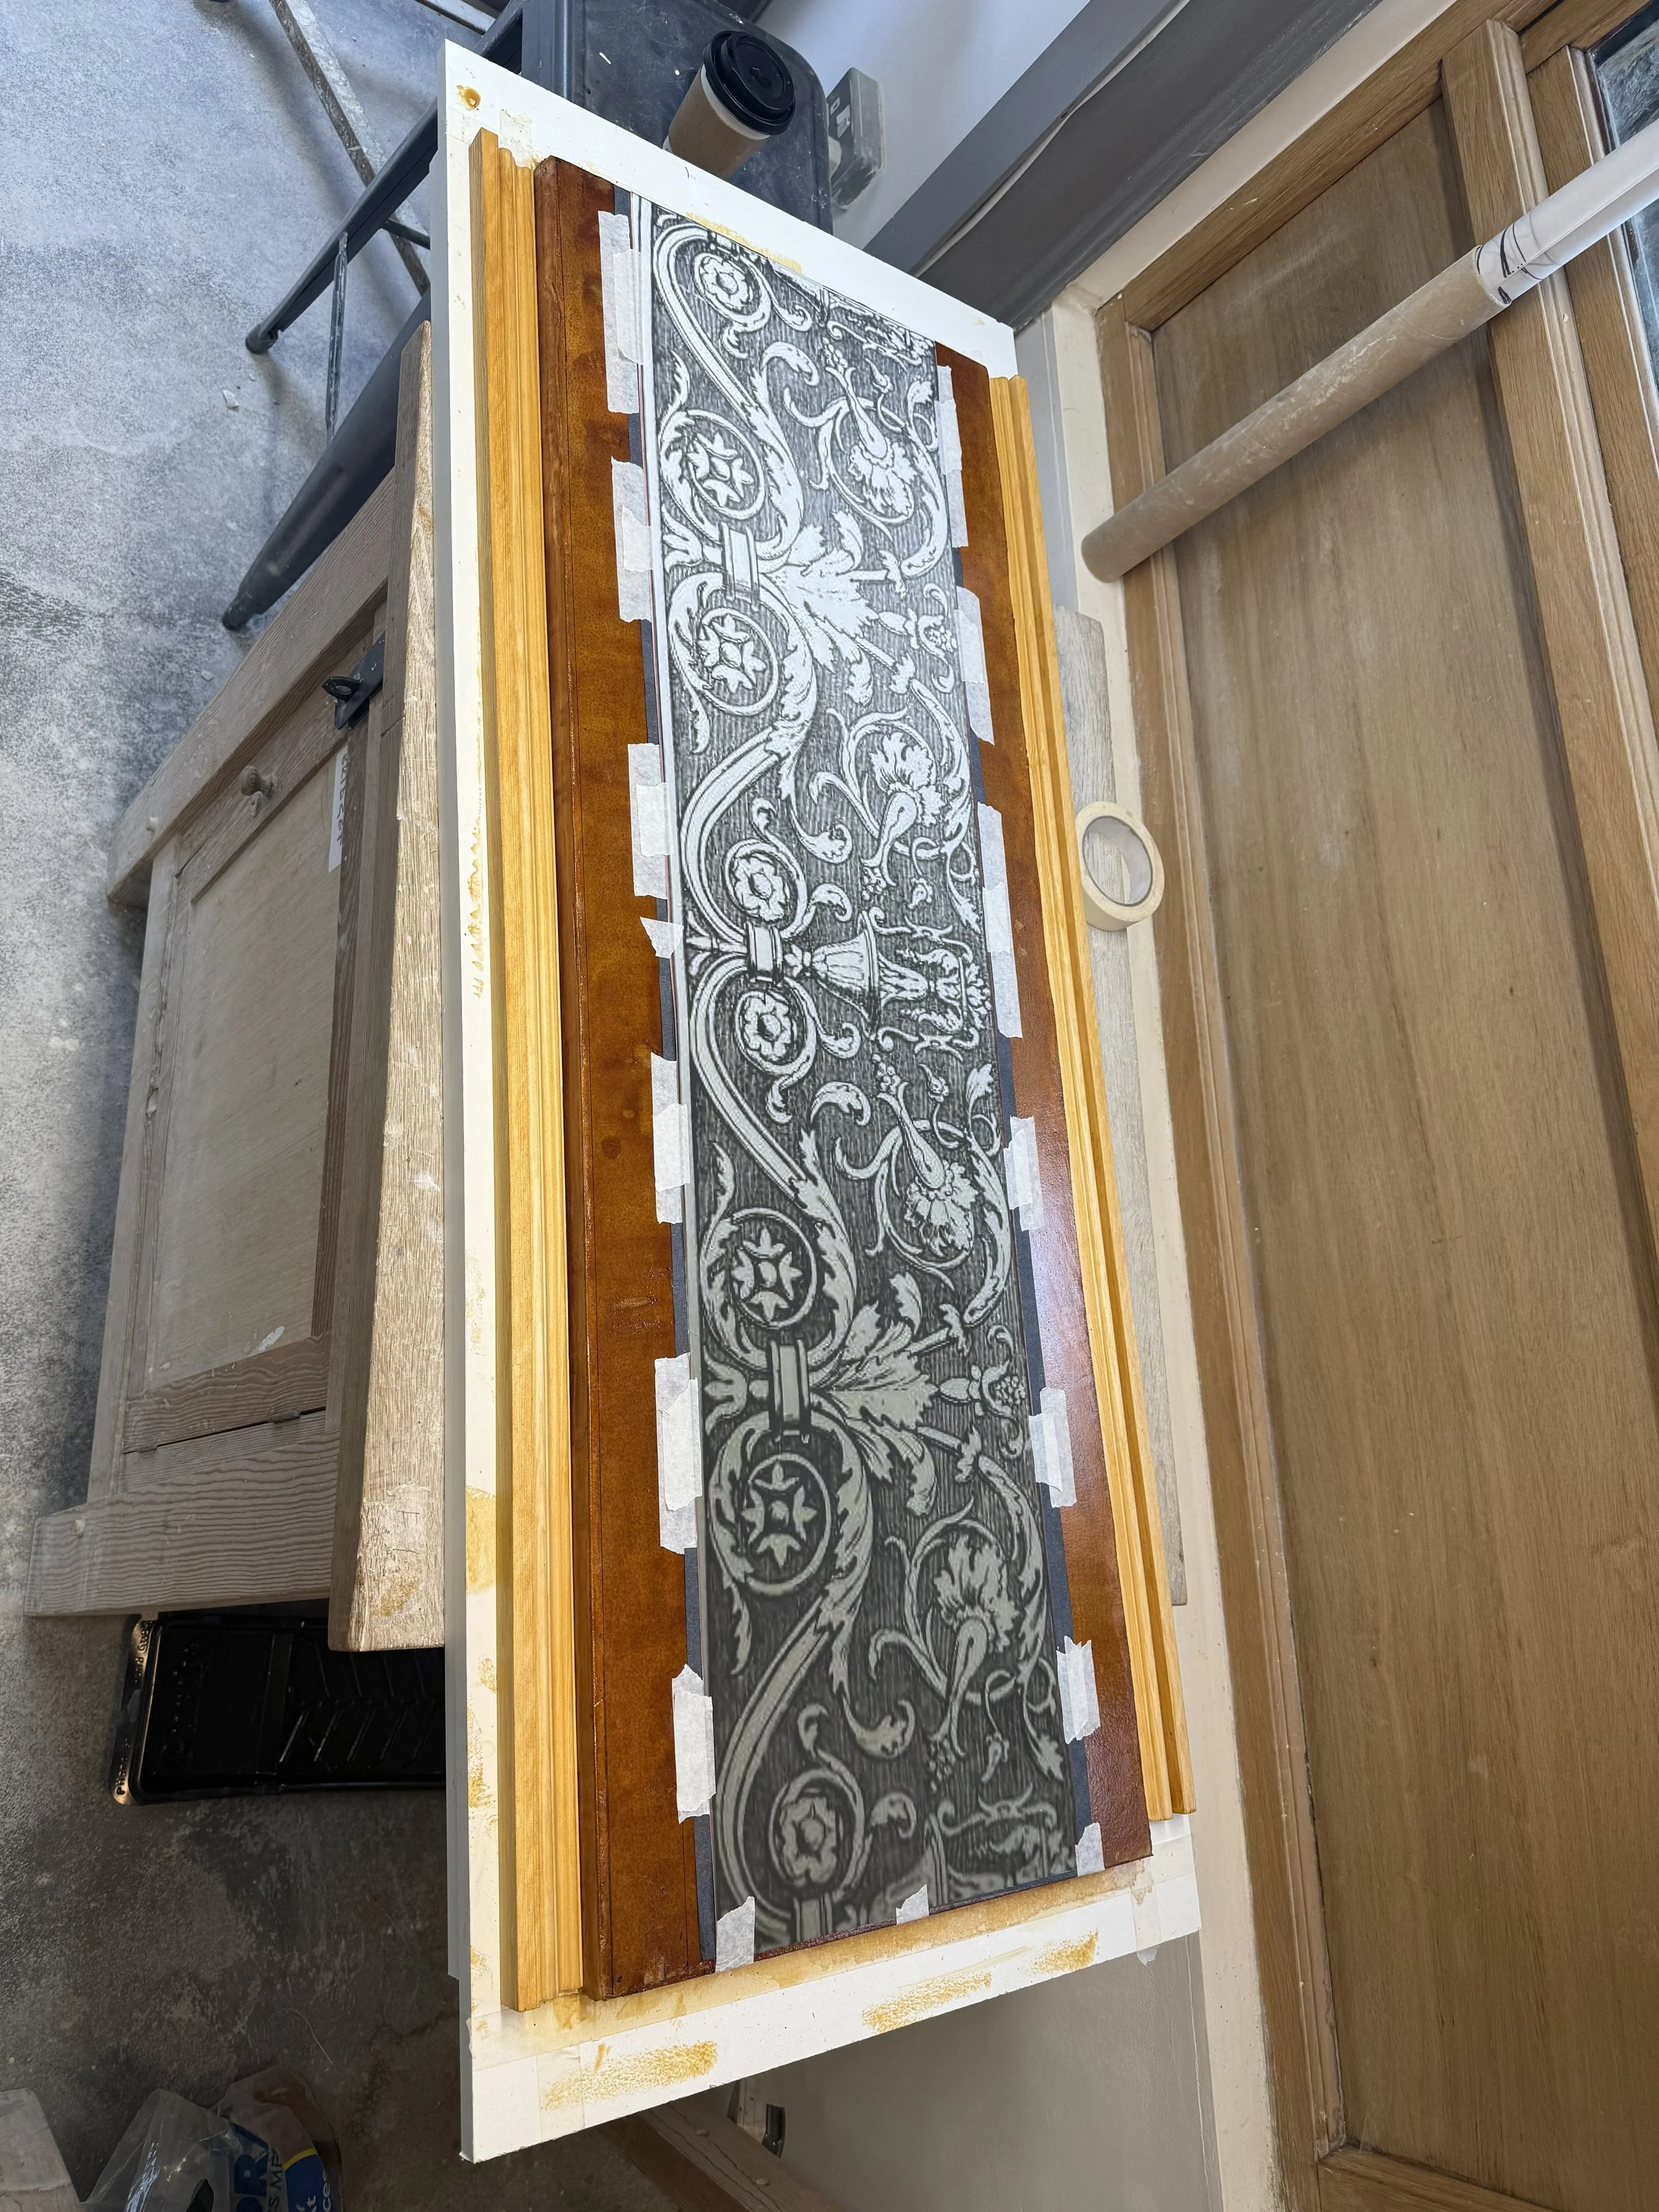
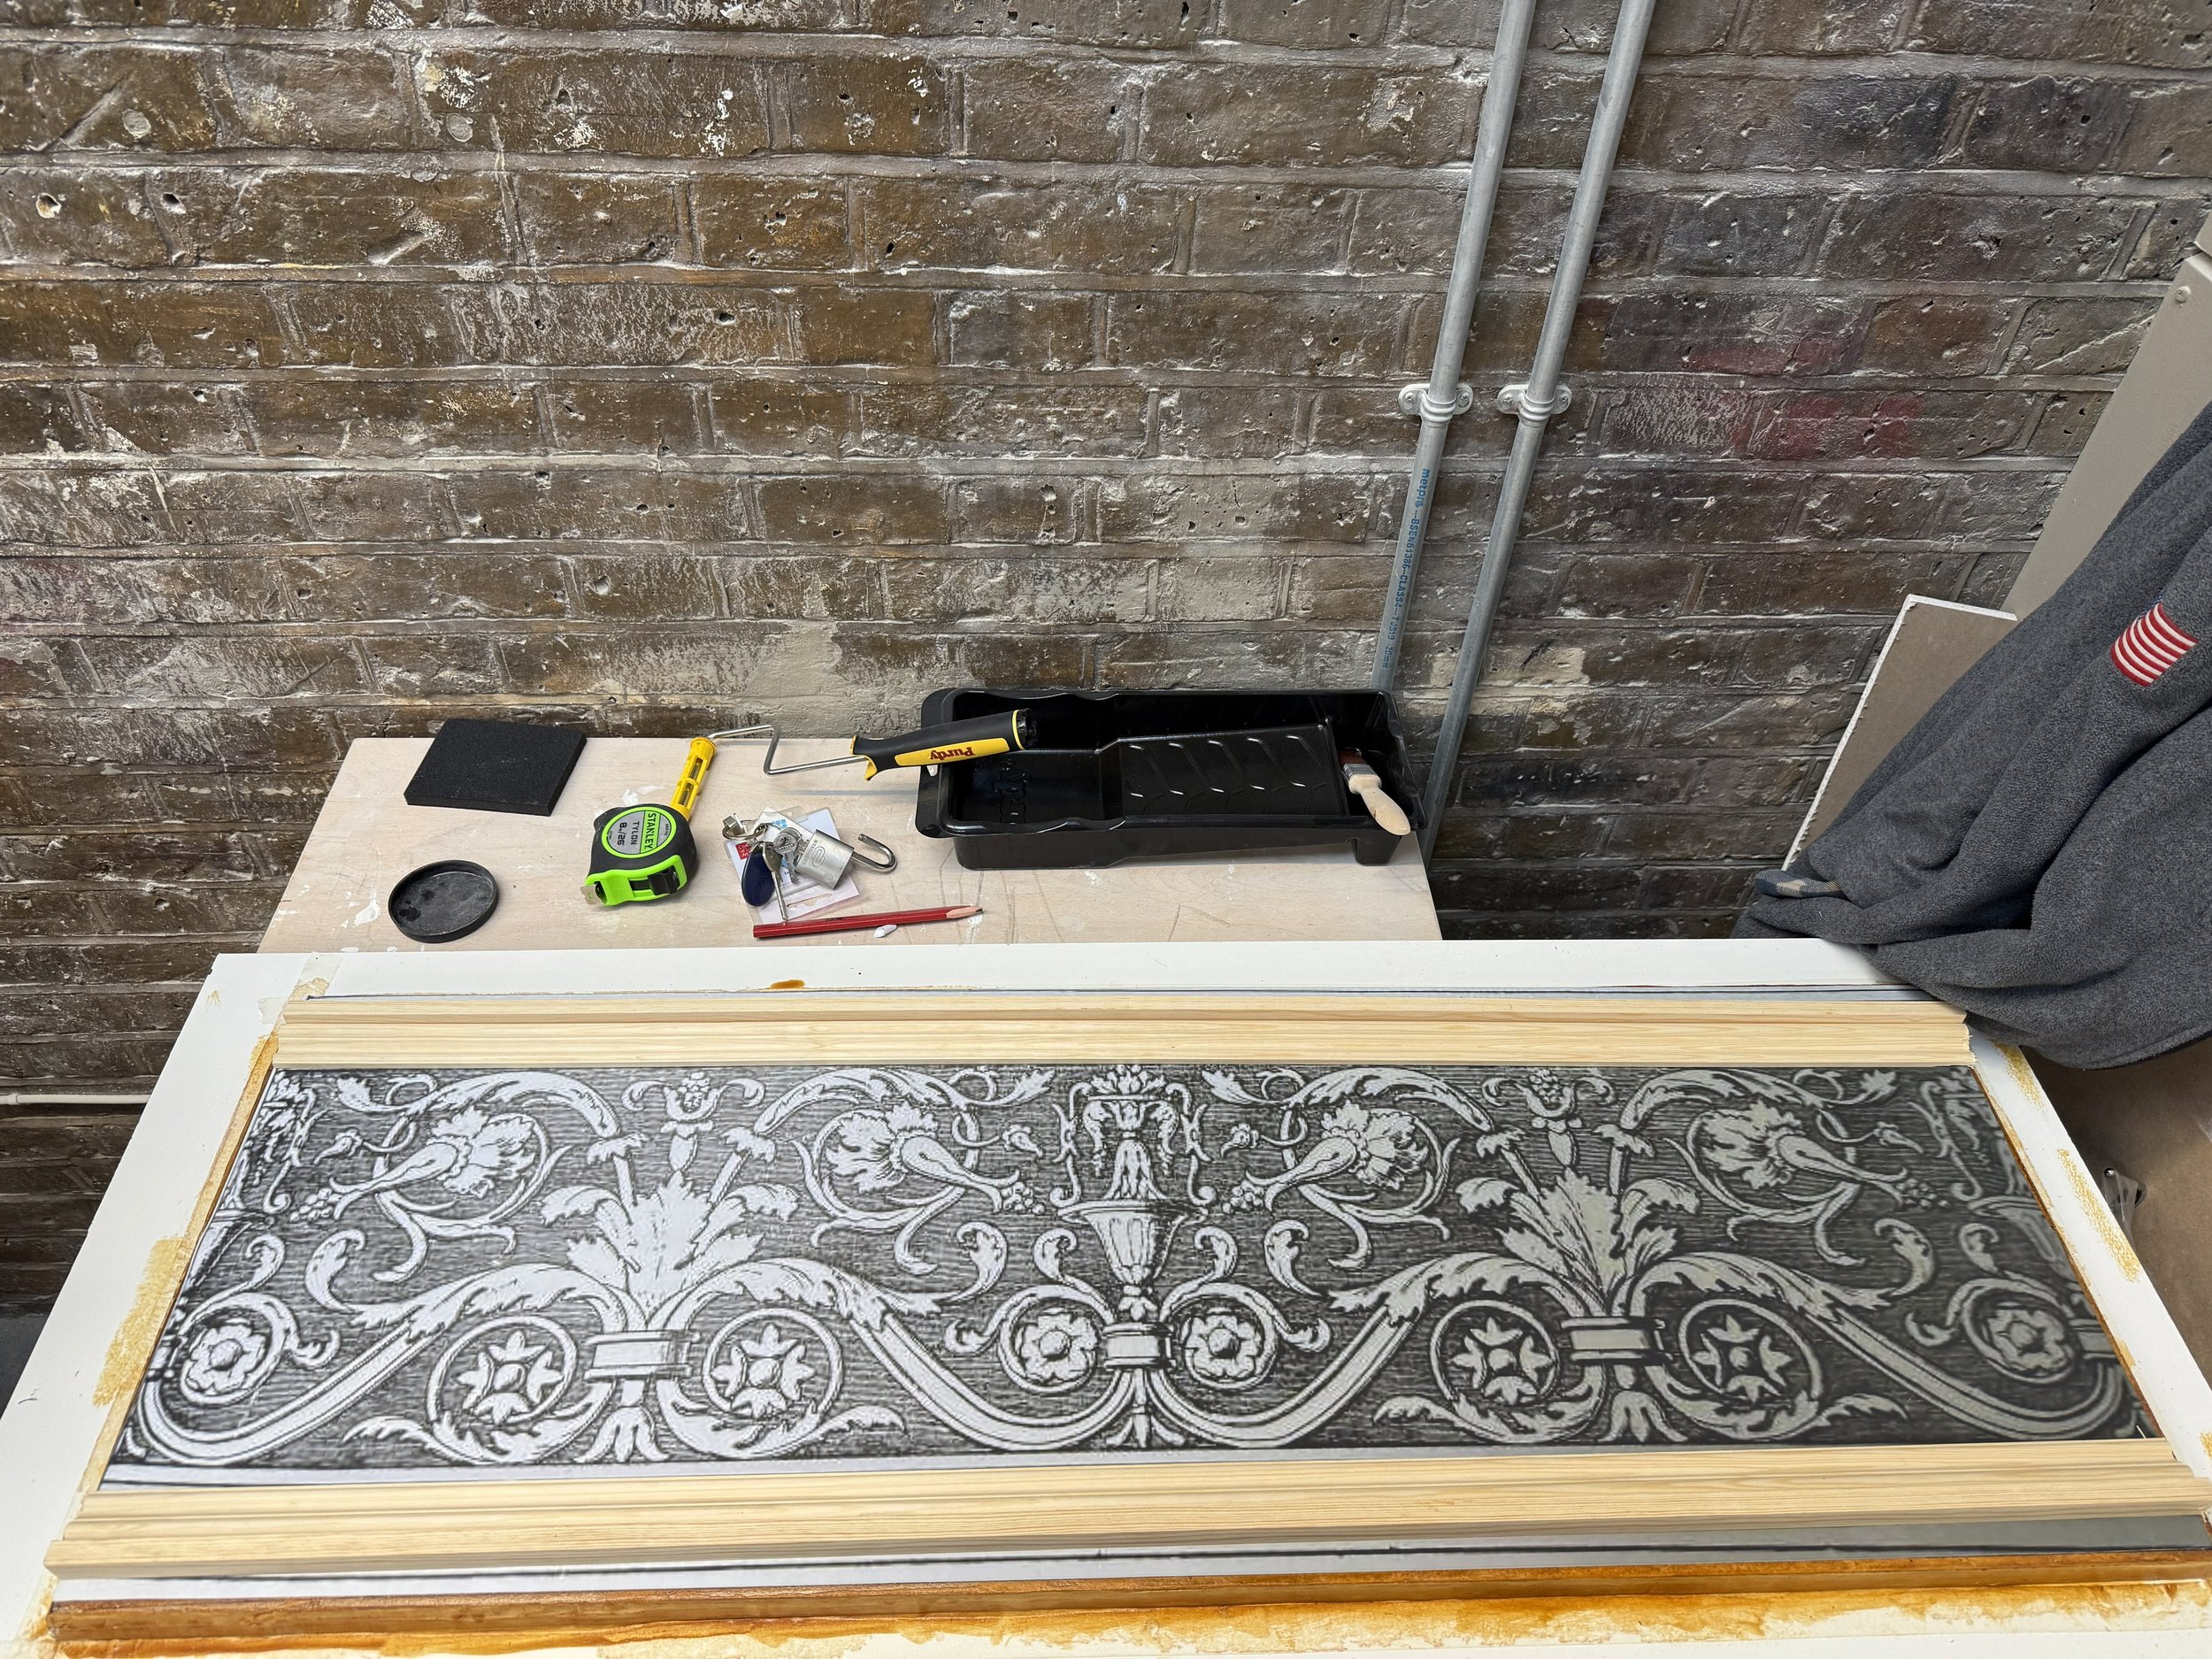
The image is then traced over meticulously with a gel point ball pen. Be careful not to lean on the drawing or carbon paper as the shellac will pick up any pressure points.
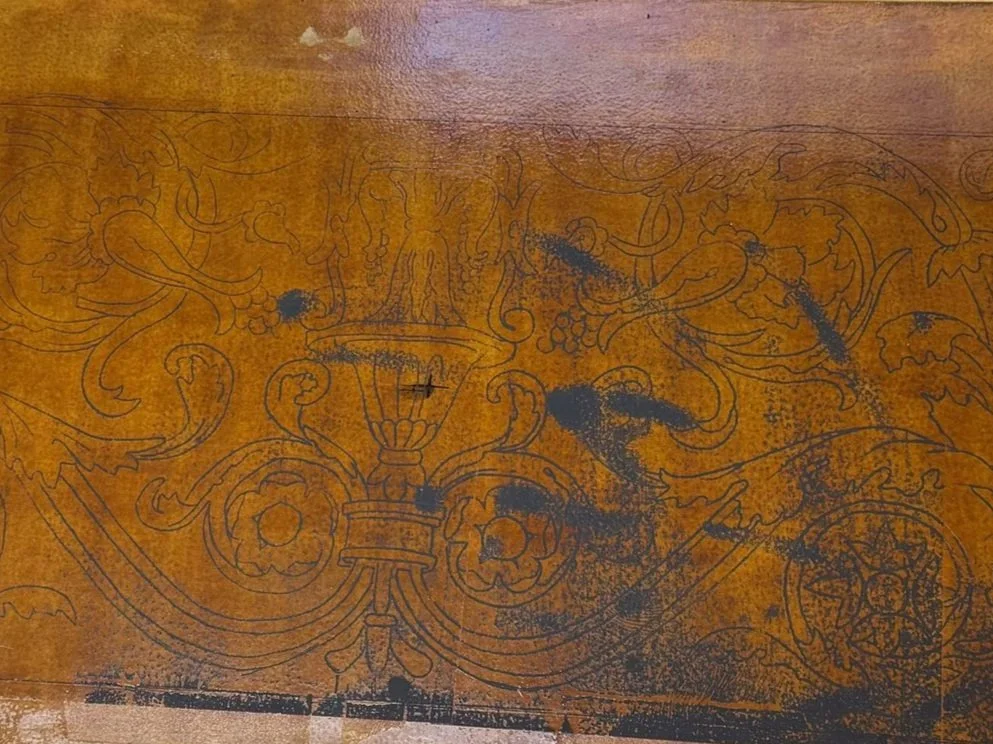
The Black smudges are from where i leaned on the drawing by accident, but this is good enough to work from.
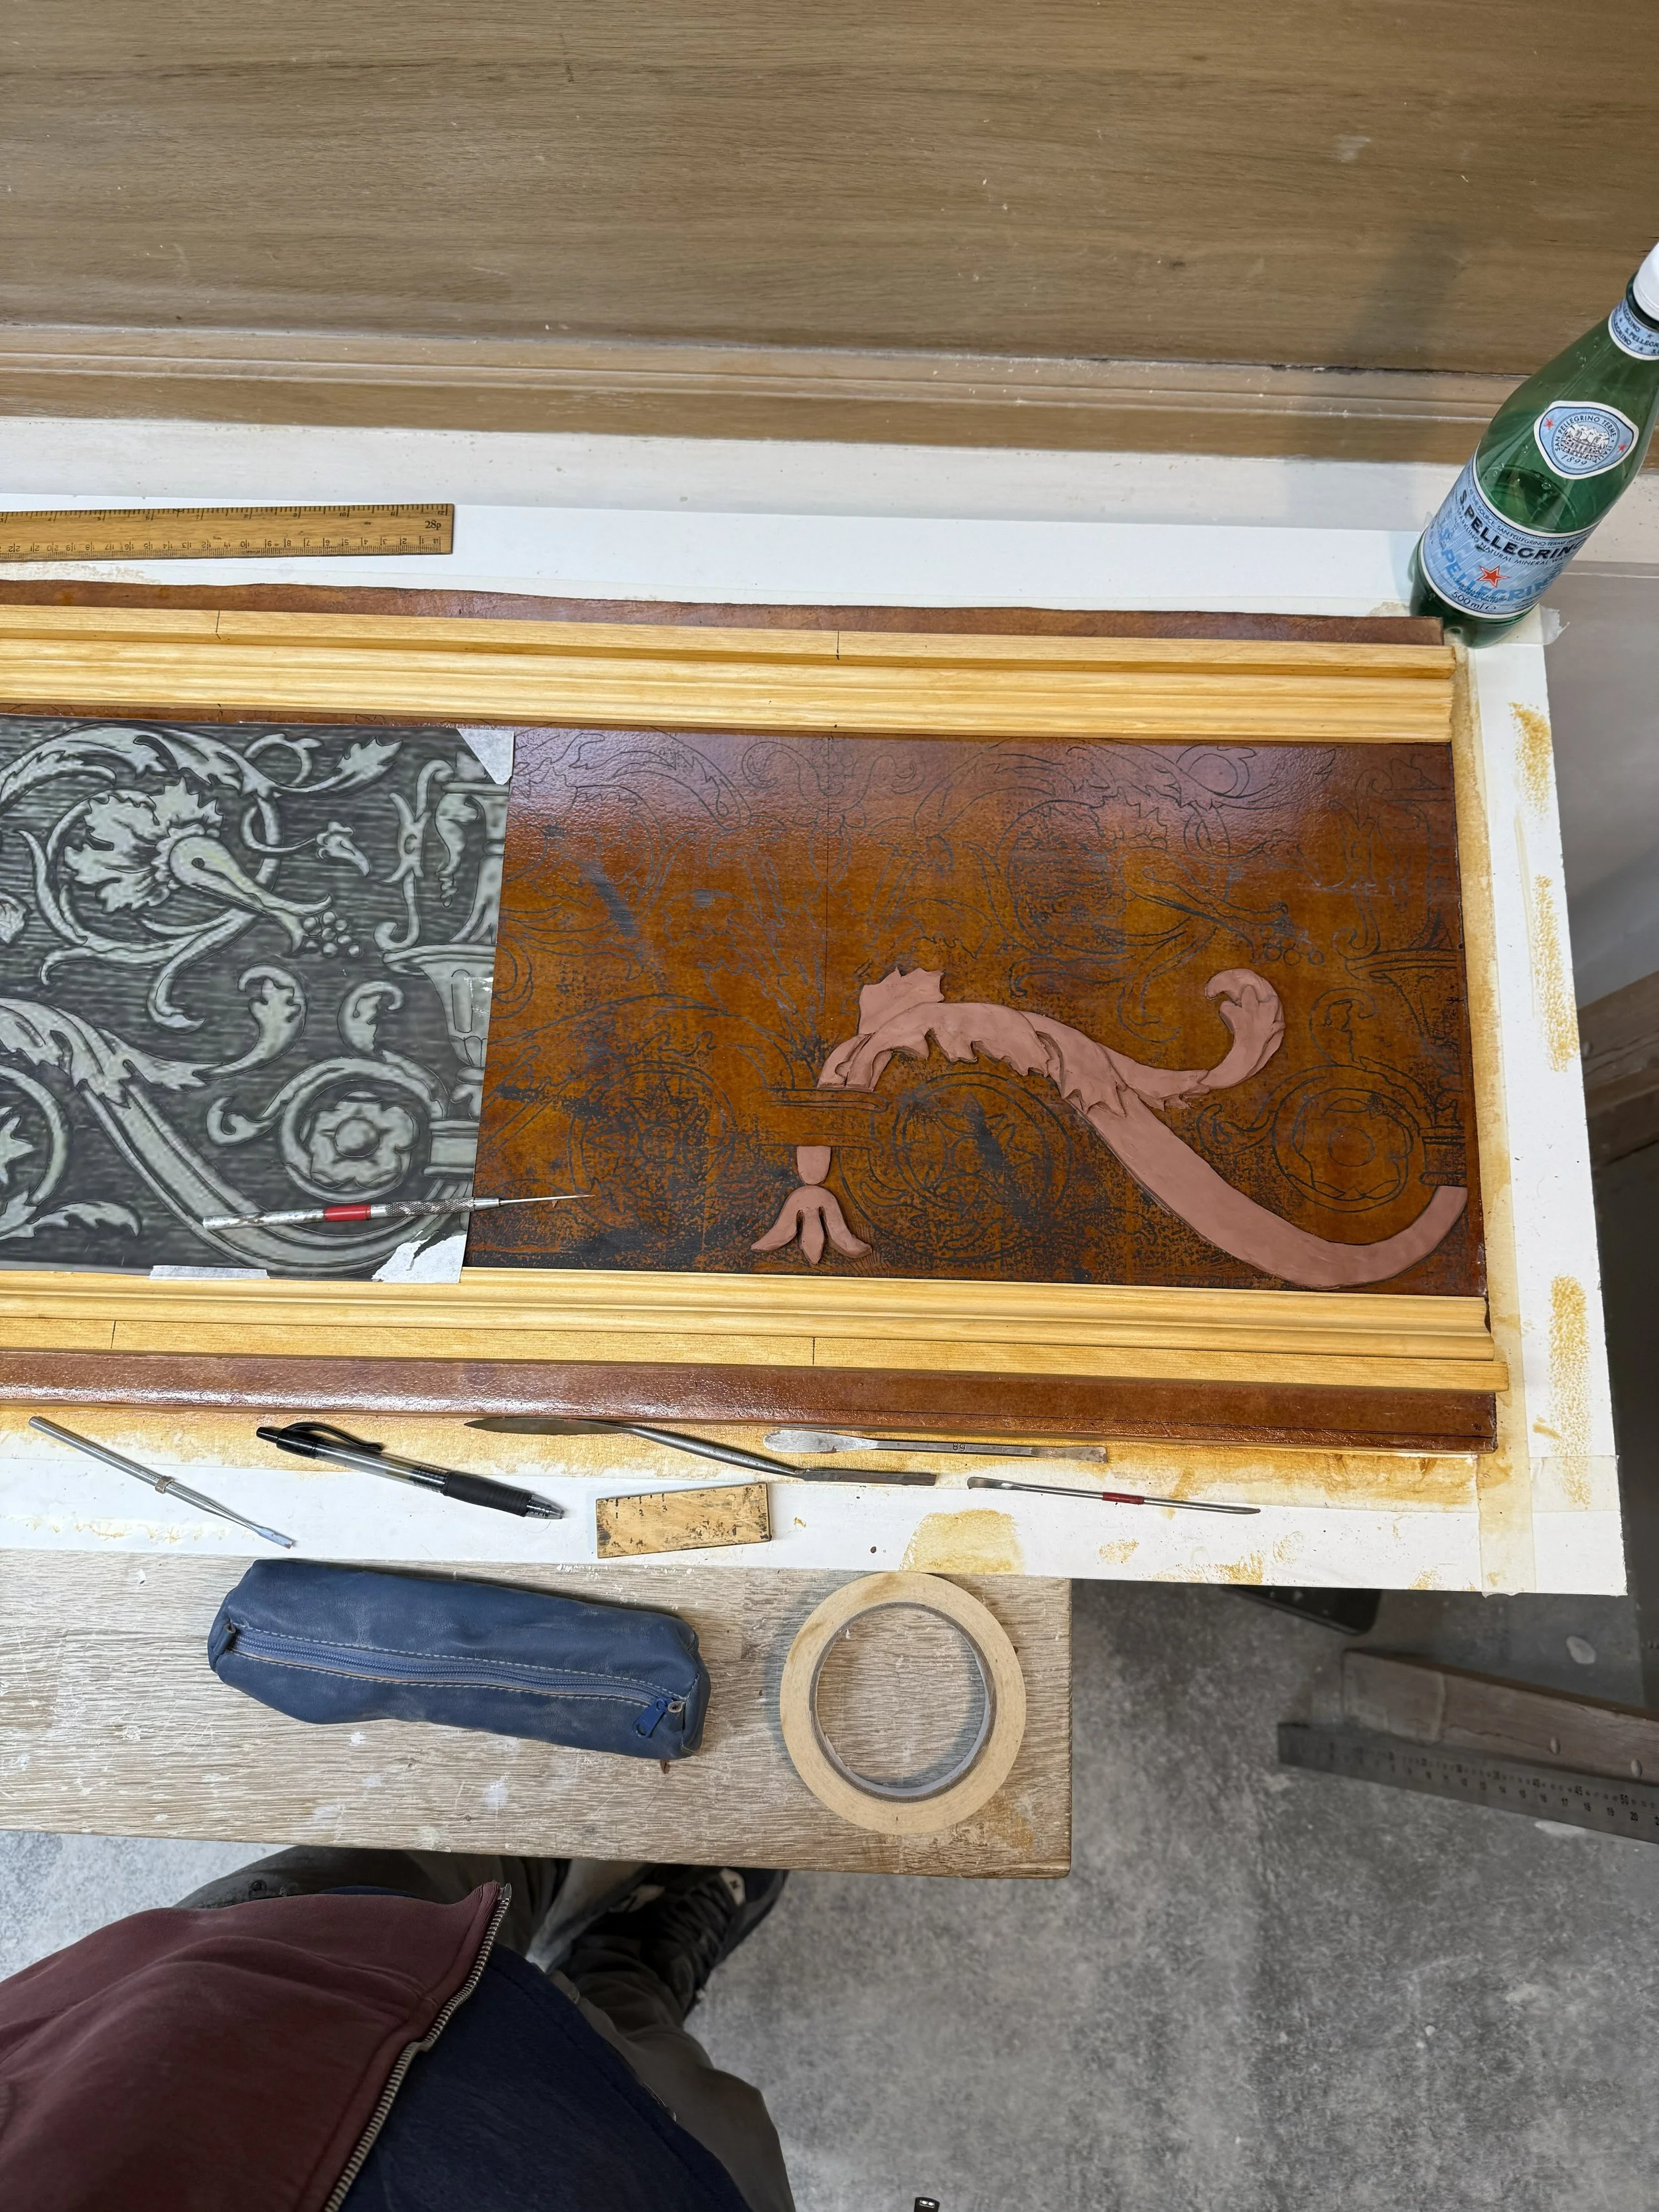
Starting to apply the Plasticine. Plasticine sticks to the shellac very well. it can be pulled up or scraped off if necessary but has good enough grip to stick otherwise. At this stage the goal is just to get everything up quick as possible, refining it comes later.
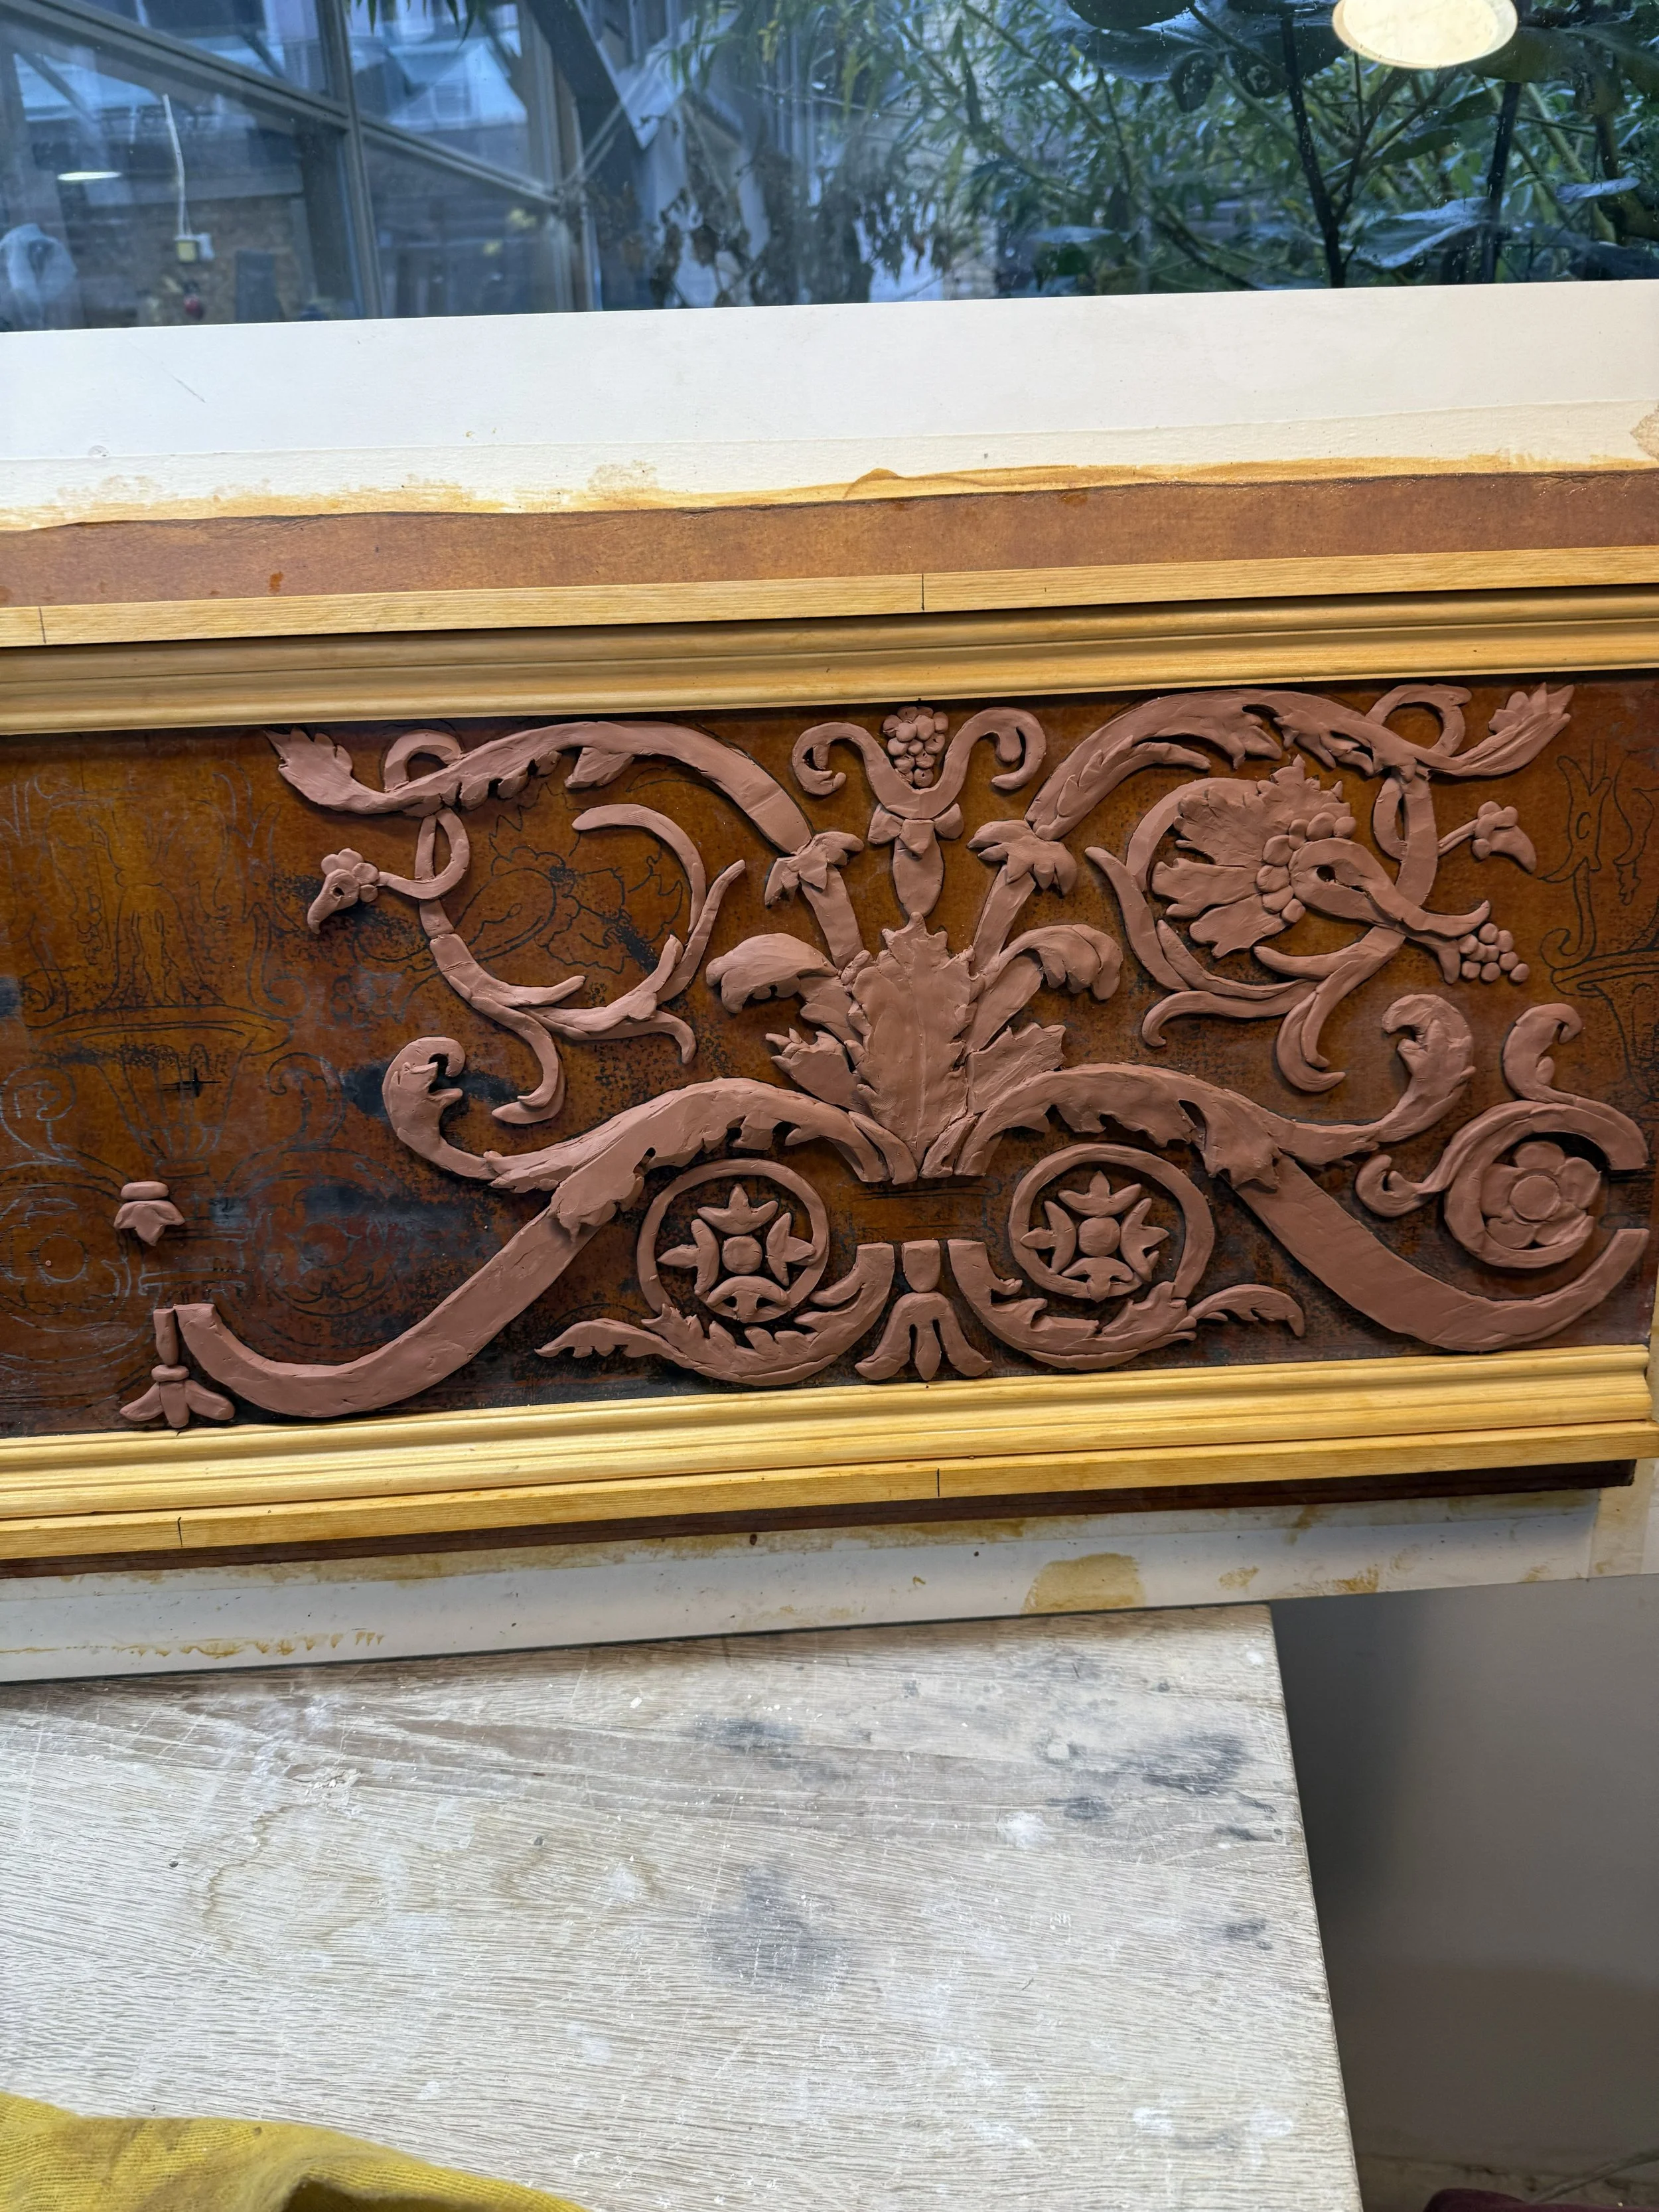
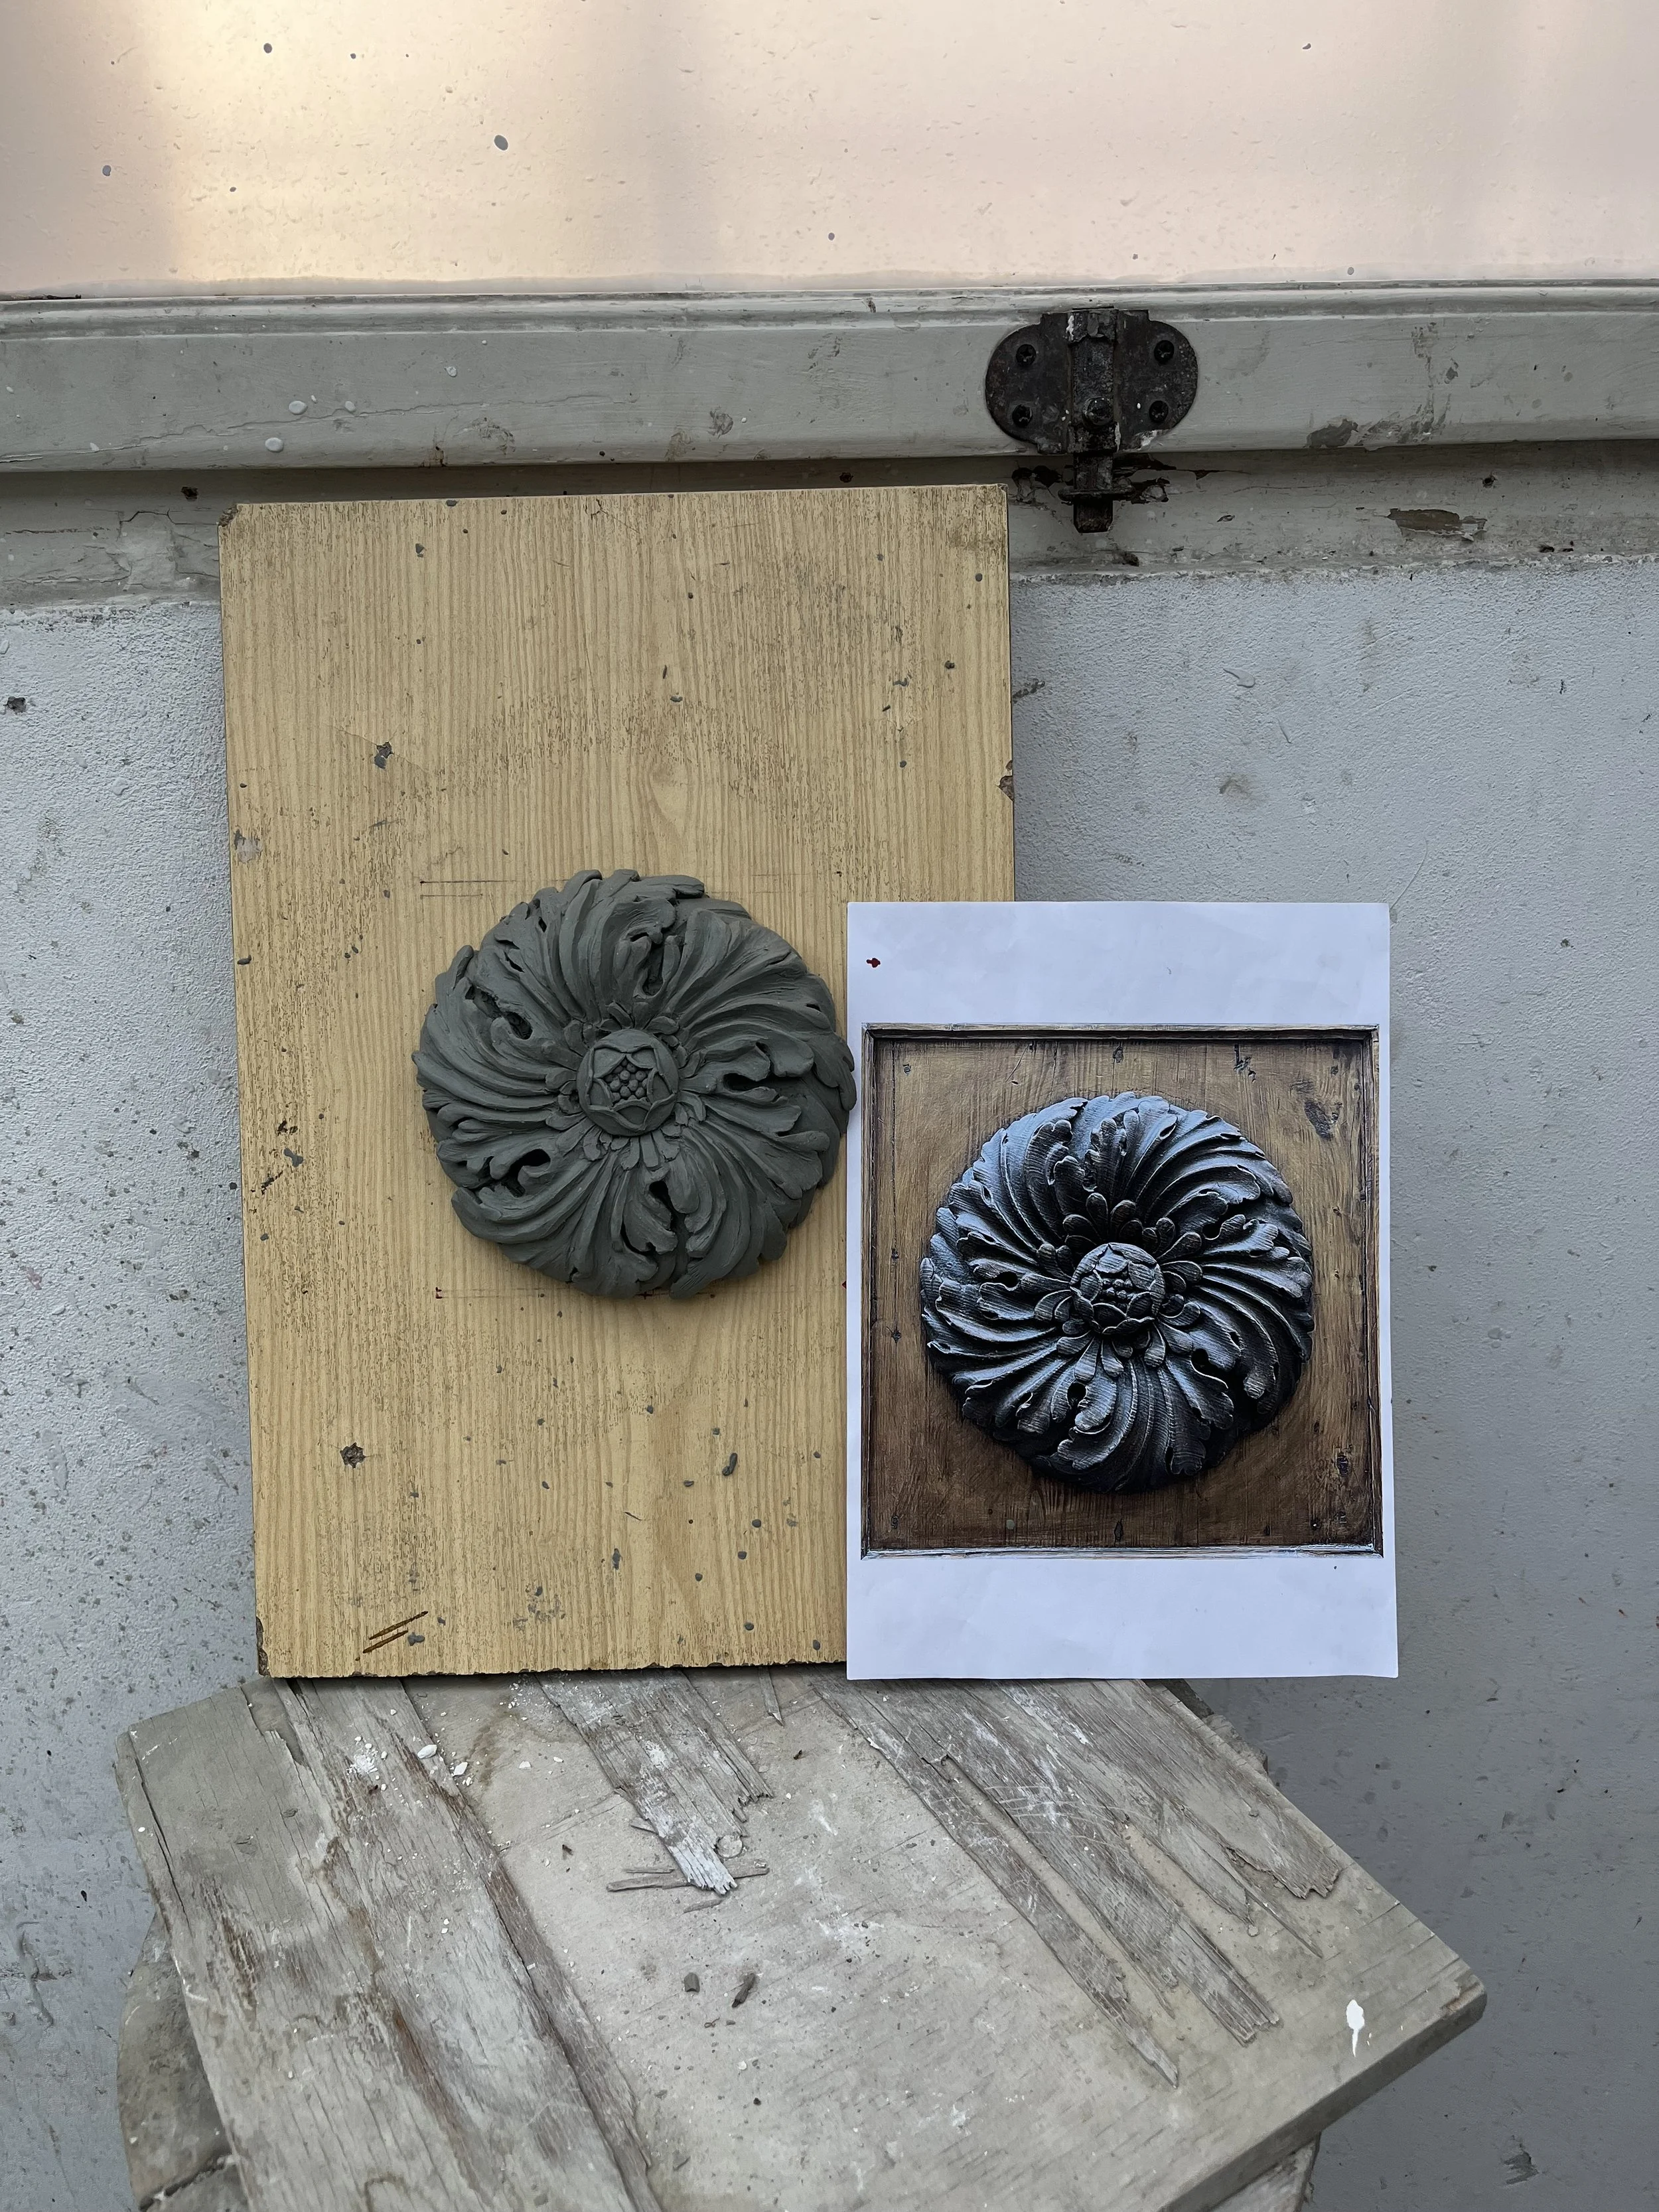
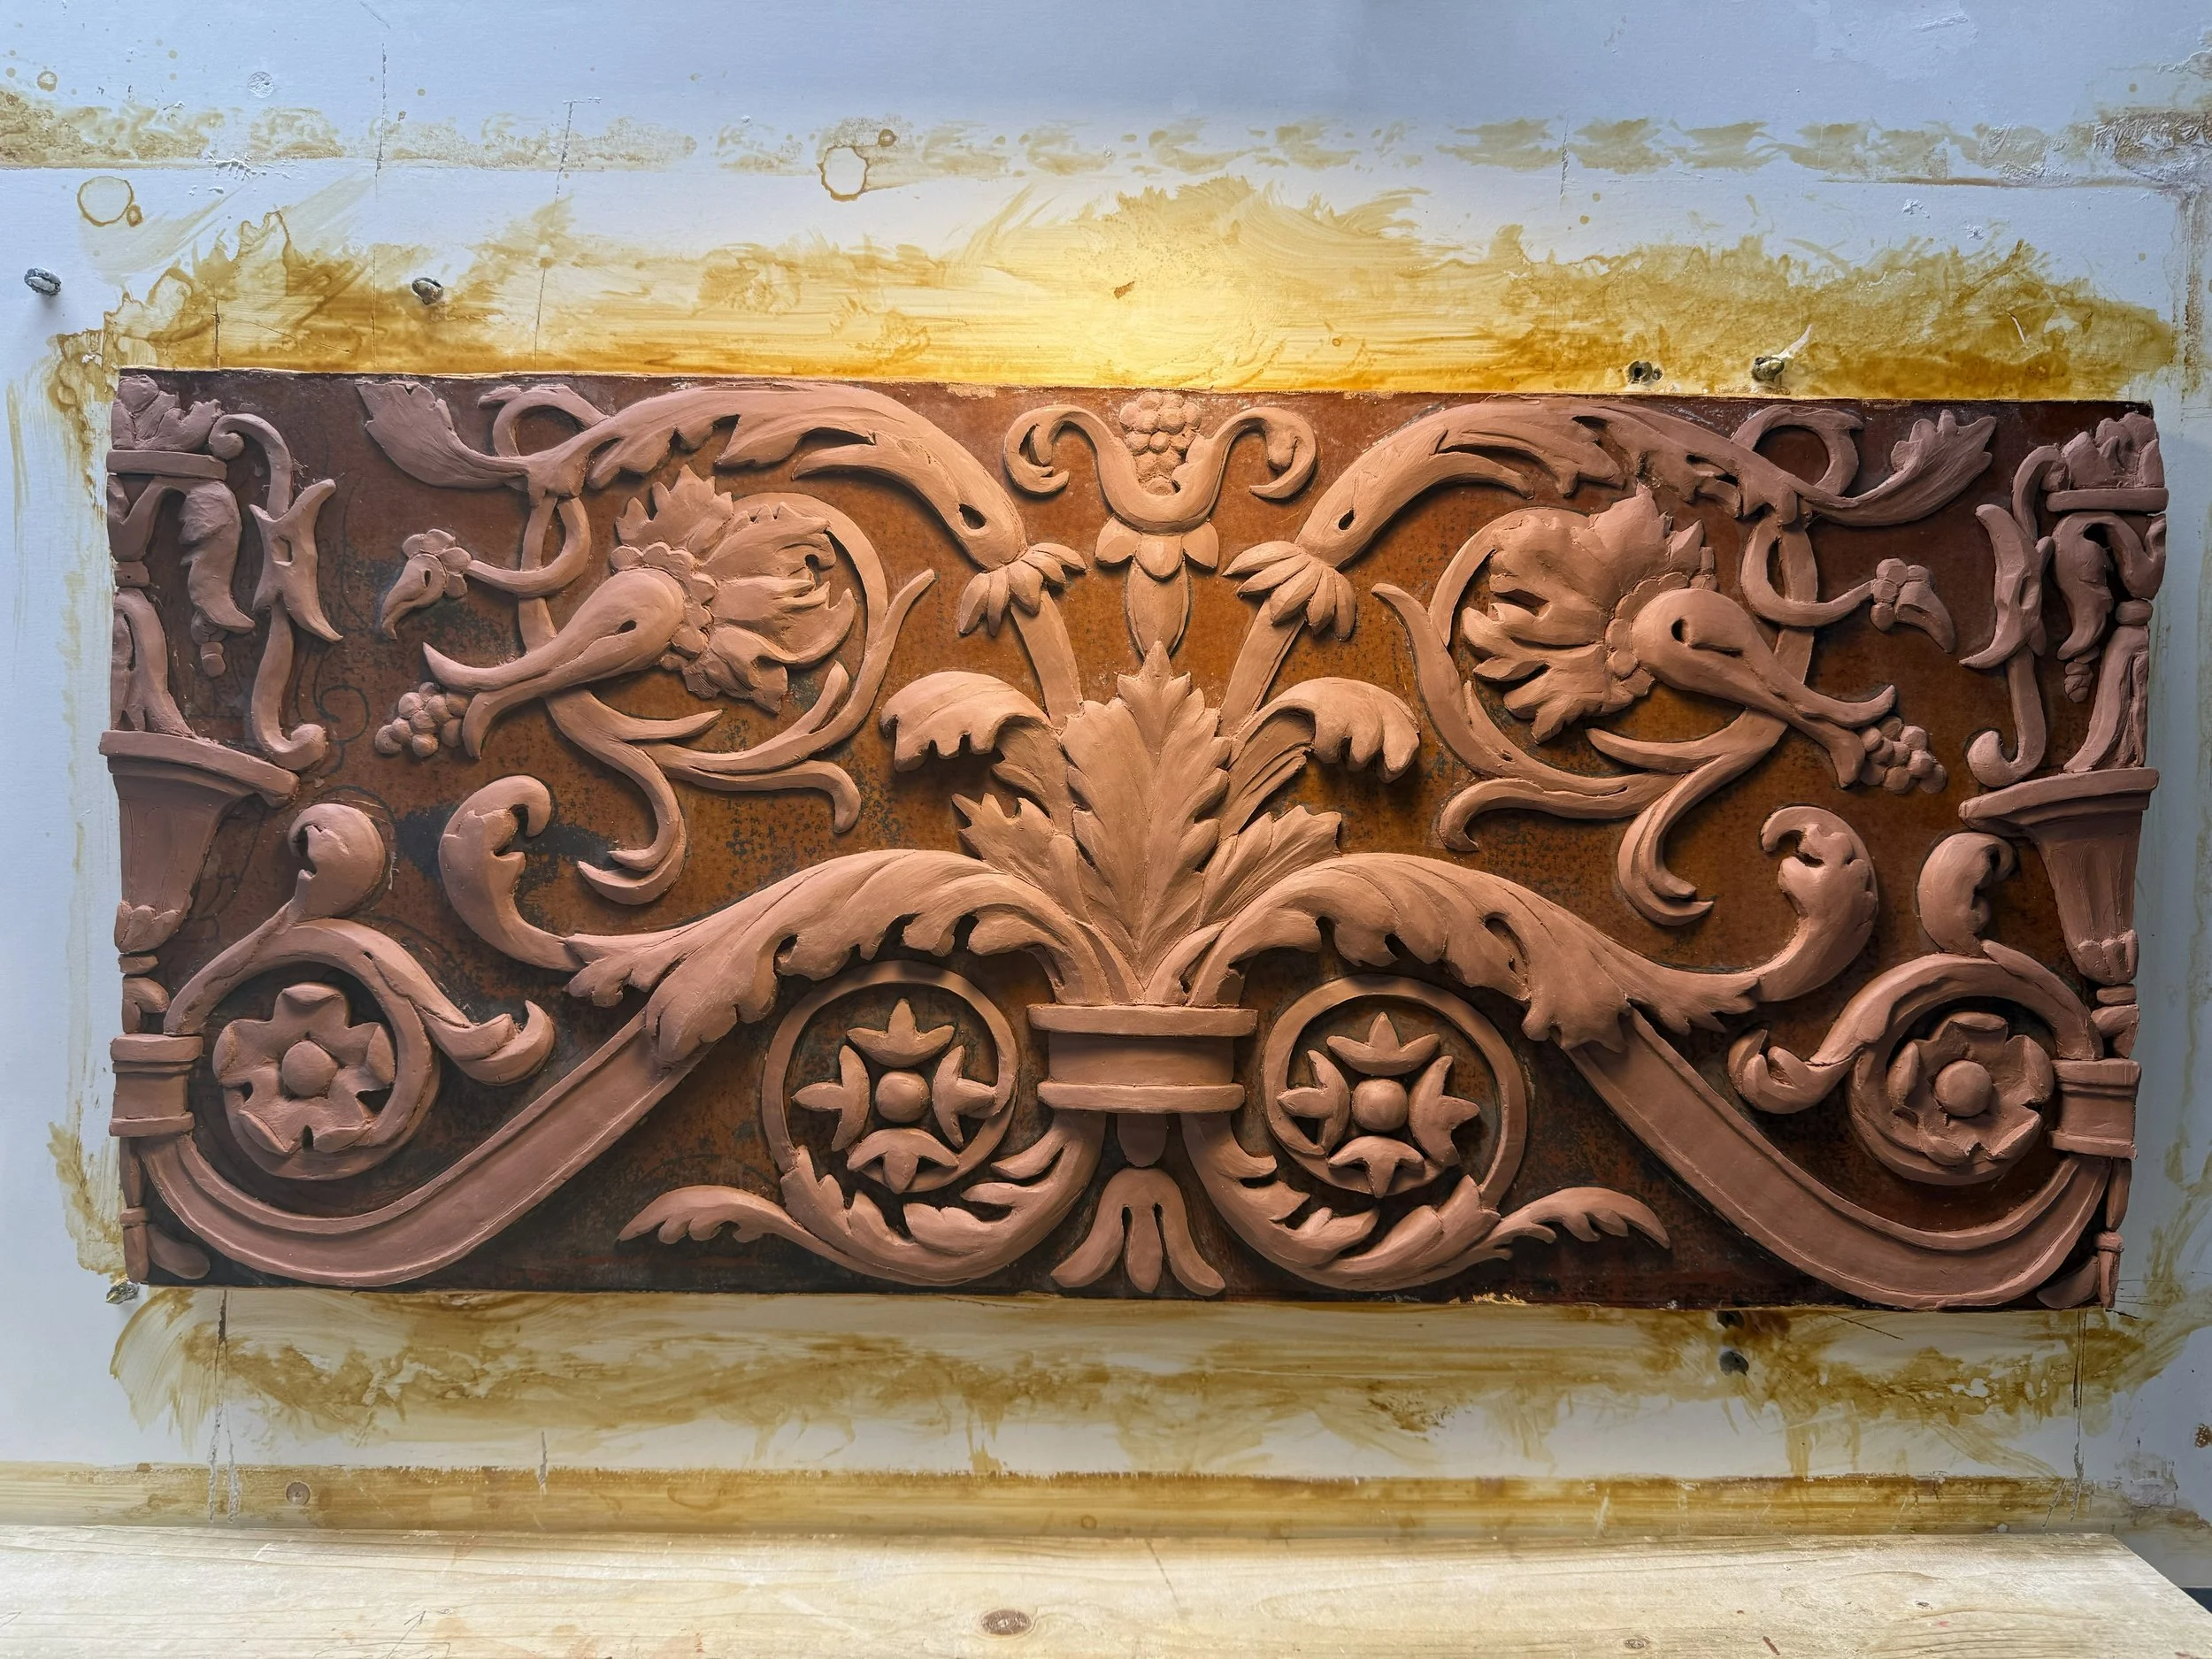
At this point the rough model is almost complete.
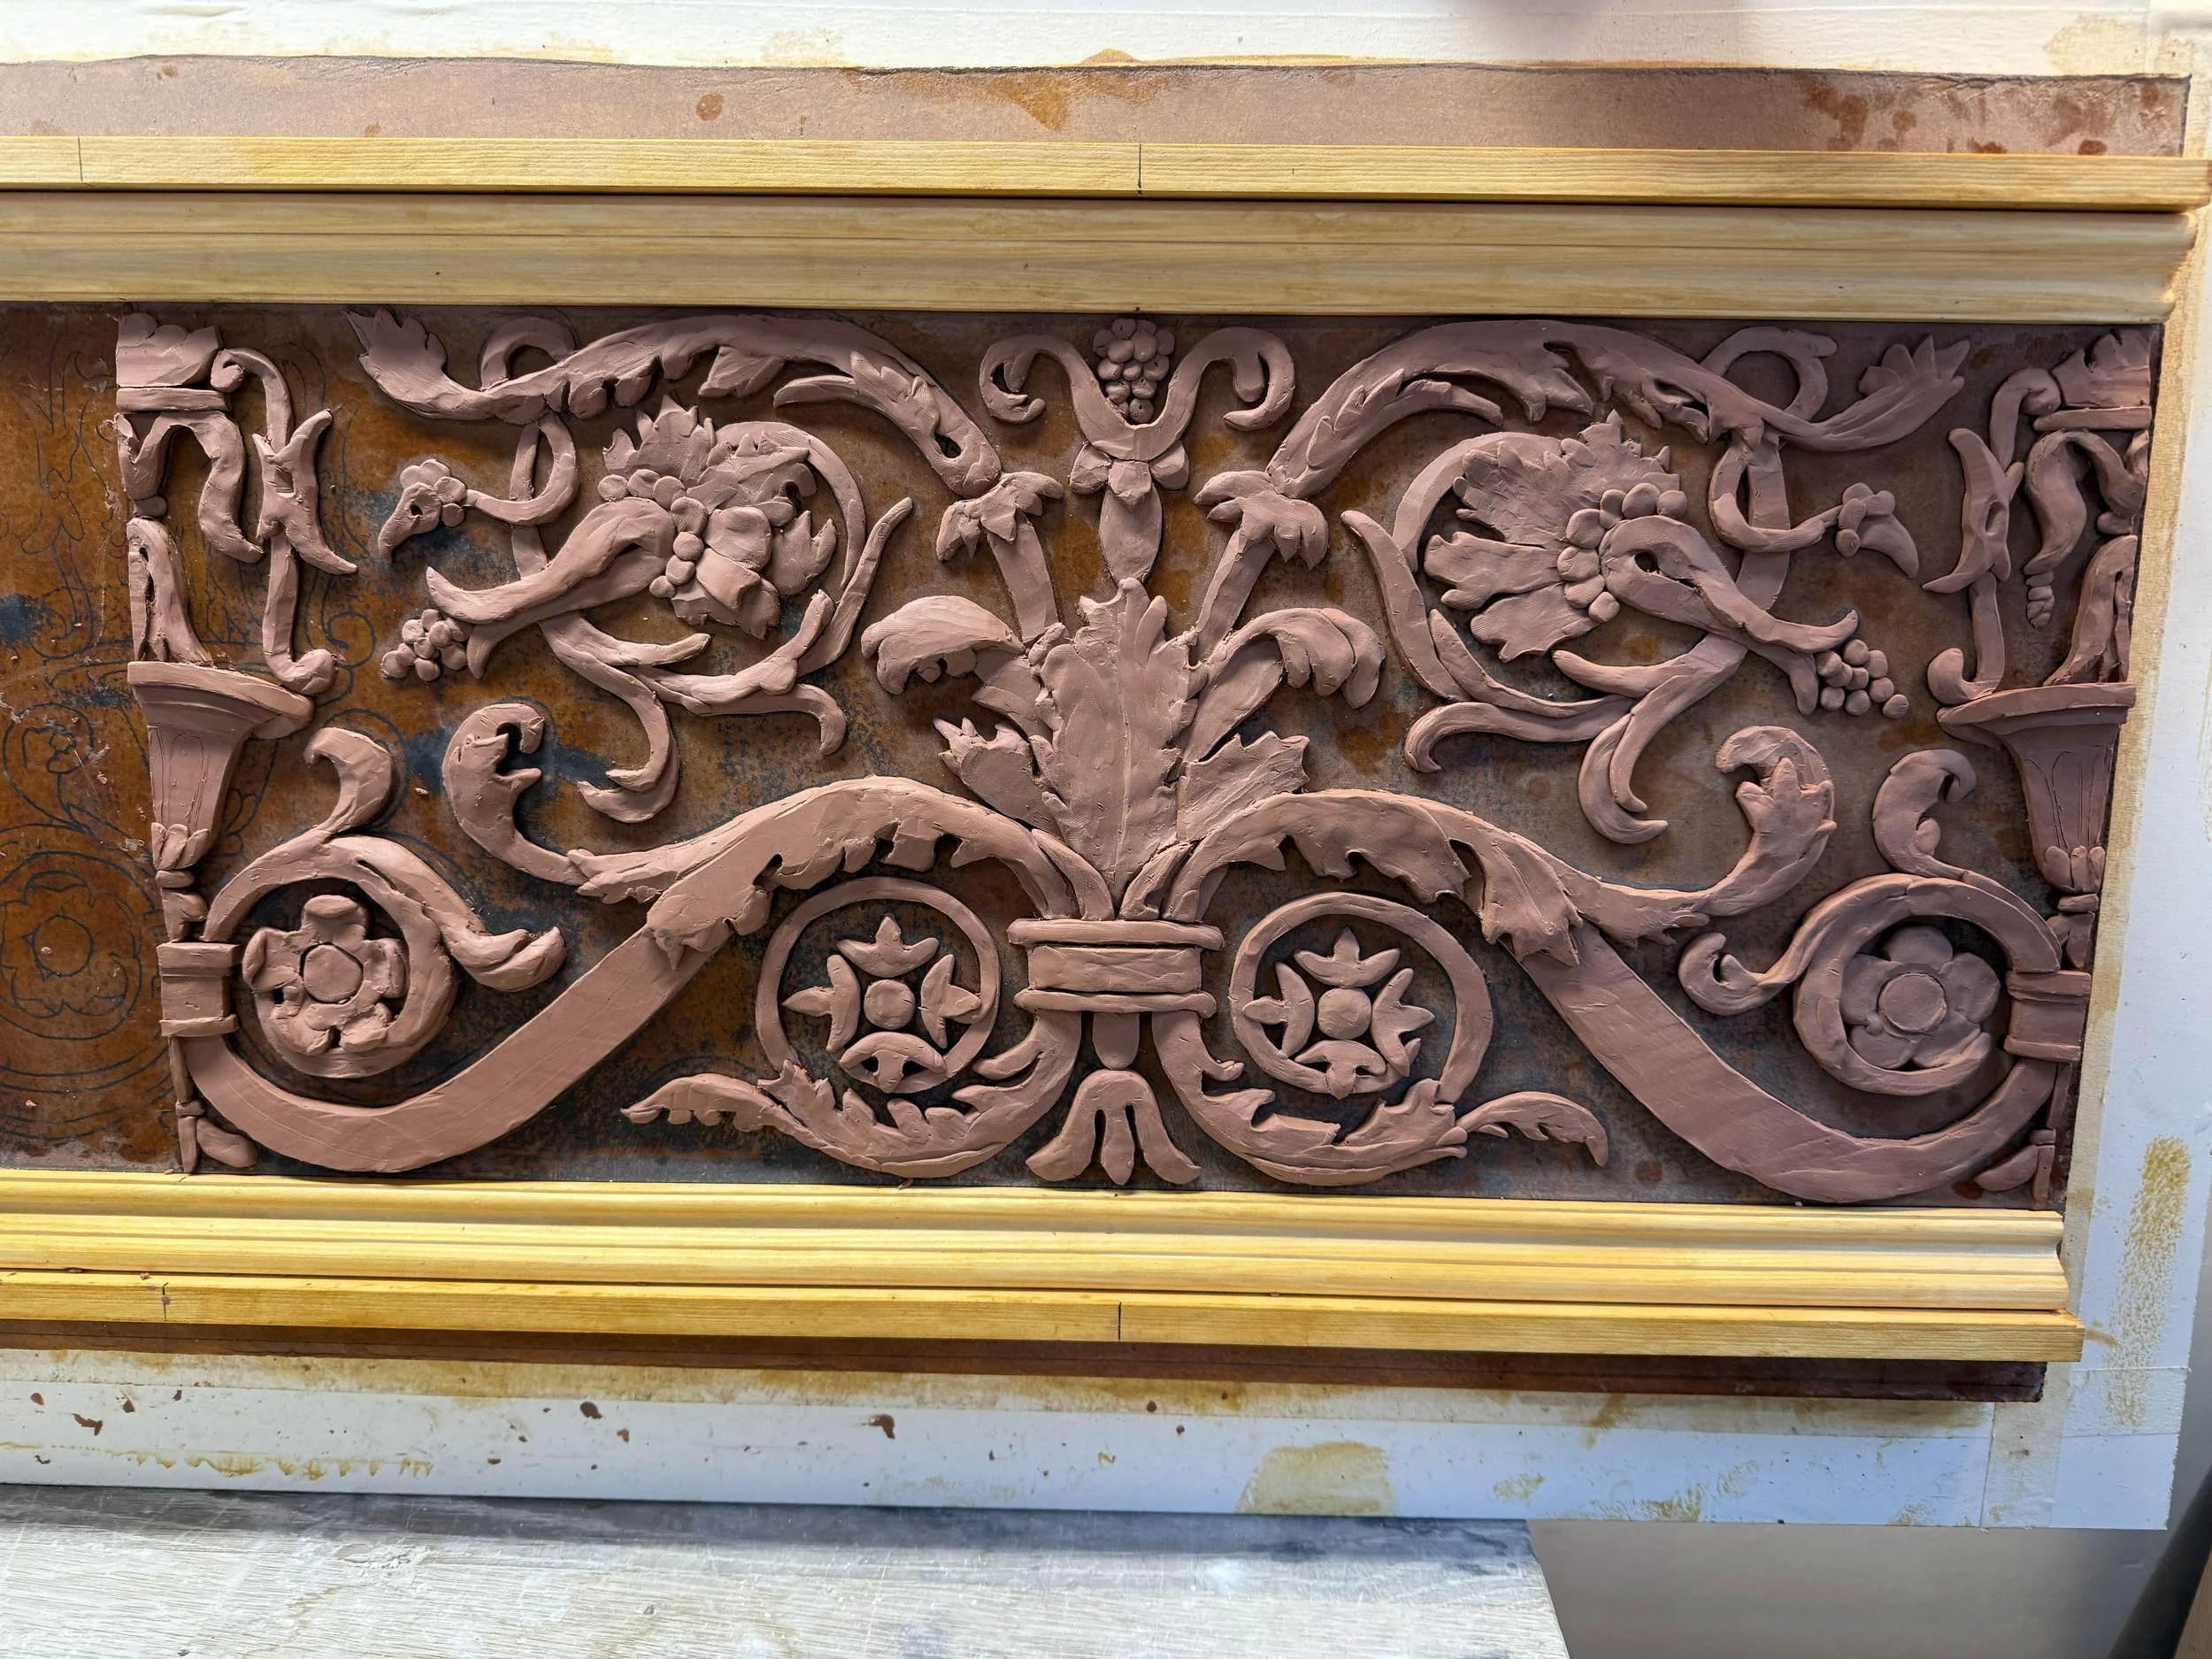
For detail work lighting is very important
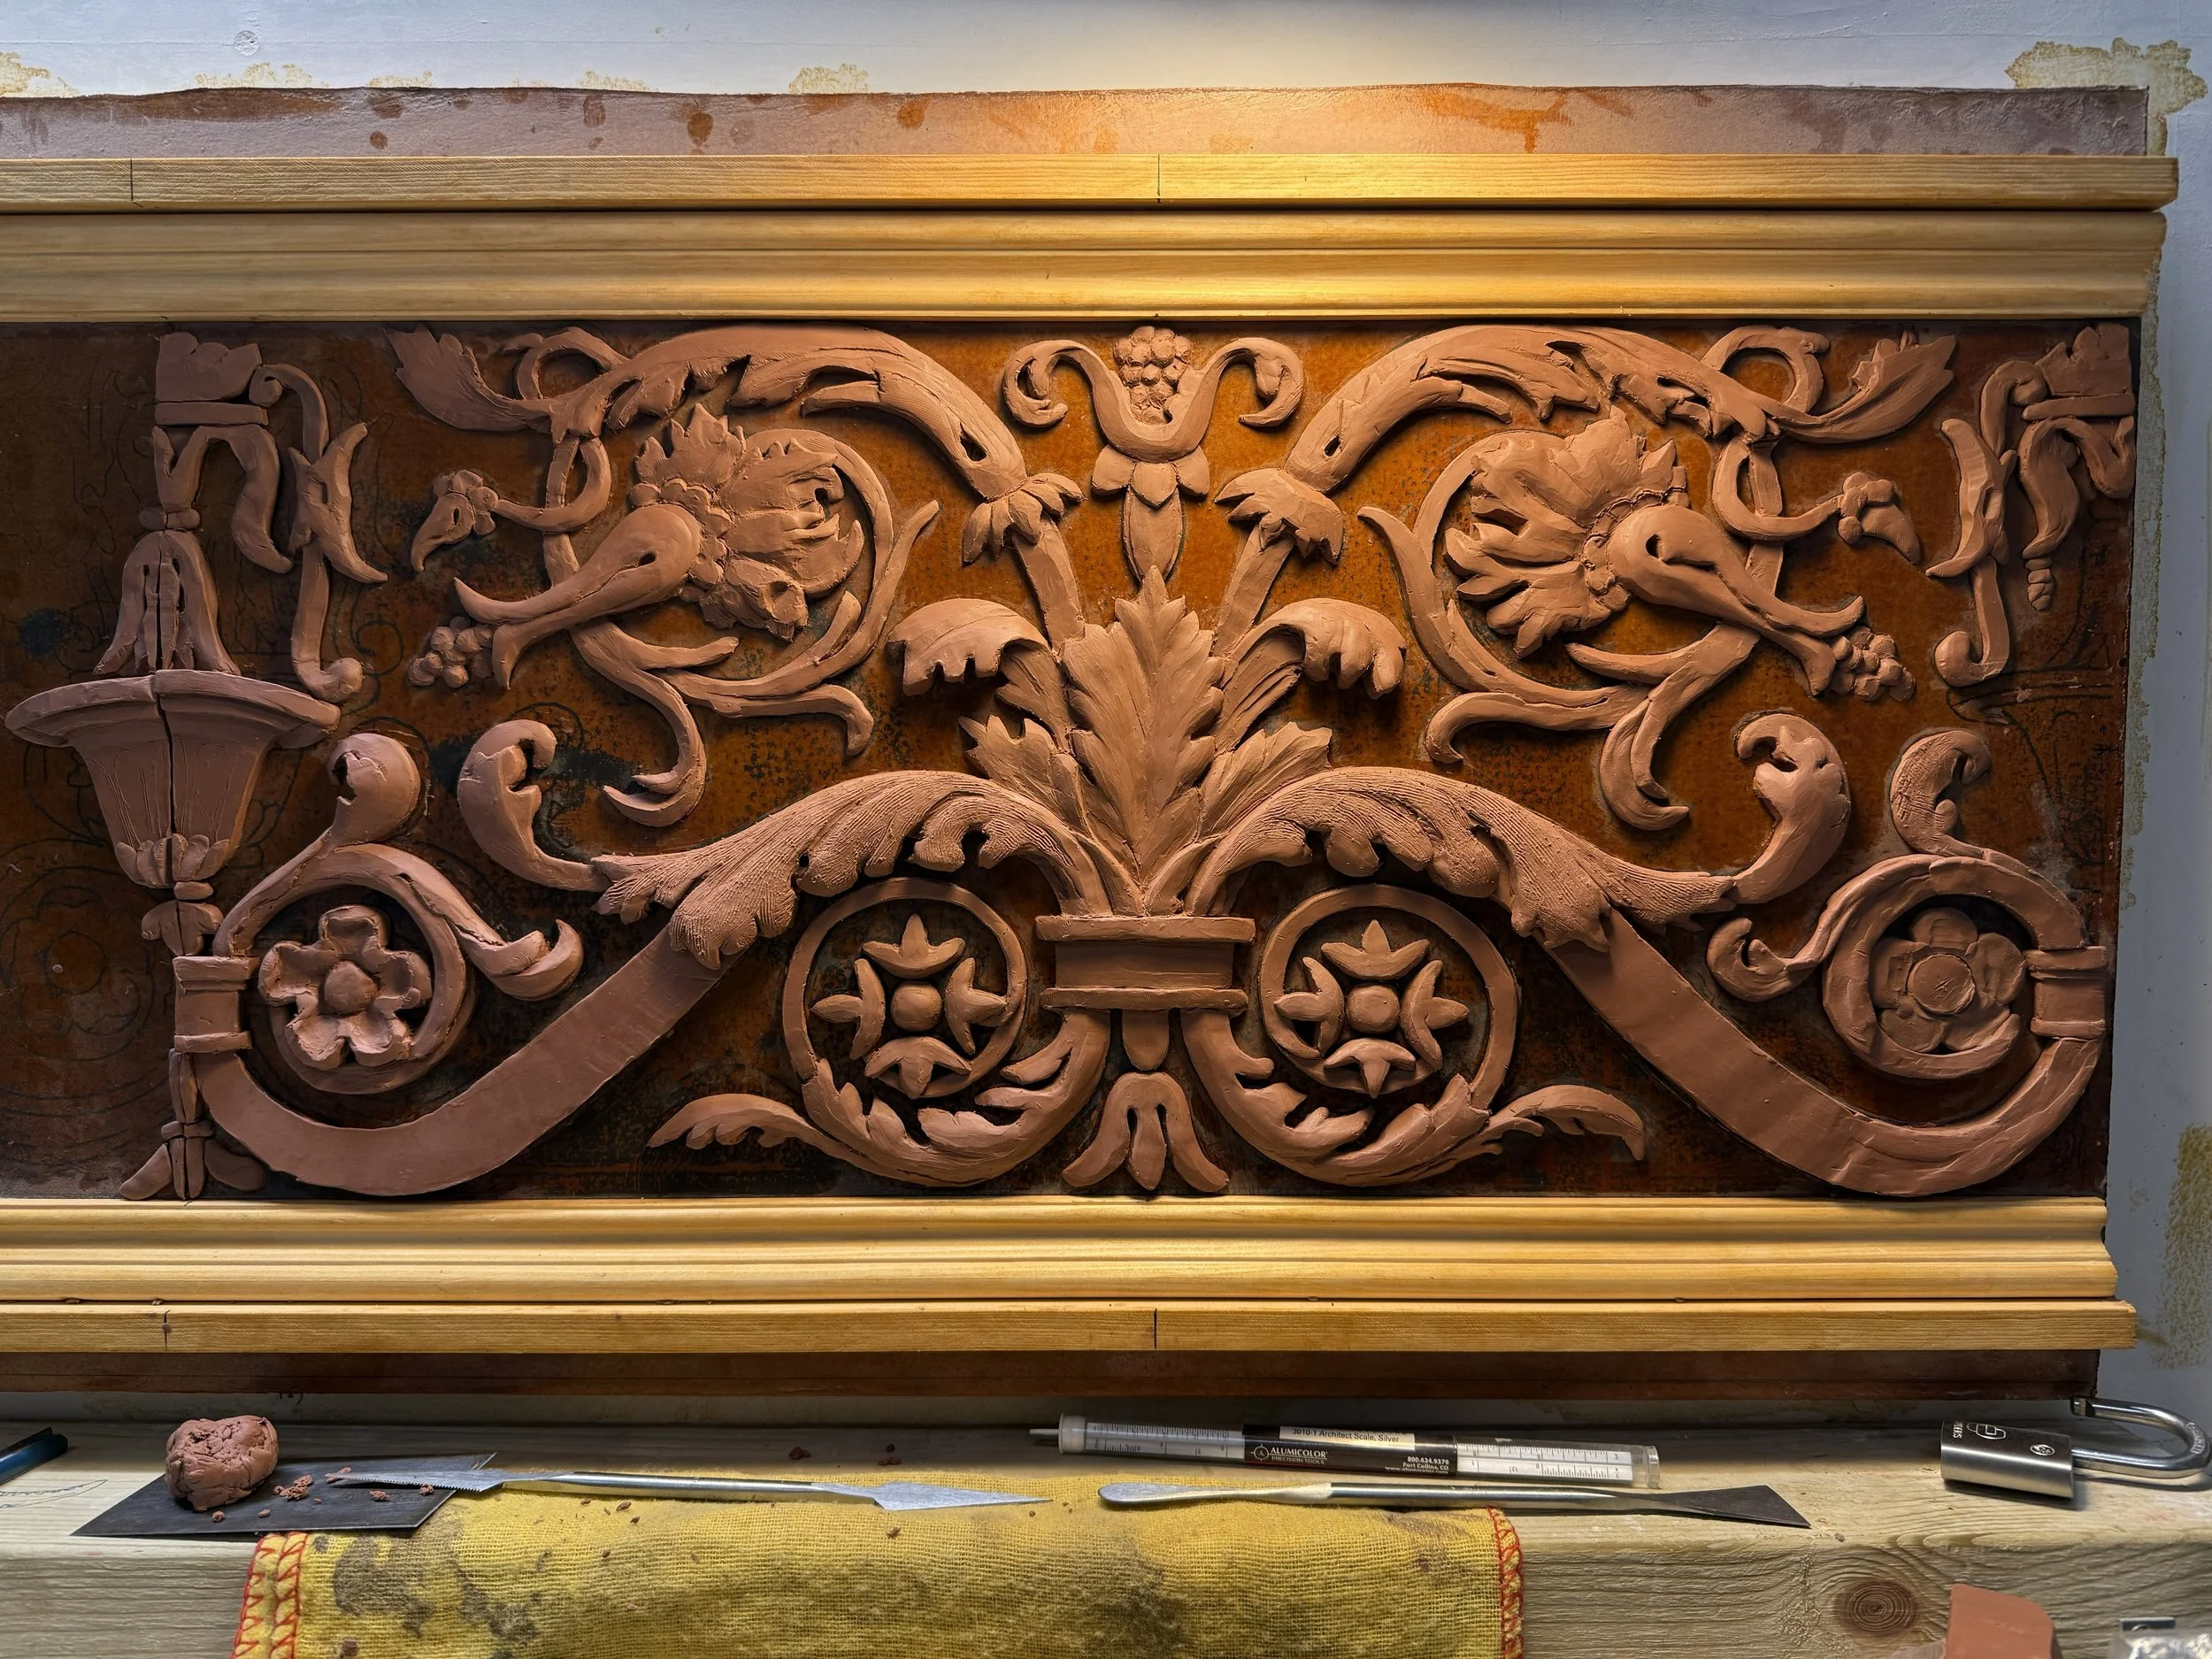
Refining work. Also trying to make sure the molding will properly connect on the left and righthand side
At this point the casting shop informed me the rails I had place on the model will interfere with the casting process so they are removed very carefully to not damage the model.
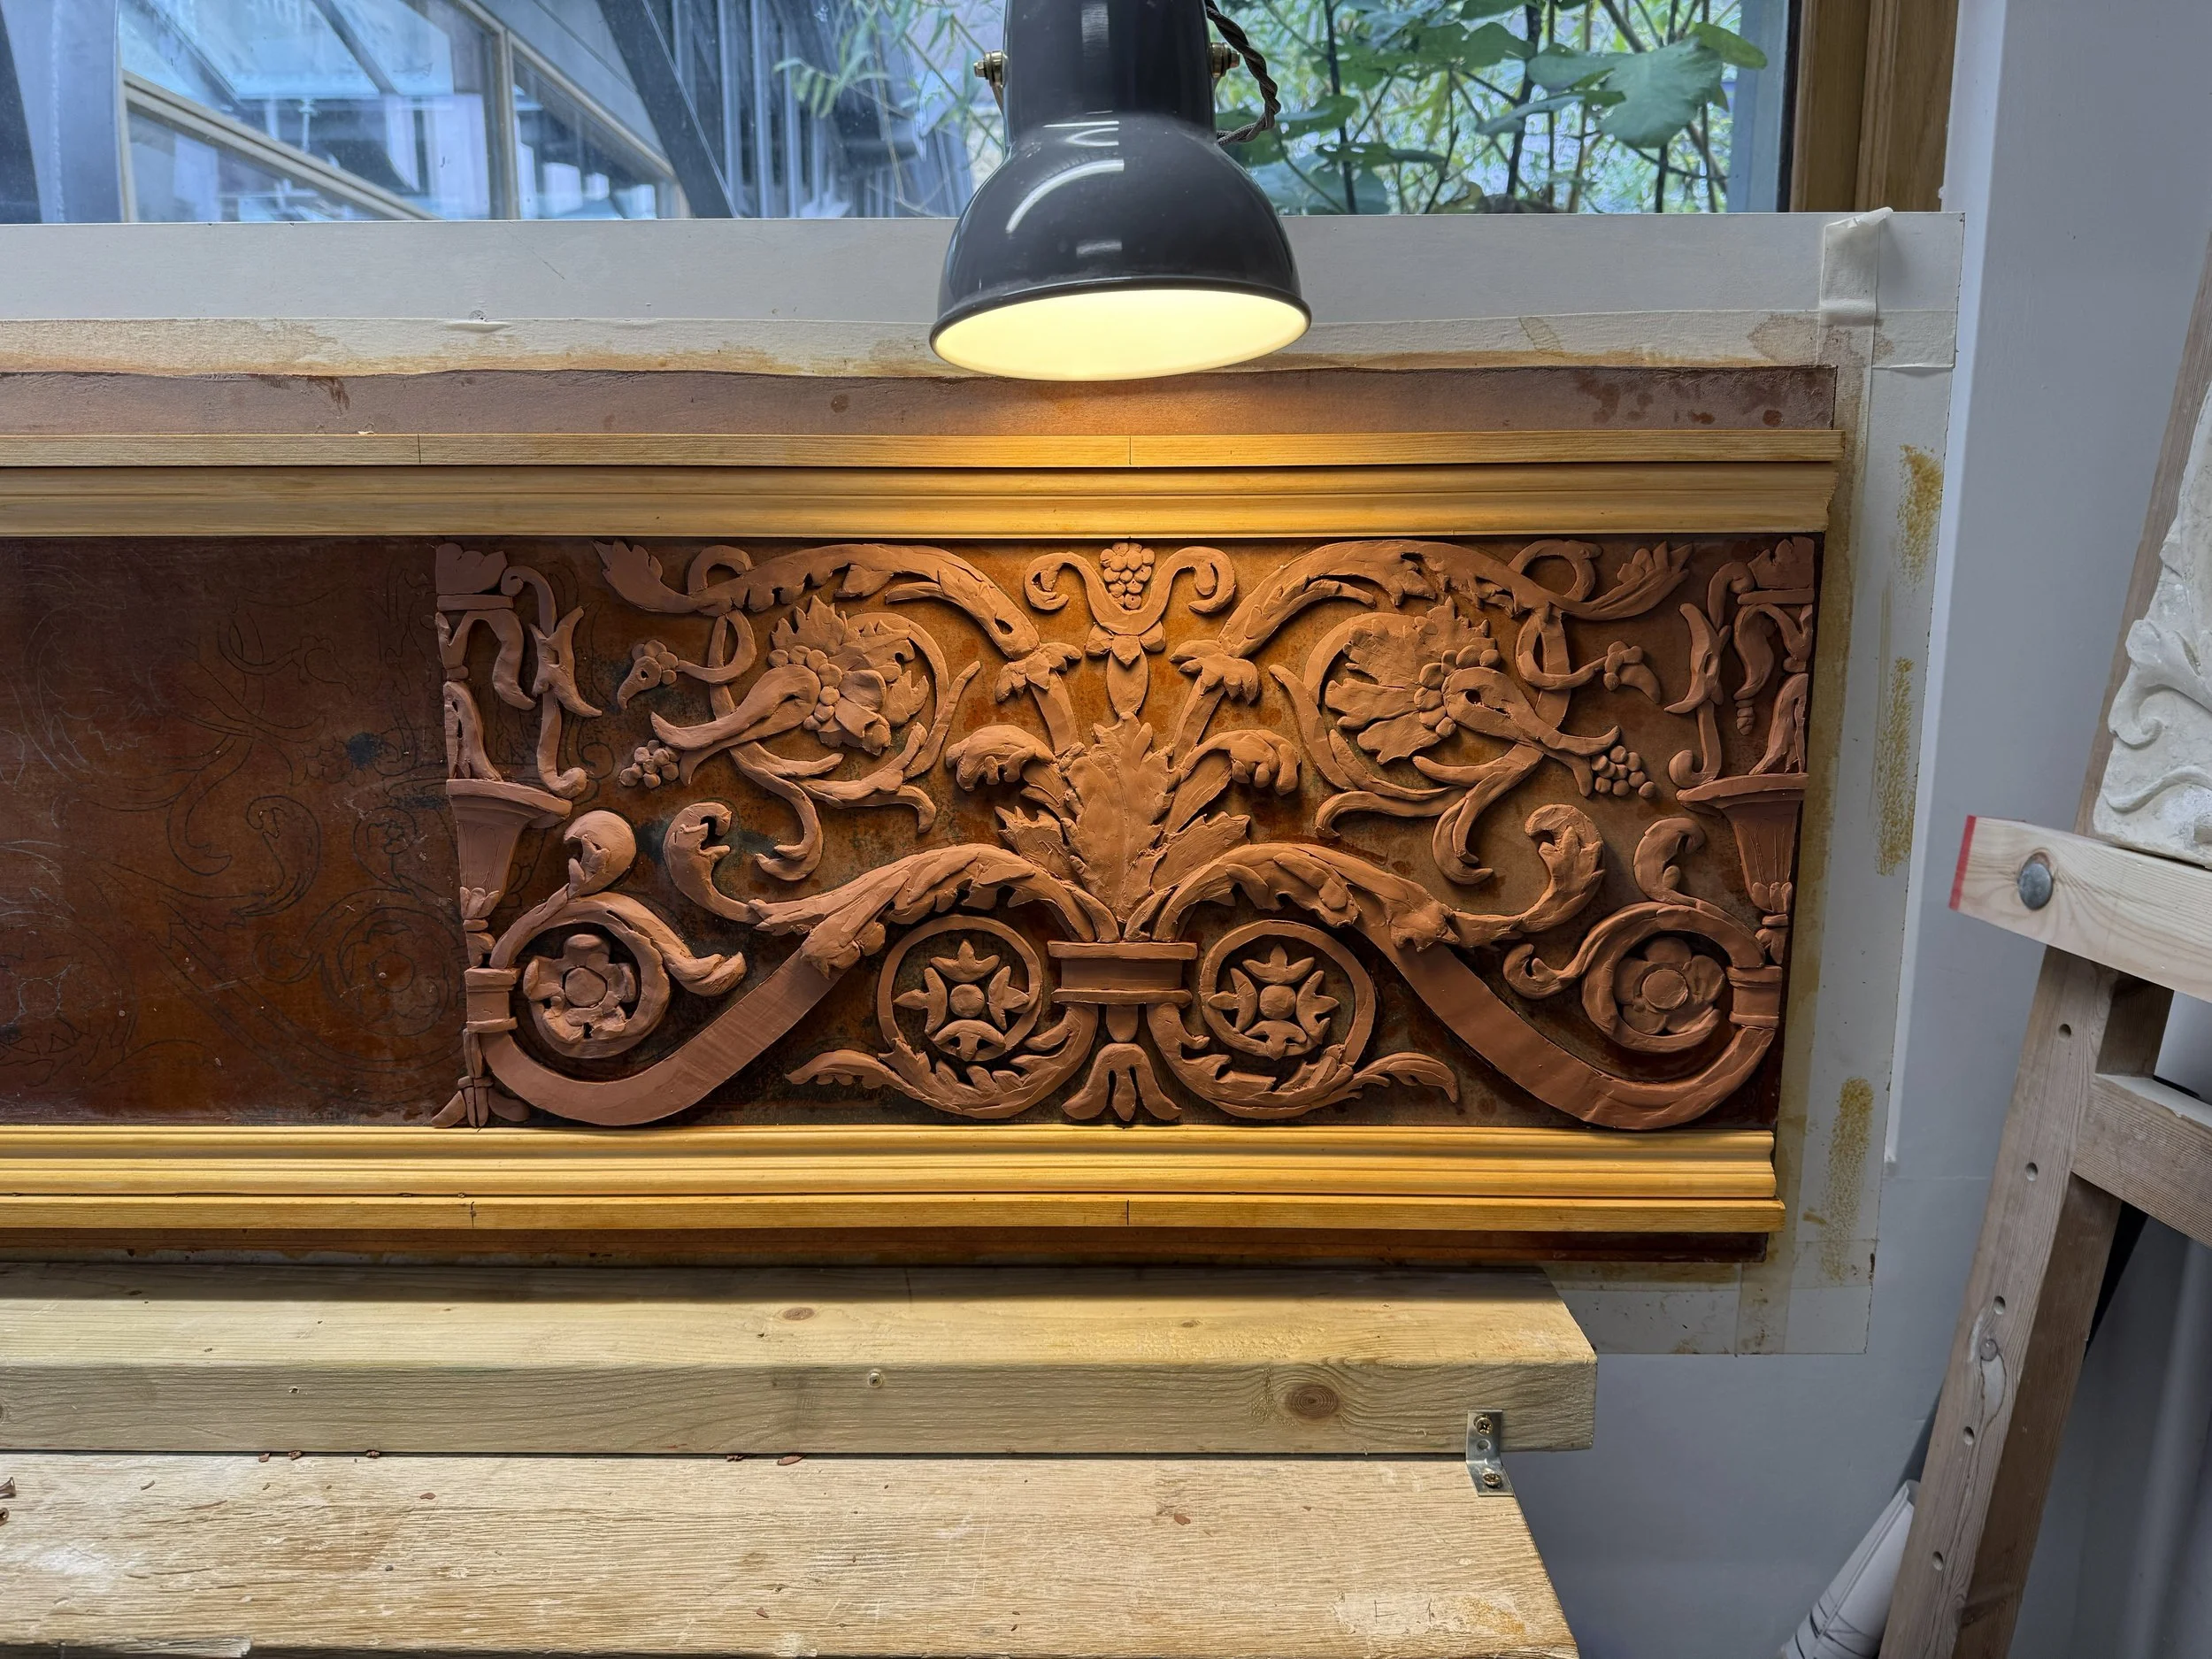
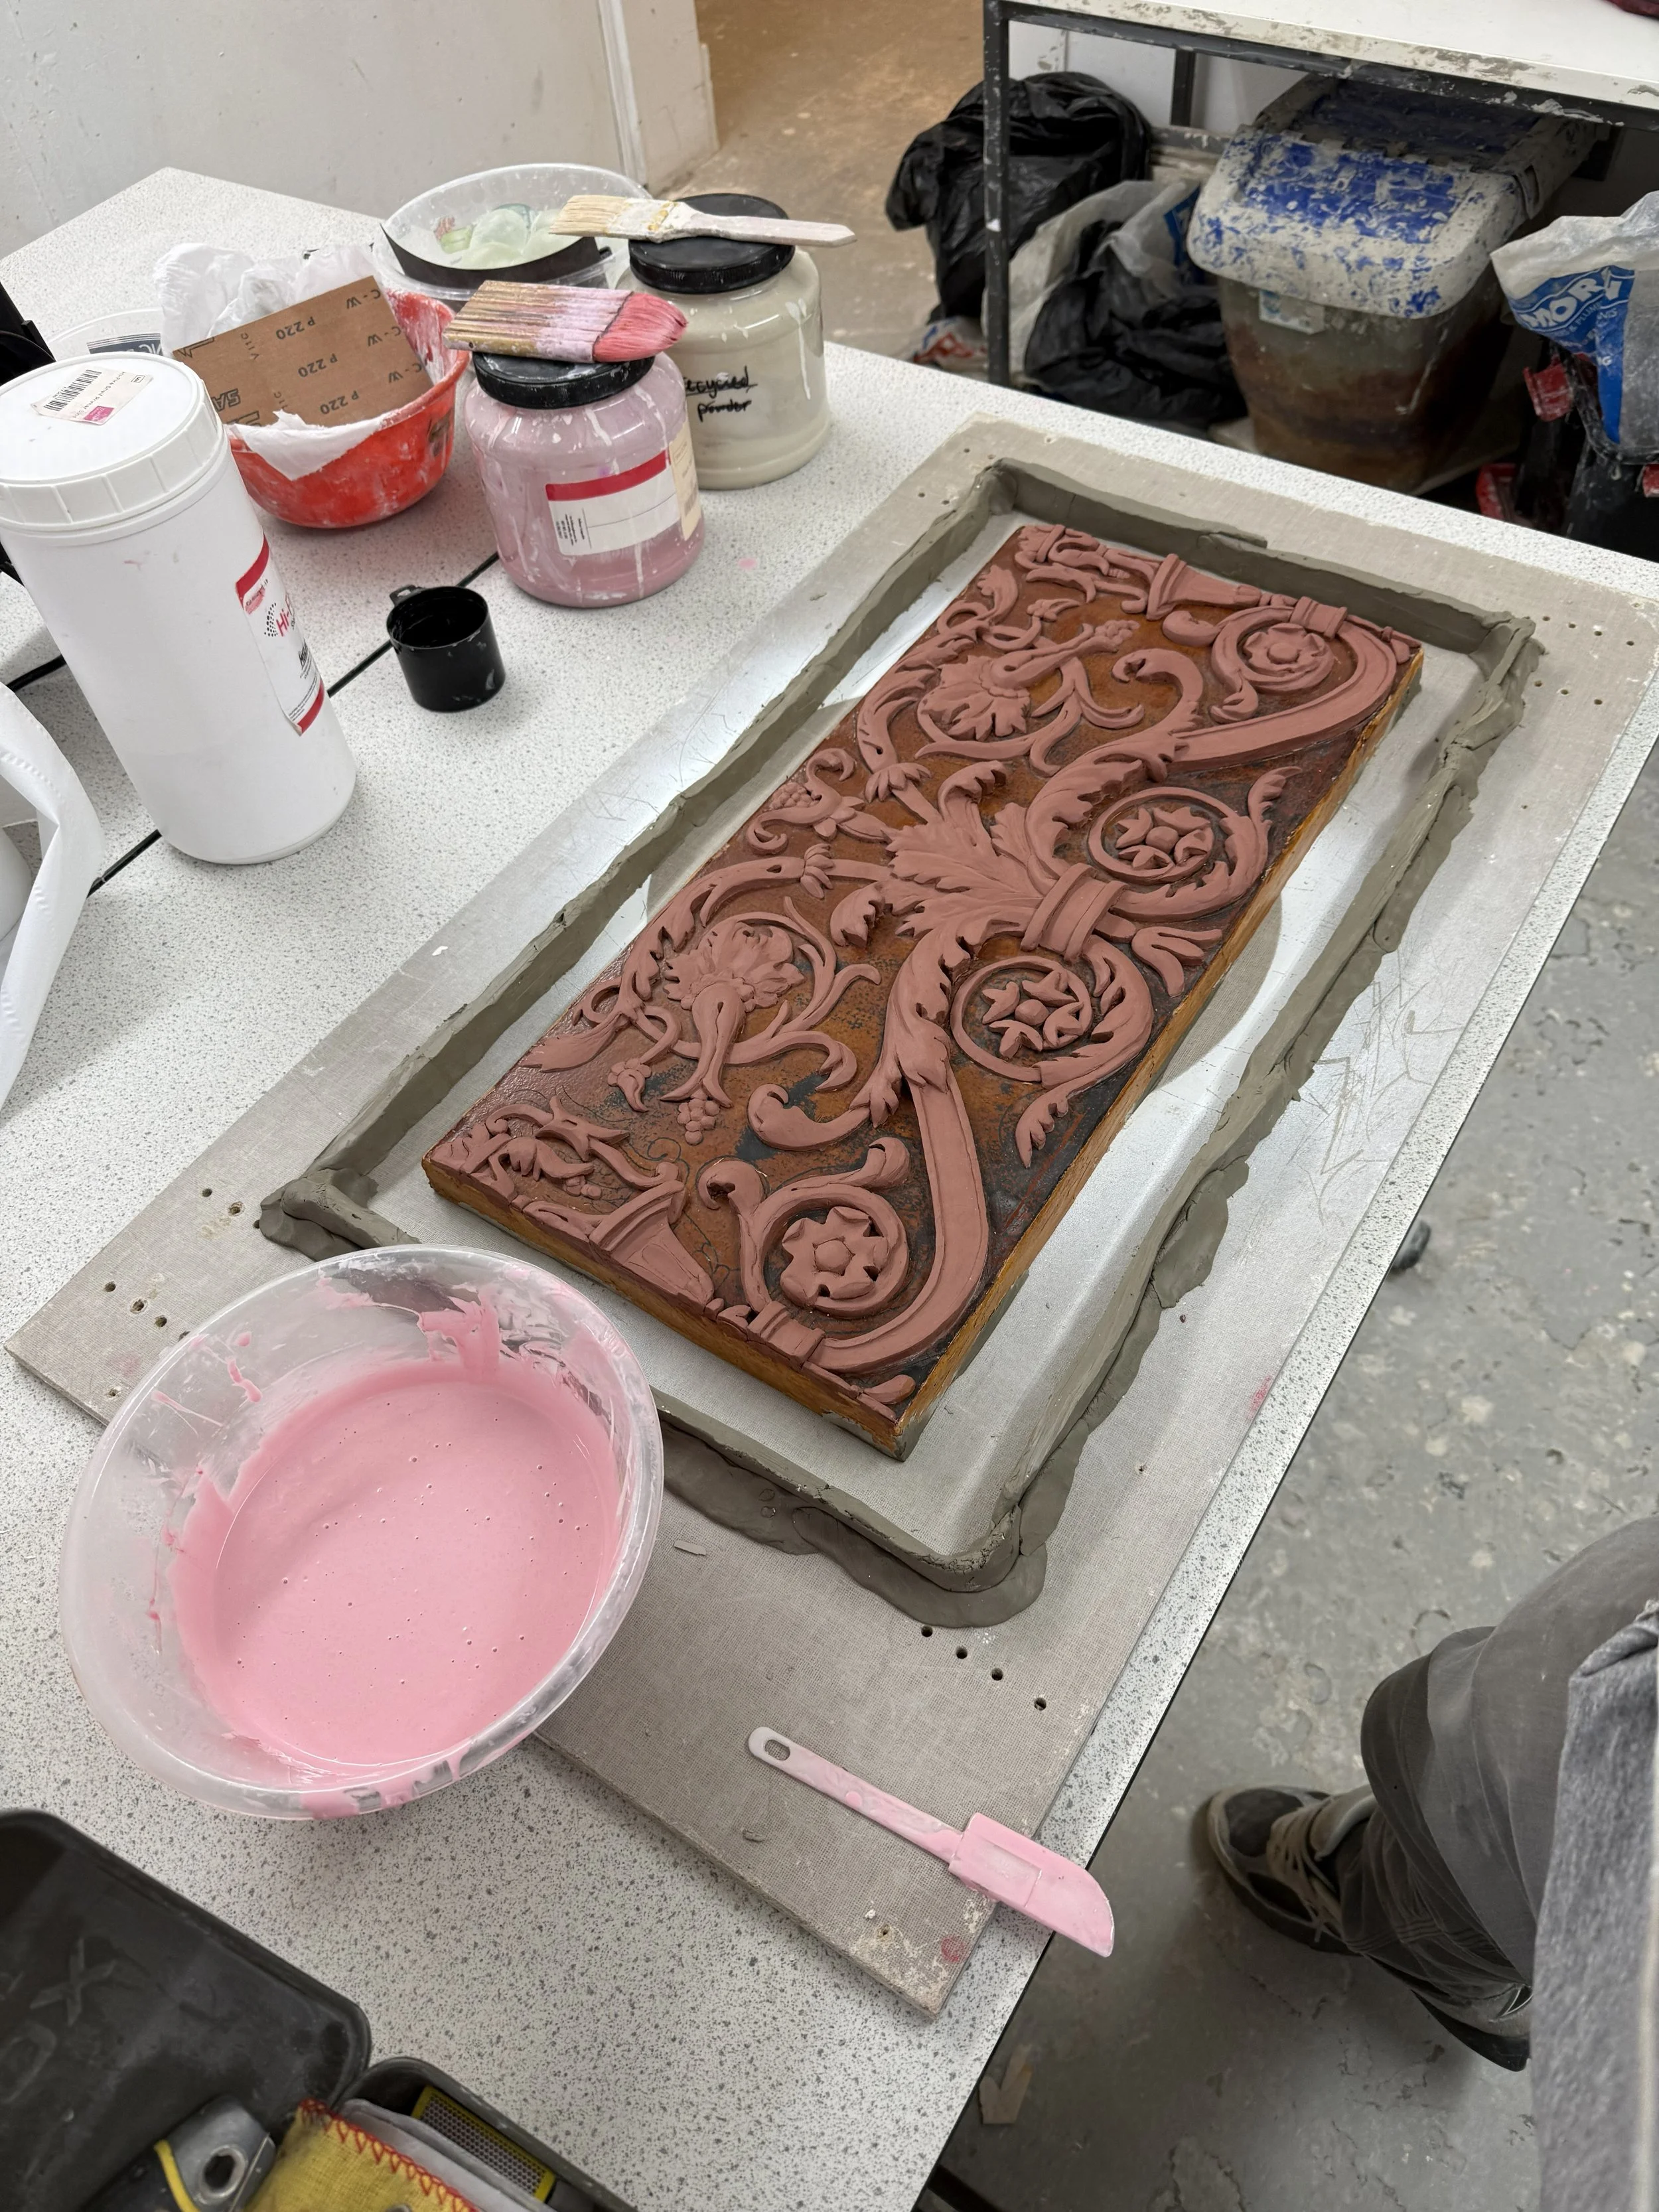
Ready for casting
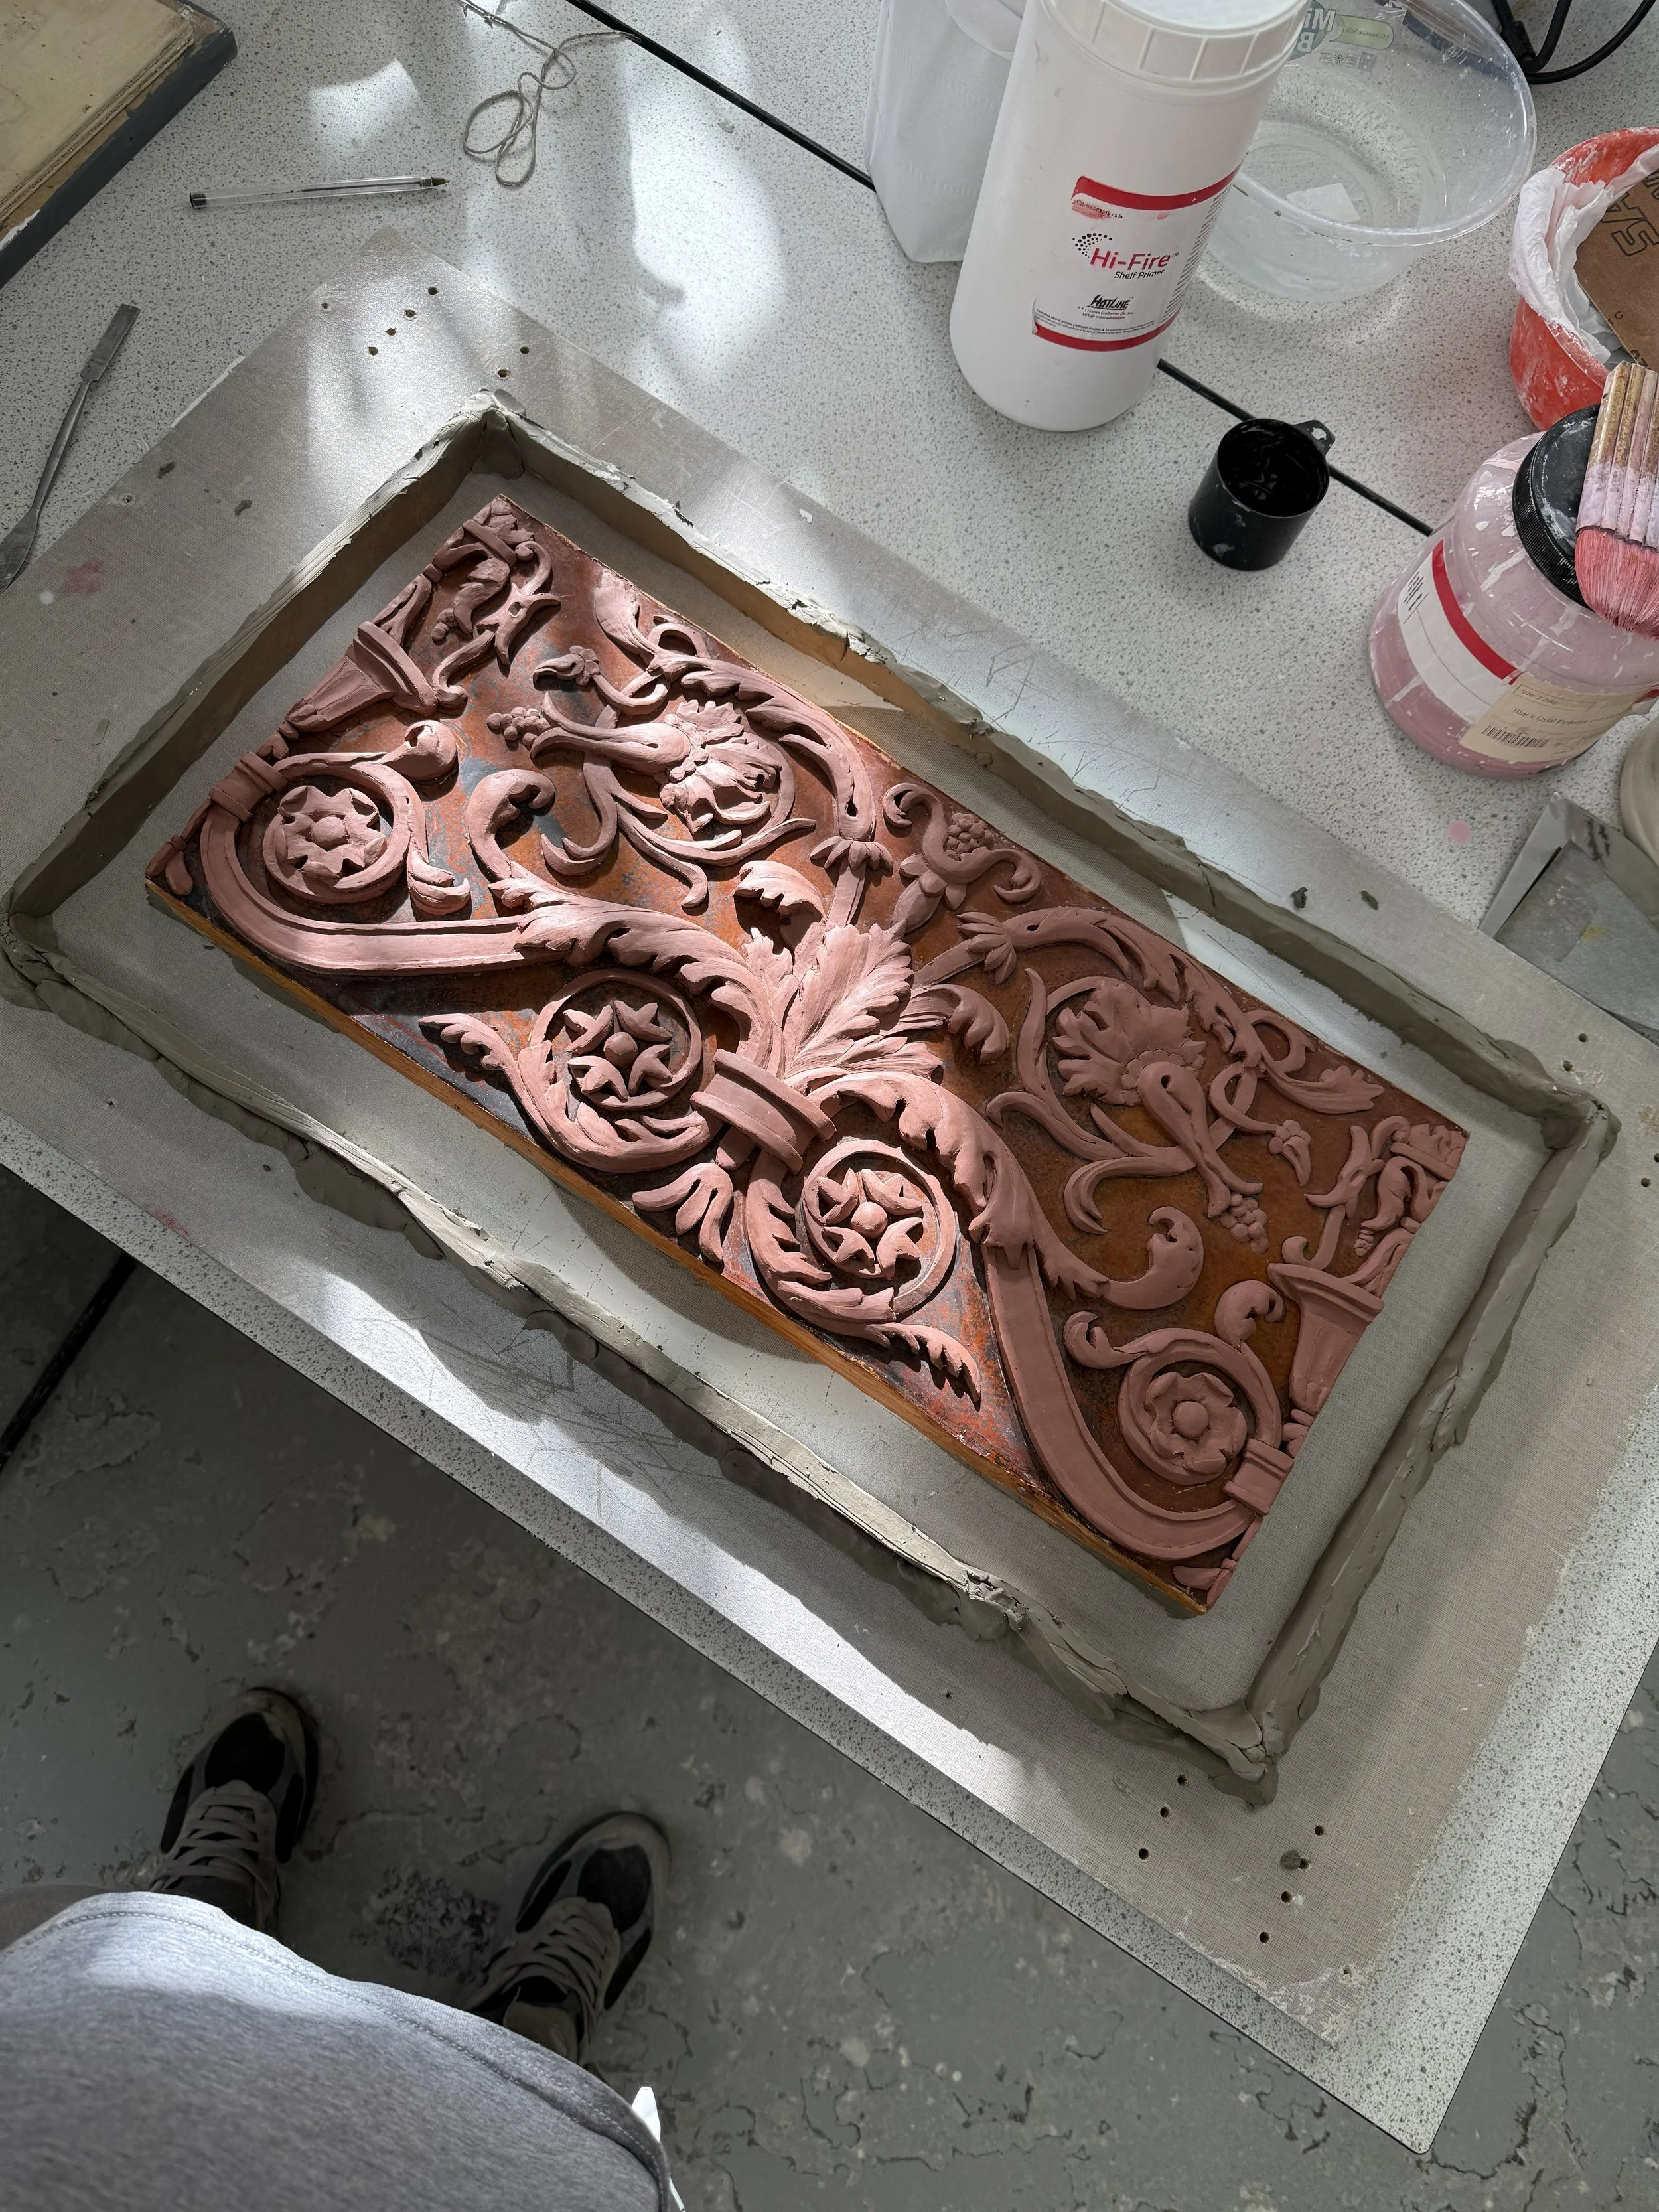
Here a clay dam is built around the model to prepare for the silicone pour.
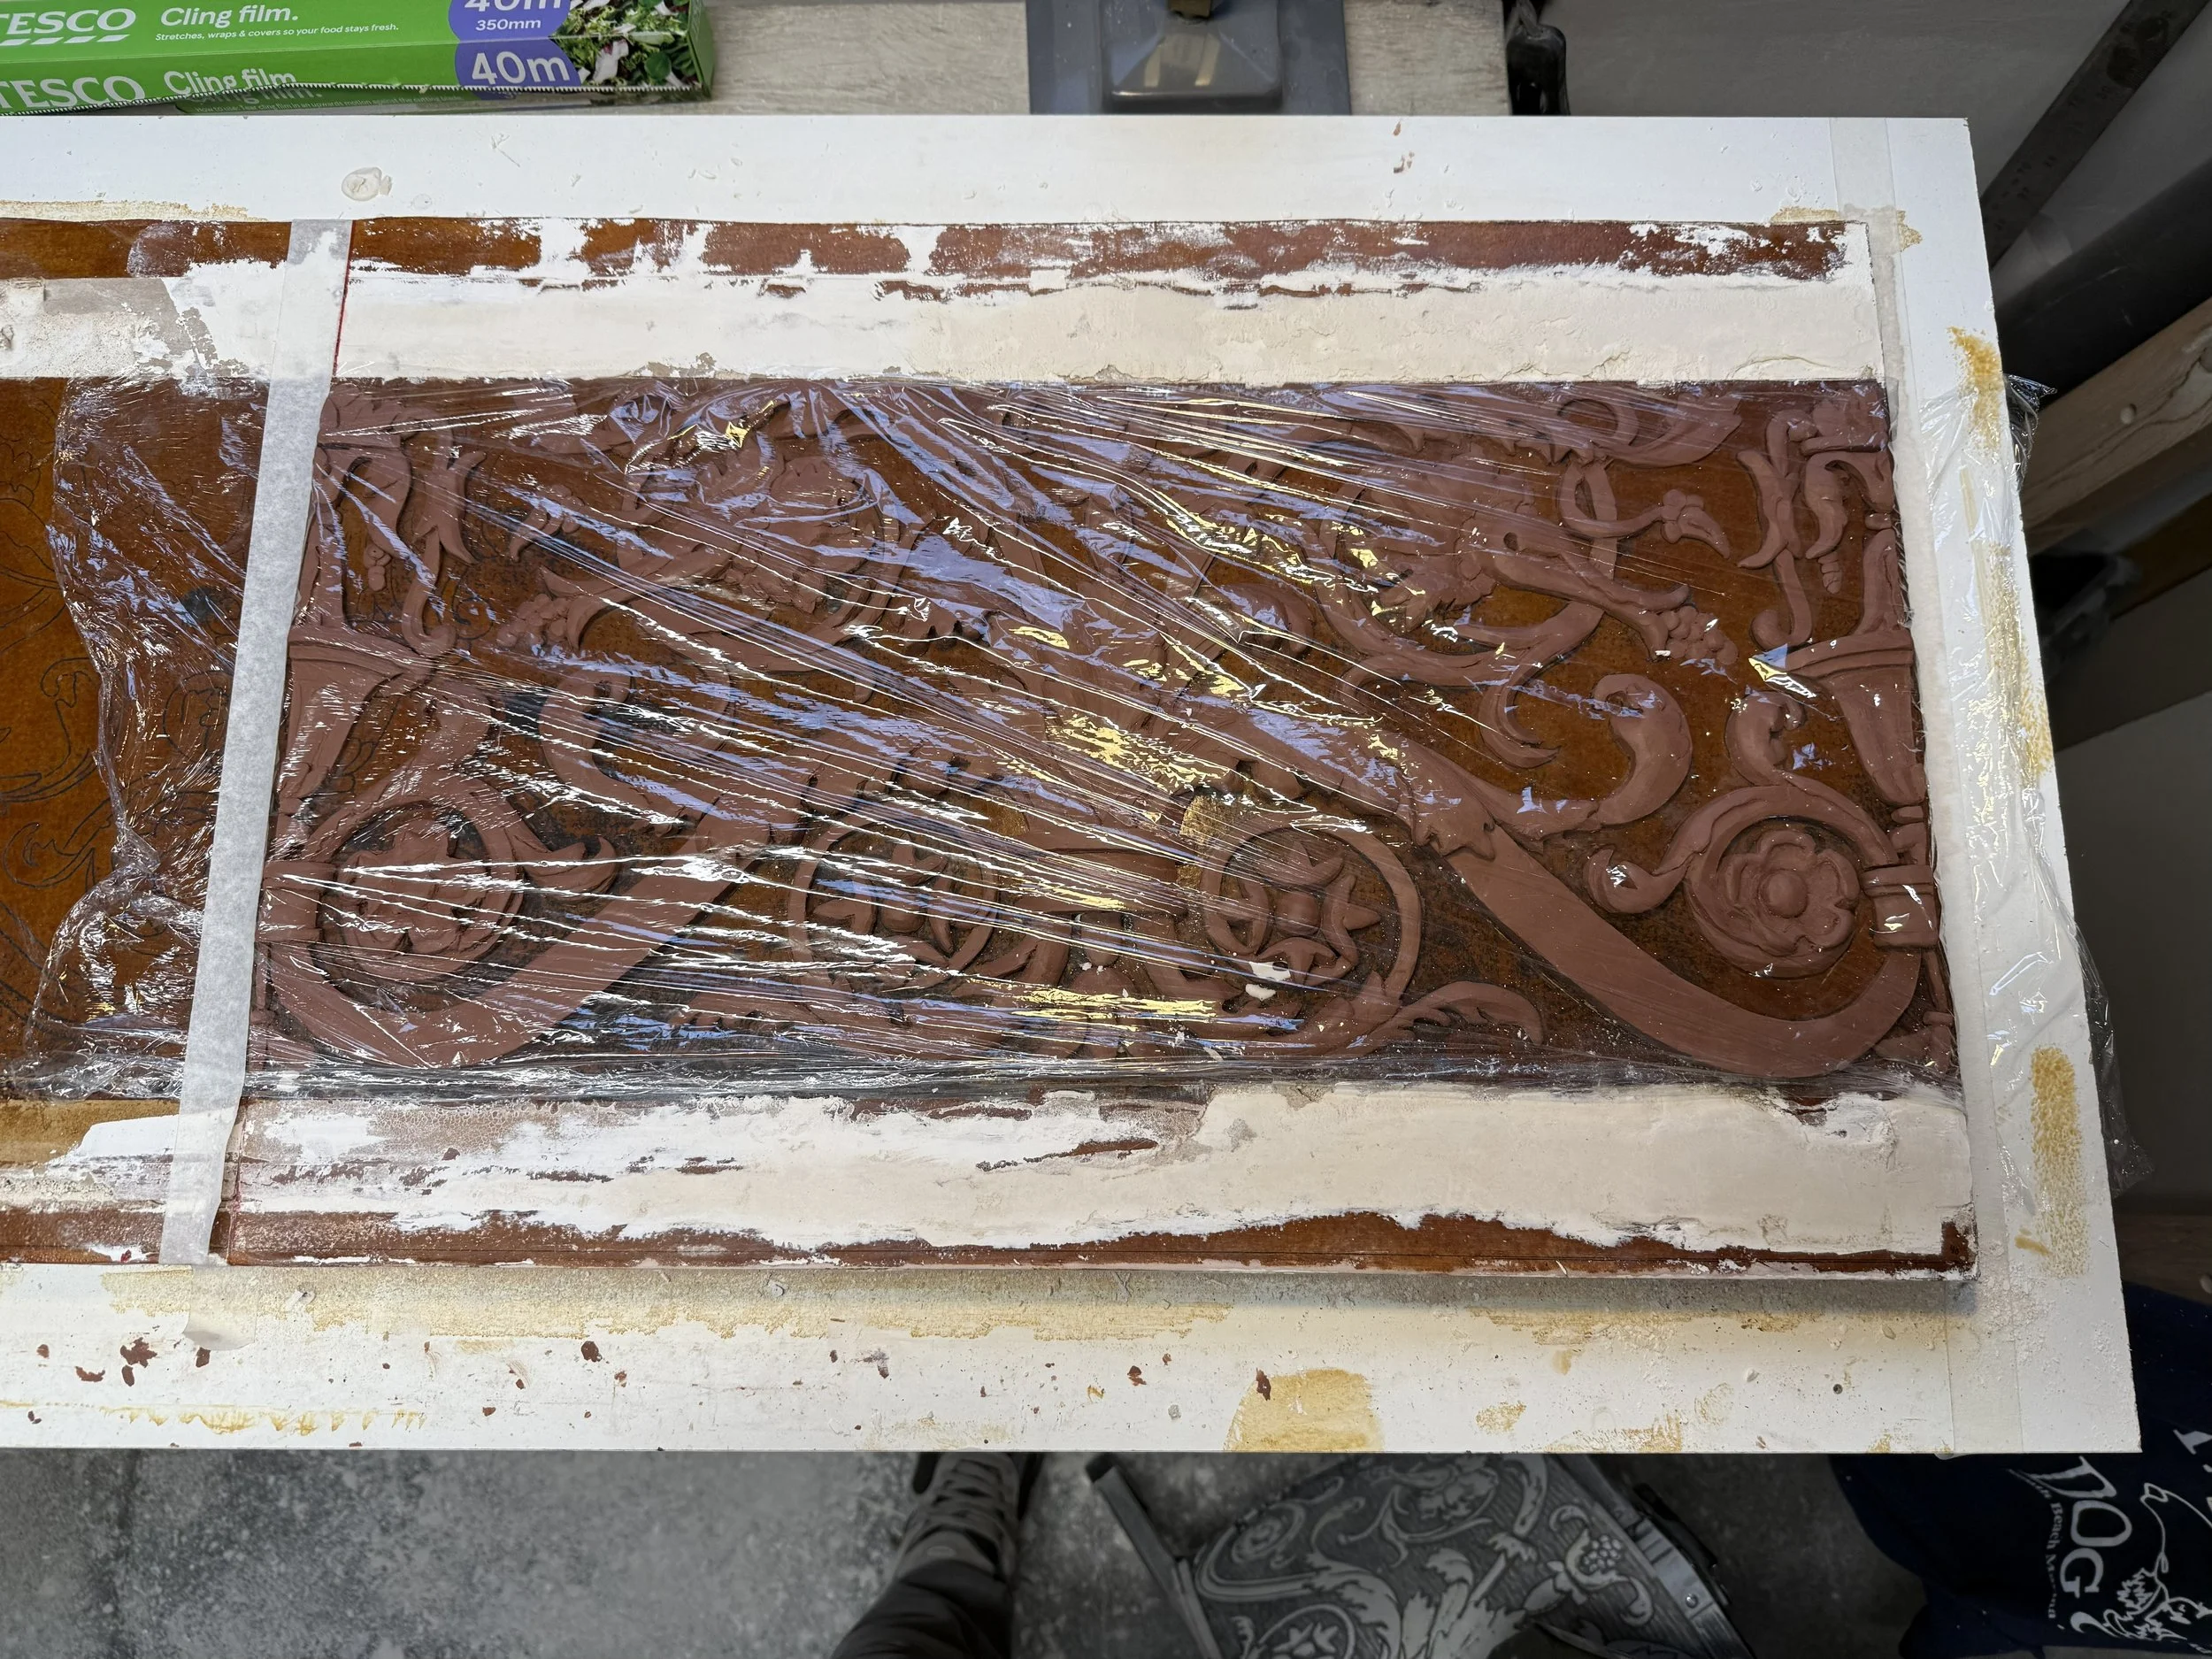
this stage goes quickly so i did not get many photos but silicone is applied with a spatula and brushed lightly into the details with a soft brush also the model is shaken to try and bring air bubbles to the surface.
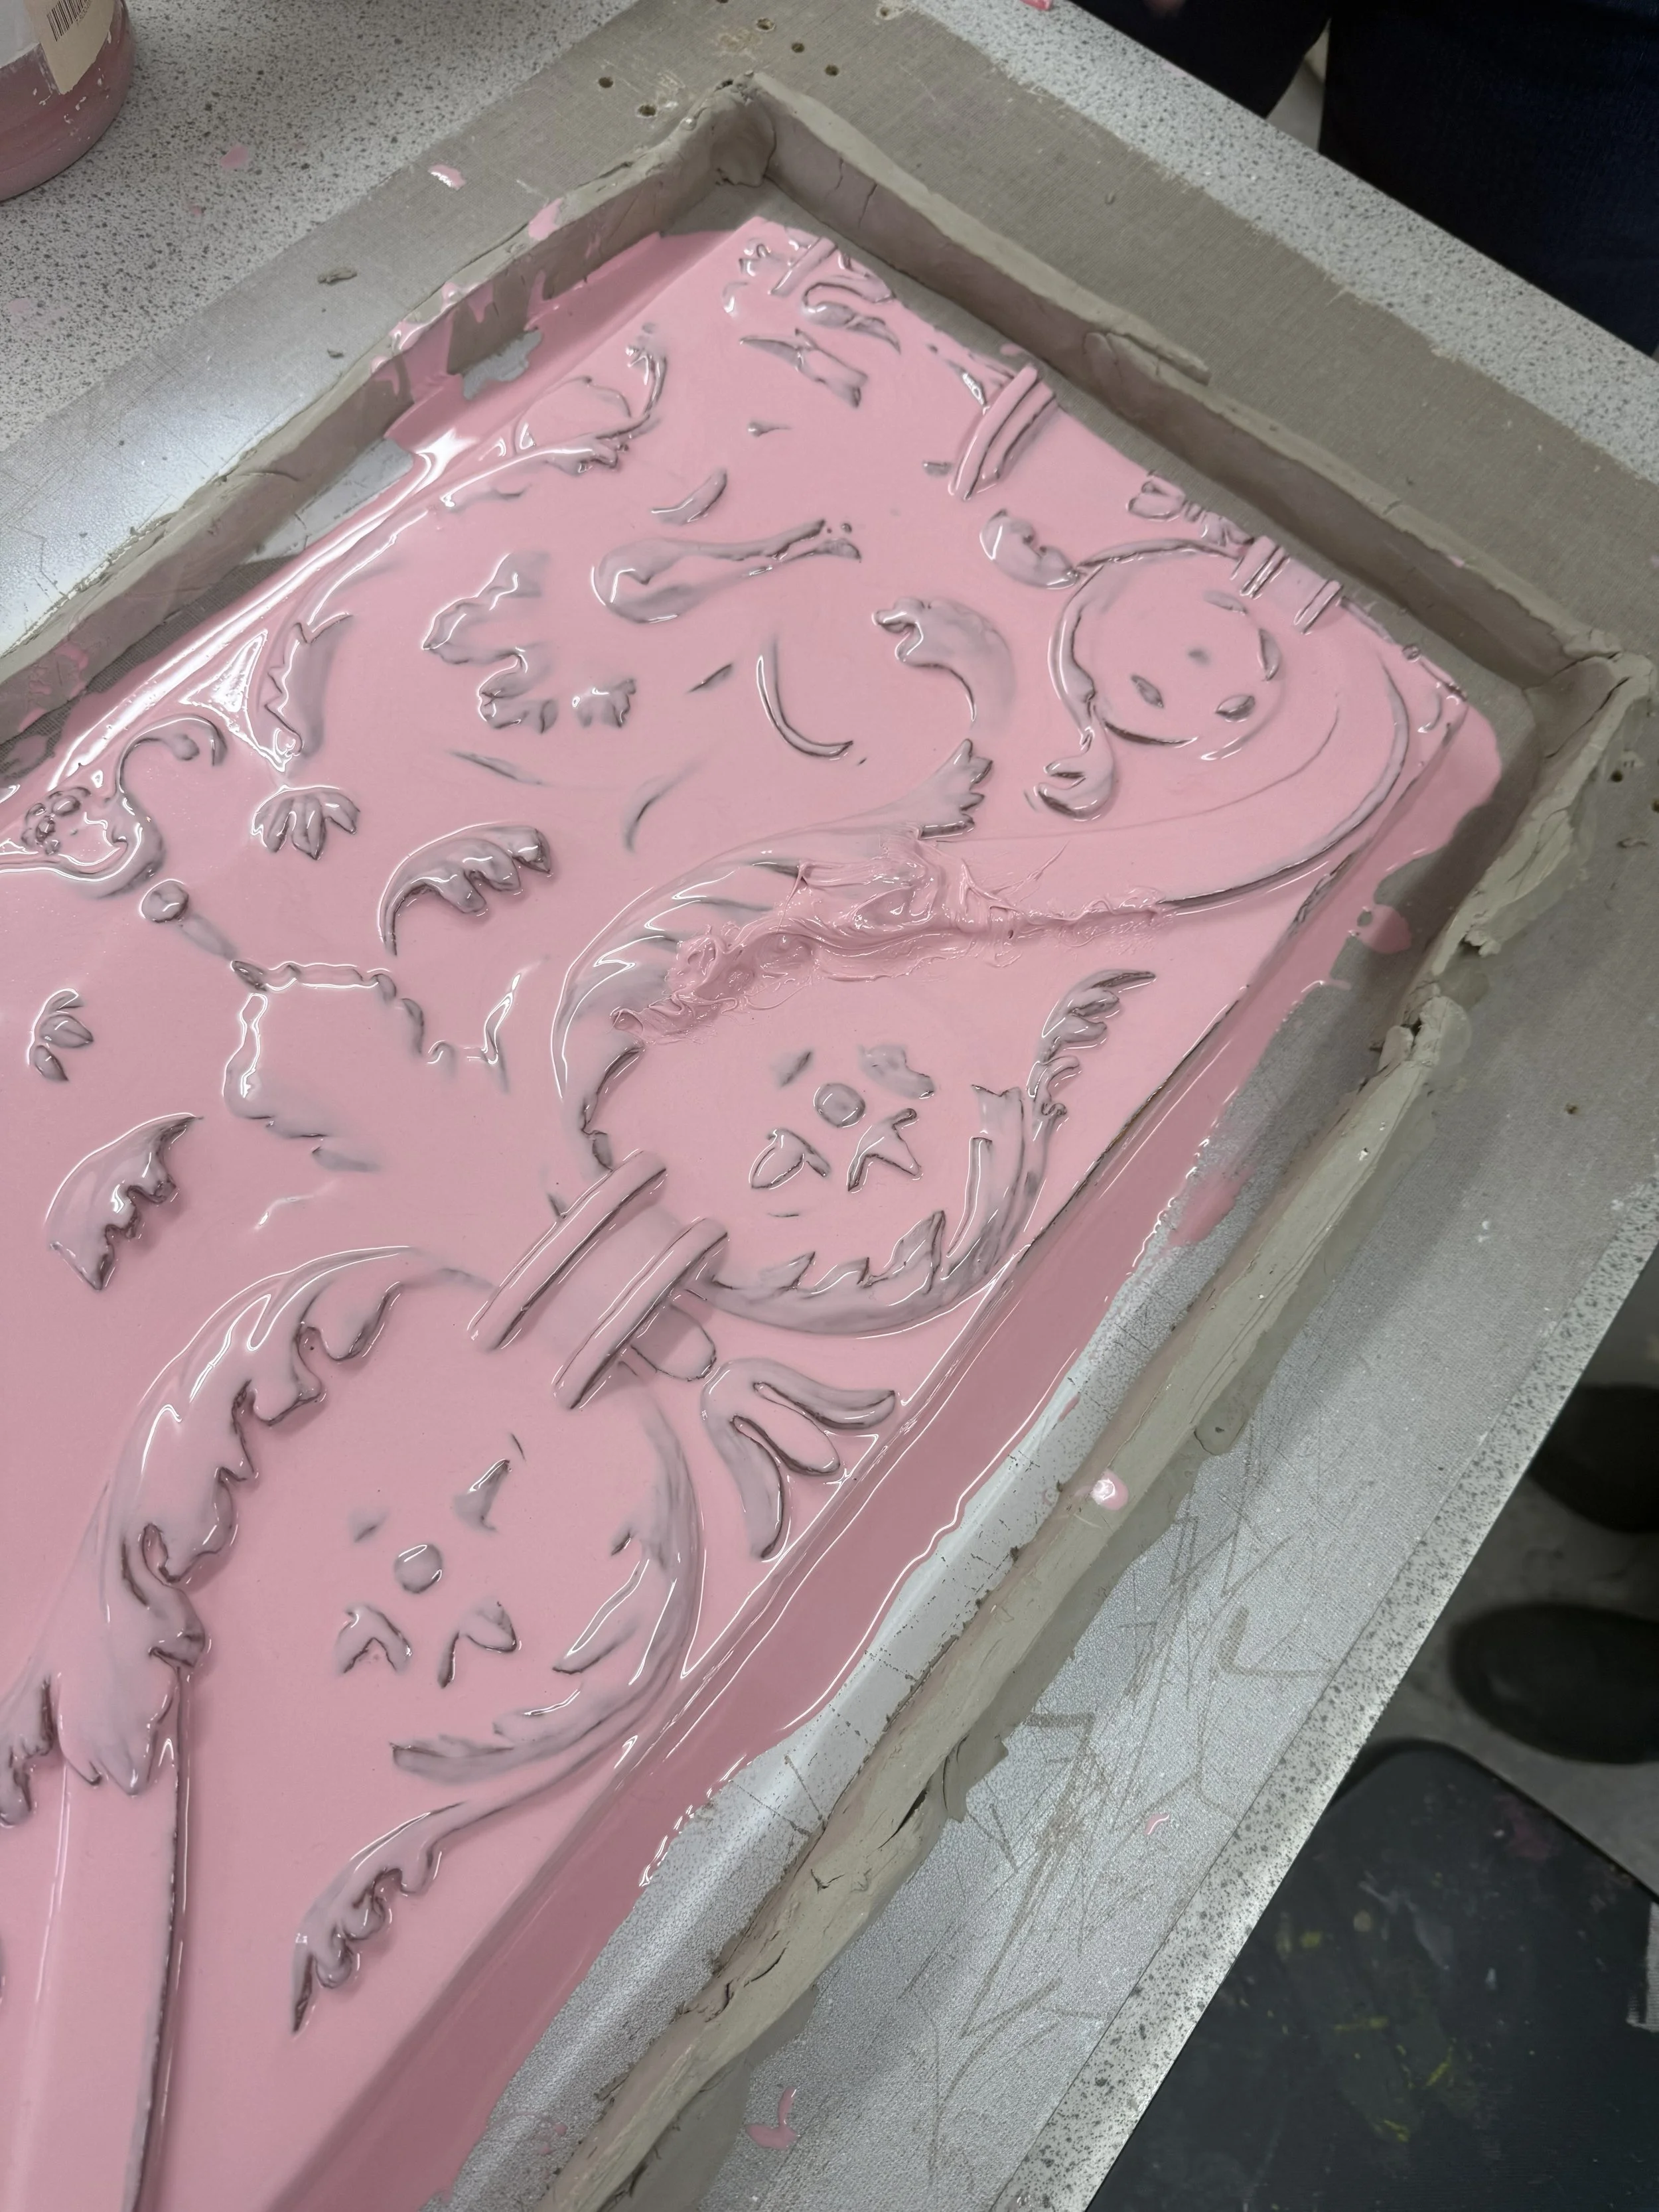
first coat of silicone
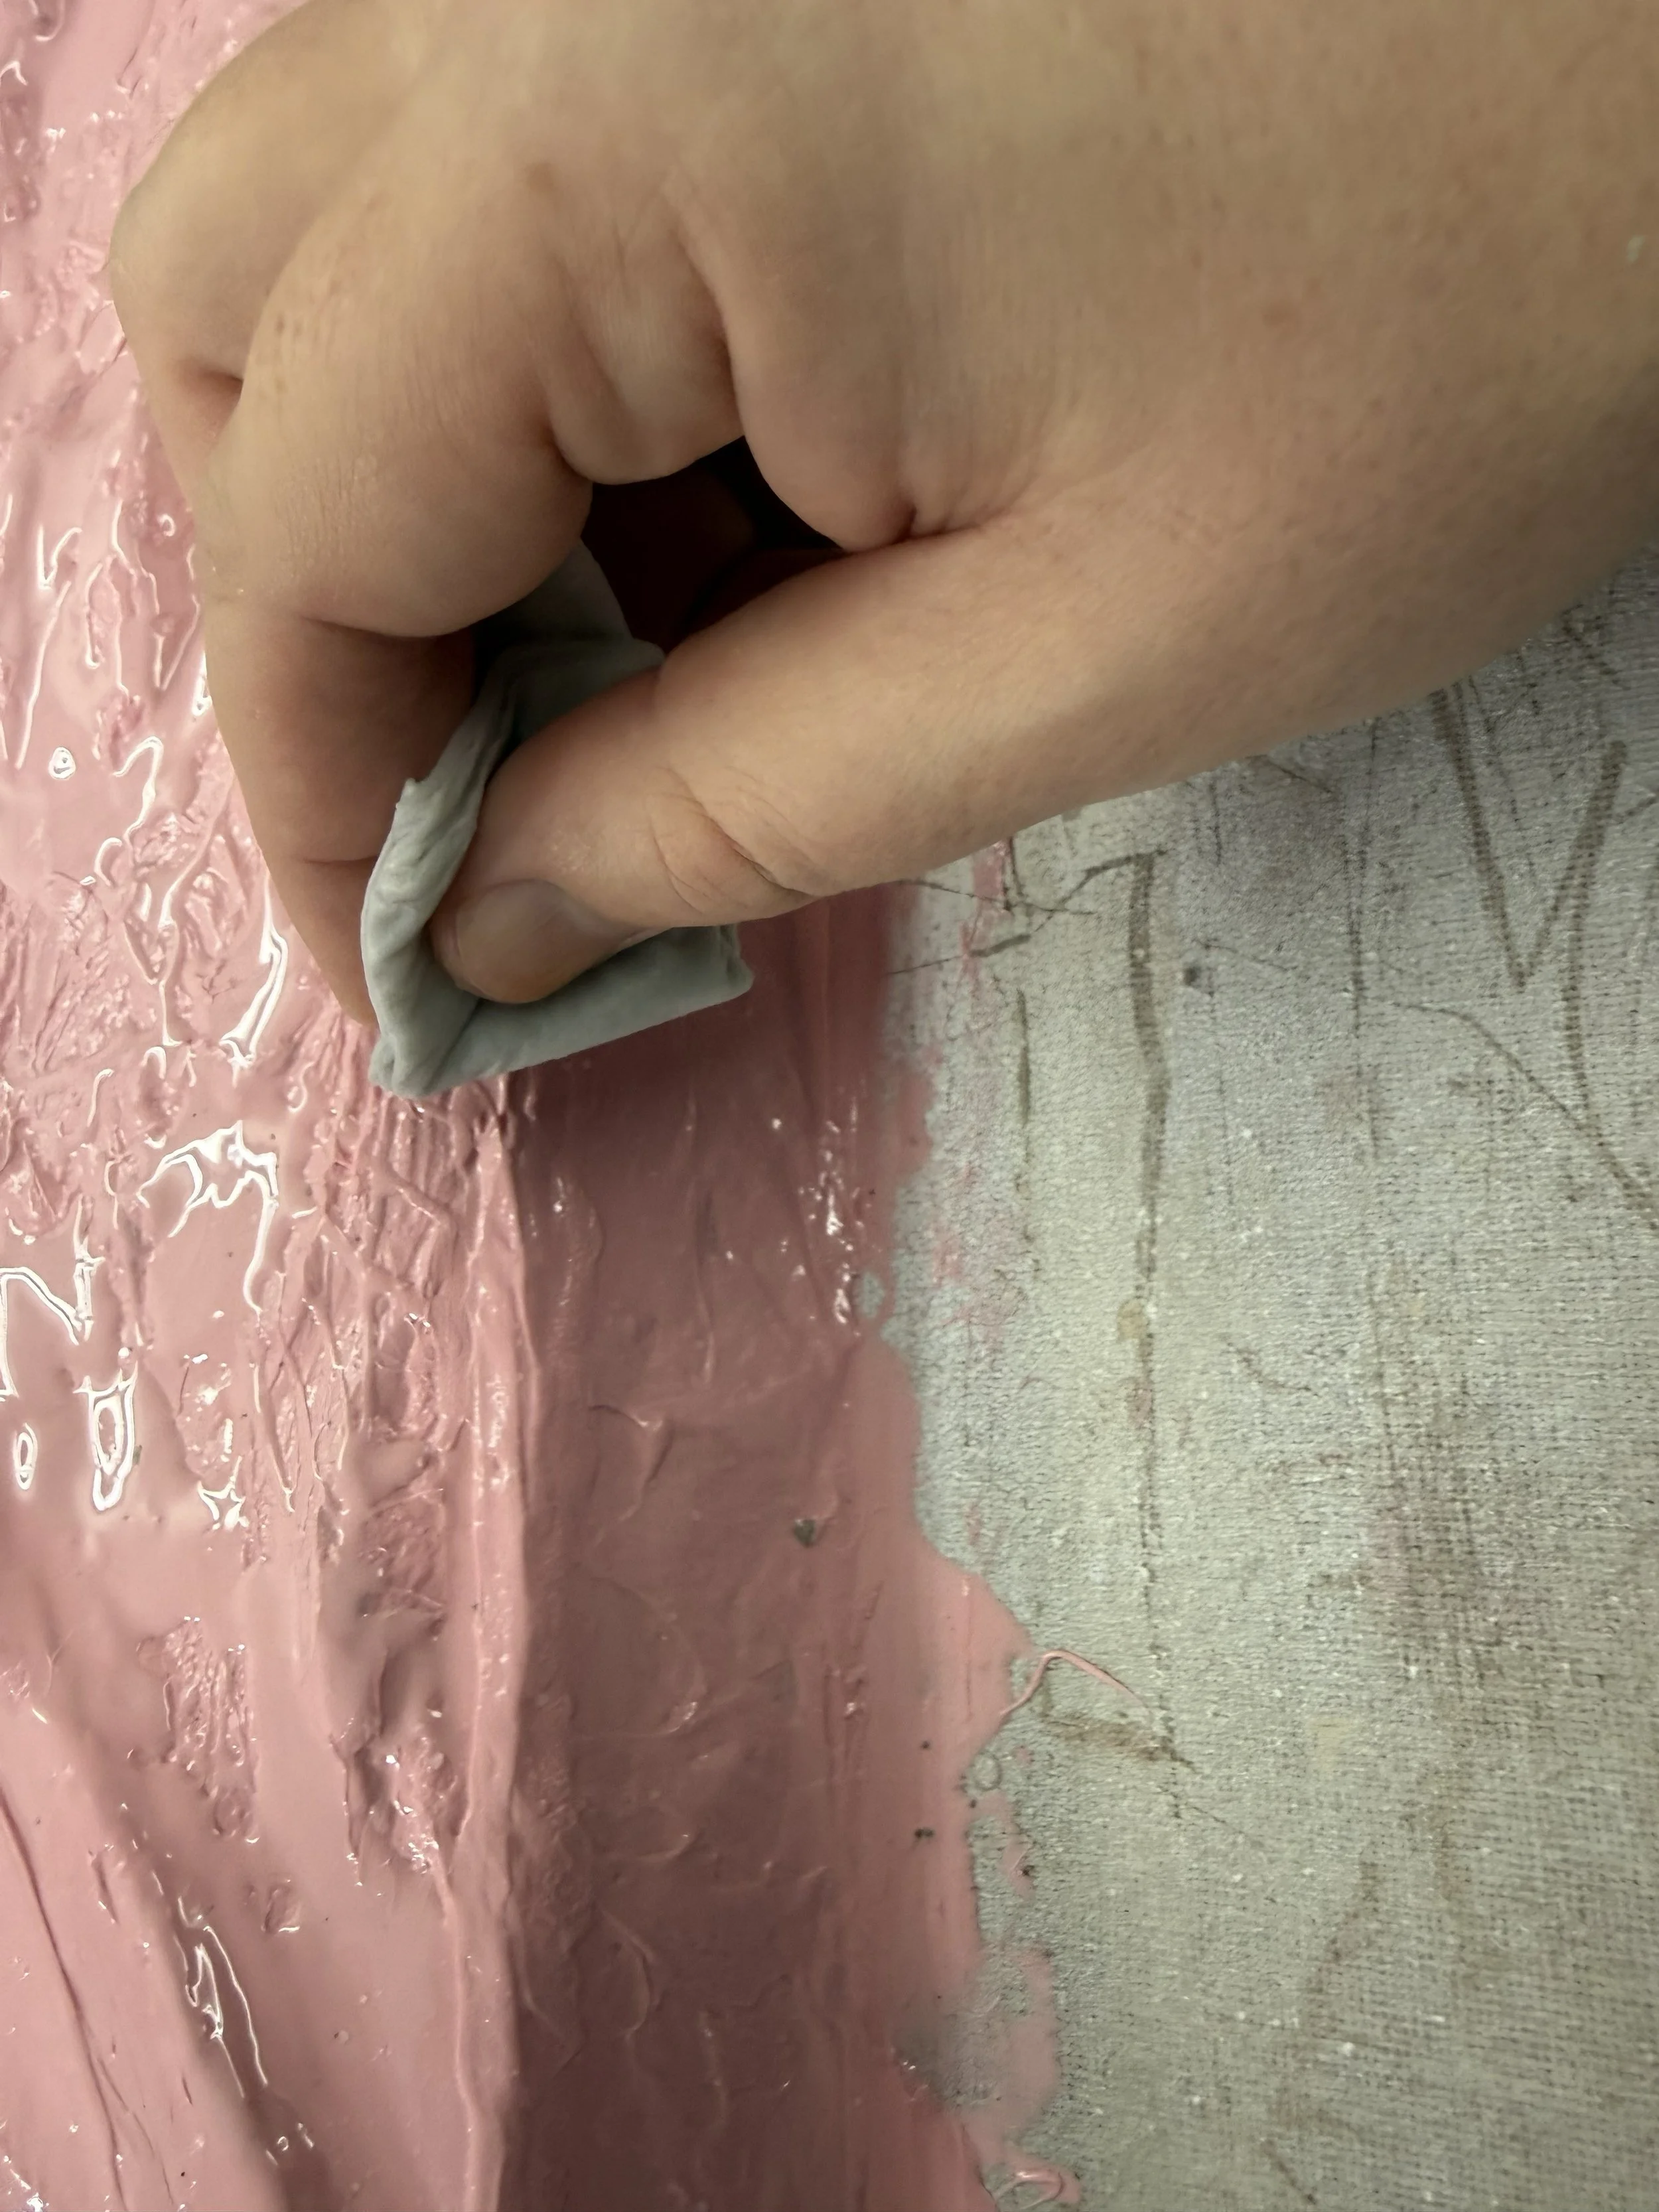
as the silicone is drying you can dab rough spots with a wet paper towel to smooth them it is important to get it as smooth as possible
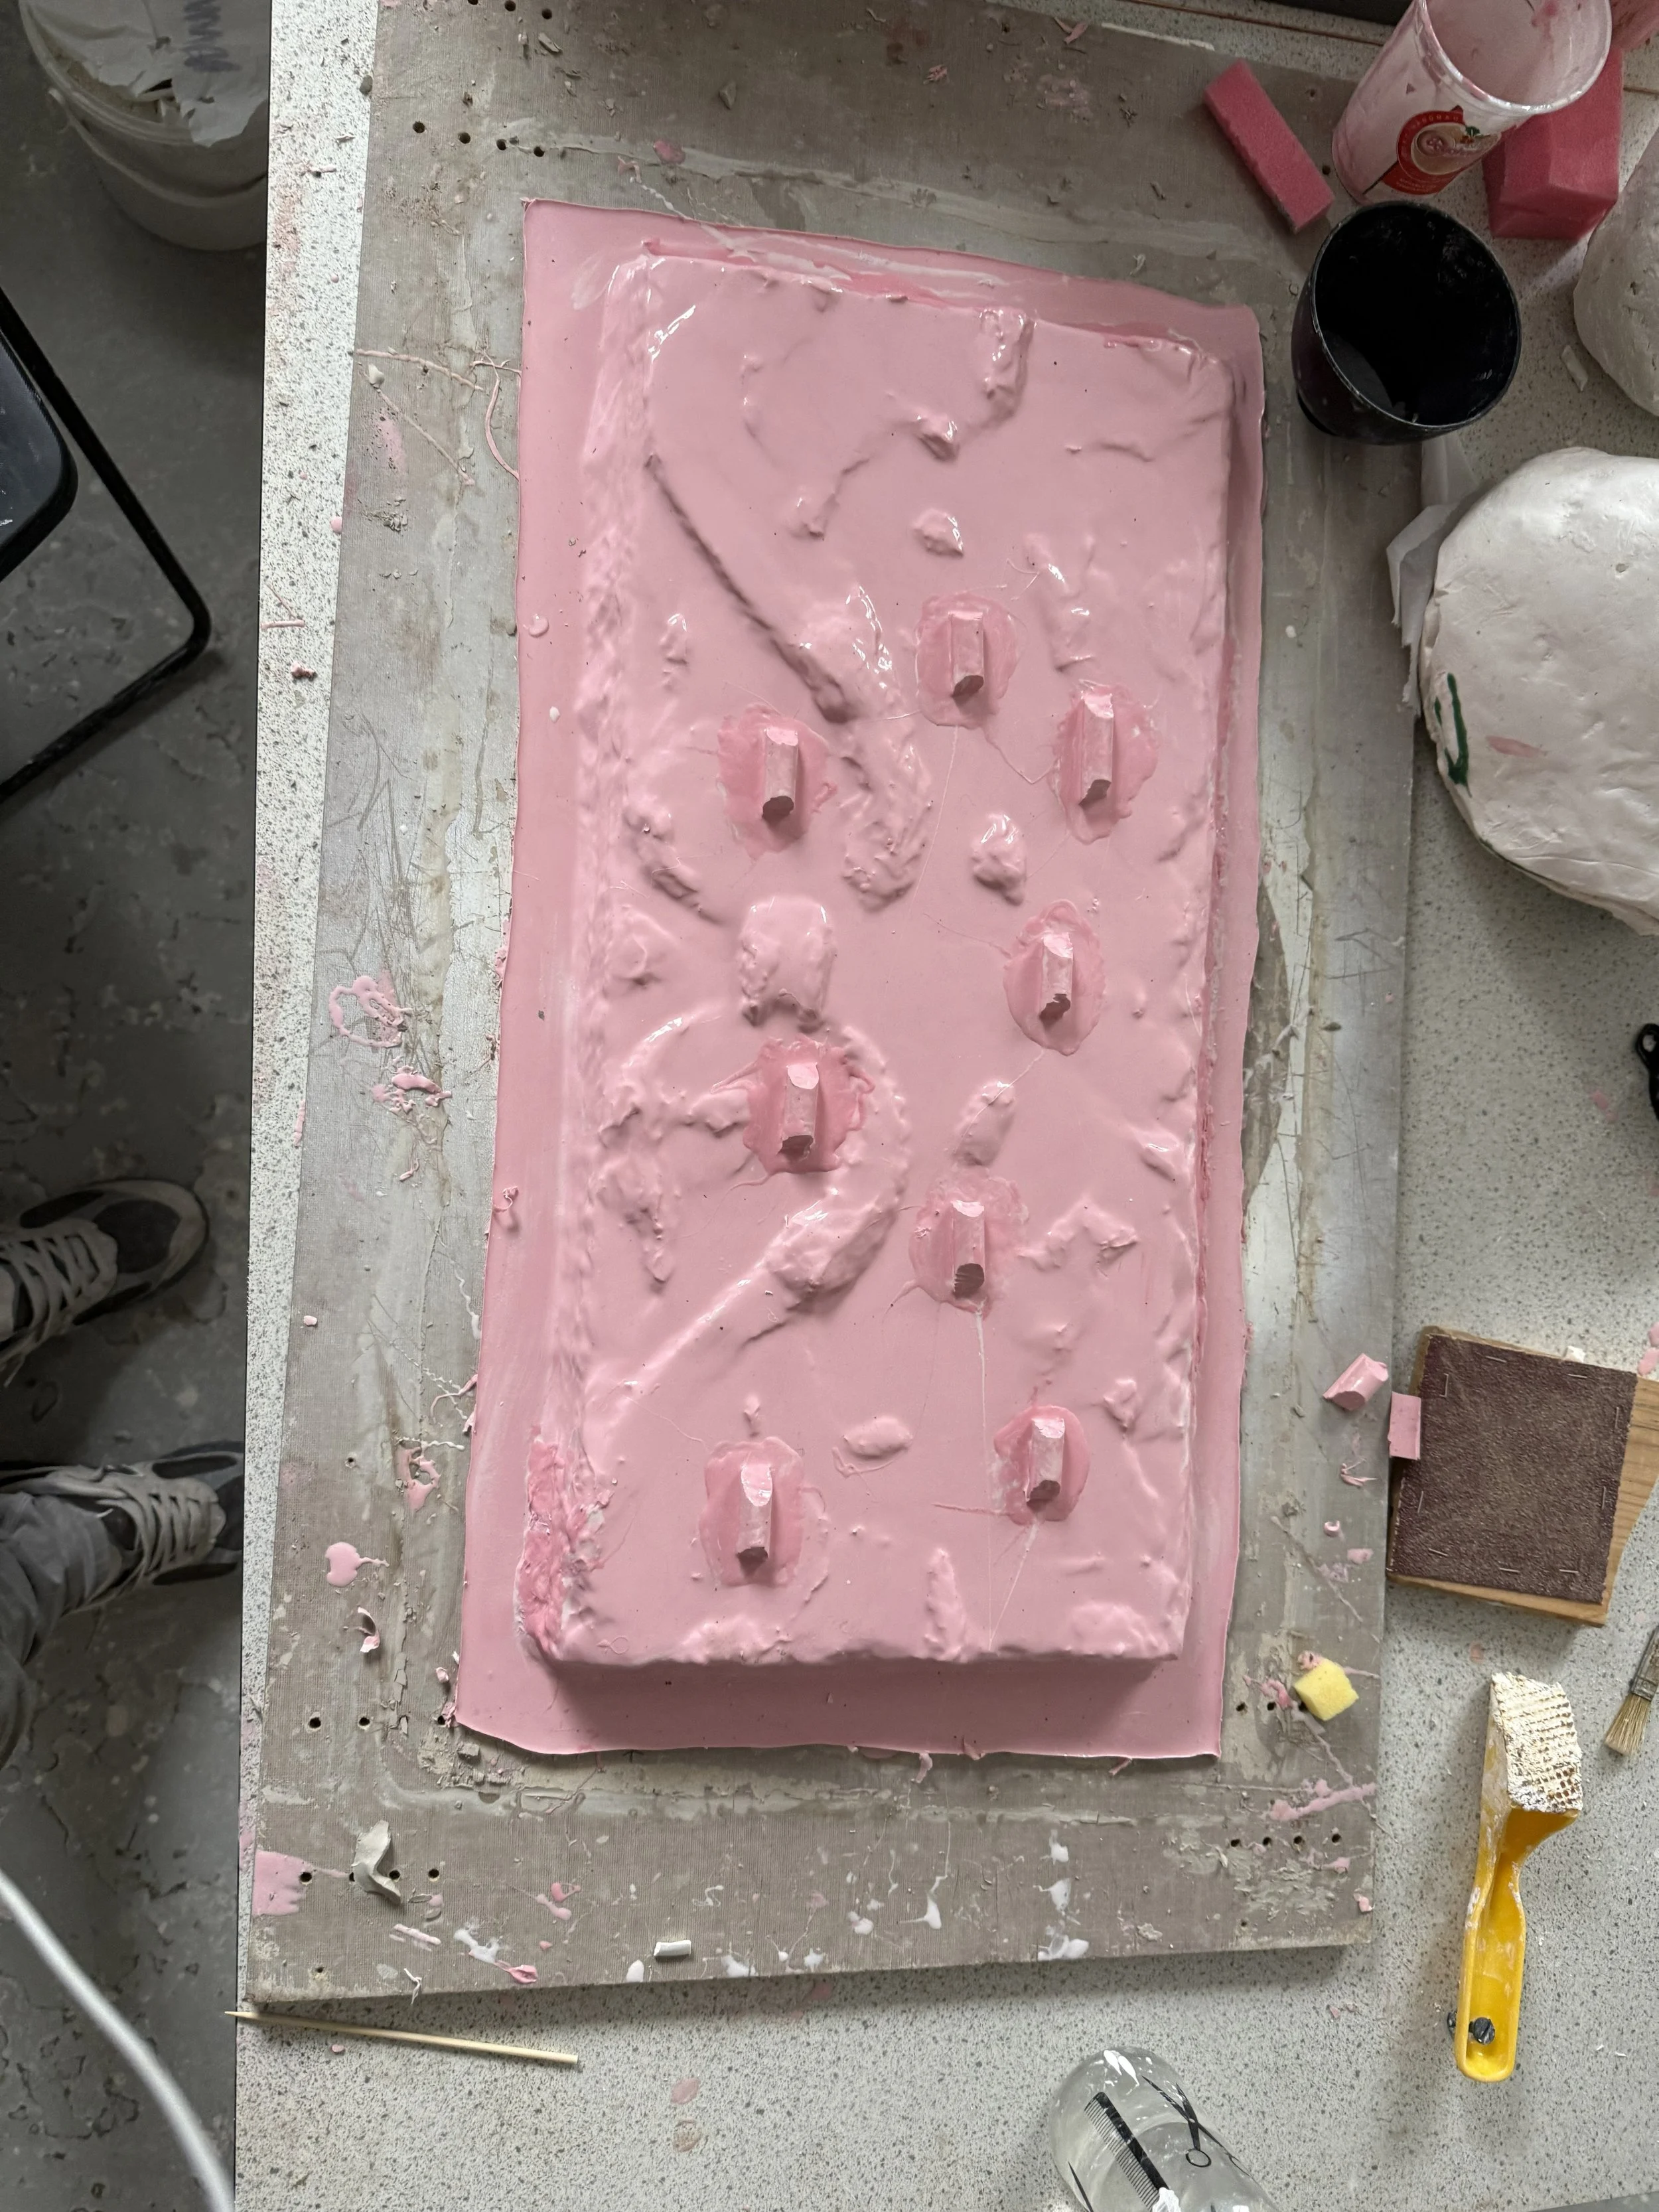
here can be seen the finished silicone jacket, keys are placed all running the same direction so it can grip the plaster jacket.
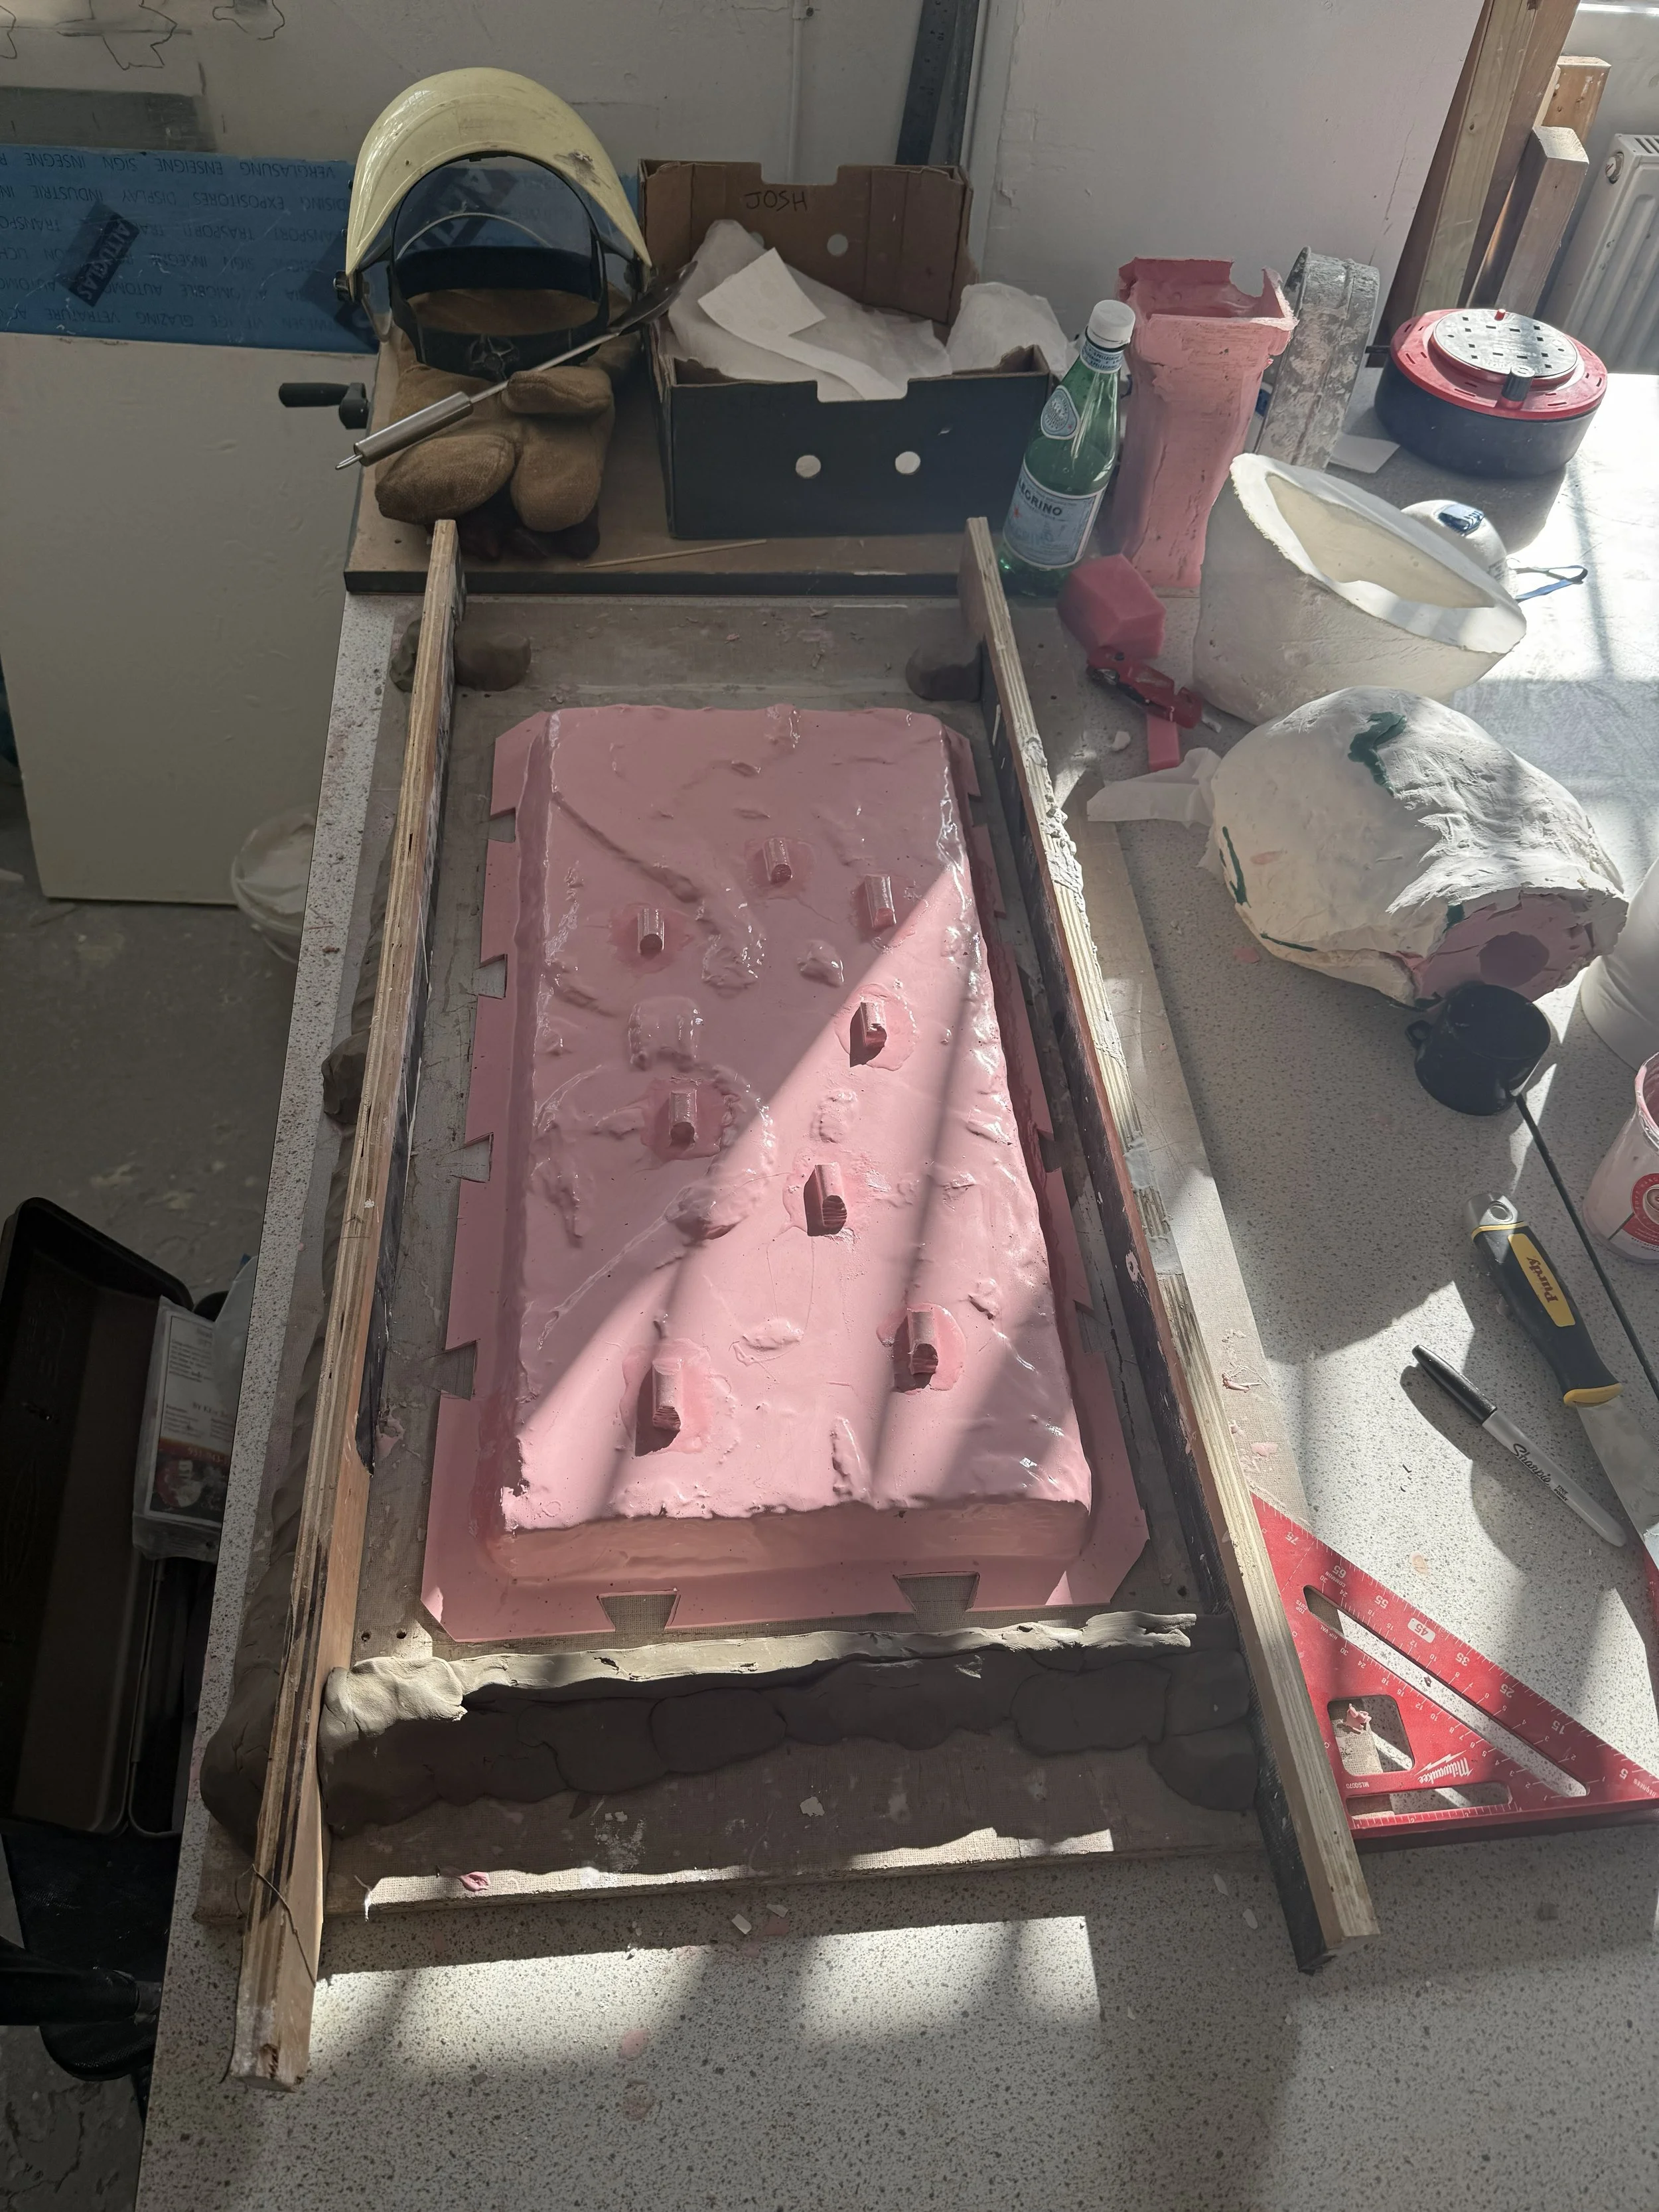
building wall for the plaster jacket
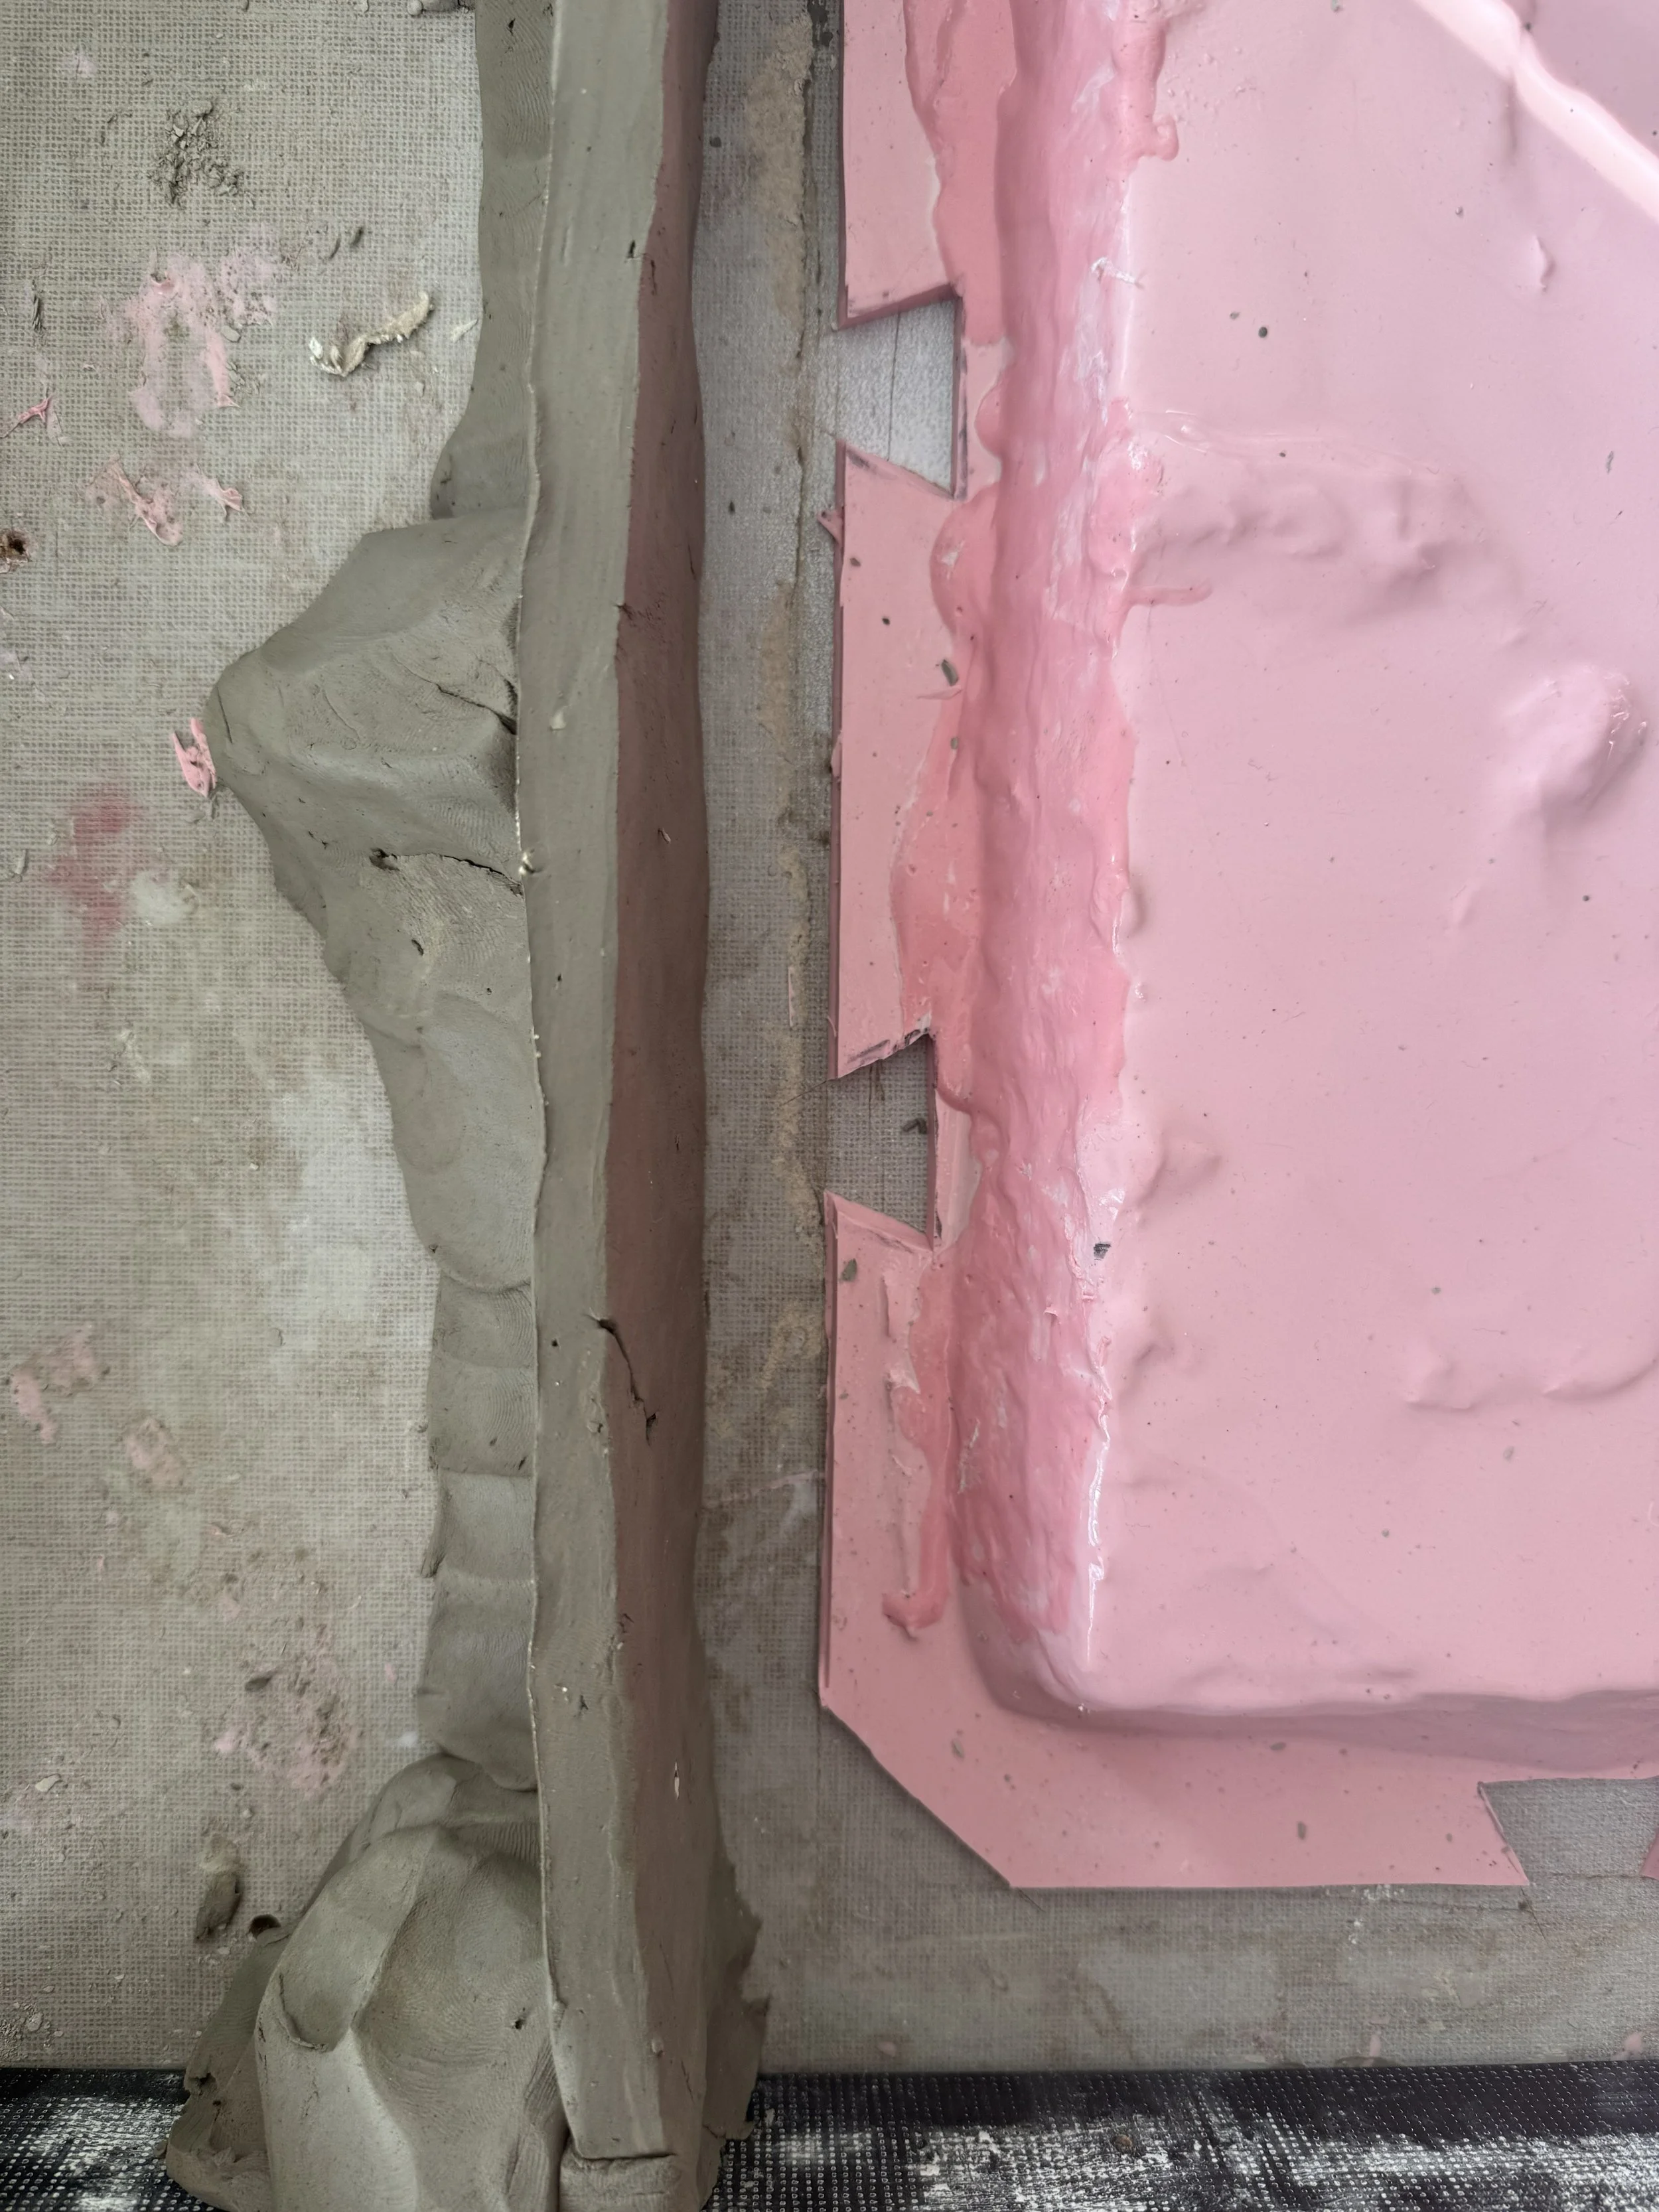
Keys are cut around the sides

for the jacket we used Herculite as it is stronger and denser than casting plaster

after the plaster cures the silicone is removed, indents from the keys can be seen.
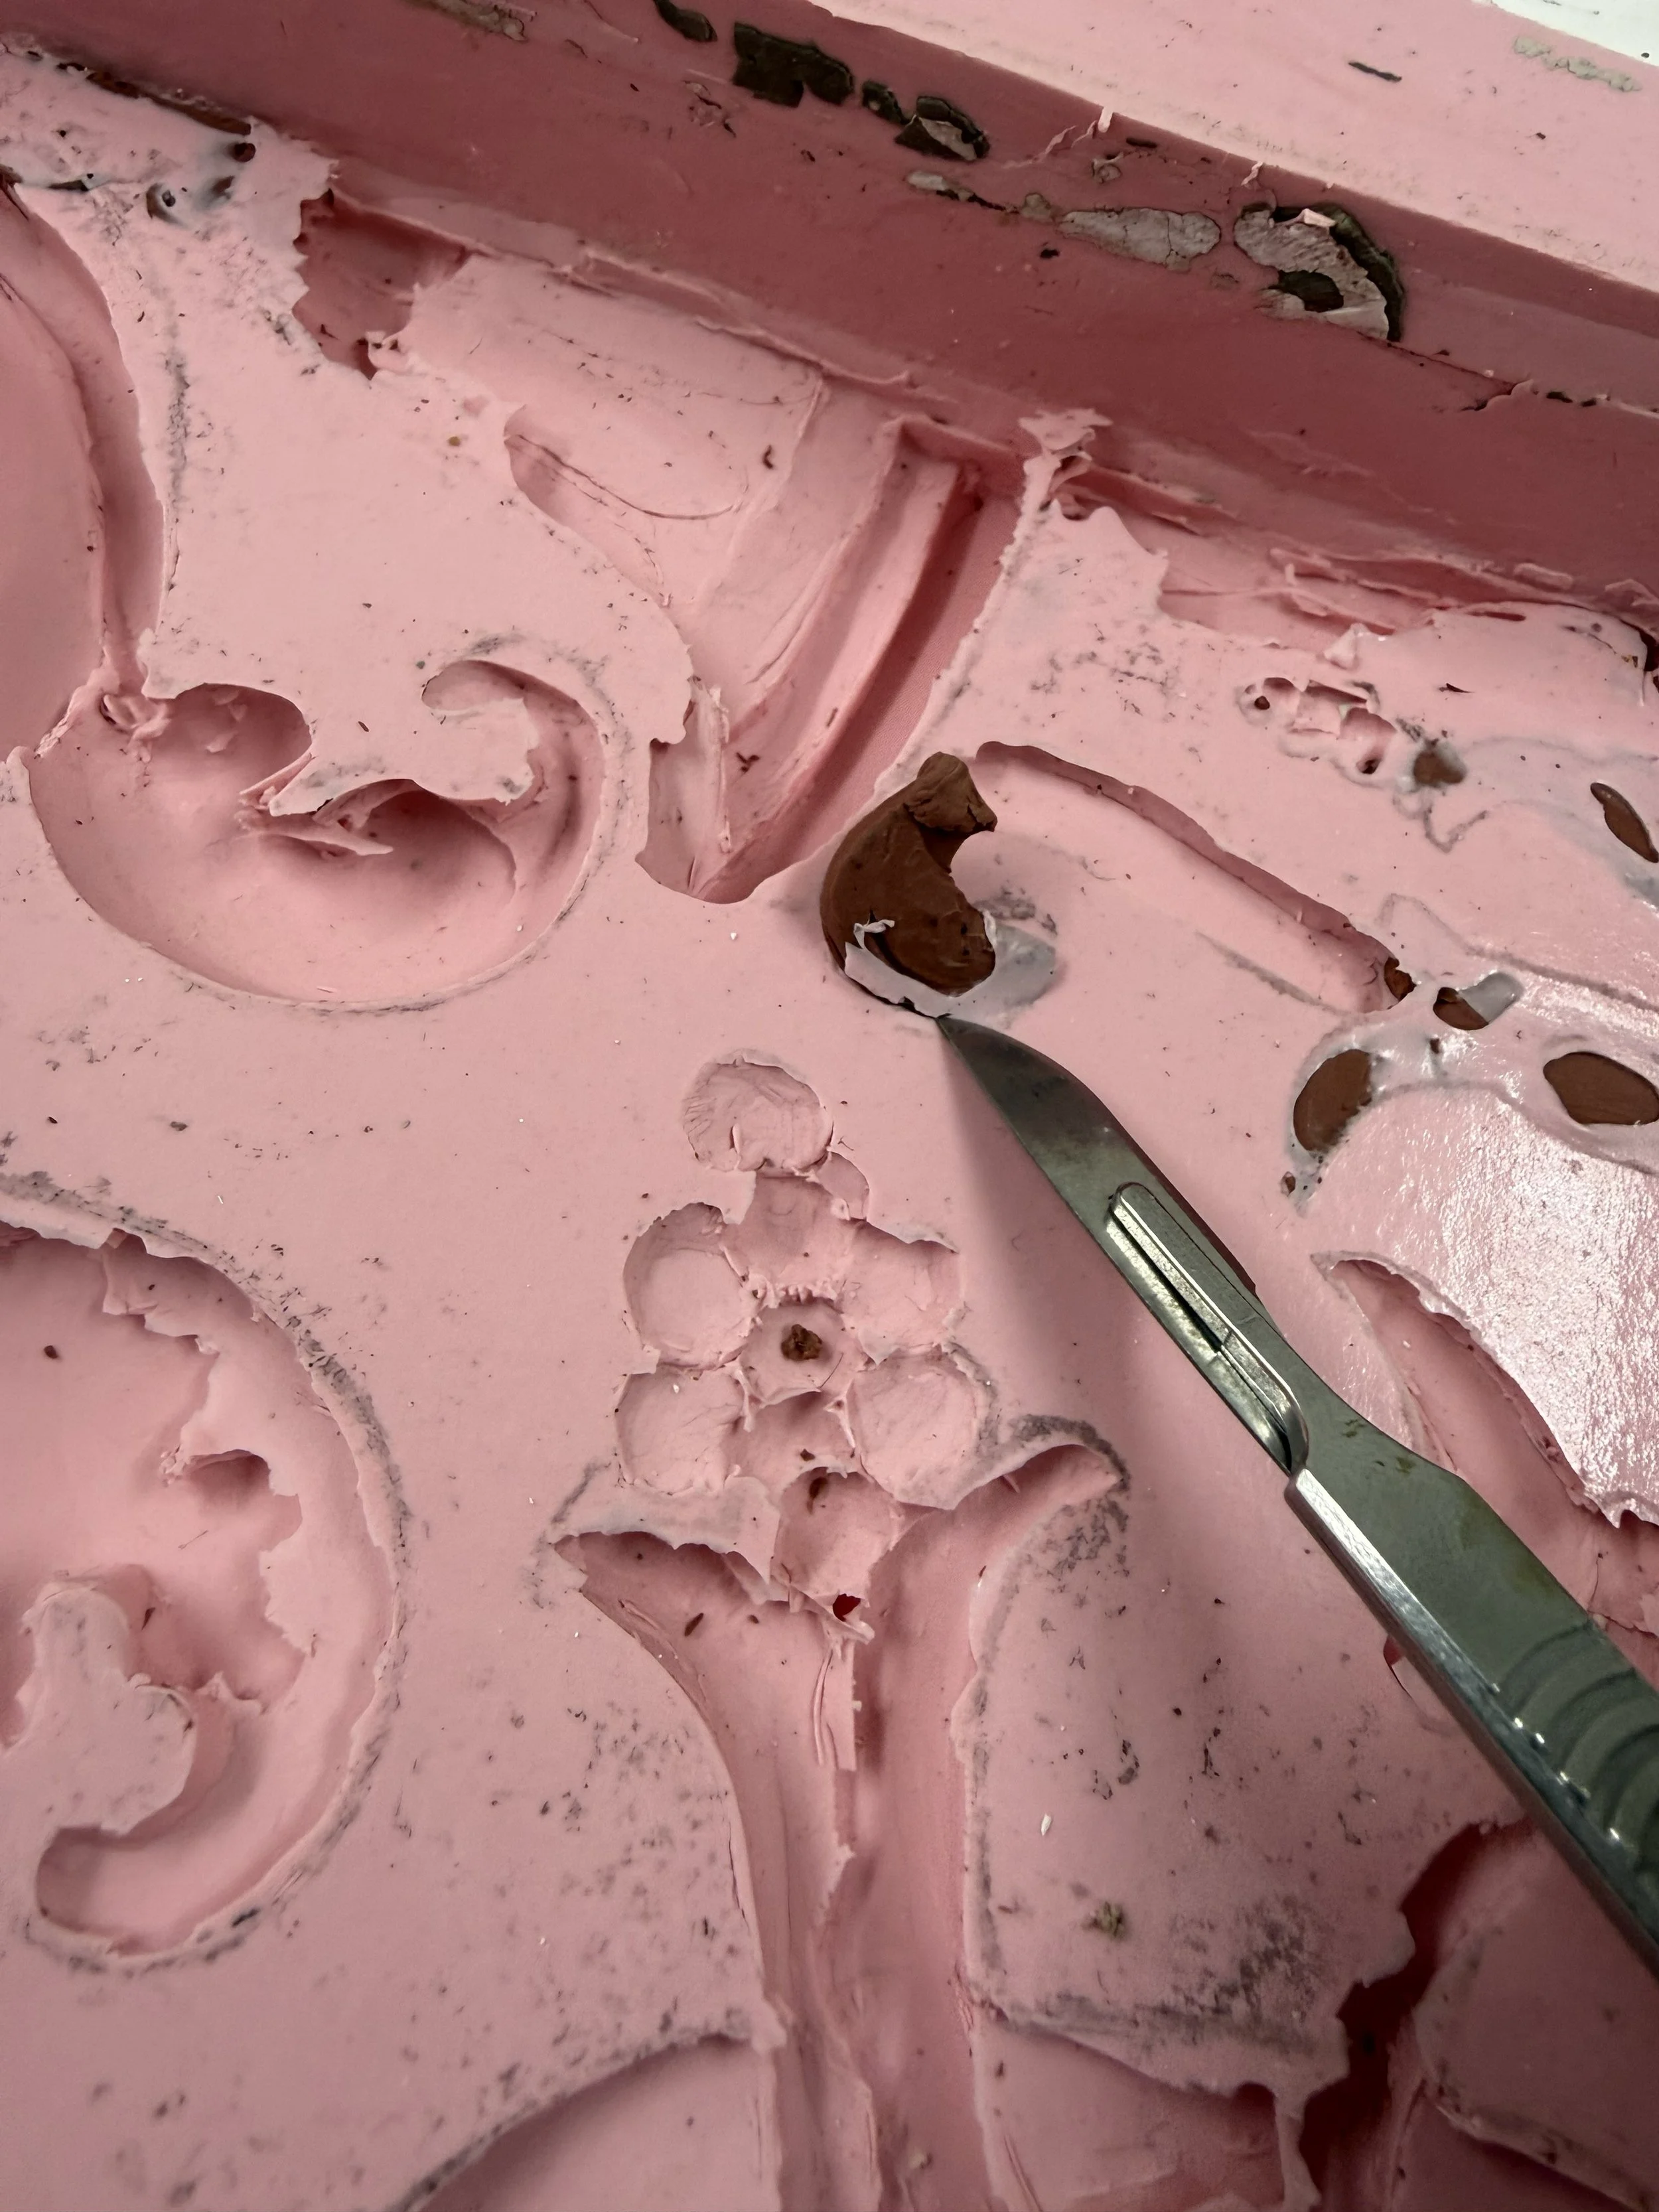
Then the silicone mould is trimmed to remove errors that can get in the way of making casts.
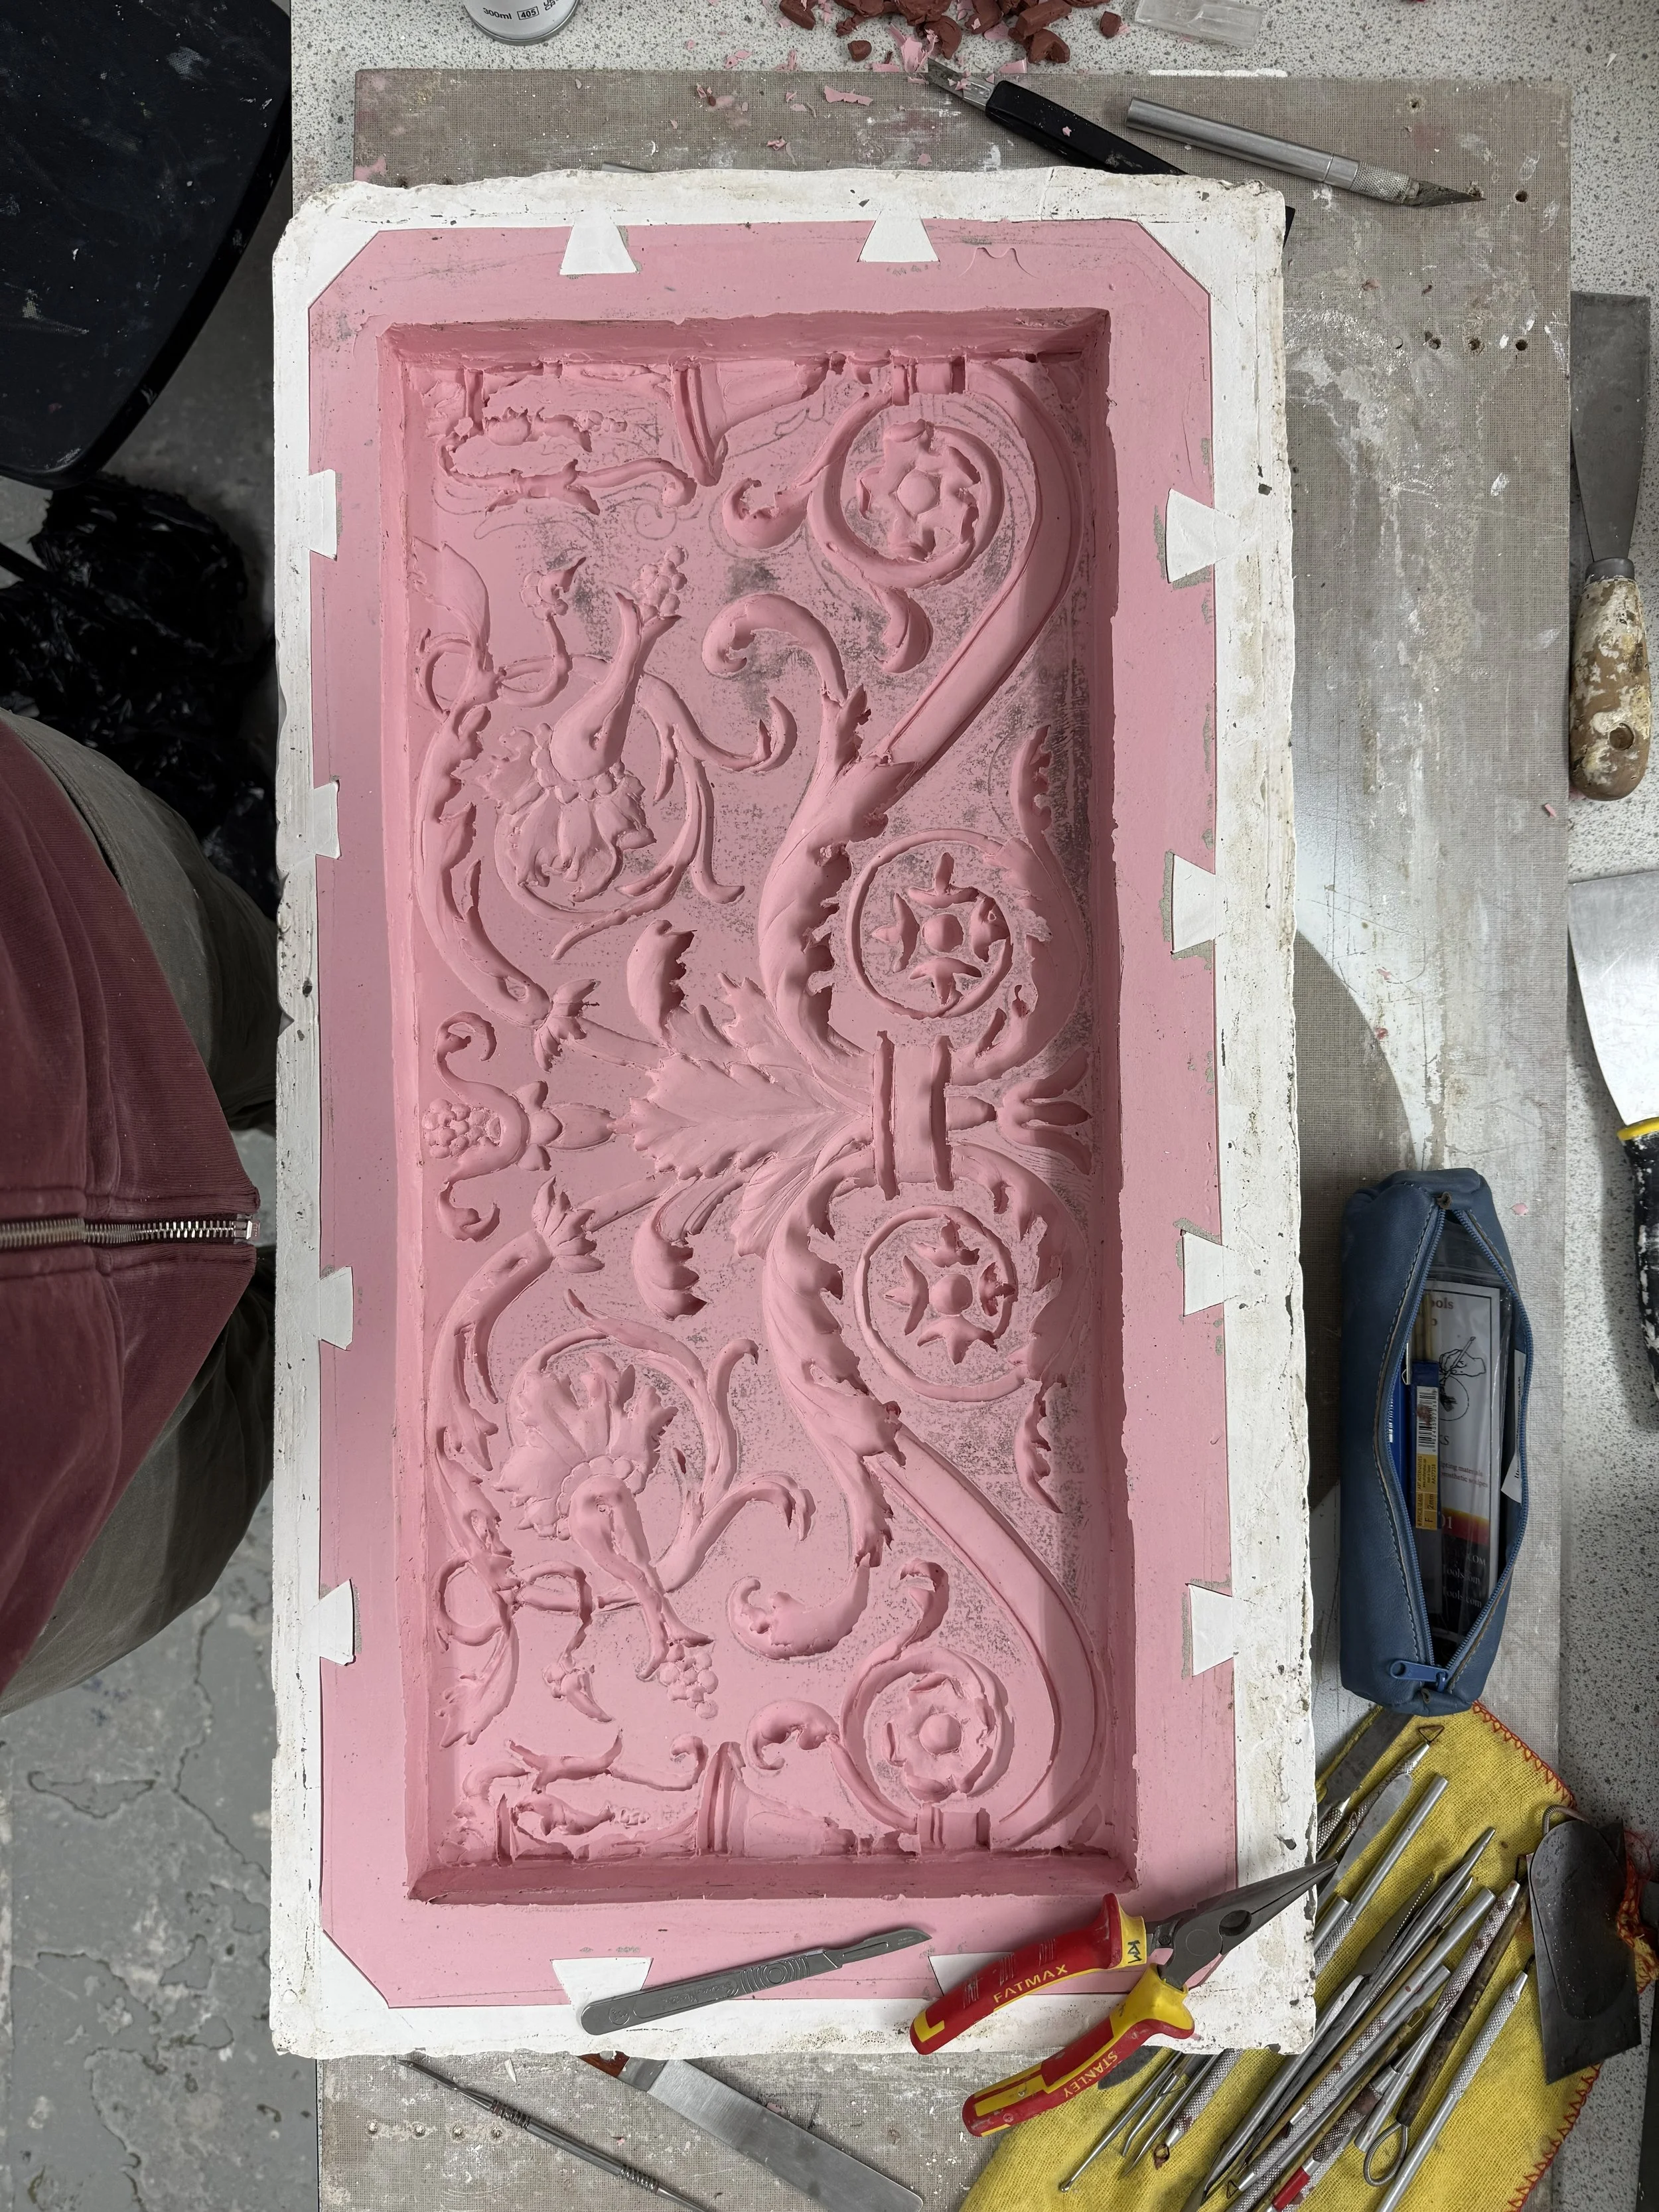
finished mould and jacket
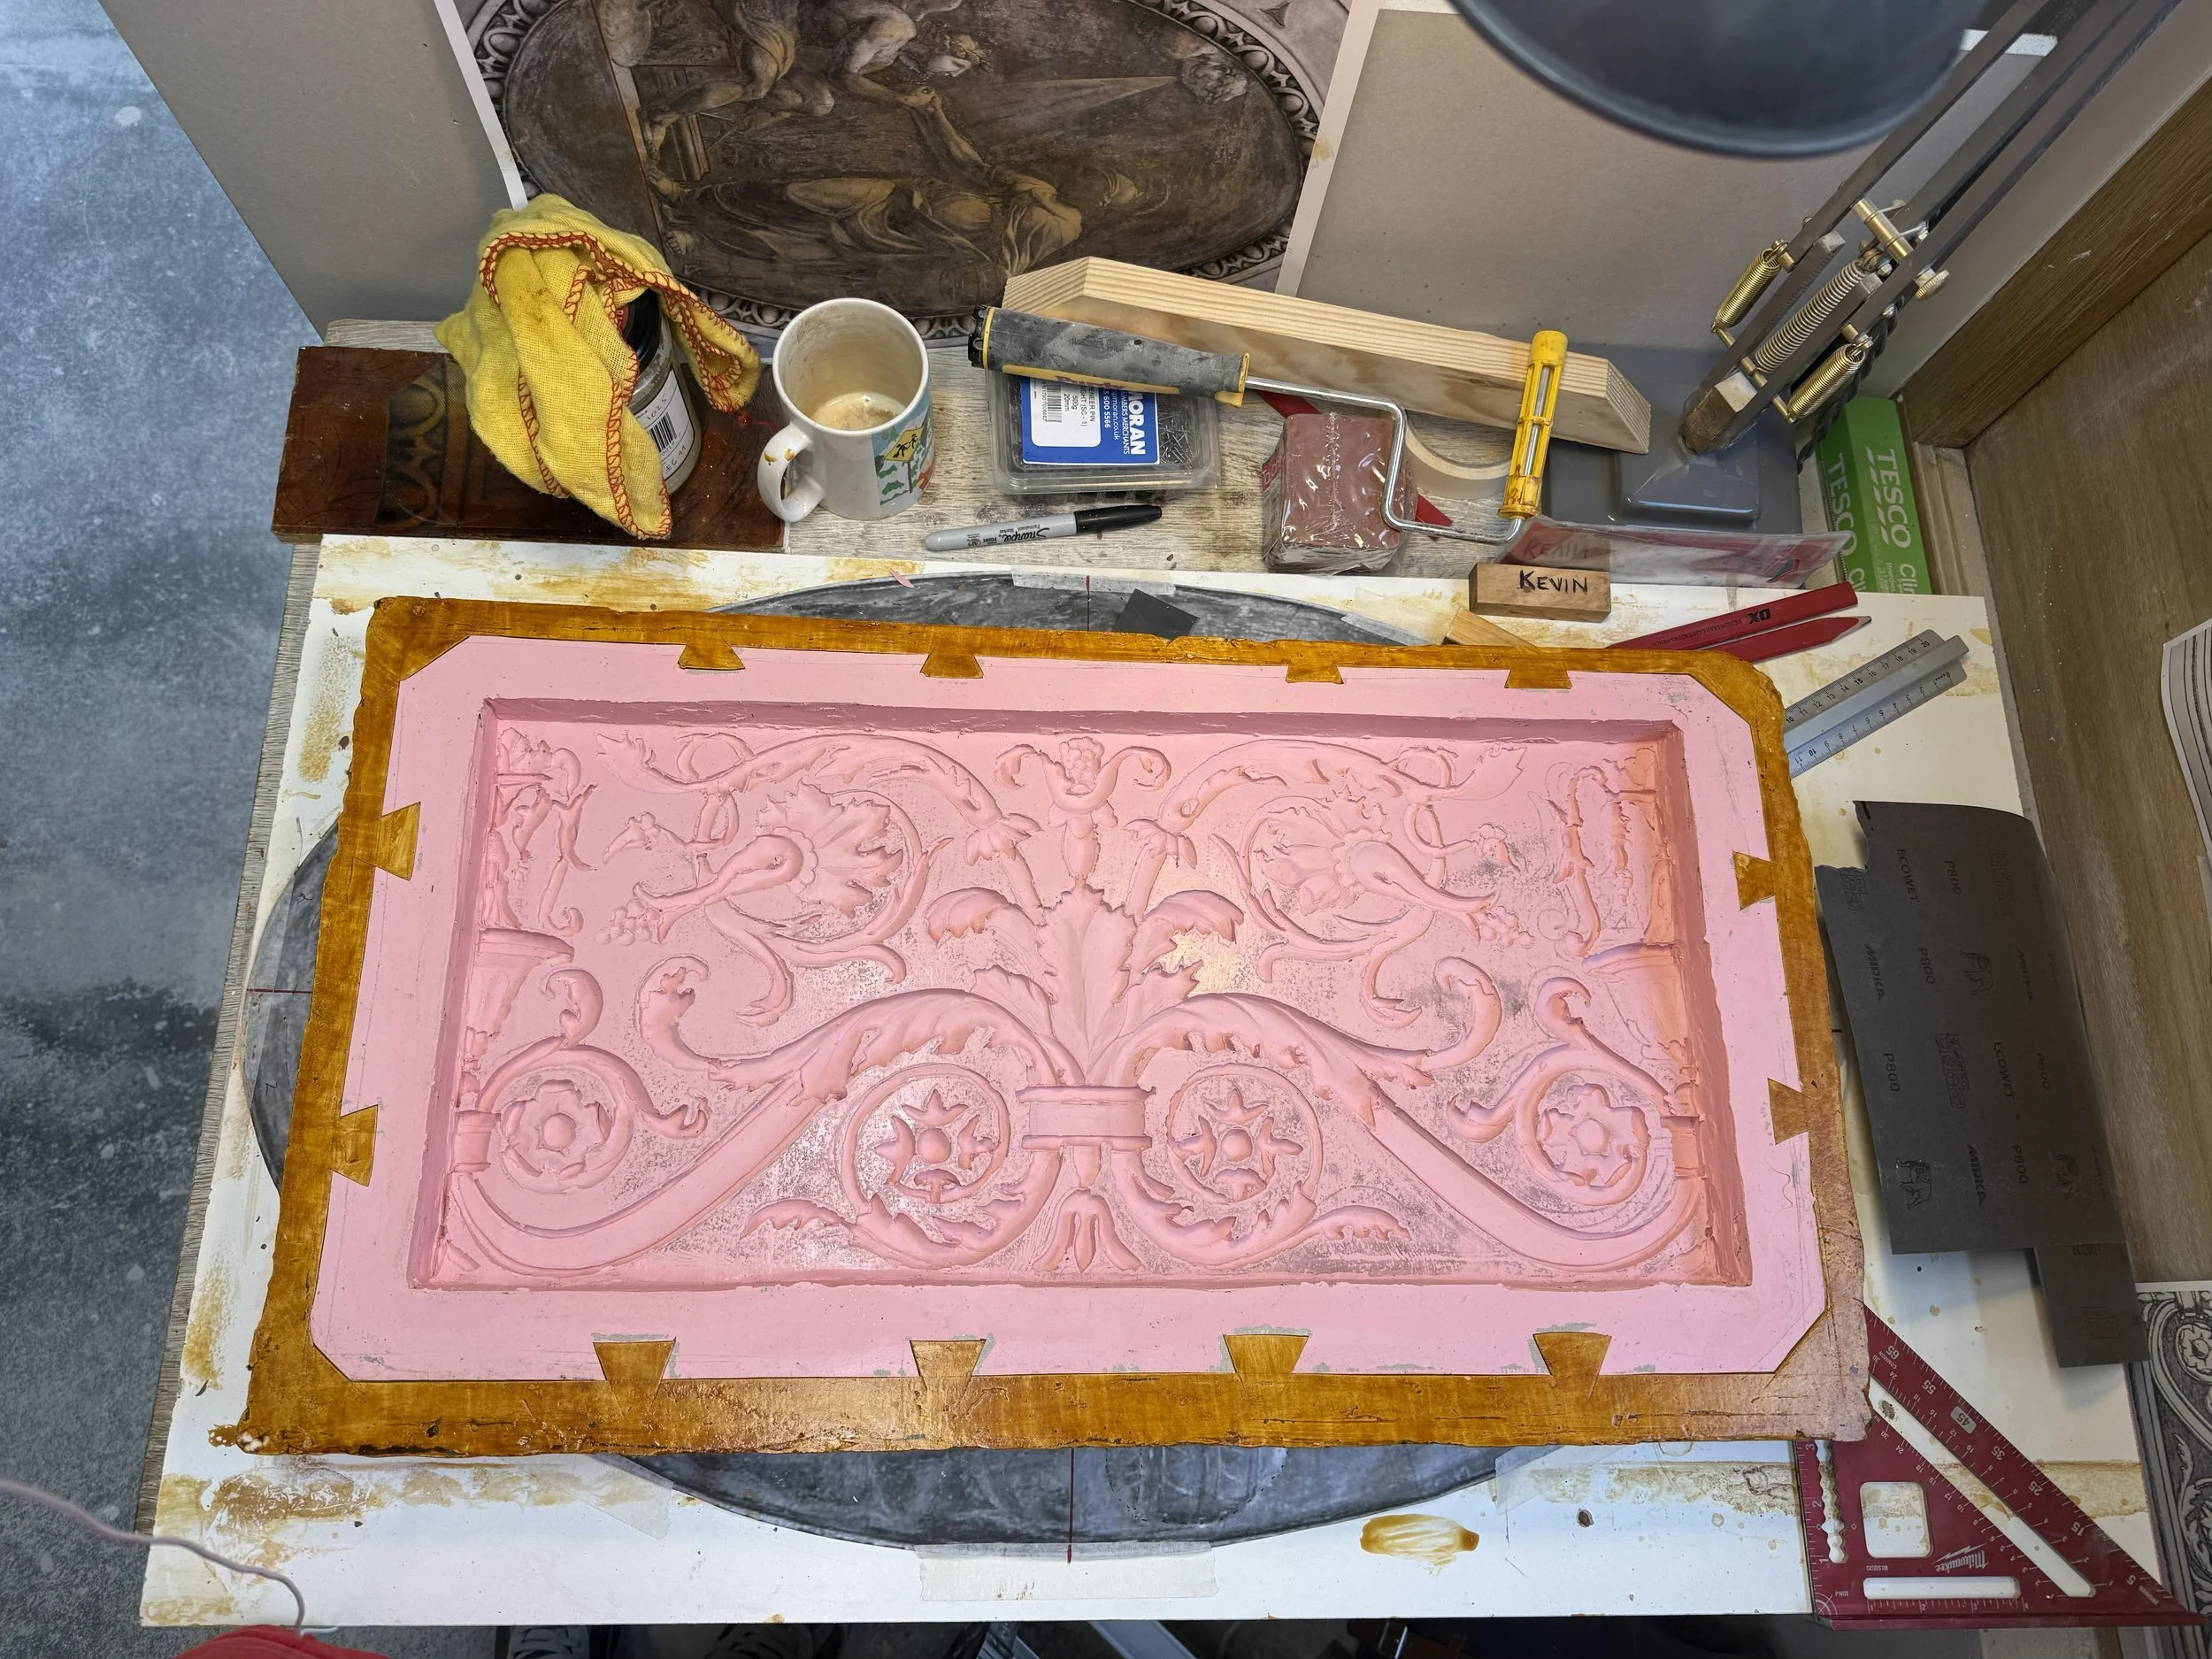
The jacket is then shellacked and greased with either vegetable shortening or beef tallow for easy of use and keeping clear. it keeps plaster spills from sticking to the jacket.